Delmonico Potatoes have been around for a long time. They were first served in the 1800s at the Delmonico Restaurant in New York City. Rumor has it that Abraham Lincoln enjoyed eating them at that restaurant. The Delmonico Restaurant has a long history of developing recipes that have stood the test of time. Eggs Benedict, Chicken a la King, and Lobster Newberg were also purportedly first served there.
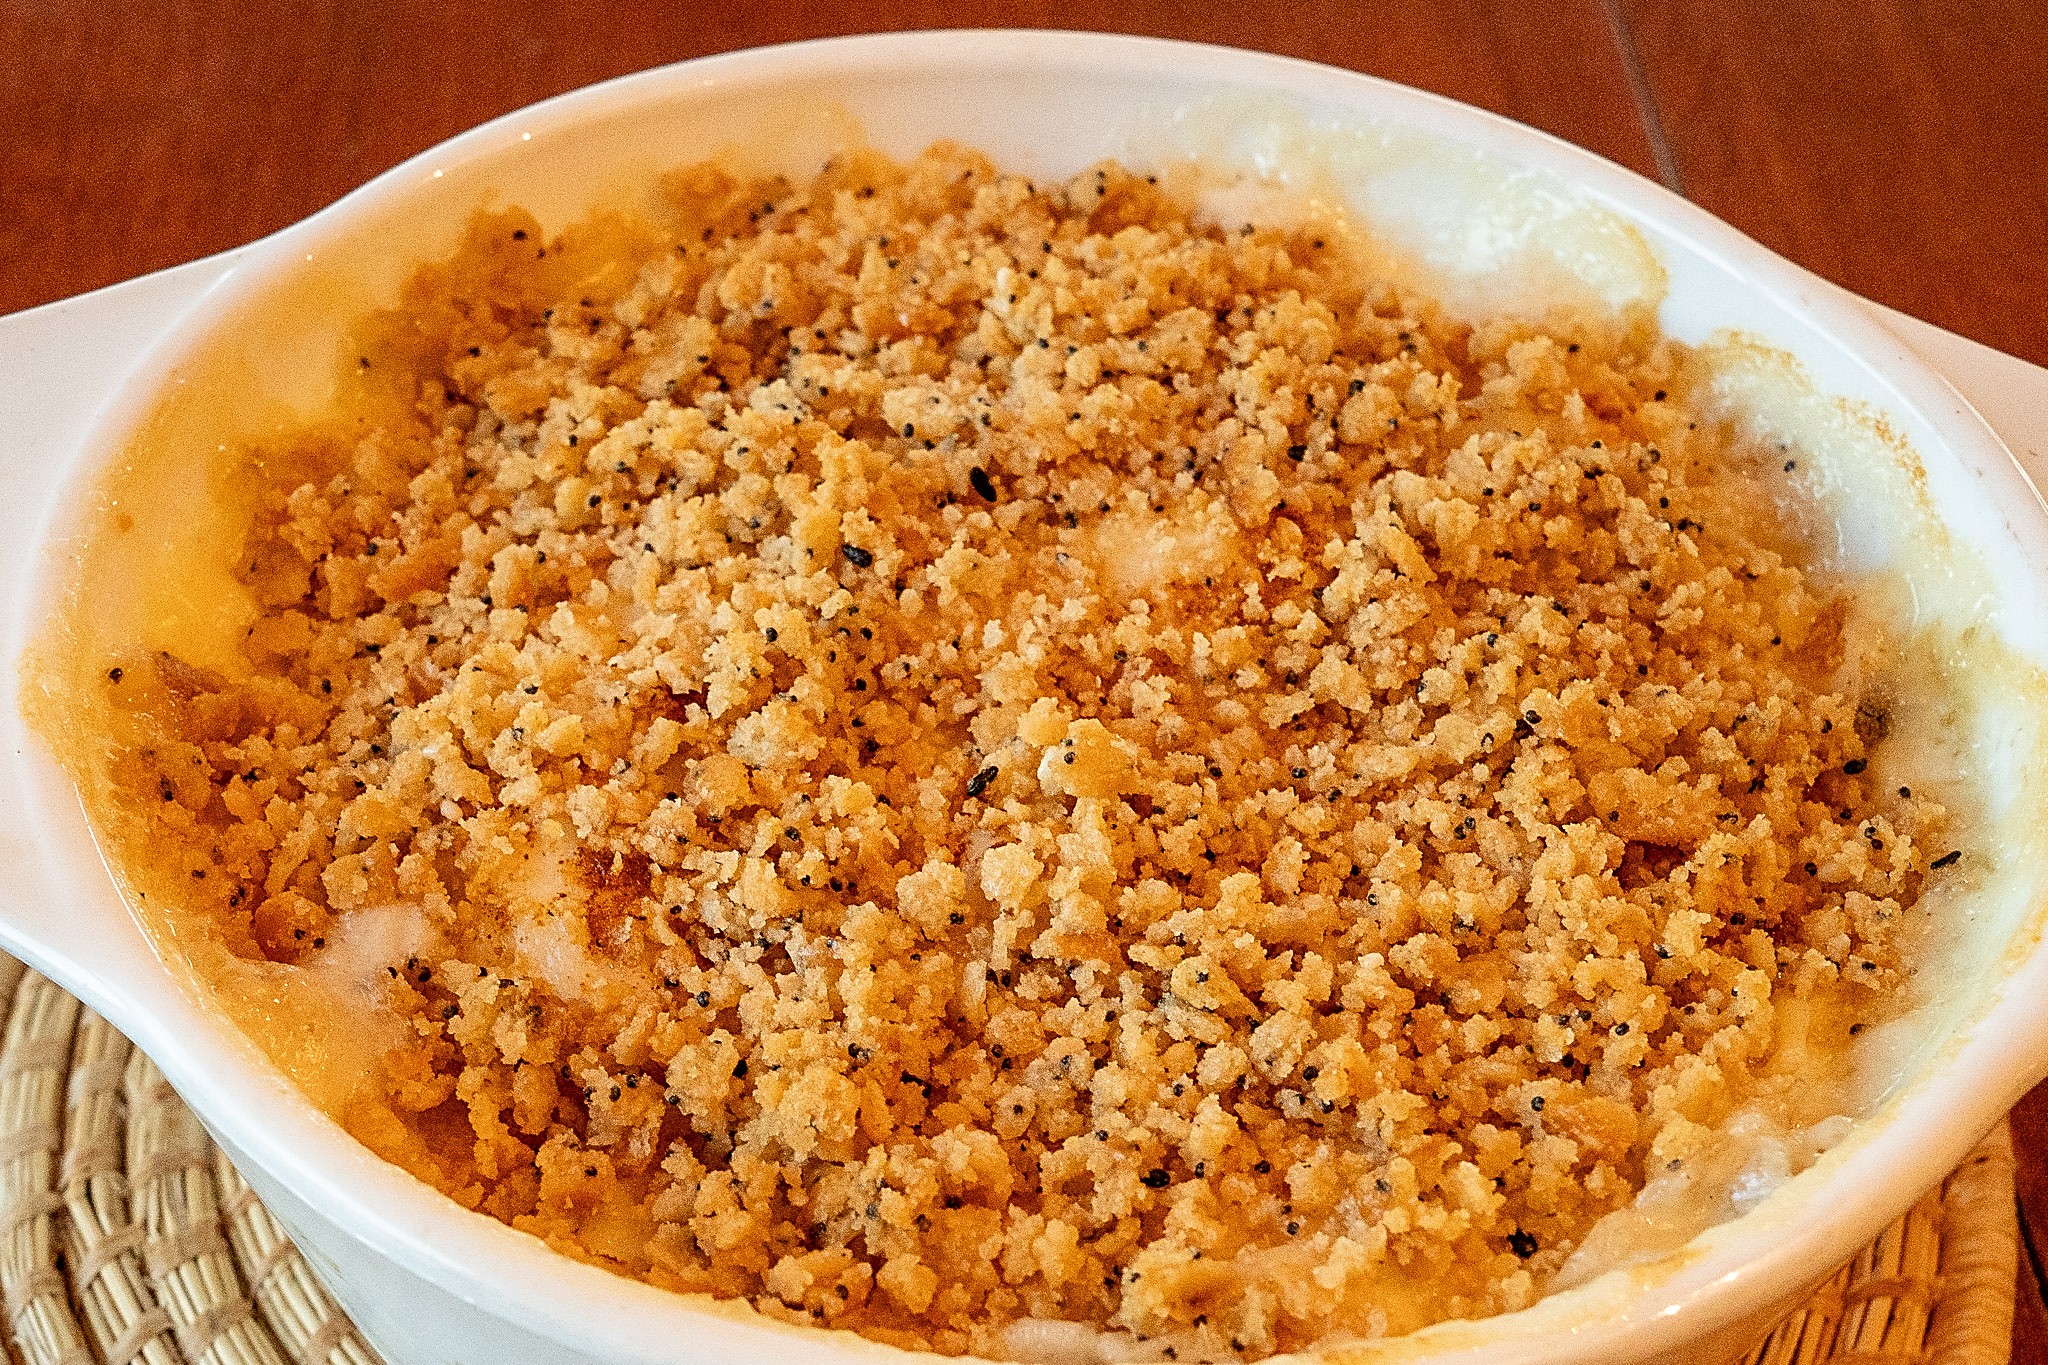
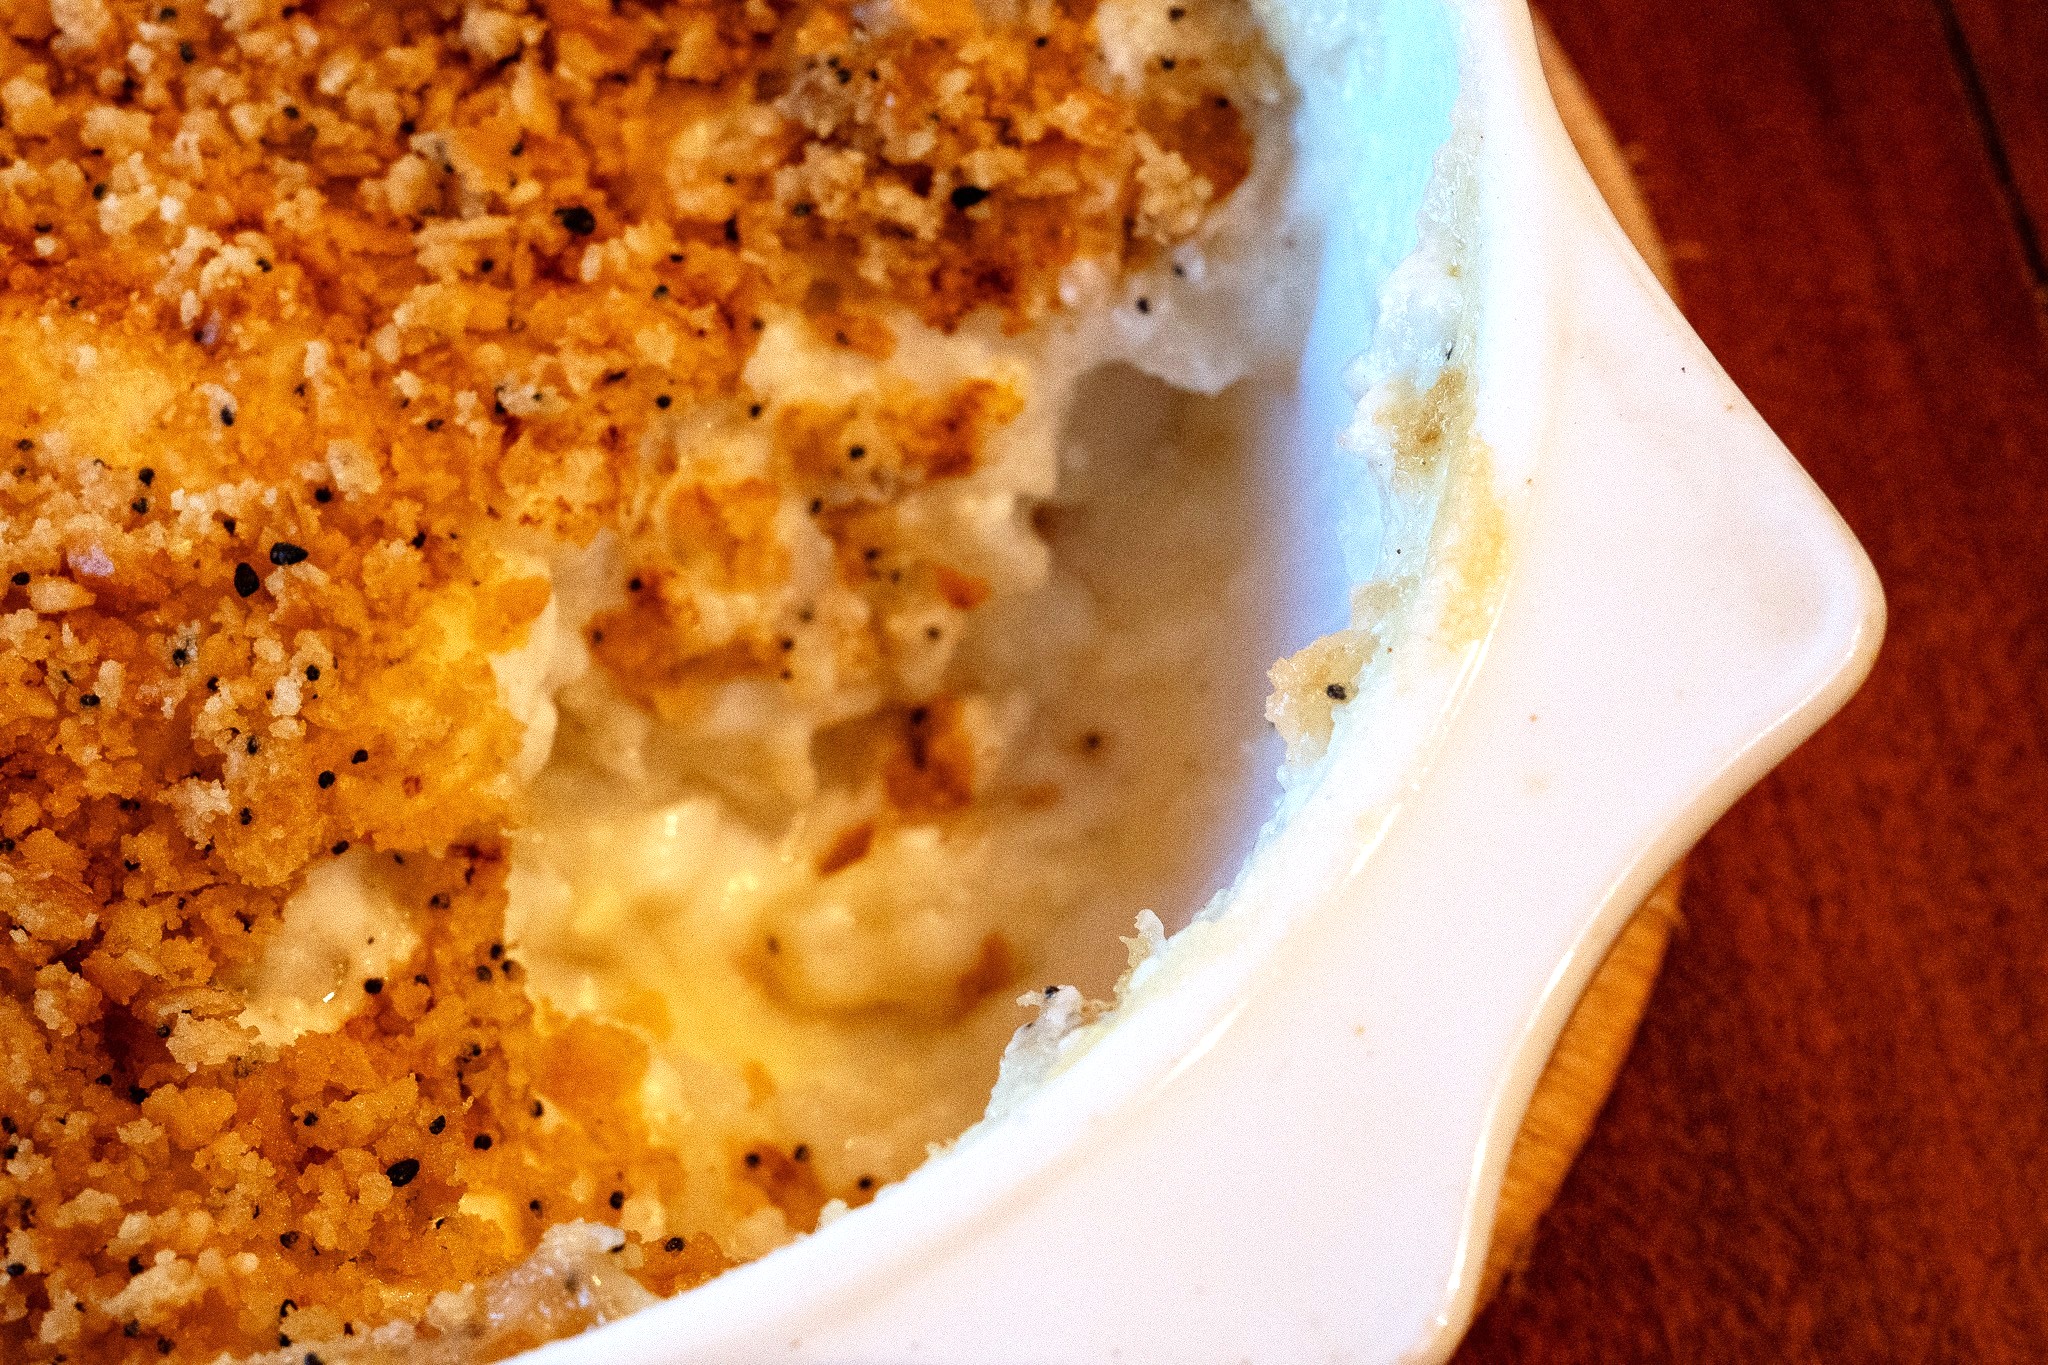
Delmonico Potatoes are a creamy, cheesy potato dish. As might be anticipated, given its long history, there are lots of variations. Some Delmonico Potato recipes call for shredded potatoes, others for cubed potatoes, and still other recipes call for sliced potatoes. I found a recipe in a hundred-year-old cookbook that called for cubed potatoes and a little onion in a rich cheesy sauce, and decided to give it a try. That recipe also called for topping the dish with buttered cracker crumbs.
The recipe was a winner. The cheesy sauce was the perfect consistency – not too juicy and not too thick – and it nicely complemented the potatoes. I had few multi-grain table crackers that that I crushed to make the topping (though I recognize that basic round butter crackers or saltines probably were the type of crackers that were actually used a hundred years ago). I really liked the way they looked and tasted. They added a bit of crunchiness to the dish. I definitely plan on making it again – maybe as soon as next week when my daughter will be visiting.
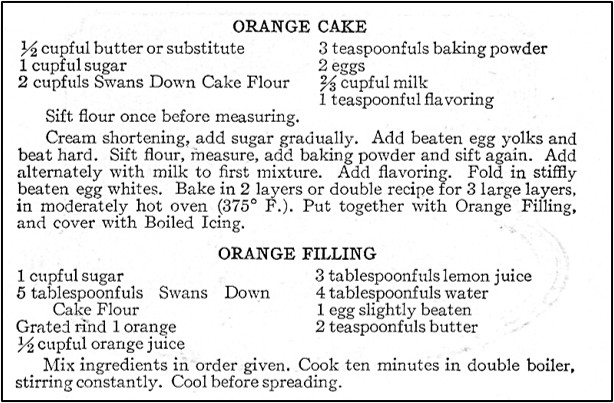
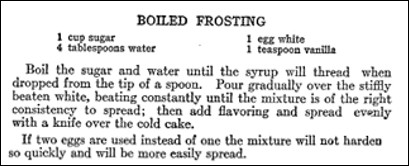
Here’s the original recipe:
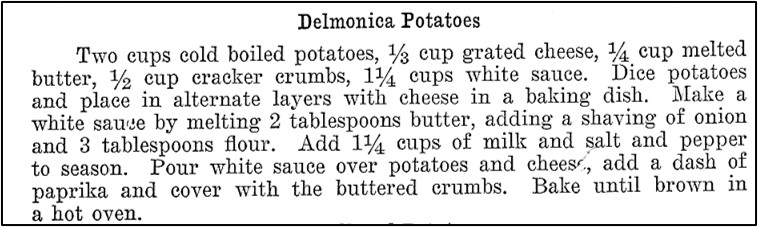
I think that the name of this recipe is misspelled in the 1926 cookbook, and that it should be “Delmonico Potatoes” rather than “Delmonica Potatoes,” so that is the spelling I used when updating the recipe.
Since I didn’t have 2 cups of left-over potatoes, I peeled and diced 4 medium potatoes. I then covered the potatoes with water and cooked them. After the diced potatoes had softened (about 10-12 minutes), I removed the potatoes from the heat and drained them. I then proceeded with assembling the recipe using the warm potatoes.
This recipe’s directions are a little difficult to understand. One place it calls for 1/4 cup melted butter (and the same sentence also refers to white sauce which would contain butter). Two sentences later, the recipe explains how to make the white sauce, indicating that 2 tablespoons butter should be used. Near the end of the recipe, it indicates that the cracker crumbs are “buttered crumbs.” I interpreted all of this to mean that the white sauce should be made using 2 tablespoons of butter, and that the remaining 2 tablespoons of butter should be melted and the cracker crumbs should then be stirred into the butter.
Over my years of doing this blog, I’ve seen many vague measurement terms (dash, pinch, etc.), but a “shaving” of onion was new for me. I decided to finely chop 3 tablespoons of onion and layer it with the potatoes and cheese – though that may not be exactly the intent of the recipe author.
I used cheddar cheese when I made this recipe.
Here’s the recipe updated for modern cooks:
Delmonico Potatoes
2 cups potatoes (about 4 medium potatoes), peeled and diced into 1/2 inch pieces
1/3 cup grated cheddar cheese
3 tablespoons finely chopped onions
2 tablespoons butter + 2 tablespoons butter
3 tablespoons flour
1/2 teaspoon salt
1/8 teaspoon pepper
1 1/4 cups milk
paprika
1/2 cup cracker crumbs (I crushed 5 multi-grain table crackers. Classic round butter crackers would also work well.)
Step 1. Preheat oven to 400° F.
Step 2. Put the diced potatoes in a saucepan. Cover with water; bring to a boil using high heat, then reduce heat and simmer until the potatoes are soft (about 10-12 minutes). Remove from heat and drain.
Step 3. In the meantime, put 2 tablespoons of melted butter and the cracker crumbs in a small bowl. Stir to coat the cracker crumbs with the butter. Set aside.
Step 4. Additionally, in the meantime, make a white sauce. Using medium heat, melt 2 tablespoons of butter in another saucepan. Stir in the flour, salt, and pepper. Slowly add the milk while stirring continuously. Continue stirring until the liquid thickens.
Step 5. Assemble this dish by putting one-third of the cooked diced potatoes in a 1-quart baking dish. Put one-third of the chopped onions on top of the potatoes, then spread one-third of the grated cheese on top of the potatoes and onions. Repeat until all the potatoes, onions, and cheese are layered in the baking dish.
Step 6. Pour the white sauce over the layers in the baking dish, then sprinkle with paprika. Top by spreading the buttered crackers on top.
Step 7. Put in the oven and bake until the dish is hot and bubbly (about 25 – 30 minutes if warm diced potatoes were used; longer if they were cold.)
 Here’s the recipe updated for modern cooks:


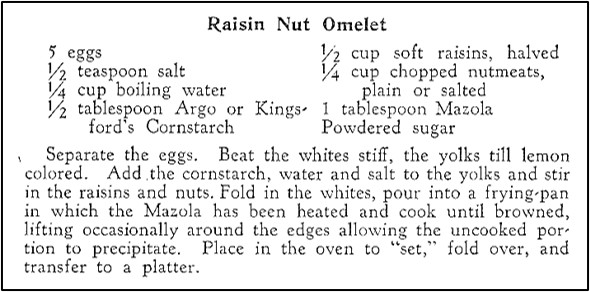
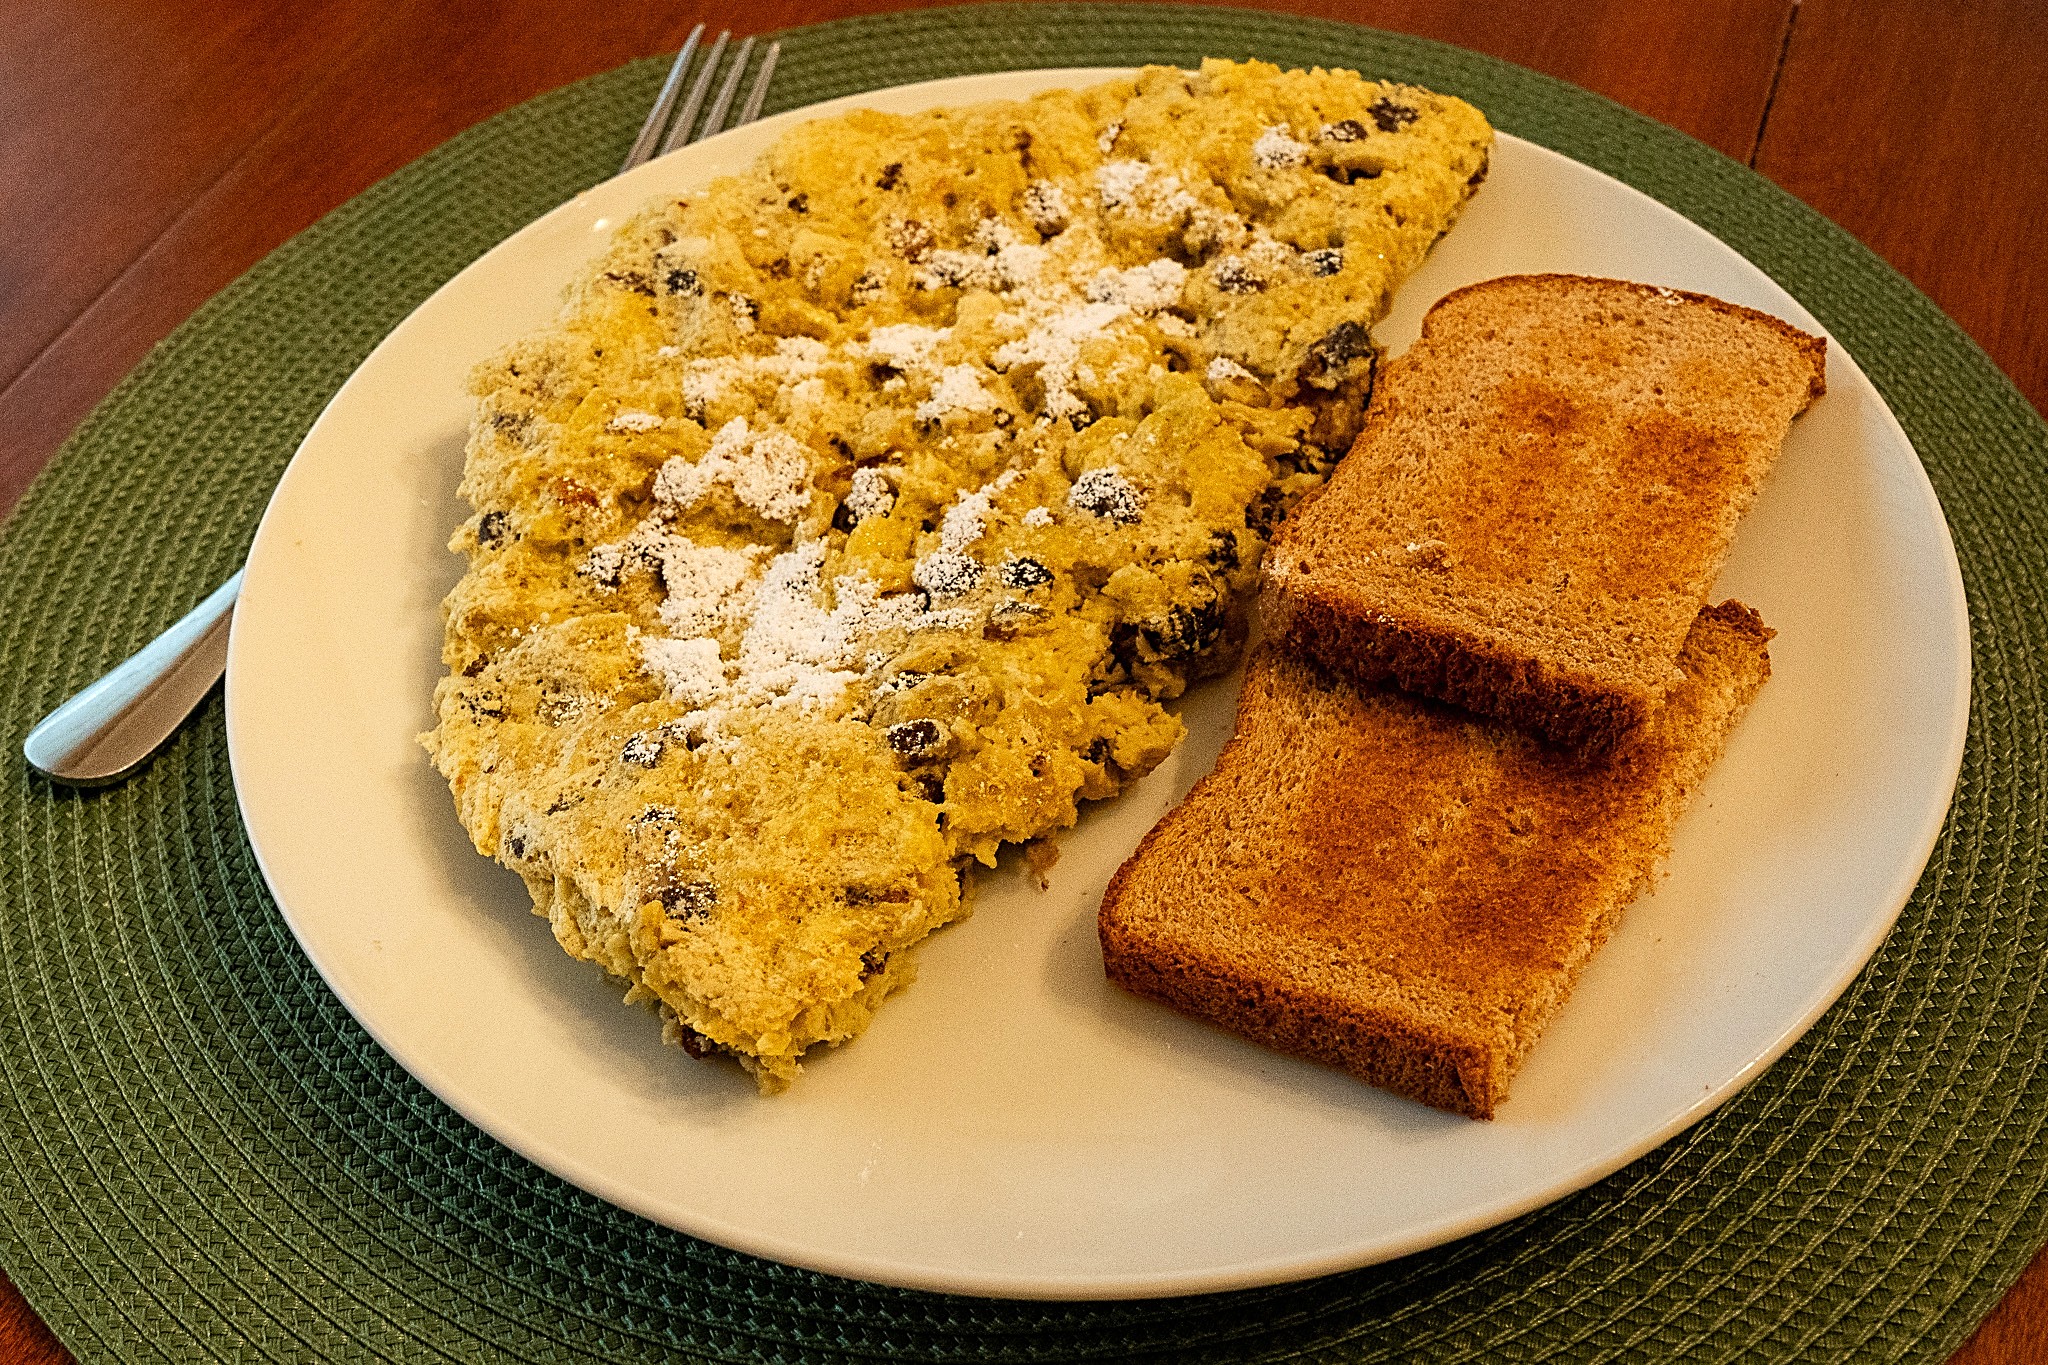 My weekday breakfasts are boring — think oatmeal or cereal, but I like to make breakfast foods that are a little fancier on weekends, so I was thrilled when I came across a recipe for Raisin Nut Omelet in a hundred-year-old cookbook.