Baked Corn in Green Peppers

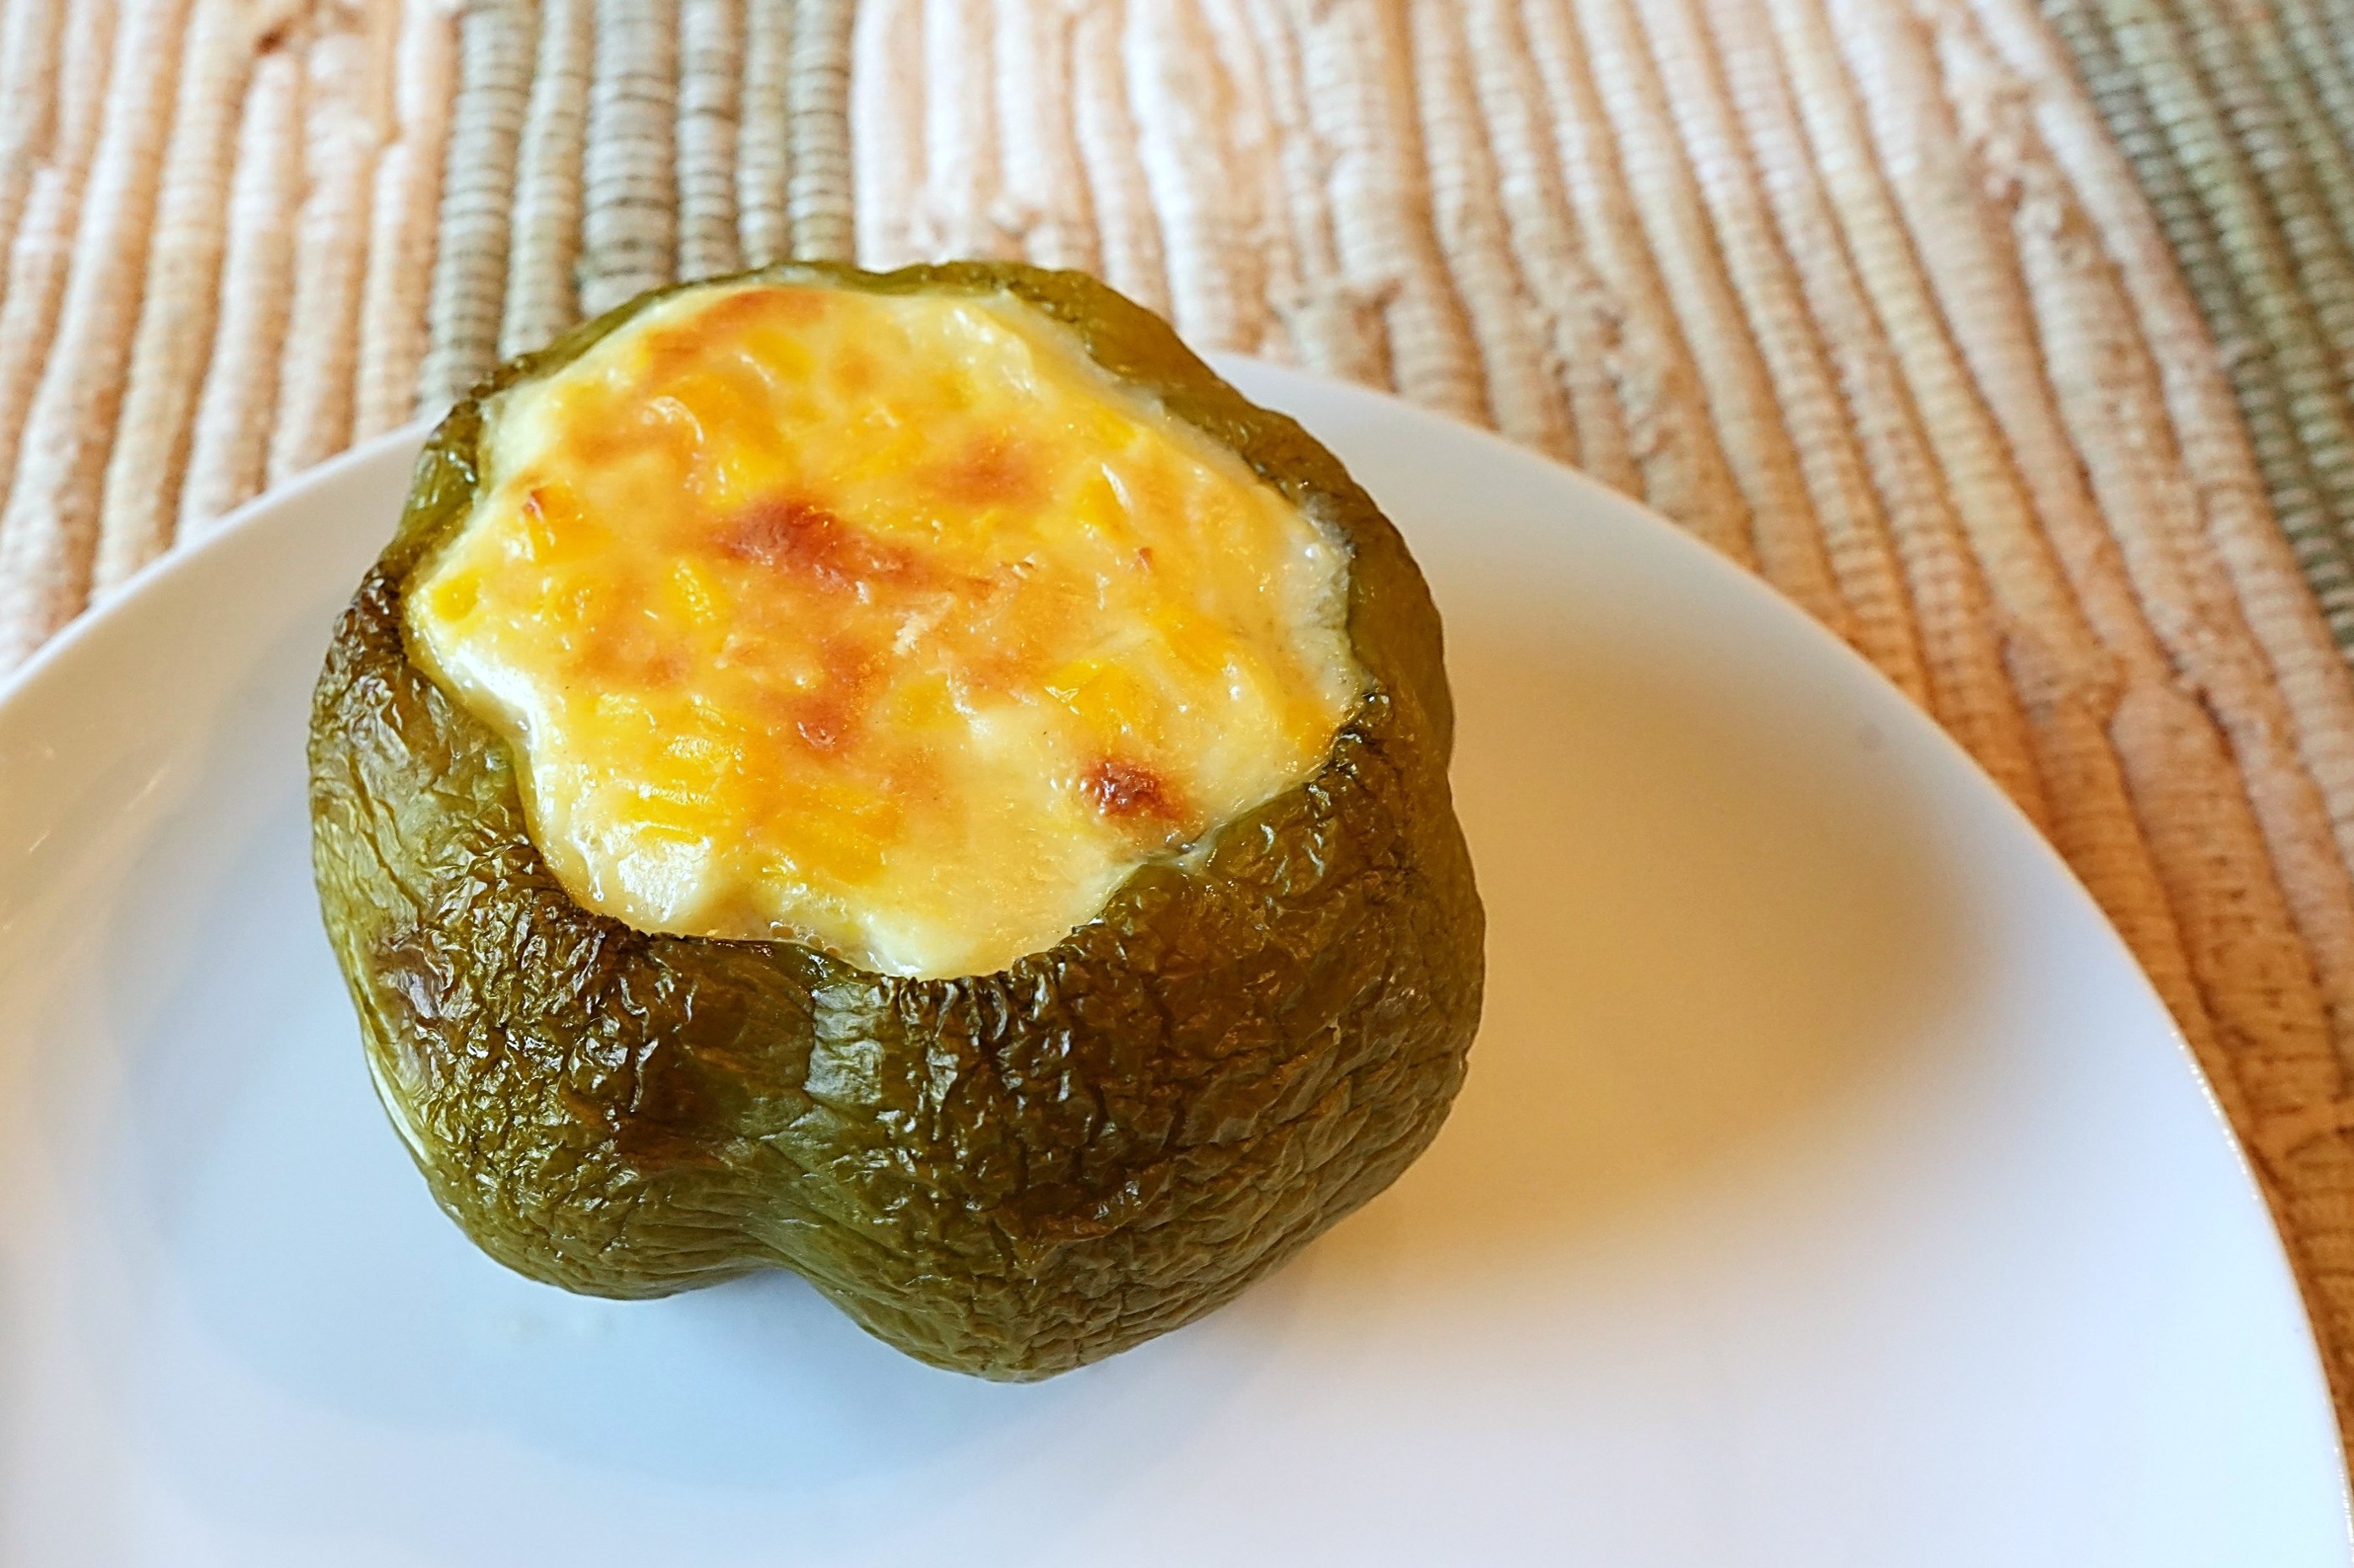
Baked Corn in Green Pepper on plate

The farmers’ market is chock full of wonderful, fresh ,local vegetables. Green peppers and corn are at their peak. So, when I came across a hundred-year-old recipe for Baked Corn in Green Peppers, I decided to give it a try.

I’ve made stuffed peppers numerous times over the years; but, until I saw this recipe, I never thought about stuffing the peppers with a creamy baked corn mixture. This recipe is a tasty stuffed pepper variation. The corn and green peppers work well together.

Here’s the original recipe:
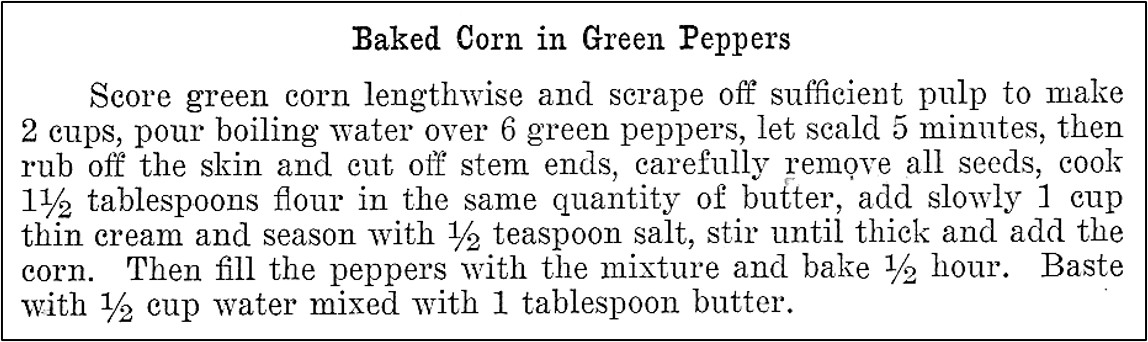
Recipe for Baked Corn in Green Peppers
Source: Pennsylvania State Grange Cook Book (1926)

This is a nice recipe, but it needed some tweaking. I think that green peppers were generally much smaller a hundred years ago than they are today. When I made this recipe, I used some medium-sized green peppers which I found at the farmers’ market. They were much smaller than most green peppers sold in supermarkets. Even though the peppers that I used were smaller than most, the recipe only made enough of the corn mixture to fill three green peppers, not six. When I updated the recipe, I indicated that three green peppers should be used rather than six.

I think that this recipe may be missing an ingredient. Whenever I have made Baked Corn in the past, the recipe called for eggs. I don’t think that Baked Corn will properly set without eggs, so I added an egg when I made the recipe. Even with the added egg, it took more than an hour for the baked corn in the green peppers to set, so when I updated the recipe, I indicated that two eggs should be used.

I wasn’t sure how to baste the corn and pepper with water and butter while they baked. Until the baked corn was set and became firm, the top of the Baked Corn in Green Peppers was very wet and did not need any additional liquid. I ended up pouring hot water and melted butter around the green peppers in the baking dish, though I’m not sure that is what the recipe author intended (and I don’t think it was needed, so I didn’t include basting when I updated the recipe).

When I have previously made stuffed peppers, I cut the tops off them and removed the seeds and membranes prior to cooking. I then put them in boiling water, and simmered for 5 minutes or so. I’m not sure why this recipe calls for pouring boiling water over the green peppers before the top, membranes, and skin are removed. That said, it worked fine to scald the green peppers by putting boiling water on the entire peppers. After the stuffed peppers were baked, the peppers were more wrinkled that some other stuffed peppers I have made in the past, but they still had a nice texture. Perhaps this was due to the scalding process, but I’m not sure.

I’m not sure why the recipe author said to “rub off the skin” of the peppers. It sounds like a lot of work, and that it would be easy to tear the green peppers in the process. It is very important to very carefully remove the green peppers’ membranes and seeds, since the corn mixture is very juicy before it is baked, and it would be problematic if the liquid leaked from a tear in a pepper.

I used milk rather than light cream when I made this recipe.

The corn from two fairly large ears made approximately 2 cups of corn.

Here’s the recipe updated for modern cooks:

Baked Corn in Green Peppers

  • Servings: 3-4
  • Difficulty: moderate
  • Print

3 medium green peppers

water

2 cups fresh corn (the corn and pulp cut from 2 previously cooked large ears of corn) or use 1 16-ounce can of creamed corn

1 1/2 tablespoons butter

1 1/2 tablespoons flour

1/2 teaspoon salt

1 cup milk or light cream

2 eggs

Step 1. Preheat oven to 374° F.

Step 2. Put enough water in a saucepan to fill it about 2/3’s full. Heat water to a boil, then remove from heat and add the green peppers; cover pan, and let sit for 5 minutes.

Step 3. Remove peppers from the hot water, and dunk in cold water to cool enough to handle. Cut the tops off the scalded peppers, then carefully remove the seeds and membranes. Use care not to tear the skin of the peppers.

Step 4. In the meantime, melt the butter in a saucepan. Stir in flour and salt. Gradually stir in milk or light cream. Heat to boiling, while stirring constantly. Remove from heat.

Step 5. Put eggs in a small bowl; stir until smooth. Place a small amount (approximately 1 – 2 tablespoons) of hot milk/cream  mixture into dish with egg; stir quickly. (The egg is first combined with a little of the hot mixture to prevent it from turning into scrambled eggs when introduced into the hot combination.)  Add egg mixture to the remaining hot mixture in the saucepan; stir. Add the corn and stir.

Step 6. Set the prepared green peppers in a baking dish, and spoon the corn mixture into the green pepper cavities to fill them

Step 7. Bake in oven uncovered until the corn mixture is firm and set (approximately 30 – 40 minutes.)
http://www.ahundredyearsago.com

Old-Fashioned Baked Succotash

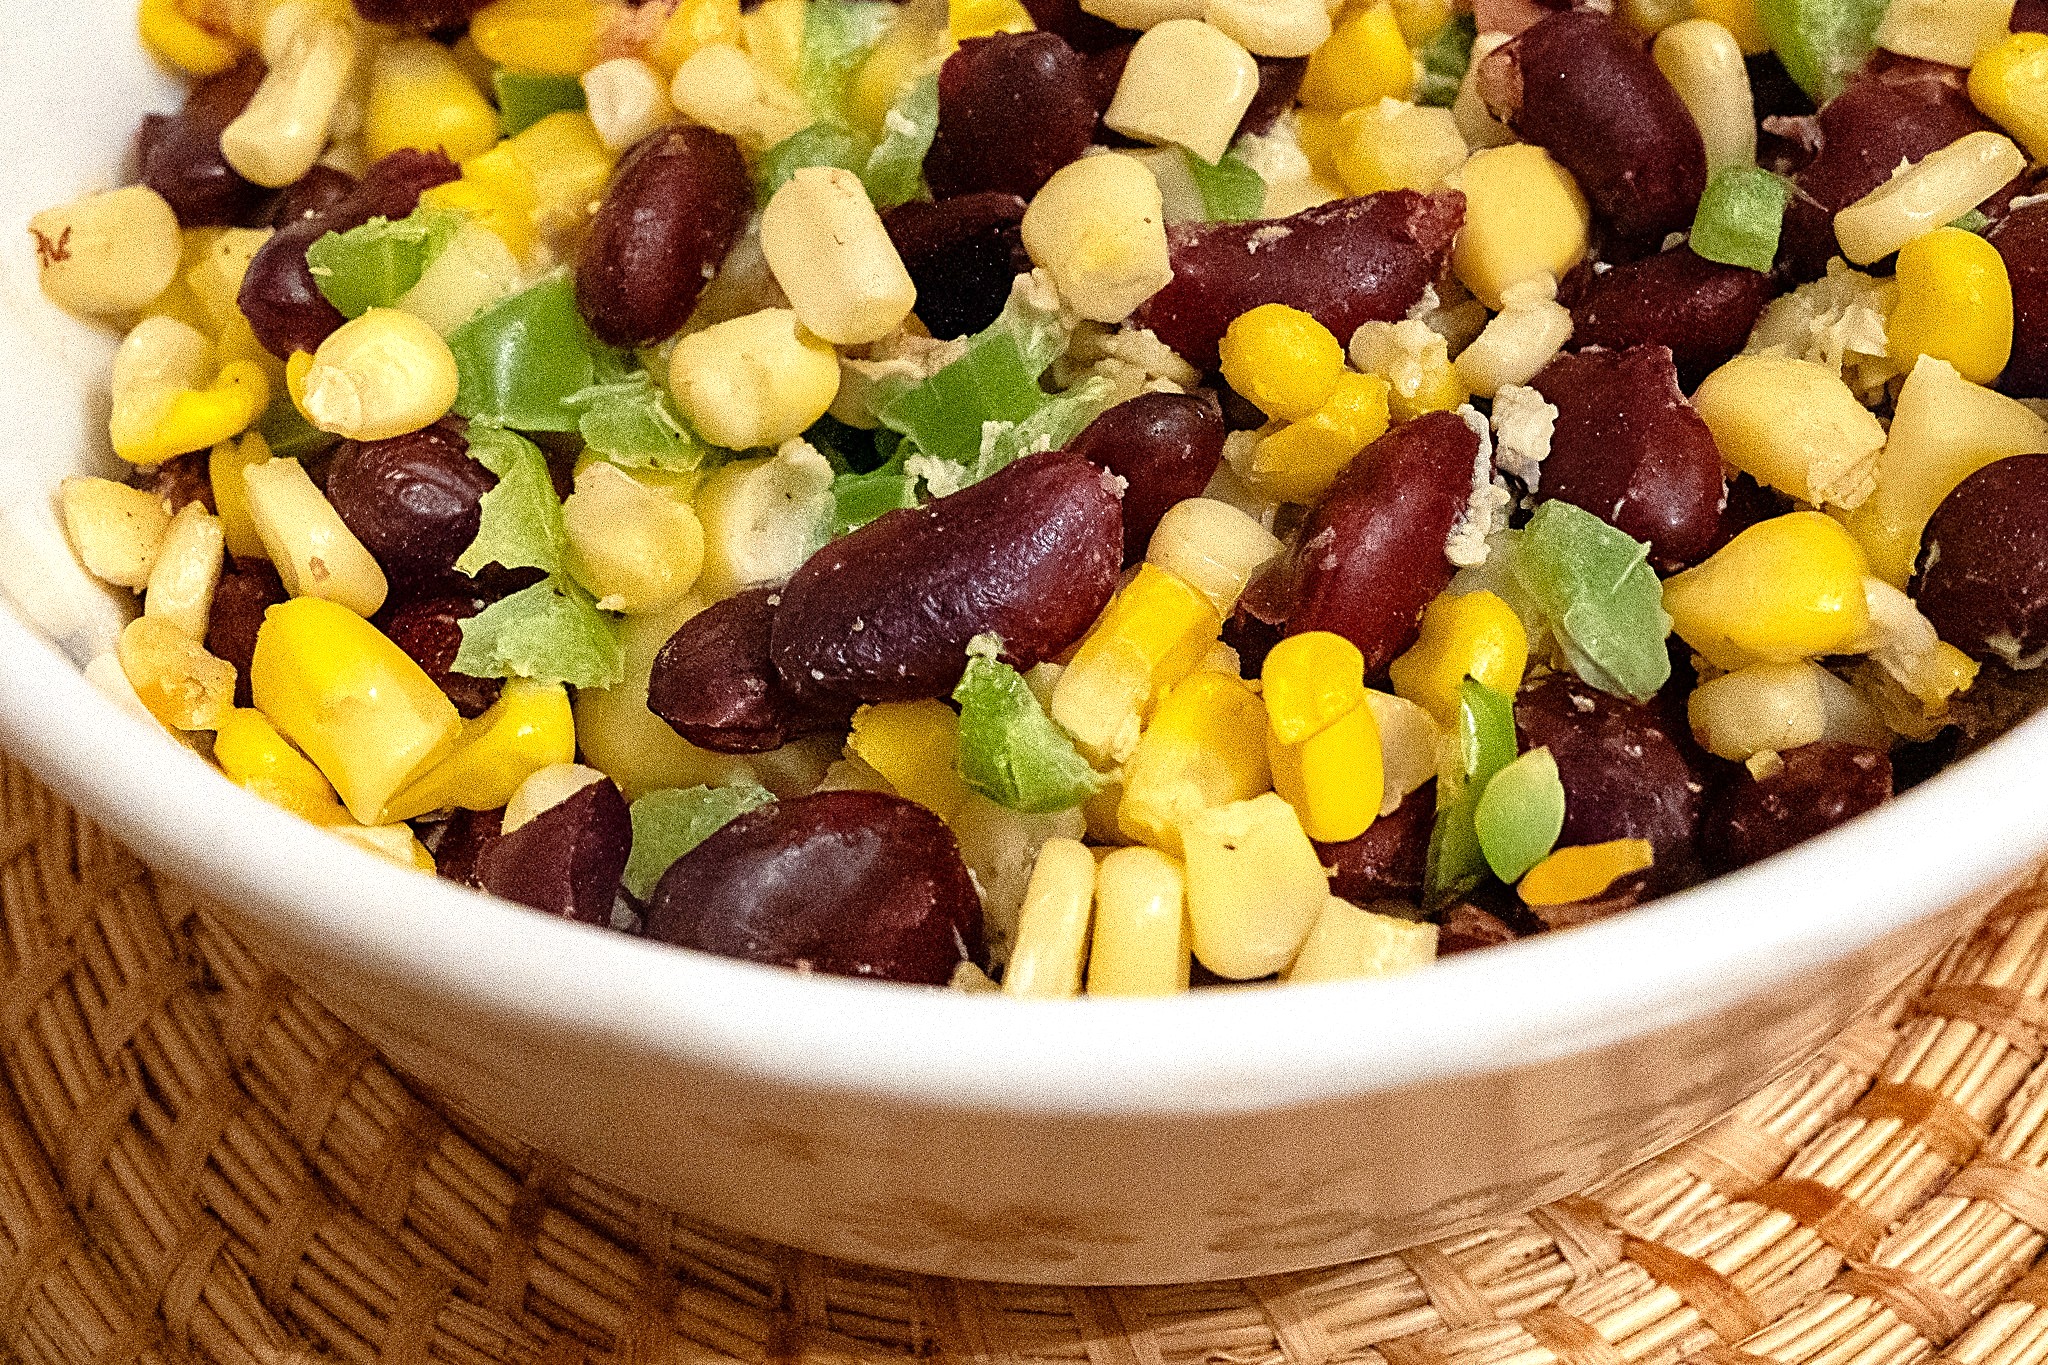
Baked Succotash in Dish

Kidney bean and corn dishes are having their day in the sun. I see recipes for them all the time, and they are served at many restaurants. Last week I went out for lunch, and had a lovely kidney bean and corn salad. So I was pleased to come across a Baked Succotash recipe that called for kidney beans in a hundred-year-old magazine.

I was a little surprised by the recipe name. I generally think of succotash as a mixture of lima beans and corn, but it apparently is a general term for bean and corn combinations. In any case, I decided to give the Baked Succotash recipe a try.

In addition to the kidney beans and corn, the recipe called for a little chopped green pepper. Beaten egg is stirred into the vegetables, and then it is baked.

The Baked Succotash was tasty, but a little dry (and a few of the kidney beans split).  The vegetables were lightly bonded to one another other by the egg coating, but since there was no milk, it did not have the creaminess of a scalloped vegetable dish. After I made this dish, I actually wondered why the recipe author decided to bake the succotash. If I made this recipe again, I might have a tendency just to heat the vegetables on the top of the stove . . . or I might adapt the recipe and add a white sauce to the egg to make Scalloped Succotash . . .  or . . .

Bottom line: Kidney beans and corn are a wonderful combination. And, I want to make dishes with this combination again in the future, but I’ll probably experiment a little when I do rather than replicating the Baked Succotash recipe.

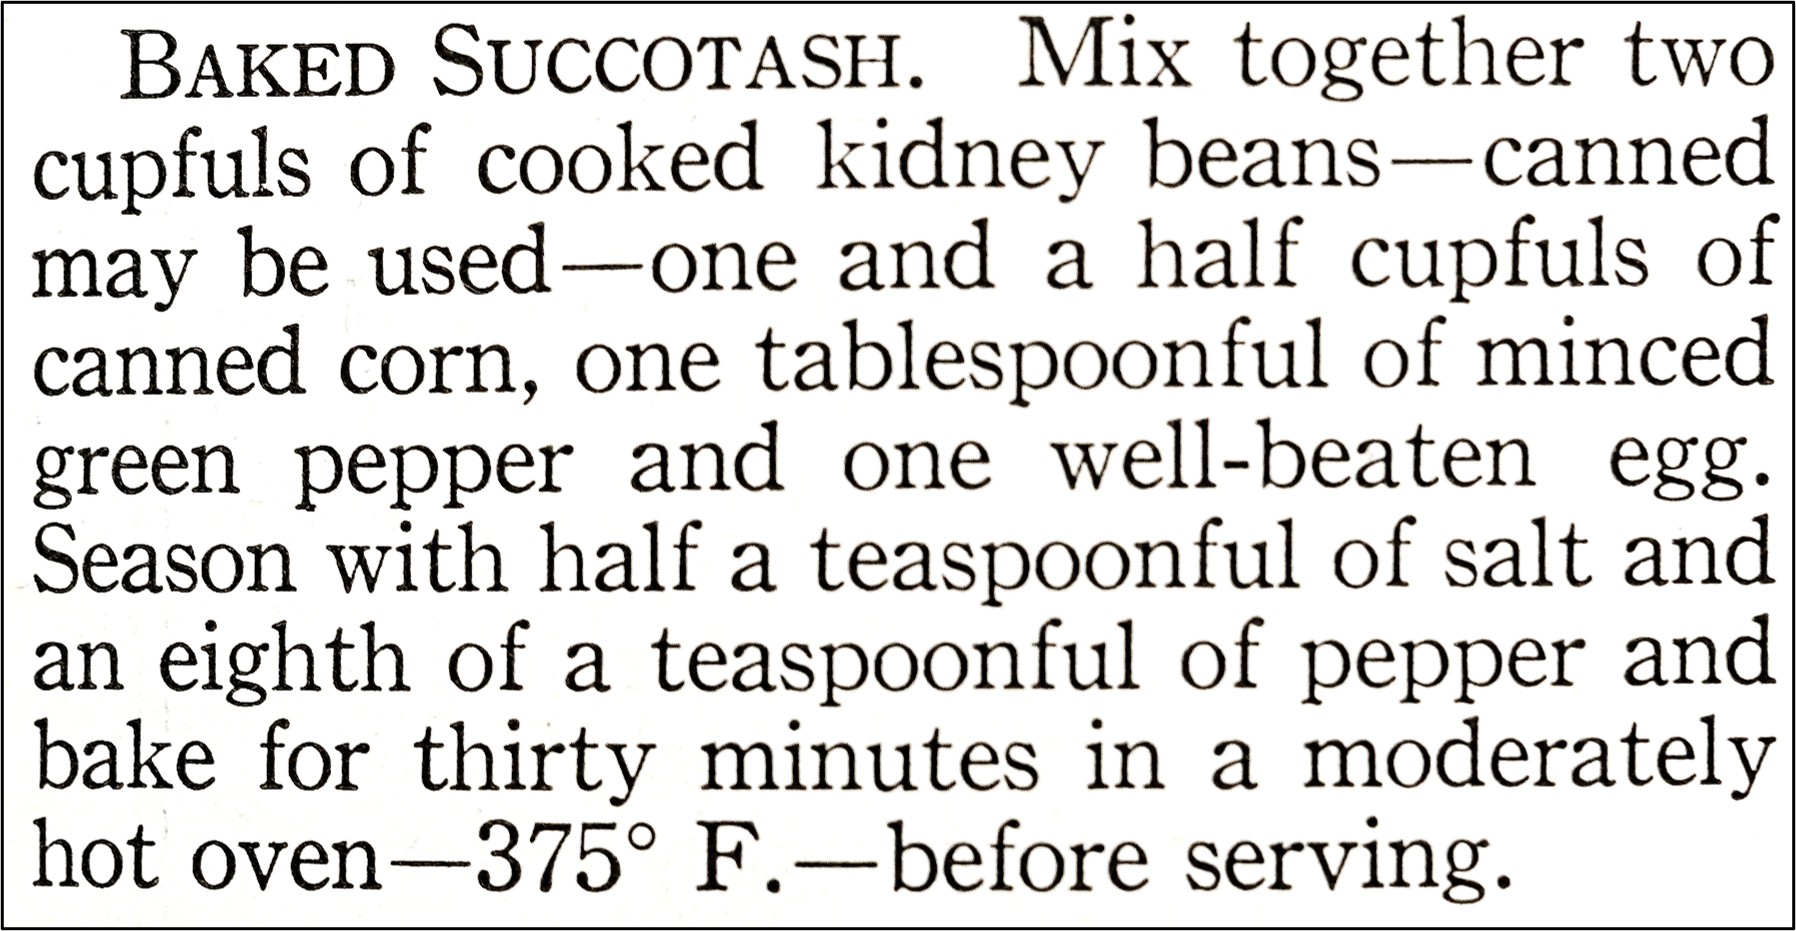
Here’s the original recipe:

Recipe for Baked Succotash
Source: Ladies Home Journal (May, 1926)

When I made this recipe, it took more than 30 minutes for the food to get hot and for the egg to thicken.

Here’s the Bake Succotash recipe updated for modern cooks:

Baked Succotash

  • Servings: 4 - 5
  • Difficulty: moderate
  • Print

1 egg

1/2 teaspoon salt

1/8 teaspoon pepper

1 can kidney beans, drained and rinses

1 can corn, drained (or 1 1/2 cups frozen corn, thawed)

1 tablespoon green pepper, finely chopped

Step 1. Preheat oven to 375° F.

Step 2.  In a mixing bowl, whisk together the egg, salt, and pepper.

Step 3.  Add the kidney beans, corn, and green pepper. Stir gently to coat the vegetables with the egg mixture.

Step  4. Put in a baking dish (a 1-quart dish works well), and place in oven. Bake for 30 – 40 minutes, or until hot.

http://www.ahundredyearsago.com

What is Green Corn?

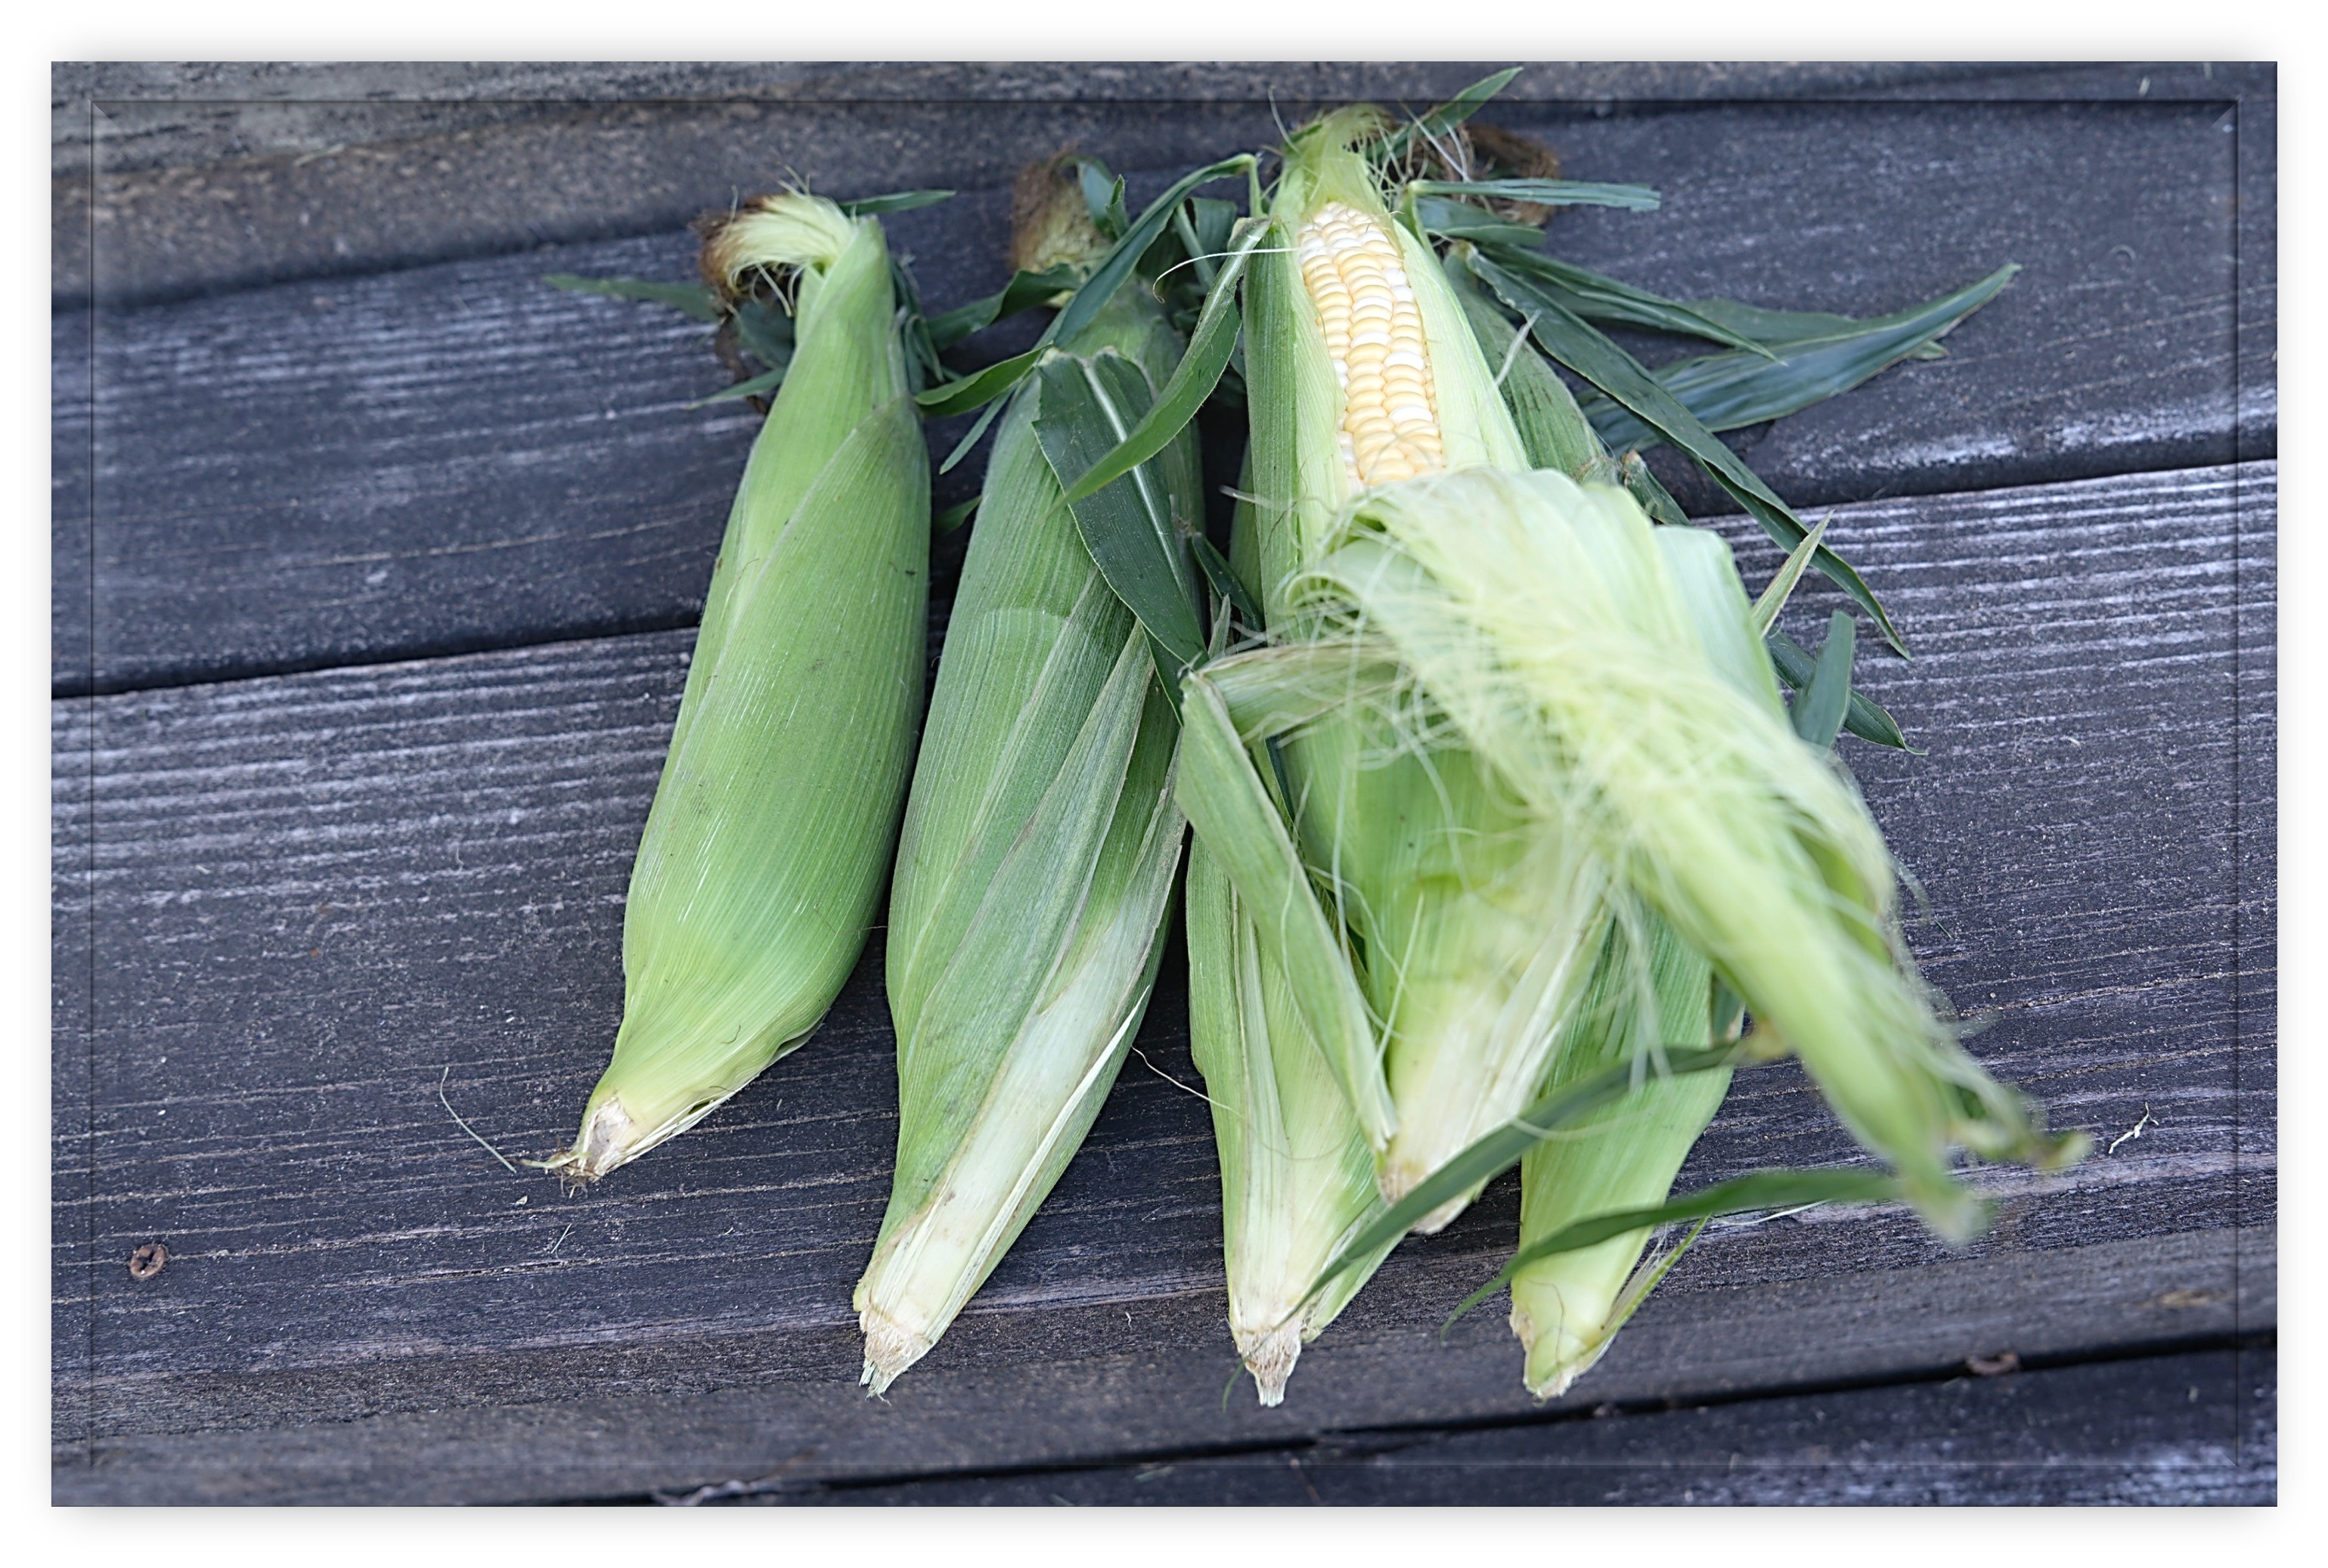
green cornI occasionally see recipes that call for “green corn” in hundred-year-old cookbooks. Over the years, I’ve always skipped over those recipes because I was not sure what green corn was. Well, now I know. It’s corn on the cob (sweet corn). Here’s what it said in a 1925 home economics textbook:
GREEN CORN

In selecting corn for cooking, choose those ears that are filled with well-developed kernels, from which milky juice flows when pressed with the thumb. Cook as soon as possible after gathering.

To boil green corn remove silk and husk from the corn, place the ears in boiling water. Cook the corn until no juice flows from the kernels when pressed (usually from 12 to 20 minutes). Serve whole on a platter. The platter may be covered with a folded napkin.

To bake green corn select 6 ears. Remove the corn from the cob as follows: Cut through the center of each row of grains, slice off the tops of the kernels, and then scrape the pulp thoroughly from the cob. Put in a baking dish, add:

3/4 cup milk

1 tablespoonful butter or substitute

1 teaspoonful salt

pepper

Bake in a hot oven (400° F.) 45 minutes. Serve hot.

School and Home Cooking (1925) by Carlotta C. Greer

Old-Fashioned Corn Souffle

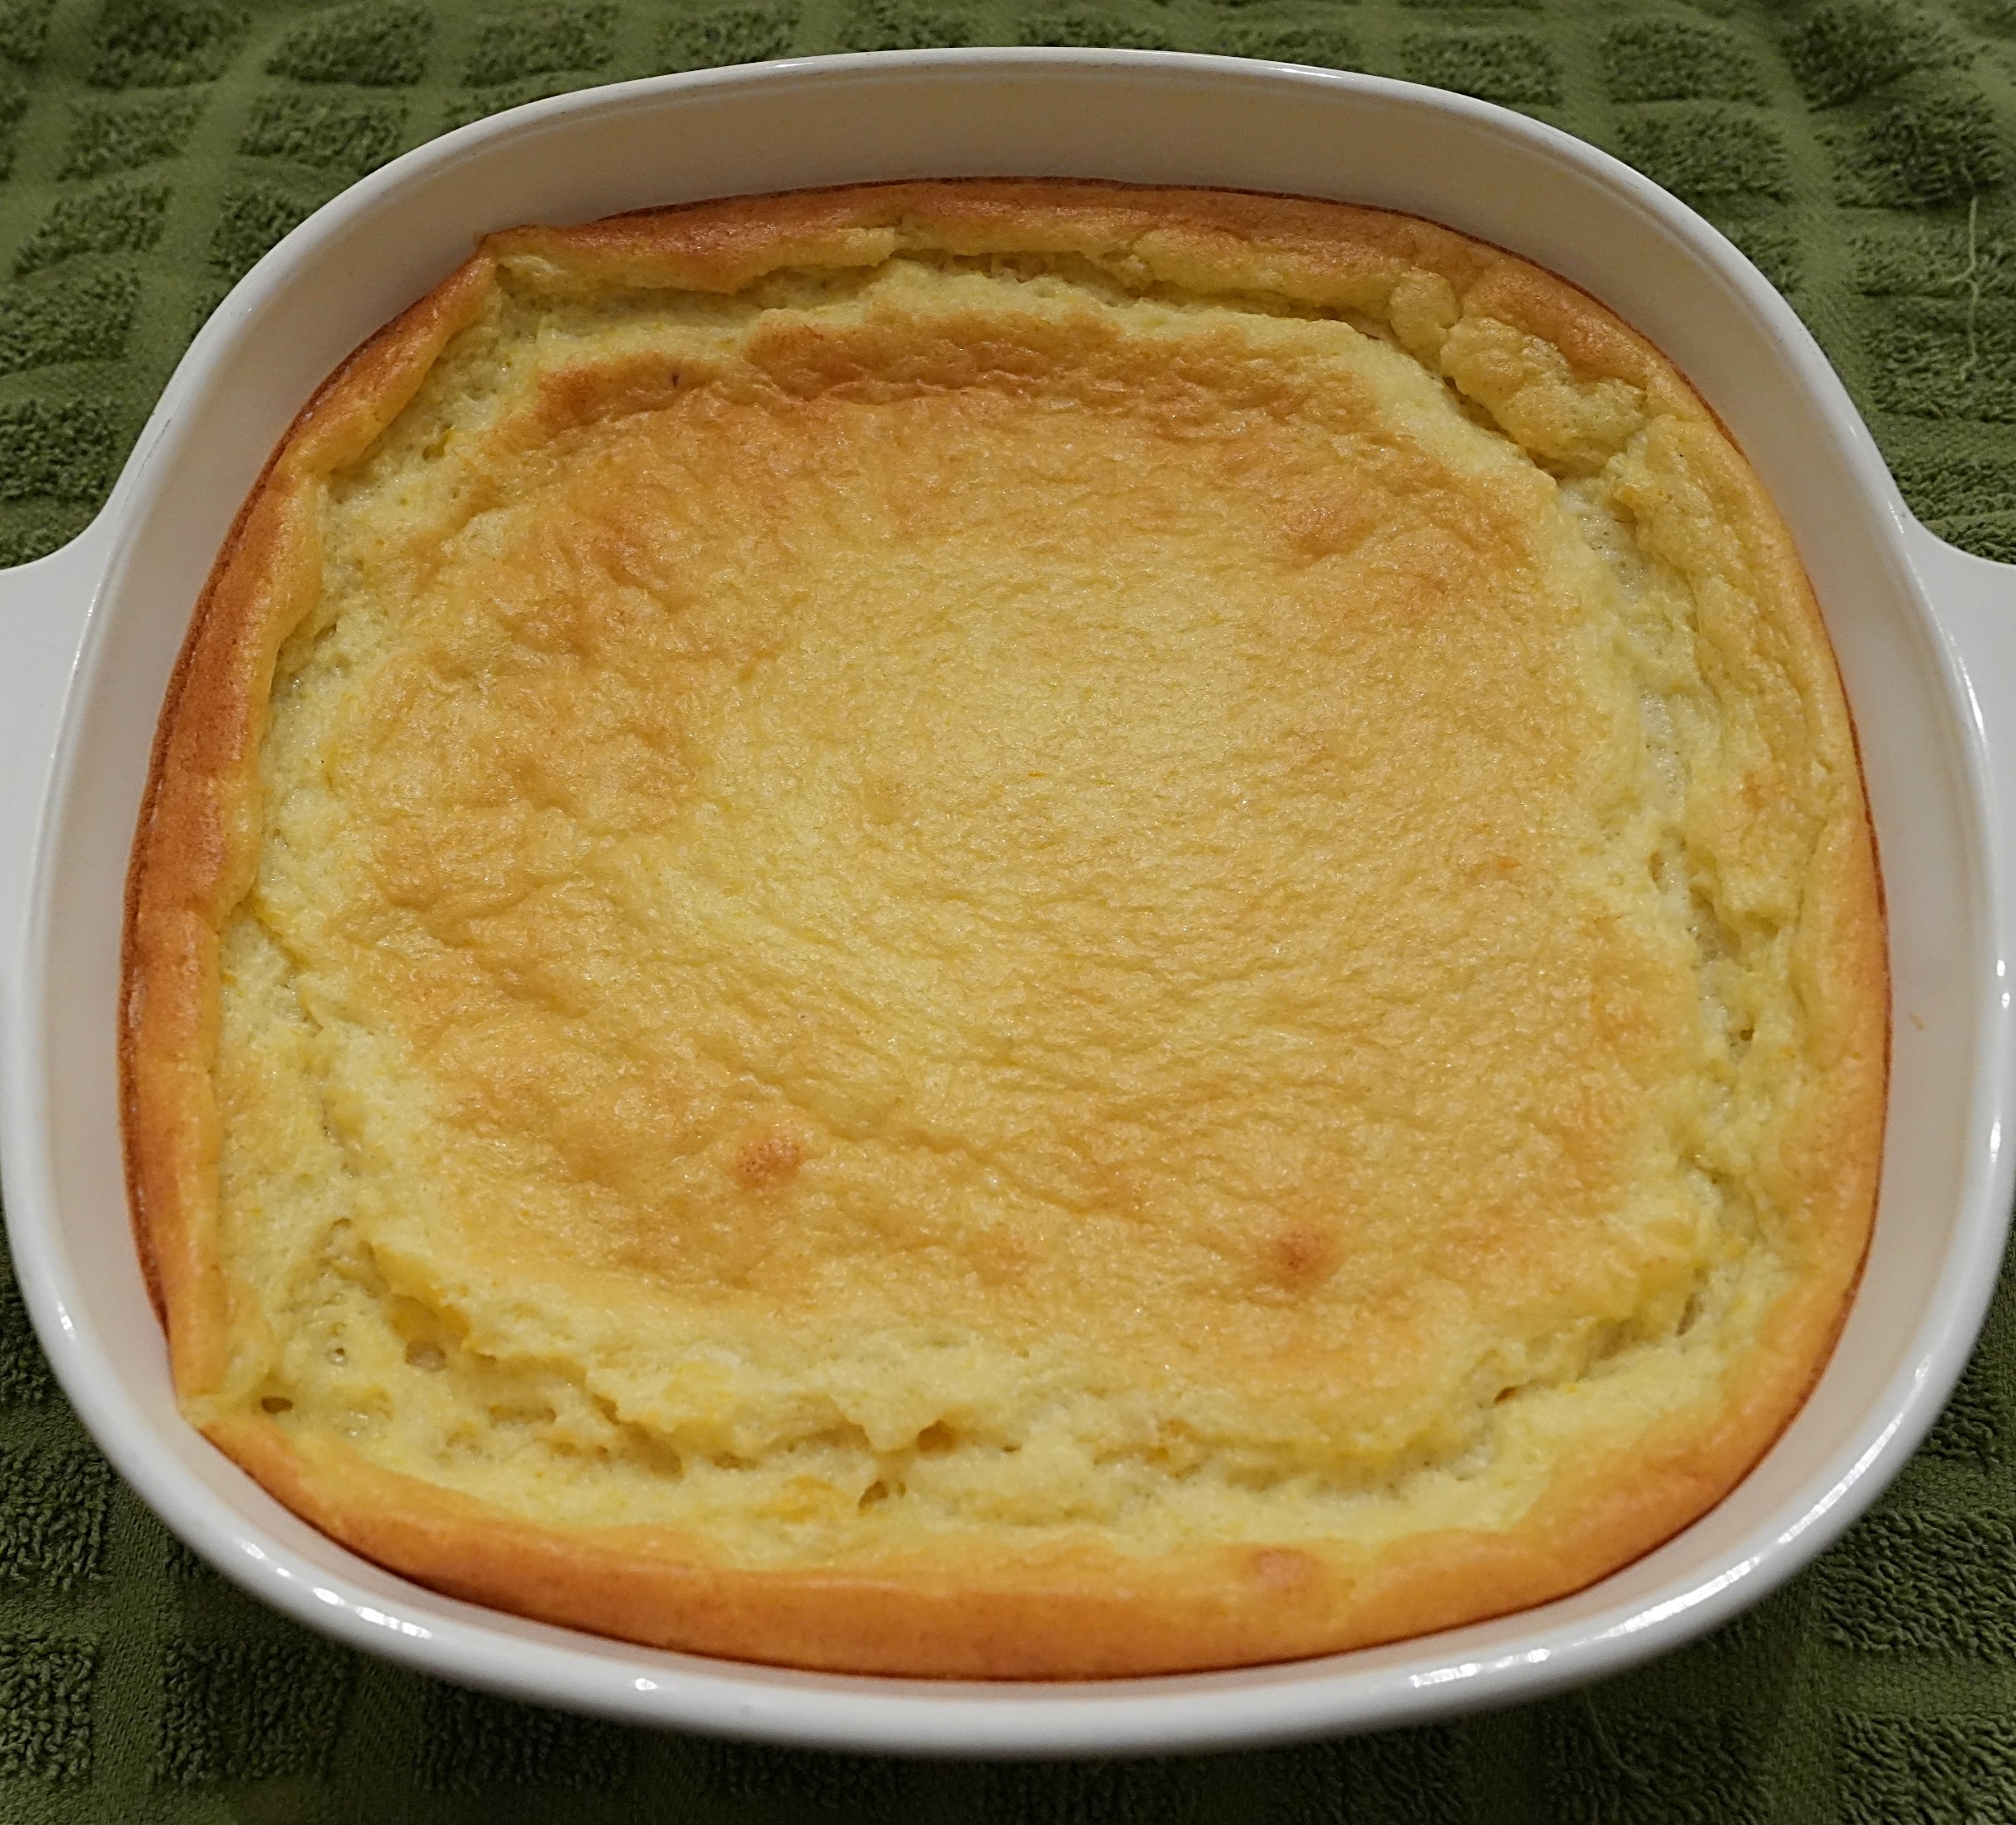
Corn Souffle

I recently came across a hundred-year-old recipe for Corn Souffle, and decided to try it. The recipe called for separating the eggs and stiffly beating the egg whites, then folding them into a white sauce and corn mixture which is baked.

The Corn Souffle turned out well. It was delicious, and had a light, creamy, pudding-like texture.

Here’s the original recipe:

Recipe for Corn Souffle
Source: Cook Book Compiled by Women of Country Club Christian Church (Kansas City, Missouri), 1925

Here’s the recipe updated for modern cooks:

Corn Souffle

  • Servings: 4 - 5
  • Difficulty: moderate
  • Print

2 eggs, separated

1/4 cup butter

1/4 cup flour

1/3 teaspoon salt

1/8 teaspoon pepper

2/3 cup milk

1 cup cooked corn (I used canned creamed corn.)

Heat oven to 375◦ F. Put egg whites in bowl; beat until stiff. Set aside.

Melt butter in a large saucepan. Stir in flour, salt, and pepper. Gradually stir in milk. Heat to boiling, stirring constantly. Remove from heat.

Put egg yolks in a small bowl; stir until smooth. Place a small amount (approximately 1 – 2 tablespoons) of hot mixture into dish with egg yolk, stir quickly. (The egg is first combined with a little of the hot mixture to prevent it from turning into scrambled eggs when introduced into the hot combination.)  Add egg mixture to the remaining hot mixture in the saucepan; stir. Add the corn and stir. Fold in the beaten egg whites. Pour into an 8″X8″X2″ or similar-sized casserole dish. Bake in oven uncovered until thickens (approximately 25 – 35 minutes.)

http://www.ahundredyearsago.com

Old-time Recipe for Baking Corn on Cob

baked corn on cob in husk

I love corn on the cob, and make it several times a week during the peak season. I’ve always boiled the corn, but was intrigued by a hundred-year-old recipe for Baking Corn on Cob, and decided to give it a try.

The recipe called for pulling the husk back and removing the corn silk, then soaking in water. After the corn has soaked for half an hour, the husk is pulled back into place, and the corn is baked.

The verdict: The corn was tasty, and the cooked corn was attractive in the husk.  Baking the corn on the cob is a nice variation.

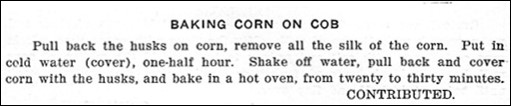
Here’s the original recipe:

Recipe for Baking Corn Cob
Source: Cook Book of the Susquehanna Valley Country Club, Sunbury, PA (1924)

Here’s the recipe updated for modern cooks:

Baking Corn on Cob

  • Difficulty: easy
  • Print

1 ear of corn per serving

Pull back the husks on the corn, and remove all the silk. Put the corn (with the pulled-back husks) in a large pan of cold water; let soak for 1/2 hour.

Preheat oven to 400° F. Remove the corn from the pan, and shake off the water. Pull the husks back into place and cover the corn with the husks. Put directly on the wire rack in the oven; bake 30 minutes.

The husk can either be removed before serving or it can be served with the husk still on.

http://www.ahundredyearsago.com

Old-fashioned Cream of Corn Soup (with Bacon)

bowl of cream of corn soup

I always enjoy the rich holiday foods – but I also find that I crave simpler comfort foods as the new year rolls around. It’s also the time of year when I enjoy making soups, so I was pleased to find a hundred-year-old recipe for Cream of Corn Soup. The soup included both corn and bits of bacon, and was a delightful taste treat.

This recipe is a keeper. My husband said, “This is good,” which is high praise from him.

Here is the original recipe:

Recipe for Cream of Corn Soup
Source: The Calorie Cook Book (1923) by Mary Dickerson Donahey

The old recipe only called for using 1 tablespoon of bacon grease (fat), but that seemed like a very small about of fat when I stirred 2 tablespoons flour into the bacon grease, so I used all the bacon grease that I got when cooking the bacon.

Here is the recipe updated for modern cooks:

Cream of Corn Soup (with Bacon)

  • Servings: 4-5
  • Difficulty: moderate
  • Print

1 can corn (14-16 oz.) or 2 cups fresh corn (cooked) (Either whole kernel or creamed corn can be used. I used a can of whole kernel corn.)

3 strips bacon

2 tablespoons flour

1/4 teaspoon salt

1/4 teaspoon pepper

4 cups milk

Fry bacon until crisp in a Dutch oven or large saucepan, then remove from pan and crumble into small pieces. Set the crumbled bacon aside.

Stir in the flour, salt, and pepper into the bacon grease (fat). Then gradually add the milk while stirring constantly. Add the corn and crumbled bacon. Stir to combine. Continue heating until hot and steamy.

http://www.ahundredyearsago.com

Hundred-year-old Recipe for Boiled Corn (Corn on the Cob)

corn on the cob on plate

I see some very basic recipes (I tend to call them non-recipes) for simple foods in both modern and hundred-year-old cookbooks. Apparently both in 2020 and 1920 some cooks had simple questions – like how do you cook corn on the cob?

In 1920 corn on the cob was referred to boiled corn. And, here are directions for making it:

Recipe for boiled corn
Source: The New Royal Cook Book (1920)

When I made the recipe I skipped the suggestion to put the Boiled Corn on a napkin. Somehow it just didn’t seem necessary – and it seemed like the napkin might get soaked from any water that dripped off the corn.

Here is the recipe updated for modern cooks:

Boiled Corn (Corn on the Cob)

  • Difficulty: easy
  • Print

Husk corn and remove all silk. Fill large pot 2/3’s full with water. Bring water to a boil using high heat. Place husked corn in the boiling water, and boil rapidly for 5 minutes. Use tongs to remove the corn from the water.

http://www.ahundredyearsago.com