 Old-fashioned nut cakes bring back warm memories of family gatherings many years ago. There always seemed to be at least one nut cake – and often more – at family reunions. They were made by great aunts or other miscellaneous relatives. (I often was unsure of the relationship.) So when I saw a recipe for Maple Nut Cake in a hundred-year-old promotional cookbook published by the Royal Baking Powder Company, I decided to give it a try.
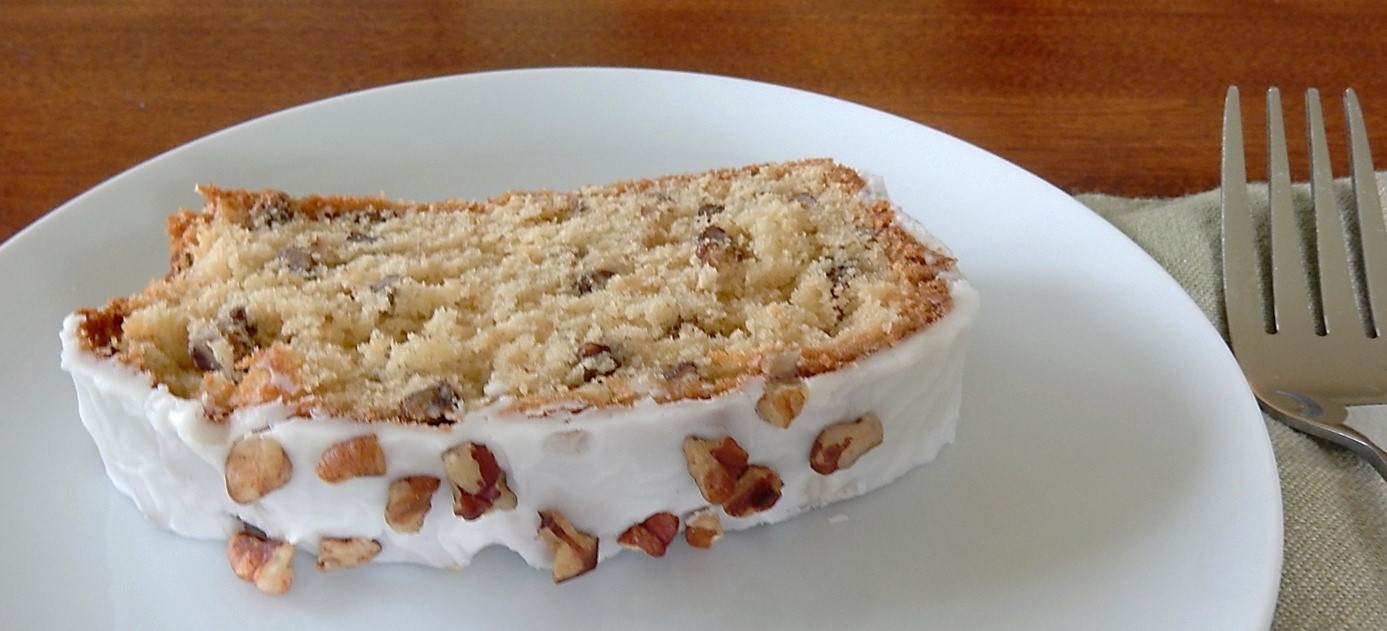
The cake is made in a loaf pan. The old recipe recommended using chopped pecans in the cake, so I went with that nut. The cake is iced with Maple Icing. It turned out wonderfully, and tasted just like those old-time cakes of memory.
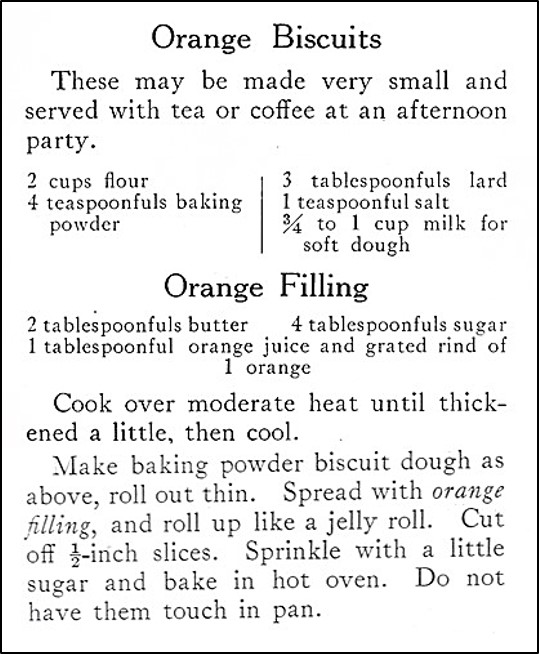
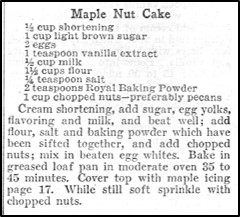
Here’s the original recipe:
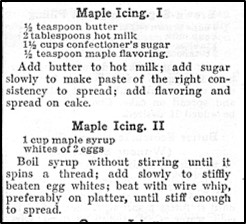
And, here are the original Maple Icing recipes. (The cookbook contained two icing options.):
I interpreted a “moderate oven” to be 350° F. However, the cake was not even close to being fully baked after 45 minutes, so I continued baking until a pick inserted in the center came out clean, which was about 1 hour and 10 minutes after I put the cake in the oven.
I made the first Maple Icing recipe. I softened the butter, and did not bother to heat the milk.
Here’s the recipe updated for modern cooks:
Maple Nut Cake
Maple Nut Cake
2 eggs, separated
1 1/2 cups flour
1/3 cup shortening
1 cup light brown sugar
1/2 cup milk
1/4 teaspoon salt
2 teaspoons baking powder
1 teaspoon vanilla extract
1 cup chopped nuts – preferably pecans
additional chopped nuts for top of cake
Preheat oven to 350° F. Grease and flour a loaf pan.
In a large mixing bowl, beat the egg whites stiff peaks form.
In a separate mixing bowl put the flour, shortening, brown sugar, egg yolks, vanilla, baking powder, and salt; beat until combined. Then stir in the nuts, and gently fold the whipped egg whites into the mixture. Pour into prepared pan.
Bake 1 hour 10 minutes, or until wooden pick inserted in center comes out clean. Frost top with Maple Icing. (If desired, the cake can be removed from the pan. A slightly thinner icing can be made, and the icing can then be drizzled over the cake and allowed to run down the sides.). While the icing is still soft, sprinkle with chopped nuts.
Maple Icing
1 1/2 cups confectioners’ sugar
1/2 teaspoon butter, softened
1/2 teaspoon maple flavoring
approximately 2 tablespoons milk
Put confectioners’ sugar, butter, and maple flavoring in a bowl. Add milk and beat until smooth. If the icing is too thick, add additional milk.