
It’s fun to bring treats to meetings and gatherings with friends. I enjoy making new “old” recipes, and attendees are captive audiences for testing the foods I make. One day last week I needed to make snacks for a coffee group in the morning, and for the November meeting of the garden club in the evening. I found a hundred-year-old recipe for Orange Bread that sounded very flexible. The recipe said that the bread could be baked in a round pan (and implicitly it suggested that the bread could also be baked in the typical rectangular pans), and that the bread mixture could be put in muffin pans. It called for using orange marmalade to provide the sweetness and the orange flavor.
I made this recipe three times. Once to see how Orange Bread turned out (it was excellent); and, two more times to get enough bread and muffins for the coffee group and garden club meeting. Since the recipe said it could be made in a variety of ways, I made a round loaf, small rectangular loaves, regular-sized muffins, and small muffins.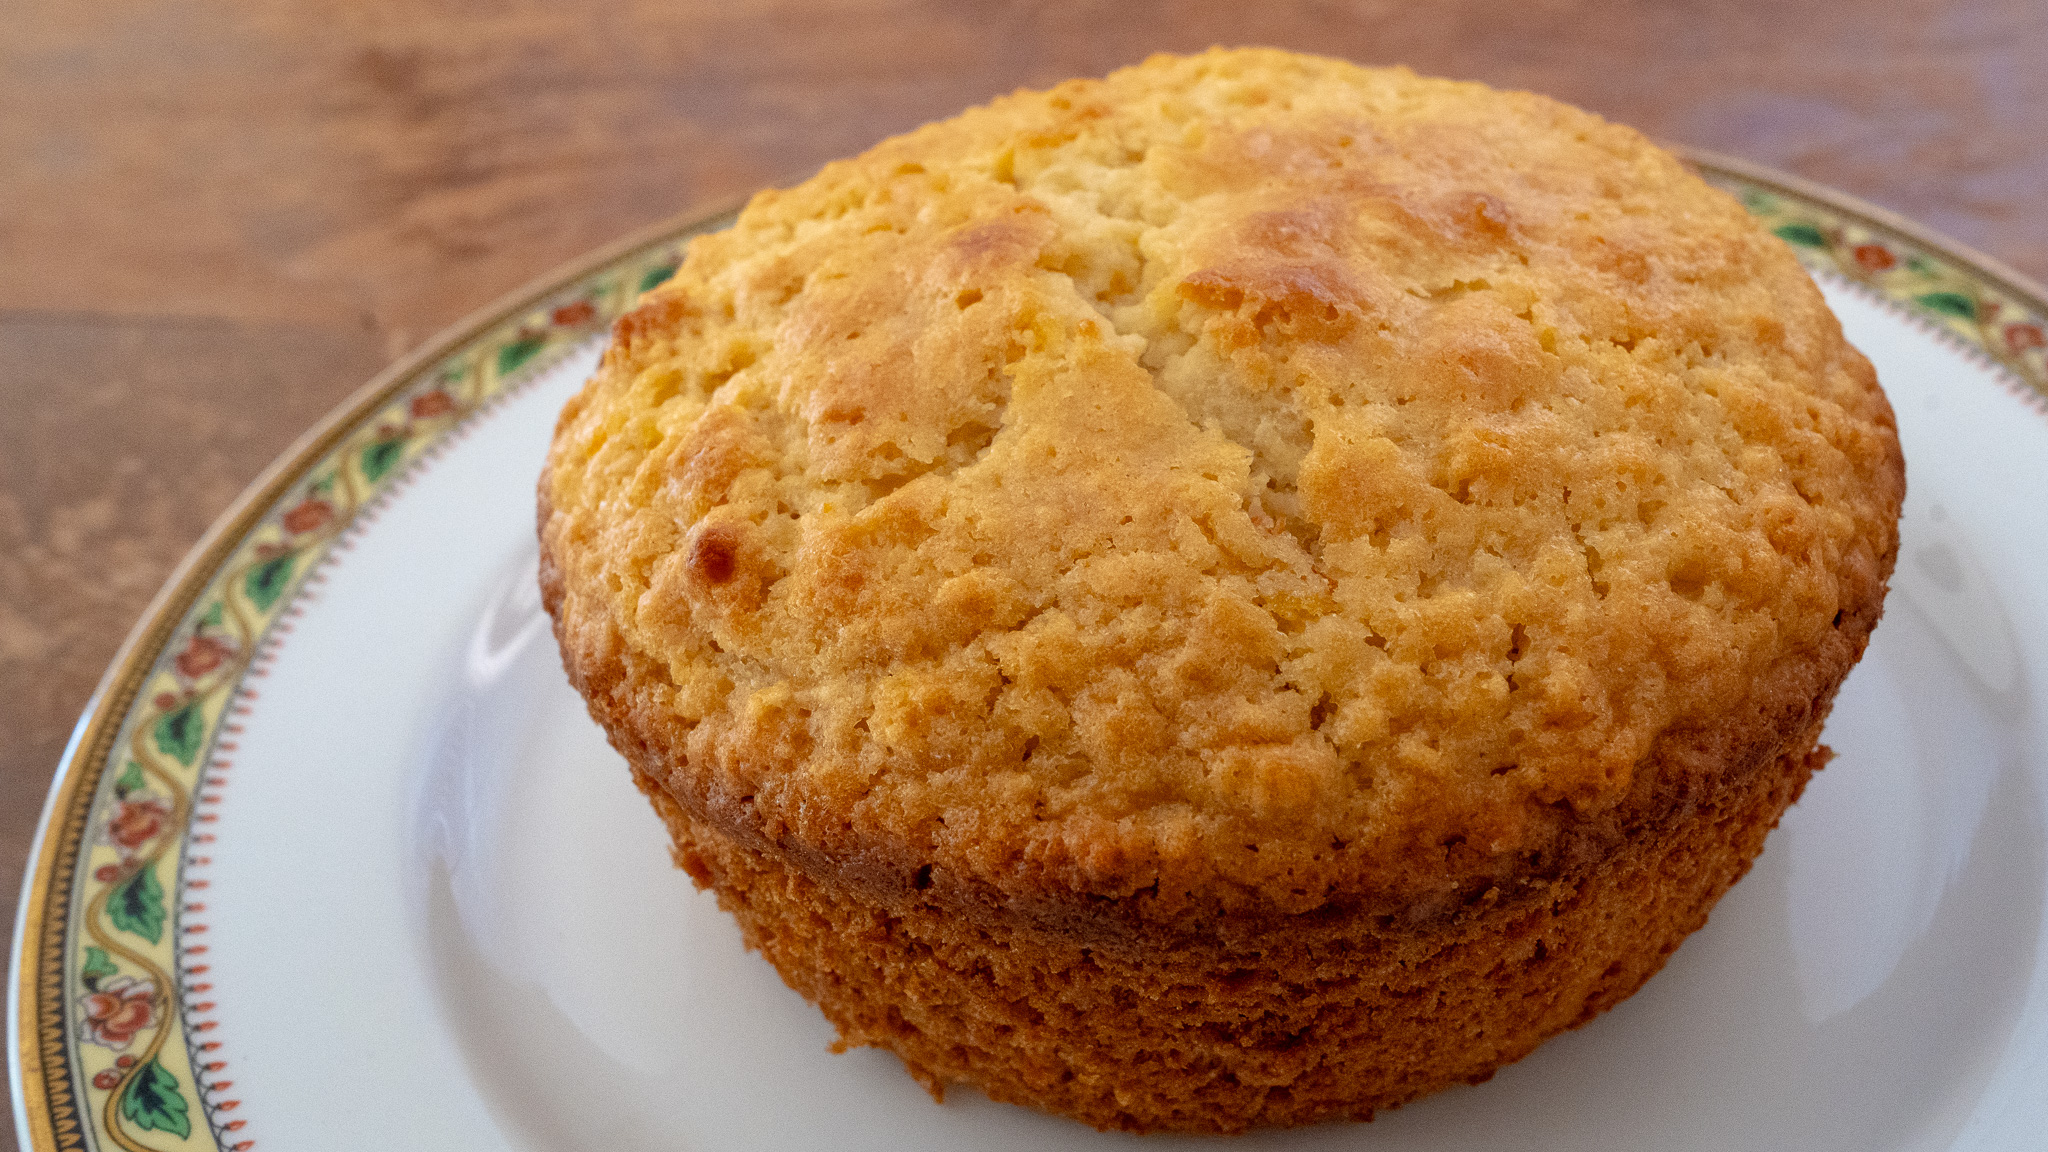
The Orange Bread and Muffins were easy to make. The muffins had a slightly denser texture than the bread. They all had a lovely, sunny citrus flavor. The bread (or in one case, muffins) went quickly at the events, and I received lots of compliments.
My husband and I are having some other friends over to the house for coffee next week. I may make the Orange Bread or Muffins again for them (or I may flip through my hundred-year-old cookbooks a little more and find a different recipe to try for them).
Here’s the original recipe:

I used butter for the fat in this recipe. The recipe calls for 4 tablespoons of melted fat. That is the equivalent of 1/4 cup, so I updated the recipe to say 1/4 cup since it is easier to measure.
The bread and muffins are tasty when they are made following the original recipe directions, but are a little less sweet than many modern quick breads. When I updated the recipe, I included an option of adding 1/4 cup sugar. With added sugar, the degree of sweetness is similar to many modern quick bread recipes.
Here’s the recipe updated for modern cooks:
Orange Bread/Muffins (Orange Marmalade Bread/Muffins
This recipe makes 1 large loaf, 3 small loaves, approximately 12 regular muffins, or approximately 36 mini-muffins.
3 cups bread flour
4 1/2 teaspoons baking powder
1 teaspoon salt
1 egg
1 1/2 cups milk
1/4 cup sugar (optional)
1/4 cup melted butter
3/4 cup orange marmalade
Step 1. Preheat oven to 350° F.
Step 2. Sift the flour, baking powder, and salt into a mixing bowl.
Step 3. In another bowl, beat the egg and stir in the milk.
Step 4. Slowly add the milk and egg mixture to the flour mixture. Add about a quarter of the liquid at a time, and stir between each addition of liquid.
Step 5. If desired, stir in the sugar. Then stir in the melted butter, and finally stir in the orange marmalade.
Step 6. Put into prepared bread pans or muffin tins. Bake a large bread loaf for approximately 40 minutes, small loaves for approximately 30 minutes, and muffins for 15 – 20 minutes, or until lightly browned and a wooden pick comes out clean.