Many fruits are available year round, but some fruits are available only for a few weeks each year. Cranberries are one of those fruits. I crave them for months, and am excited when they finally begin to appear in the produce aisle at the store. This fall, I saw them for the first time last week. I immediately began searching through my hundred-year-old cookbooks for cranberry recipes.
I found a recipe for Pink Chiffon Pie which is made using cranberries, and decided to give it a try.
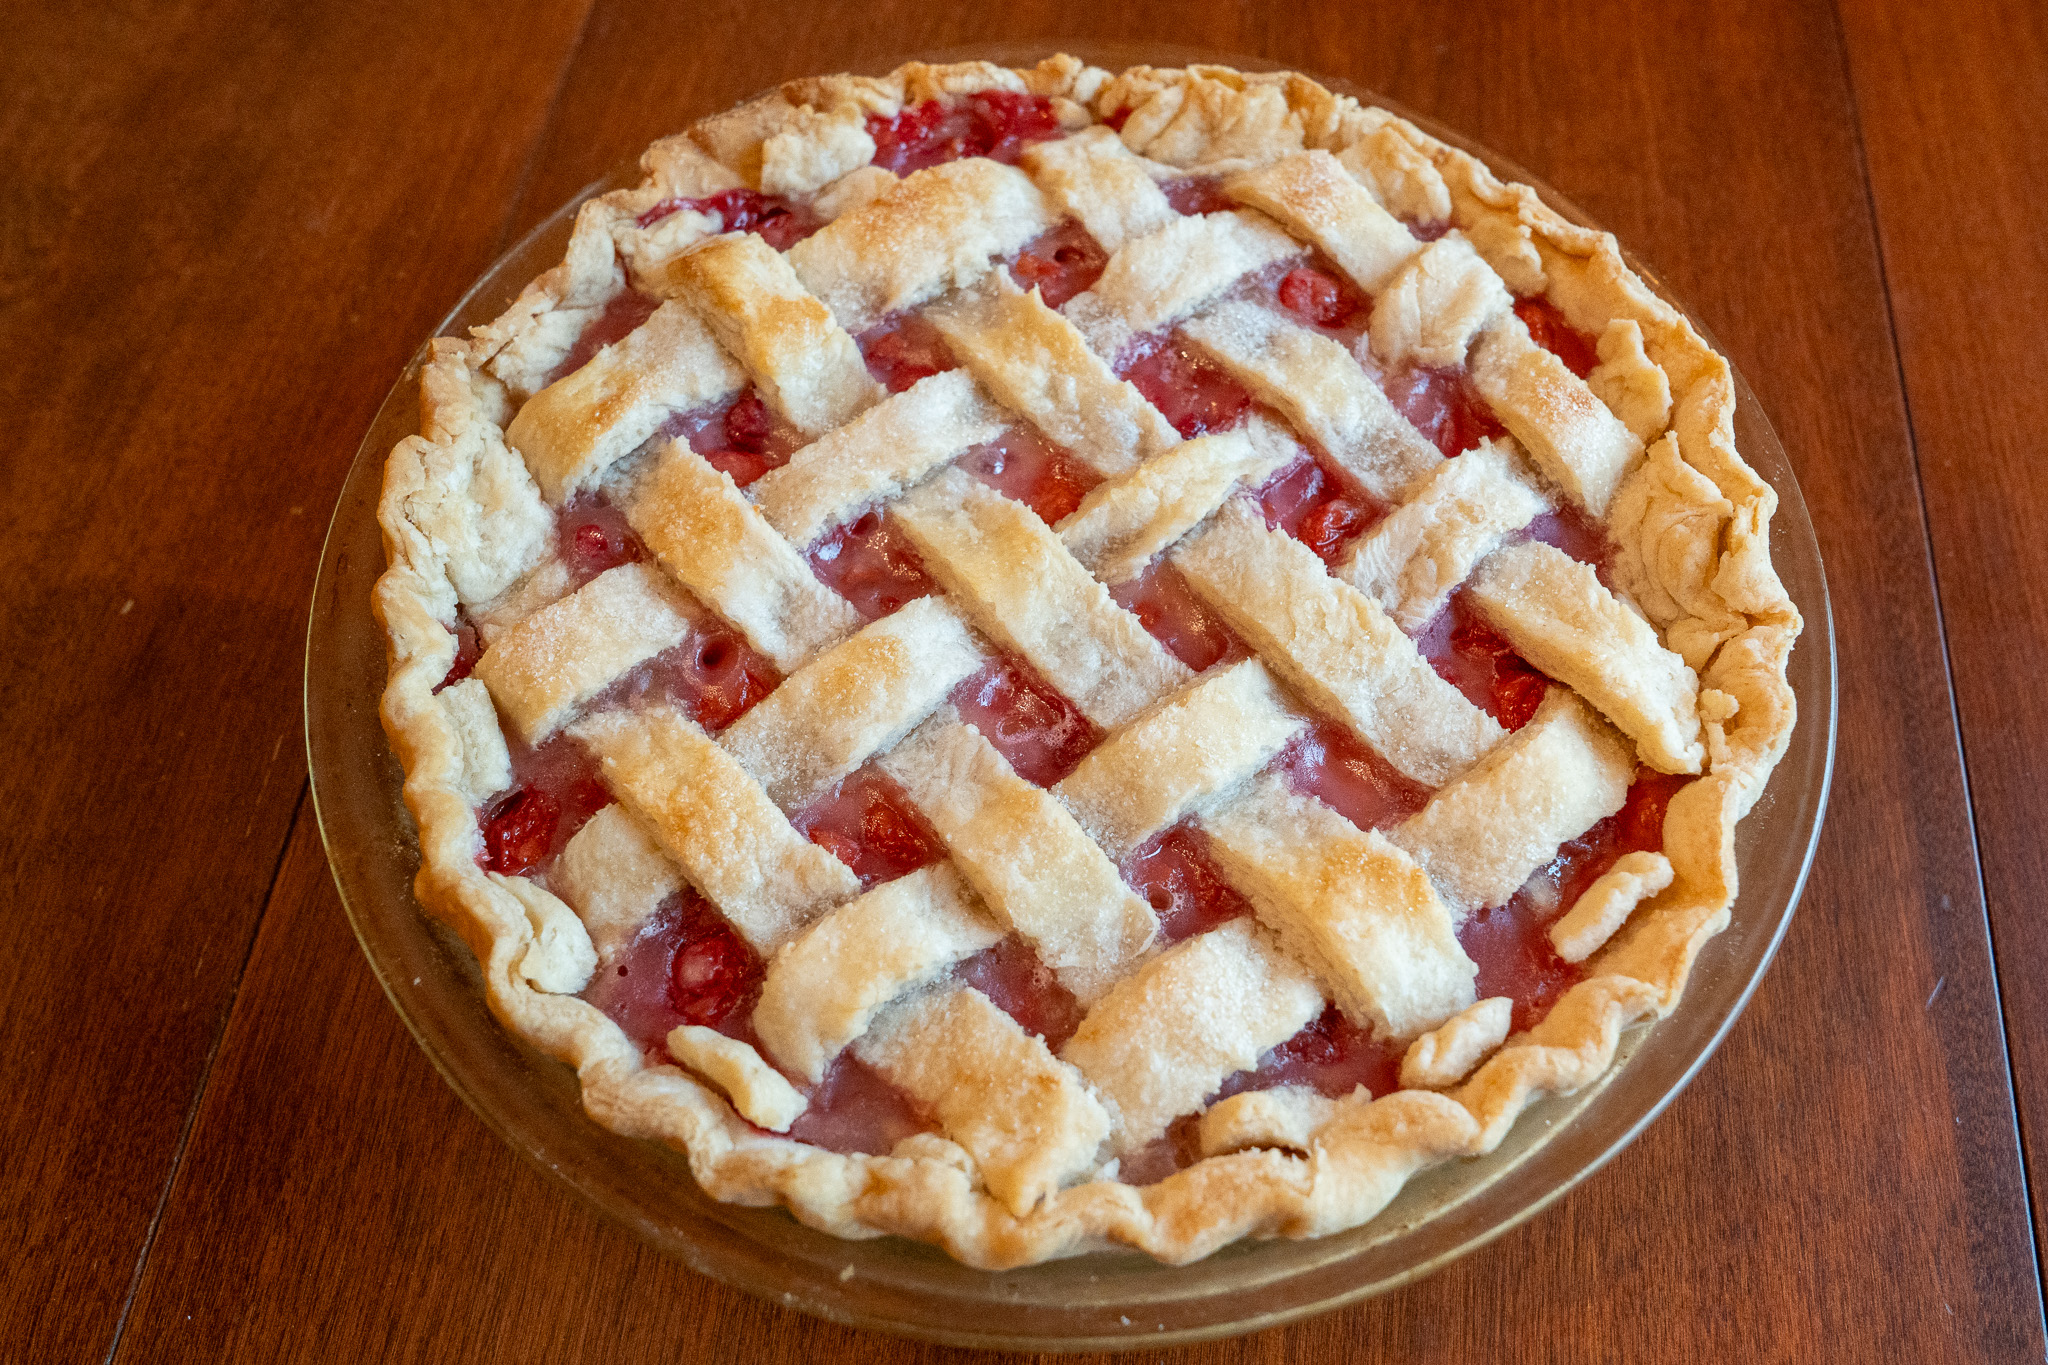
The Pink Chiffon Pie was smooth and silky with the sweetness of the sugar in the filling nicely balancing the tart cranberries. It was tasty and looked lovely; however, if you decide to make this pie, be sure to set aside sufficient time. It is a relatively complicated recipe.
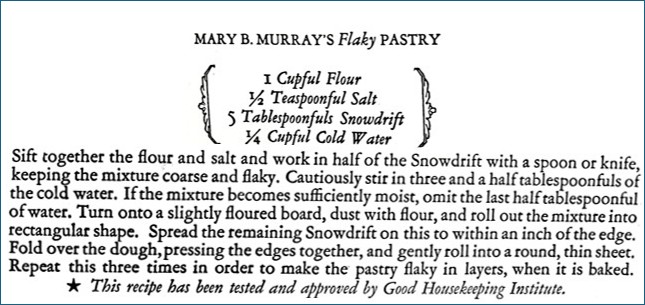
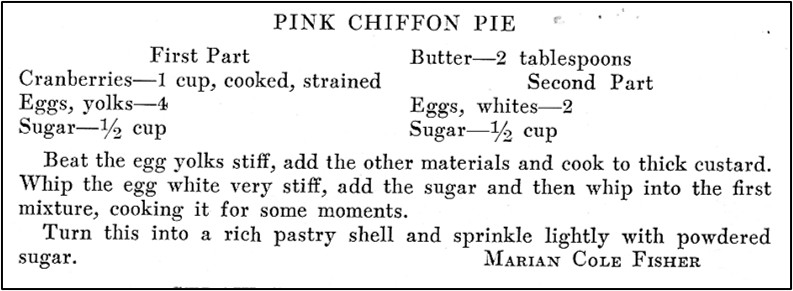
Here’s the original recipe:
When I selected this recipe, it looked easy – not very many ingredients and directions that, based on a quick scan, sounded straight forward. Then I started making the recipe and discovered that it was more challenging than I anticipated.
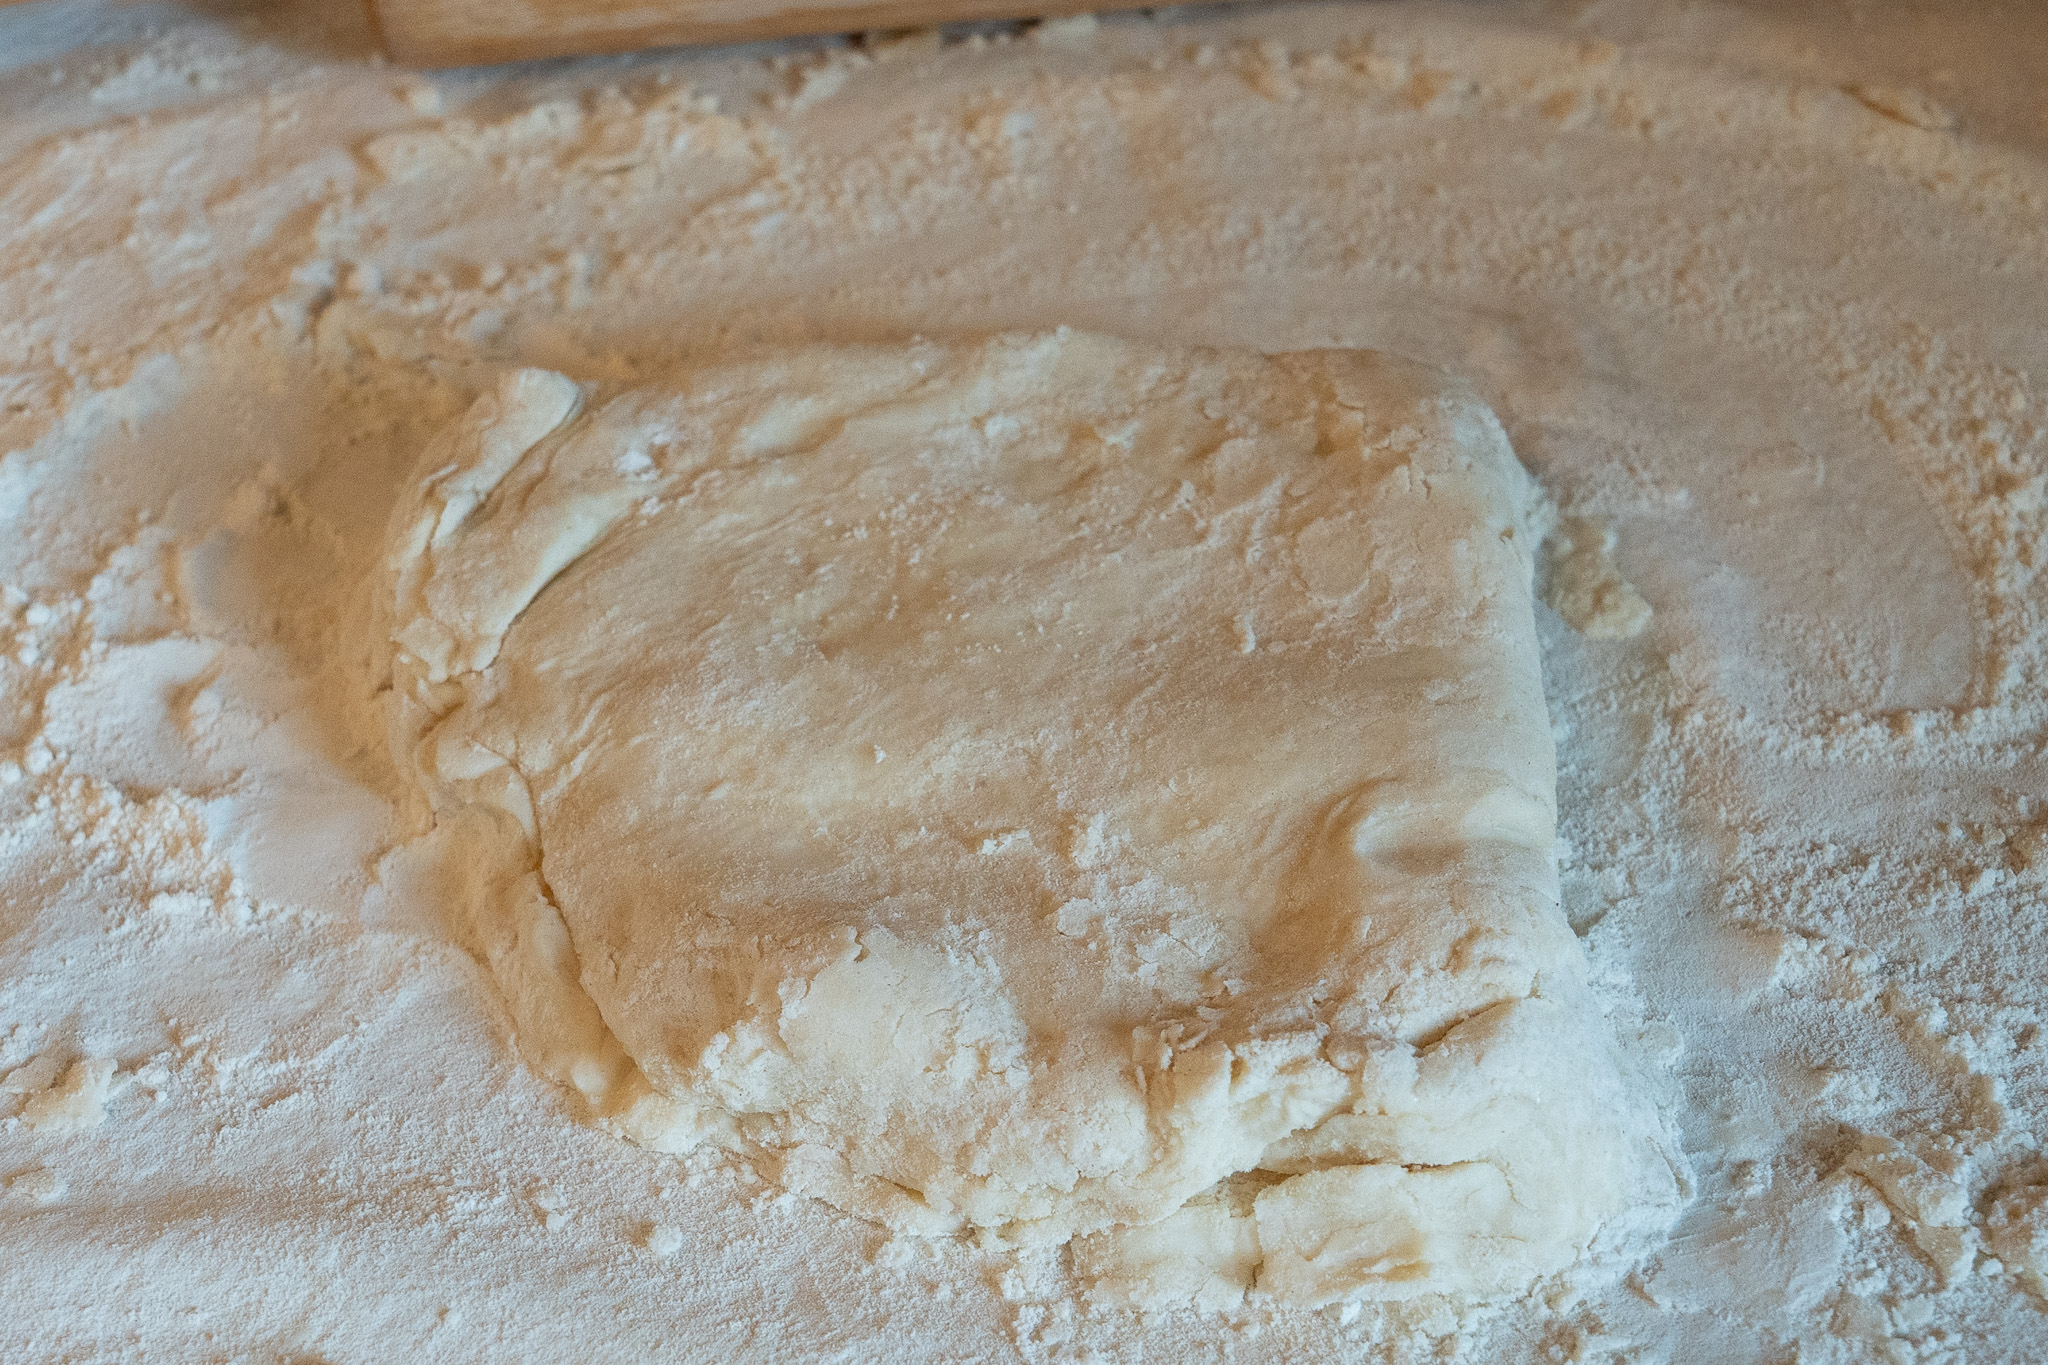
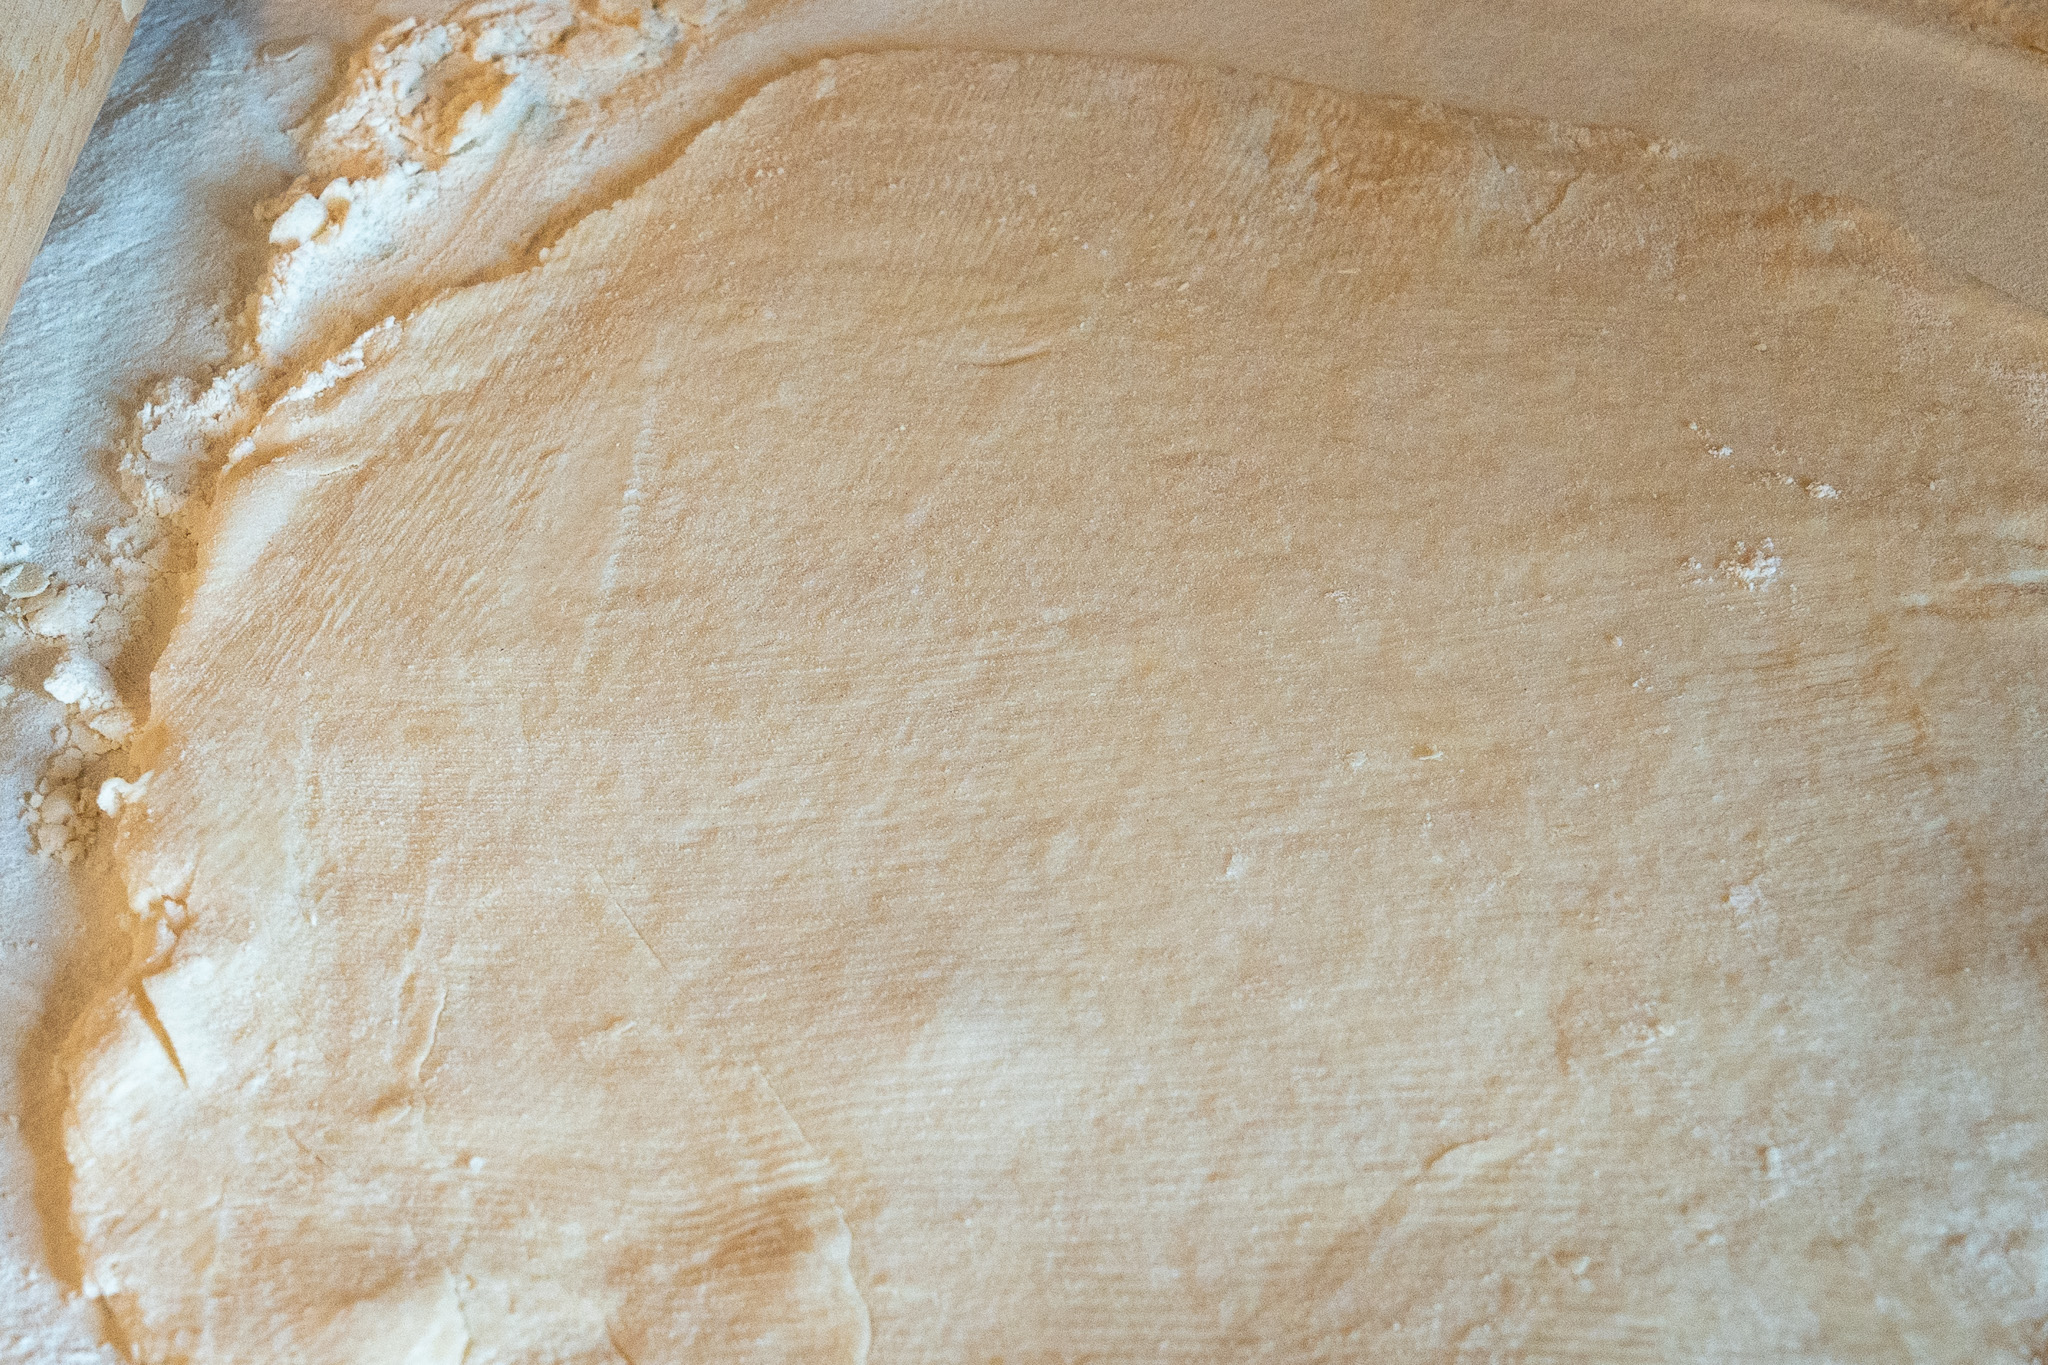
I had lots of questions. How large is the pie shell/pan? The amounts called for in the recipe seemed fairly small – so it probably was for a 7 or 8-inch pie. I decided to make a 9-inch pie, so I doubled all ingredients. The recipe called for a baked pie shell – so I needed to make and pre-bake a pie shell prior to beginning this recipe.
I was also was not sure whether the recipe called for 1 cup of raw cranberries or for 1 cup of cranberries that had previously been cooked. I decided to assume that it meant raw cranberries. That decision led to my next question. How much water should be added to the cranberries prior to cooking? I decided to go with 1/3 cup of water.
Once the cranberries were cooked, I tried to strain them, I was able to press relatively little liquid through the strainer, so I used a Foley mill to more thoroughly strain and mash the cooked cranberries. A food processor could also be used to puree the cranberries.
It was tricky cooking the egg-rich chiffon so that the pie filling was smooth, and the egg did not separate out while cooking. It is important to cook the filling until it barely begins to bubble. And, it is vital to not rush cooking the filling, and to stir it vigorously and constantly to prevent the filling on the bottom of the pan from scorching.
I skipped garnishing the pie with confectioners’ sugar, and instead served it with whipped cream.
Here’s the recipe updated for modern cooks:
Pink Chiffon Pie (Cranberry Chiffon Pie)
1 baked 9-inch pie shell
2 cups cranberries
1/3 cup water
8 egg yolks + 4 egg whites
4 tablespoons butter
1 cup sugar + 1 cup sugar
confections’ sugar, if desired
whipped cream, if desired
Wash cranberries, then put them in a saucepan and add the water. Bring to a boil using medium heat, then reduce heat and simmer until all of the cranberries have softened and burst (about 8-10 minutes). Remove from the heat and press through a strainer. (I used a Foley mill.)
Put the egg yolks in a mixing bowl and beat until smooth, then add 1 cup of sugar and beat. Add the pureed cranberries and continue beating. Put mixture in a saucepan; add butter. Heat, using medium heat, until the cranberry mixture gets very thick; stir constantly. Remove from heat when the mixture is barely beginning to bubble.
In a mixing bowl, beat the egg whites until stiff peaks form. Then add a small amount of the hot cranberry mixture, while beating continuously. (Be sure to add only a small amount of the cranberry mixture and beat it in immediately to prevent the egg whites from cooking.) Continue adding small amounts of the cranberry mixture while continuing to beat.
After all the cranberry mixture has been incorporated into the egg whites, return the mixture to the saucepan. Using medium heat, cook until the mixture barely begins to boil; stir constantly and vigorously. (This mixture will easily scorch on the bottom of the pan. It is vital to stir continuously and vigorously with the spoon while regularly scraping the bottom of the pan. A double boiler could be used to reduce the possibility of scorching the mixture.) Remove from heat and spoon the cranberry chiffon filling into the previously baked pie shell.
If desired, lightly sprinkle confections’ sugar on the pie to garnish. Refrigerate until the pie is cold (at least 2 hours).
If desired, serve pie with whipped cream.