

I can remember eating gelatin salads that contained vegetables when I was a child, so was intrigued when I came across a hundred-year-old recipe for Combination Cabbage Salad. The salad actually is a gelatin salad that contains shredded cabbage, chopped celery, and chipped pimento. It is made using unflavored gelatin. The recipe only called for 1/2 cup of sugar, while calling for 1 cup vinegar and the juice of a lemon. The result was a salad that was very tart and tangy.
The recipe suggests serving the salad with whipped cream that has a little salad dressing stirred into it. I used Ceasar dressing. This added to the overall tartness of the salad.
This salad is very old-fashioned–and definitely very different from modern sweet, fruit-flavored, gelatin salads, but I enjoyed it. The salad was refreshingly tart on a hot summer day – though if I made it again I think that I’d skip the whipped cream topping. The whipped cream and salad dressing mixture amplified the sourness of this dish, and overwhelmed the other ingredients.
Here’s the original recipe:

I skipped the suggestion to mold this gelatin salad in teacups, and went right to the suggestion to put it in a pan – though I actually used a square, flat baking dish.
This recipe required lots of interpretation on my part. I have no idea how much one-half package of Larkin Gelatin would be, so I added up all the liquids and estimated that this recipe calls for approximately 5 2/3 cups of liquid. My rule of thumb is to use one packet of unflavored gelatin for each 2 cups of liquid, so I used 3 packets. That worked well.
I don’t know how much 1/4 can of pimientos would be. I used 2 tablespoons of chopped pimento.
I put a little salad dressing in the whipped cream. I’m curious about what type of dressing the recipe author used. I used Ceasar dressing because I had it on hand – though that’s probably not very authentic when making a hundred-year-old recipe. If I made this recipe again, I skip the salad dressing (and probably would also skip the whipped cream).
Here’s the recipe updated for modern cooks:
Combination Cabbage Salad (Cabbage and Celery Gelatin)
3 packets (0.25 ounce) unflavored gelatin
1/2 cup water + 4 cups water
1/2 cup sugar
1 teaspoon salt
1 cup vinegar
juice of 1 lemon
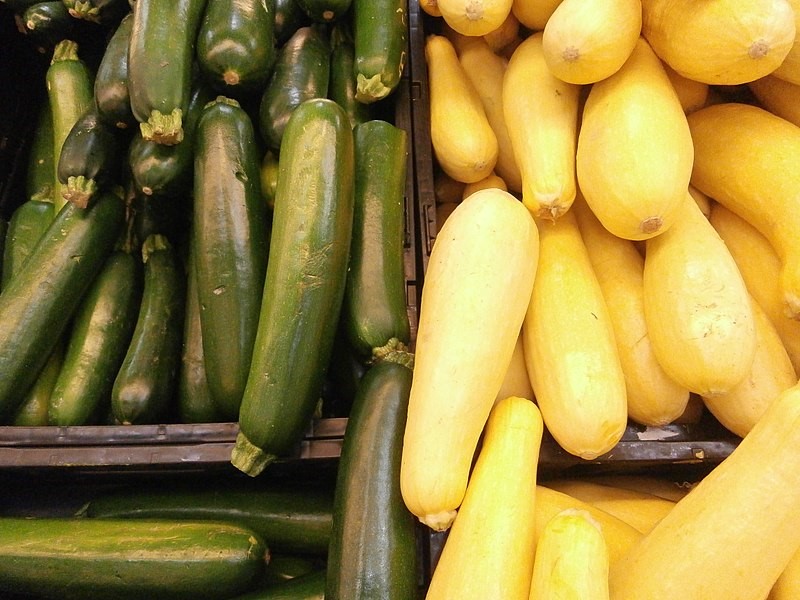
2 cups cabbage, shredded
1 1/2 cups celery, chopped
2 tablespoons pimento, chopped
1/2 cup heavy whipping cream (if desired)
2 teaspoons salad dressing (if desired) – I used Ceasar salad dressing, though think that a sweeter dressing might be better.)
Put 1/2 cup cold water in a bowl. Sprinkle the gelatin on top of the water, and let soak for 5 minutes.
Put 4 cups water, the sugar, and salt in a saucepan. Bring to a boil. Add the gelatin that has been soaked in water. Bring back to a boil while stirring constantly until the gelatin is dissolved. Remove from heat and stir in the vinegar and lemon juice. If needed, strain. Cool slightly, then stir in the cabbage, celery, and pimento. Mold or pour into a dish or bowl. (Use a fairly flat dish, if you plan to cut the gelatin into squares to serve. A 9″ X 9″ baking dish would work well.) Refrigerate until firm.
If desired, serve with whipped cream. Whip the cream until peaks form, then stir the salad dressing into the whipped cream. Put a dollop of the whipped cream on top of each serving.


 Here’s advice in a hundred-year-old cookbook on the care of vegetables:

