1 pound fresh spinach (or 1 12-ounce bag frozen chopped spinach)
2 cups macaroni
2 cups grated cheese (I used cheddar.)
approximately 1/2 cup fine breadcrumbs (I grated 1 slice of bread.)
1 tablespoon butter
hard-boiled egg for garnish (optional)
tomato slices for garnish (optional)
Preheat oven to 375◦ F. Wash spinach then put in a large skillet and sauté using medium heat with just the water that clings to the leaves until it wilts. Remove from heat and finely chop. (Alternatively use frozen chopped spinach that has been thawed.)
In the meantime, cook the macaroni following package instructions.
Also, in a small skillet melt the butter. Add the breadcrumbs and stir. Cook until the bread crumbs are just beginning to brown while stirring occasionally (about two minutes).
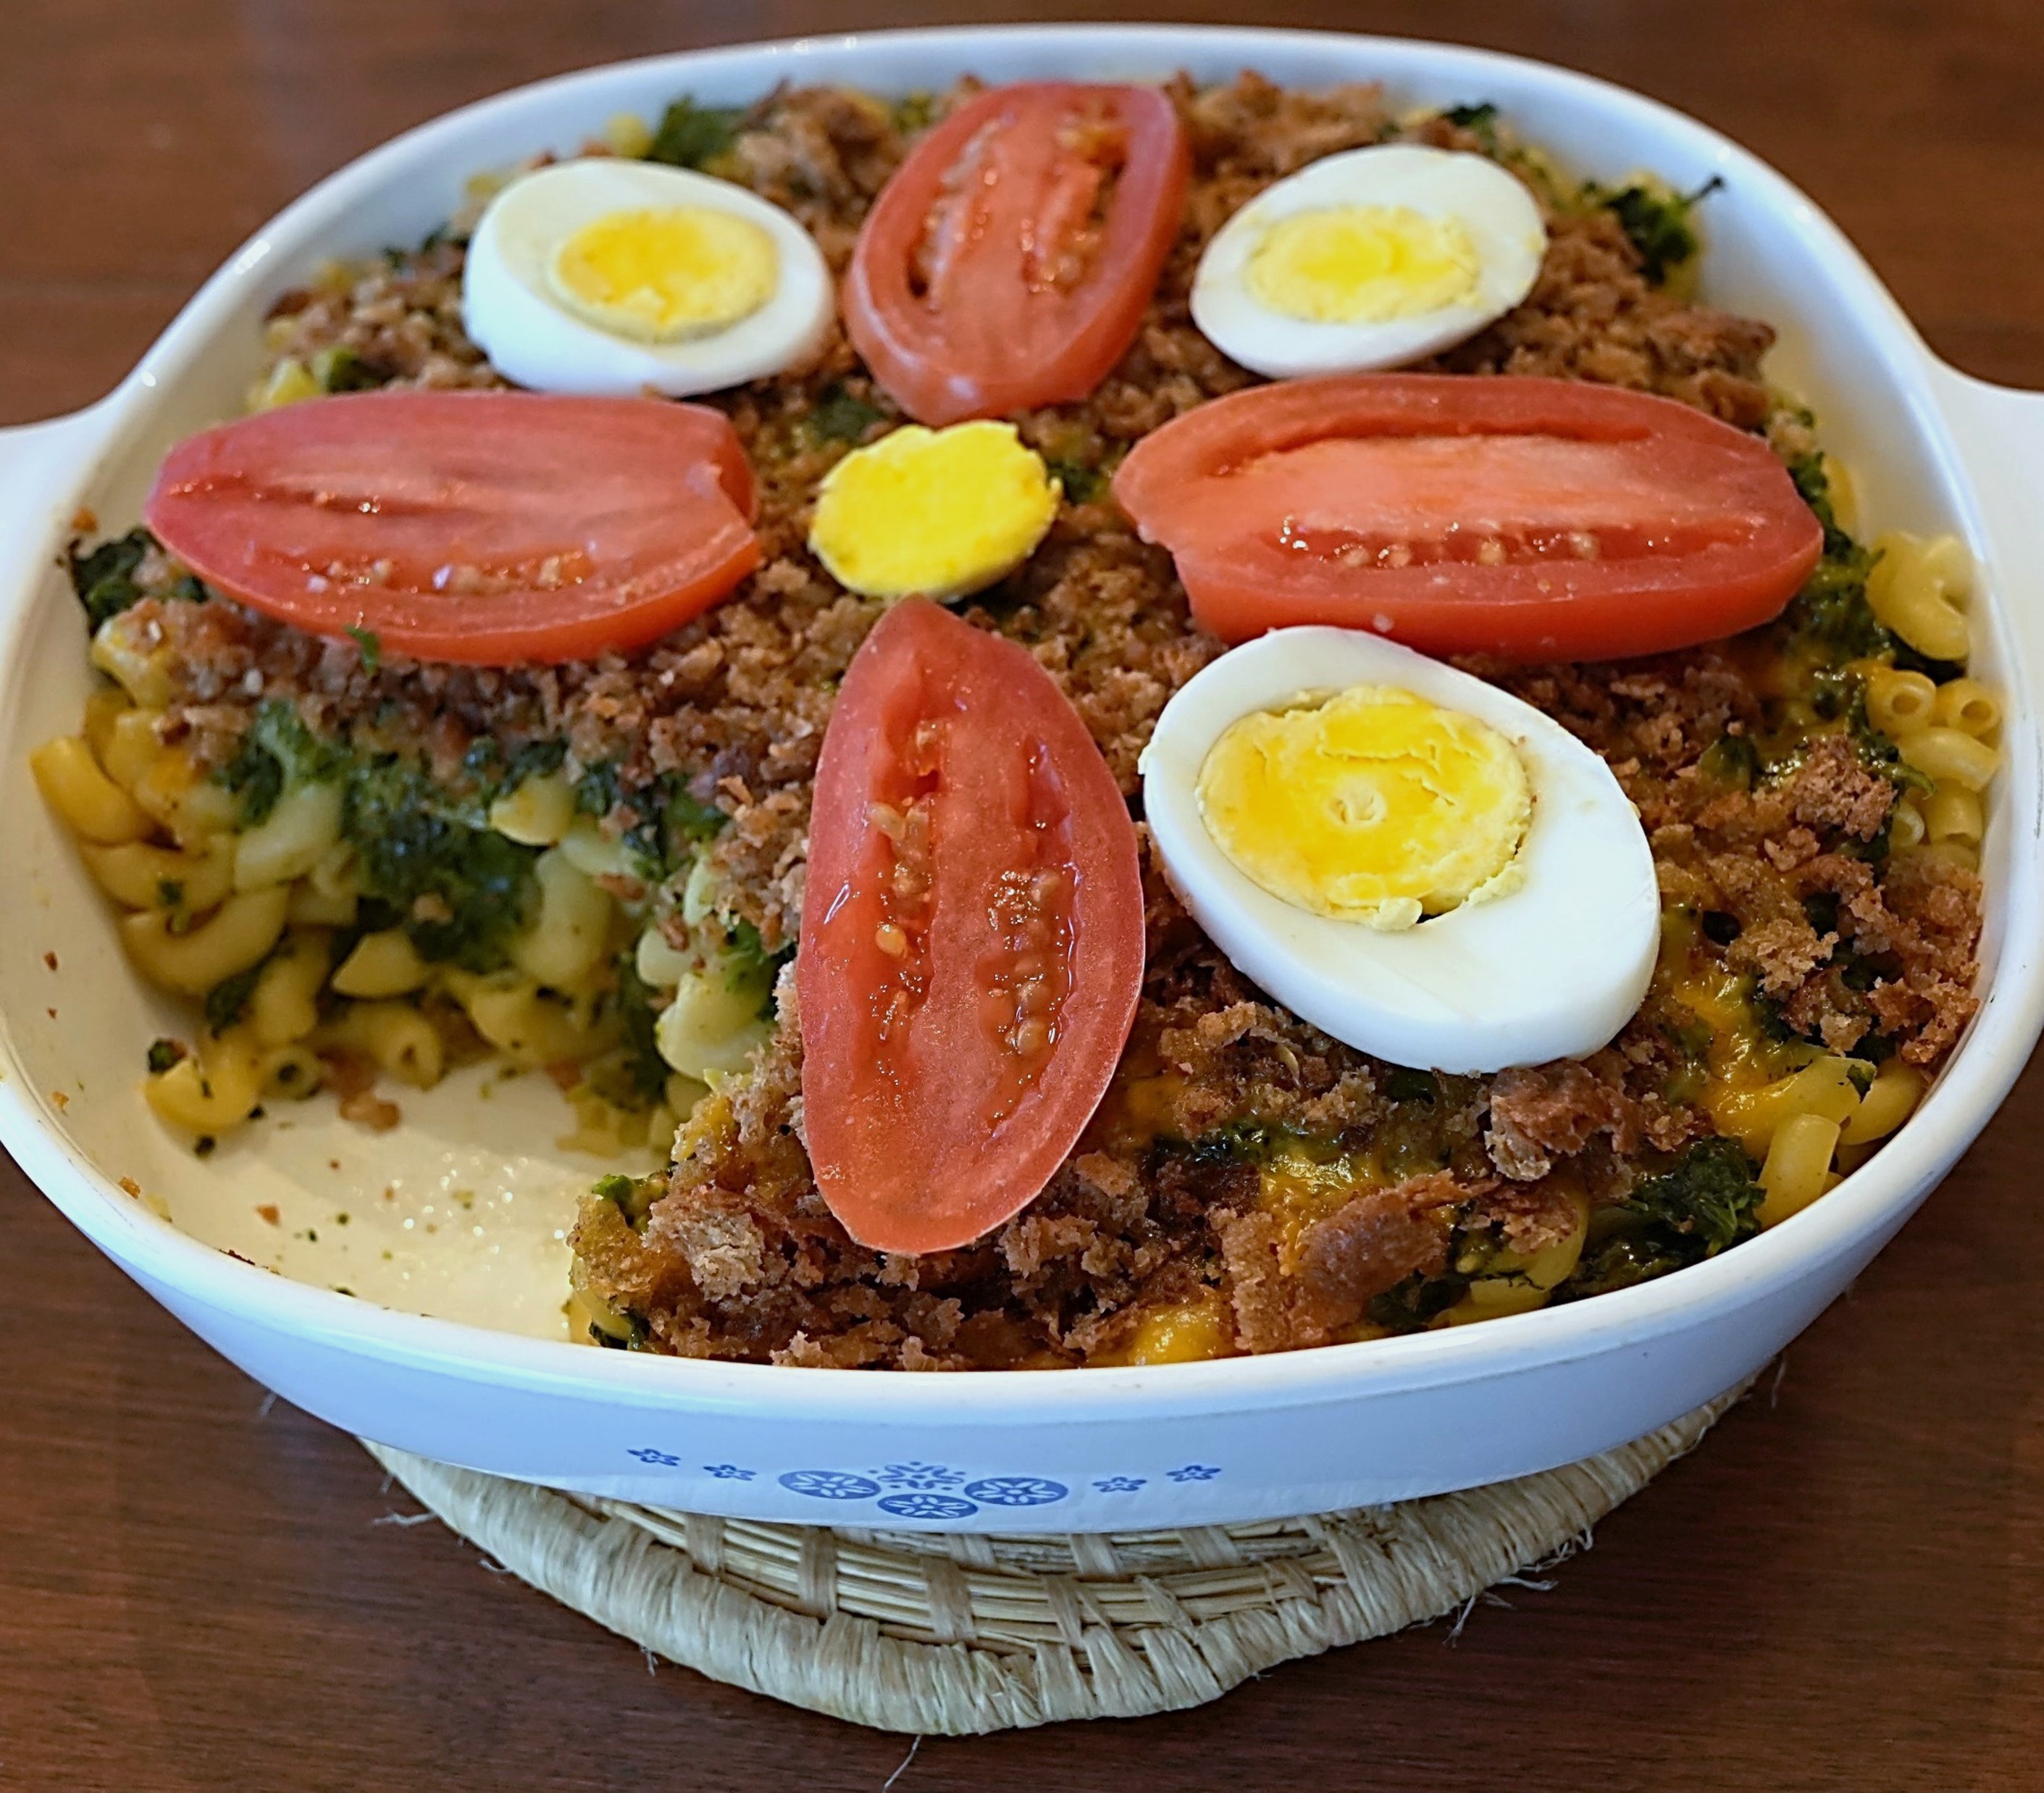
To assemble the dish put one half of the cooked macaroni in a baking dish. (An 8 X 8 dish or a 1 1/12 quart dish works well). Then put a layer containing one half of the chopped spinach on top of the macaroni. Next add a layer containing one-half of the grated cheese. Repeat the layers with the remainder of the macaroni, spinach, and cheese. Top with the buttered breadcrumbs.
Cover and put in the oven. Bake until hot (about 30-40 minutes.) Remove the lid for the last 10 minutes so that the breadcrumbs will be crispy.
Remove from oven and (if desired) garnish with hard-boiled egg slices and tomato slices.
http://www.ahundredyearsago.com


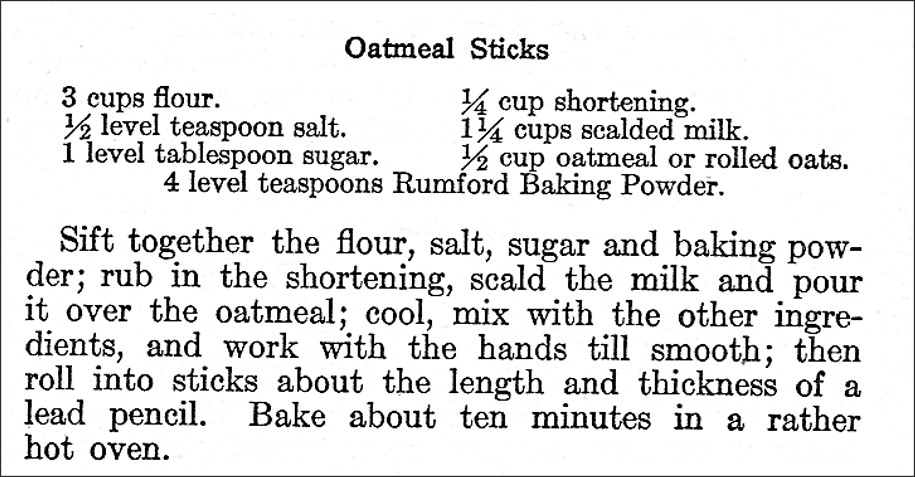
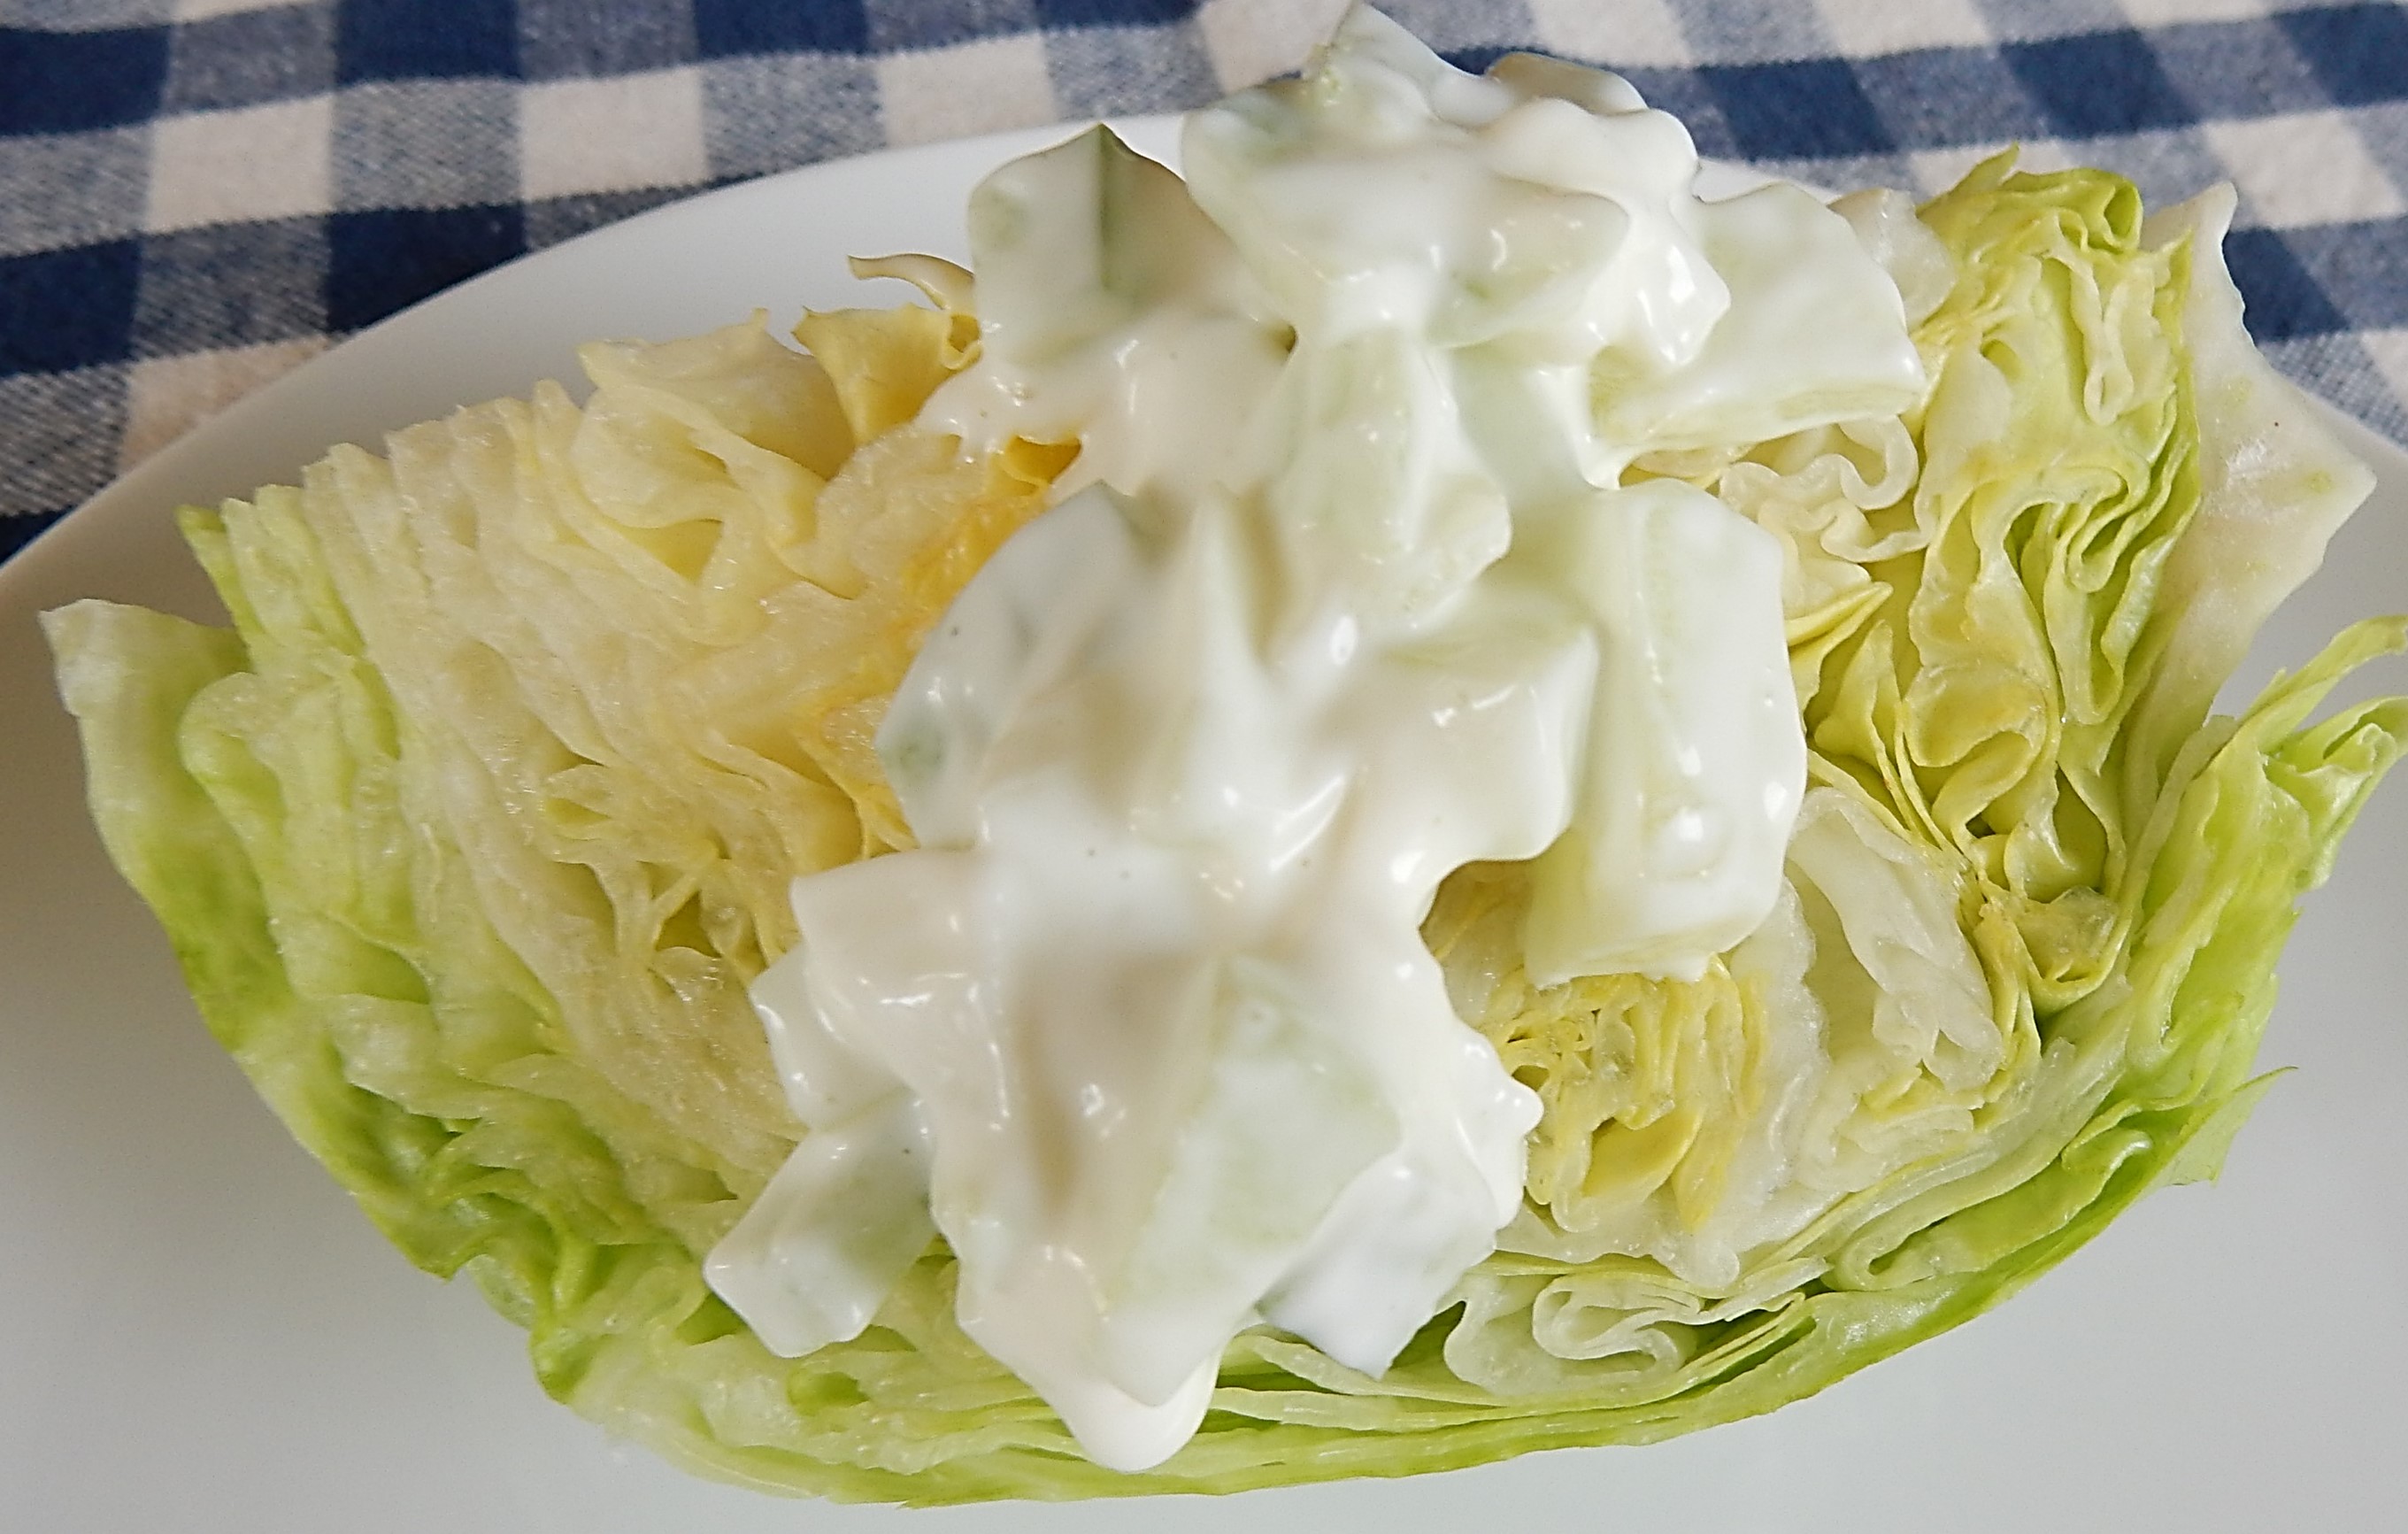 A hundred years ago salad options during the winter months were more limited than they are today. Here is what it said in a 1925 cookbook: