Hundred-year-old Food-related Math Problems

Basket with apples

Word math problems are a great way to engage students in learning how to apply the skills they have learned. Interesting problems encourage students to think creatively about how to solve problems that have applications in the real world.

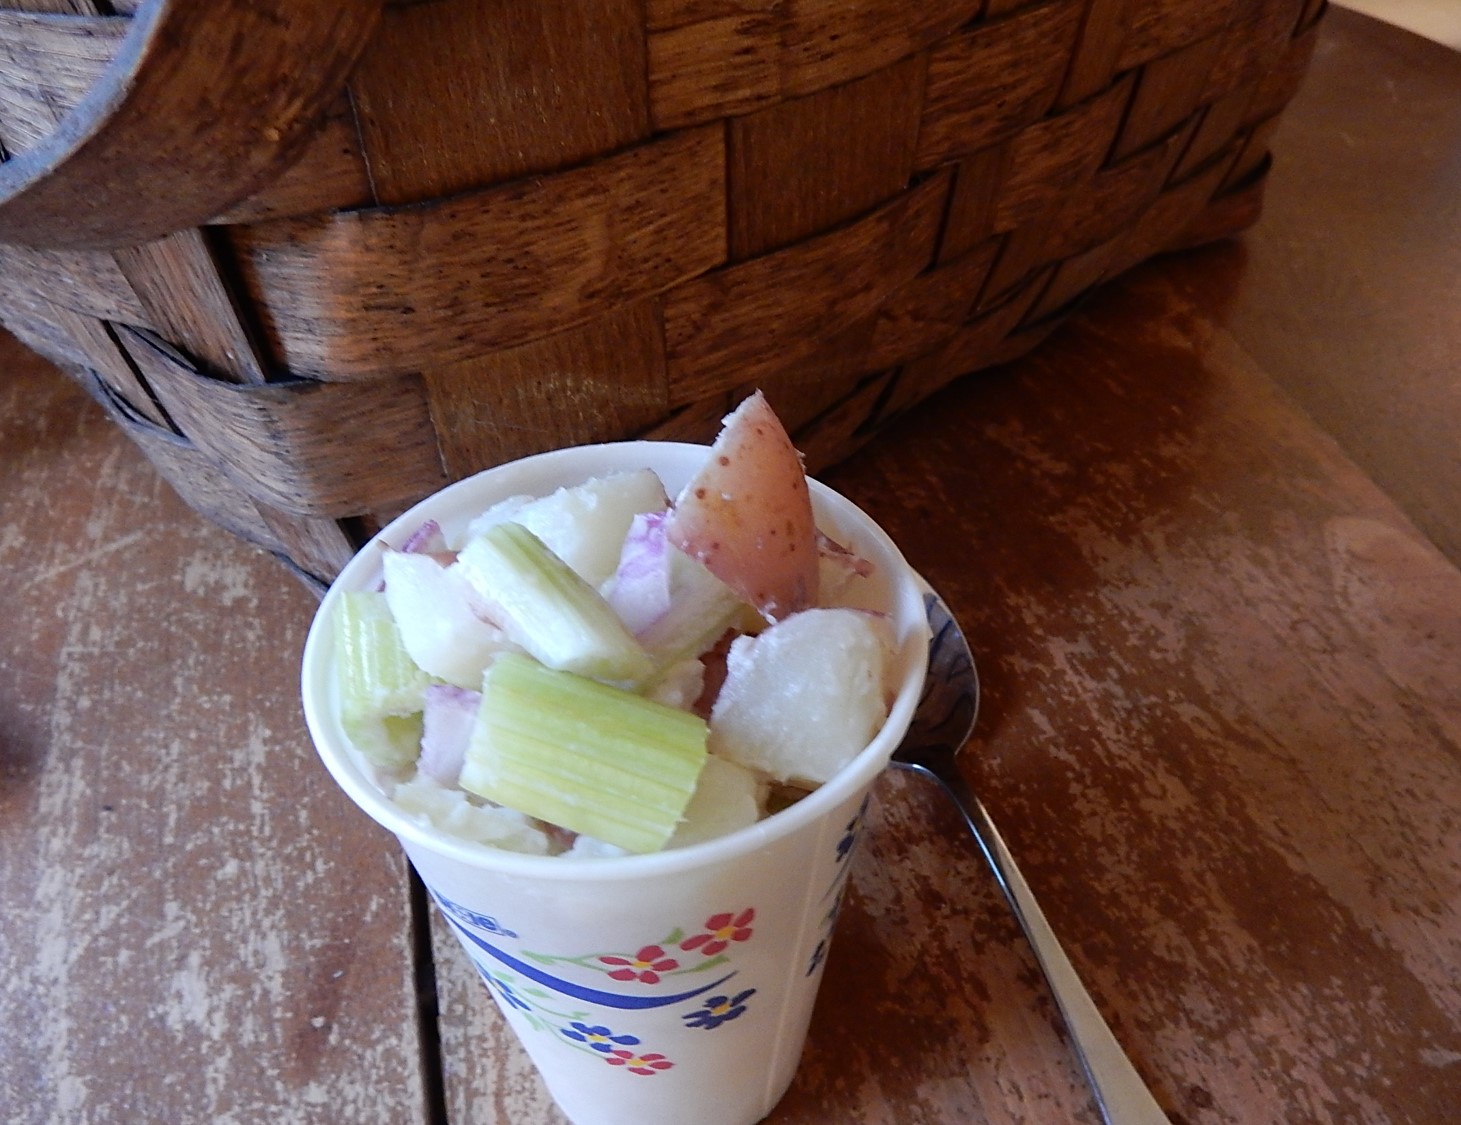
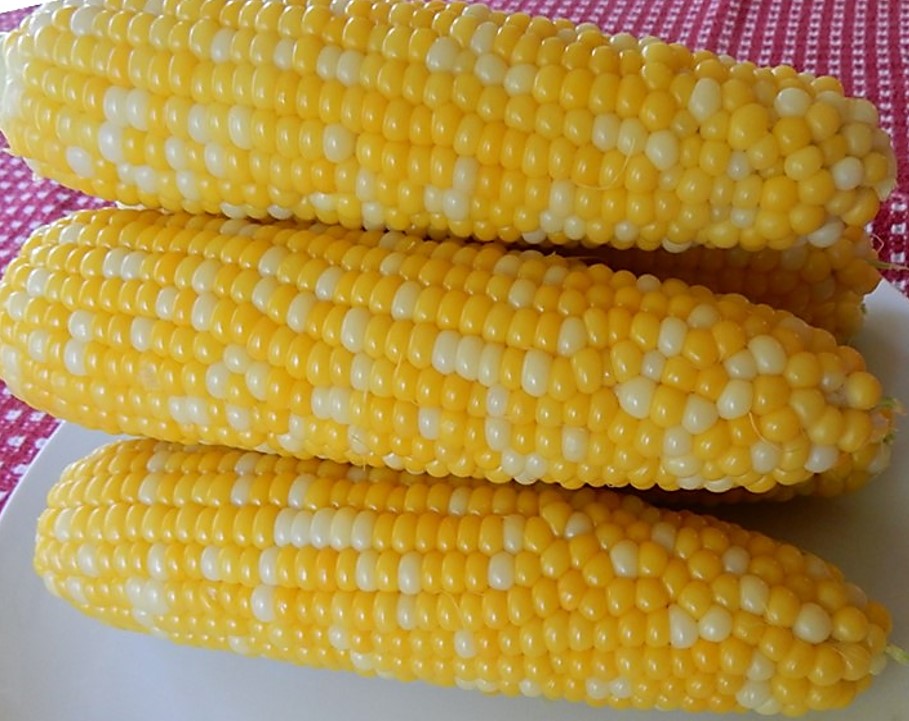
Both in 2020 and 1920, there were many word problems that are based on food-related topics. However, there are major differences in the problems. Based on a quick scan of food-related problems on Pinterest, restaurant menu, food truck, pizza fraction, and food cost problems are currently popular. Food-related math problems in a 1920 home economics textbook also addressed cost, but with a slight twist. The focus of these hundred-year-old problems was on how to get a given number of calories for the least cost.

Problems

  1. A quart of milk gives 675 calories; a pound of lamb chops, 1600; a pound of eggs (eight or nine), according to size, 670 calories. With milk at 17 cents a quart, lamb chops at 48 cents a pound, and eggs at 60 cents a dozen, which food is the cheapest per 100-calorie portion?
  2. Cream of wheat has a fuel value of about 1600 calories and costs 15 cents a pound. Compare the cost of a 100-calorie portion of cereal with that of chops, milk, or eggs.
  3. Large oranges cost 60 cents per dozen. What is the cost of a standard portion?
  4. A good juicy apple yields about 100 calories. Dried apples give about 1320 calories per pound Find the difference in cost of 100-calorie portions, if fresh apples sell at the rate of 3 for 10 cents and dried apples cost 15 cents a pound.

Household Arts for Home and School (Vol. II) (1920) by Anna M. Cooley and Wilhelmina H. Spohr


Old-fashioned Tomato Fritters

3 tomato fritters on plateThe tomatoes are rapidly ripening in the garden (and I’m getting close to having excess tomatoes, if such a thing is possible), so I looked for a hundred-year-old tomato recipe. And, I think that found a winner. Old-fashioned Tomato Fritters make a tasty appetizer or side dish.  The fritters are crispy and take only a few minutes to make.

Here’s the original recipe:

tomato fritter recipe
Source: American Cookery (March, 1920)

Here’s the recipe updated for modern cooks:

Tomato Fritters

  • Servings: 4 - 6
  • Difficulty: moderate
  • Print

2 cups flour

3 teaspoons baking powder

1/2 teaspoon salt

1/4 teaspoon pepper

1 egg

1/2 cup water or meat/vegetable stock (I used water.)

1 tablespoon parsley, finely chopped

2 – 3 medium tomatoes, finely chopped (or use 1 1/2 cups canned tomatoes)

1 tablespoons grated cheese (I used Parmesan cheese.)

Shortening or cooking oil

Put flour, baking powder, salt, pepper, egg, and water or stock in a mixing bowl; beat until thoroughly combined. Stir in parsley and tomatoes. Add grated cheese and continue stirring until combined.

Melt shortening or cooking oil in a skillet. Using a tablespoon, drop mixture by spoonfuls into the hot shortening or oil. Fry until lightly browned; flip and cook other side. Drain on paper towels.

If desired, serve with a tomato sauce dip.

http://www.ahundredyearsago.com

Old-fashioned Pineapple Bavarian Cream

Molded Pineapply Bavarian Cream on Plate

During these hot August days, I love light, refreshing desserts. And, I found a wonderful hundred-year-old recipe that fits the bill. Pineapple Bavarian Cream is delicious, and has just the right balance of sweetness and tartness,

Here is the original recipe:

Recipe for Pineapple Bavarian Cream
Source: School and Home Cooking (1920) by Carlotta C. Greer

When I made the recipe, I used a little less water than called for in the original recipe because, when I make molded gelatin-based desserts, I tend to have problems with the mixture not getting firm enough.

Here’s the recipe updated for modern cooks:

Pineapple Bavarian Cream

  • Servings: 4 - 5
  • Difficulty: moderate
  • Print

Note: This recipe makes about 3 cups. I doubled this recipe when I made it because I wanted to use a 6-cup mold.

1 packet (0.25 ounce) of unflavored gelatin

1/4 cup cold water

1 small can (8 ounce) can of crushed pineapple

water

1/2 cup sugar

dash salt

2 tablespoons lemon juice

1/2 cup whipping cream

Place the cold water in a small bowl; then sprinkle the gelatin over the water. Let the gelatin absorb the water and soften for a few minutes.

In the meantime, drain the juice from the pineapple. Place the juice in a measuring cup, and add enough water to make it 1 cup. Place the pineapple juice and water mixture in a saucepan, and heat to boiling using medium high heat. Reduce heat to low. Add the softened gelatin, and stir until dissolved. Add the sugar and salt and continue stirring until the sugar is dissolved. Remove from heat, then stir in the lemon juice.  Chill until the mixture just begins to thicken.

In the meantime, put the whipping cream in a bowl, and beat until soft peaks form.

Once the gelatin mixture has begun to thicken, stir in the crushed pineapple and then fold the whipped cream into the mixture.

Spoon into a 3-4 cup mold (or spoon into individual serving dishes or cups), and chill until firm (at least 4 hours).

To serve (if molded): Quickly dip the mold in hot water, then unmold onto serving plate.

http://www.ahundredyearsago.com

1920 Tip: Use Paper Cups to Hold Picnic Salads

potato salad in a paper cupCooks have shared tips across the years. A hundred years ago Good Housekeeping magazine had a tips column called Discoveries. Readers could submit tips, and were paid one dollar for each tip that was used.

Here’s a tip for how to serve salads at a picnic:

Picnic Salad

When going on little picnic suppers – especially in a machine, where one eats by the roadside or in the car seat – individual paper drinking cups are most satisfactory as containers for salads. The salad may be packed in the individual paper cups and garnished attractively with a sprig of parsley in one side. They always call forth favorable comments and are not messy to handle and each person has his own portion easily handed out.  – Mrs. R.H., D.C.

Good Housekeeping (June, 1920)

Hundred-year-old Recipe for Boiled Corn (Corn on the Cob)

corn on the cob on plate

I see some very basic recipes (I tend to call them non-recipes) for simple foods in both modern and hundred-year-old cookbooks. Apparently both in 2020 and 1920 some cooks had simple questions – like how do you cook corn on the cob?

In 1920 corn on the cob was referred to boiled corn. And, here are directions for making it:

Recipe for boiled corn
Source: The New Royal Cook Book (1920)

When I made the recipe I skipped the suggestion to put the Boiled Corn on a napkin. Somehow it just didn’t seem necessary – and it seemed like the napkin might get soaked from any water that dripped off the corn.

Here is the recipe updated for modern cooks:

Boiled Corn (Corn on the Cob)

  • Difficulty: easy
  • Print

Husk corn and remove all silk. Fill large pot 2/3’s full with water. Bring water to a boil using high heat. Place husked corn in the boiling water, and boil rapidly for 5 minutes. Use tongs to remove the corn from the water.

http://www.ahundredyearsago.com

1920 Directions for Building a Fire in a Coal Stove

drawing of coal range showing a direct draft
Source: School and Home Cooking (1920) by Carlotta C. Greer

A hundred-years-ago many people used a coal stove for cooking. Here are directions in a 1920 home economics textbook for building a fire in the stove:

Fire Building in a Coal Range

It is necessary to have the fire box, ash pan, and other parts of the stove clean before building a fire. After cleaning, place a generous layer of loosely crumpled paper over the bottom of the fire box, then about four layers of kindling wood, placed so that there are air passages between the pieces, and on top of the wood put two shovelfuls of coal. Regulate the dampers for a direct draft, replace the stove lids, and brush the surface of the stove. 

Before lighting the fuels, polish the range in the following manner: 

To the nickel of the stove apply whiting and ammonia or any satisfactory metal cleaner. 

To the iron of the stove apply oil. Light paraffin oil may be used for this purpose. Apply the oil with cotton waste, or a soft cloth. (Care should be taken not to apply an excess of oil.) Polish with soft cotton or woolen cloth. One should remember, however, that oils must be used with caution. It should never be applied to a stove containing burning fuels. If the stove cloth, saturated with oil, is not destroyed after using, it is well to keep it in a covered tin can or stone jar. 

After polishing the stove, light the fuels. When the wood is reduced to glowing embers and the coal is burning, add more coal. If this burns well, change the dampers to make an indirect draft. 

School and Home Cooking (1920) by Carlotta C. Greer

drawing of a coal range showing an indirect draft
Source: School and Home Cooking (1920) by Carlotta C. Greer

The direct draft makes it easier to get the fire started, but once it is burning well, the damper is changed to allow the hot air to circulate throughout the oven and cook the food.

I’ve never used a coal stove so I have little knowledge of this topic – yet the order of steps didn’t seem right to me. I understand that the only time that the fire is typically allowed to go out is when the stove is cleaned – but why are the paper, kindling wood, and coal arranged in the stove prior to polishing the stove’s surface? I would think that all cleaning and polishing should be completed before putting the paper, wood, and coal into the stove – but I’m probably missing something. Does anyone know whether the steps in old book are the typical order for preparing a stove for lighting?