I went to the farmer’s market yesterday. It was a warm day, so I wore my beige shorts, a peach t-shirt, and my old, comfortable, black Clark sandals. I fit right in. Most shoppers were wearing t-shirts – though some had logos. One person had a shirt with a Vikings’ logo, another shirt said University of Minnesota. A teen was wearing a black shirt that said, “”Don’t follow me, I’m lost too.” Many were wearing shorts, others had on jeans, sweatpants, stretch pants, or leggings.
This is very different from a hundred years ago when women (it was usually women back then) shopped for food. Many were homemakers, and shopping was the fun outing for the day (or week). A hundred-year-old photo in the July, 1925 issue of Ladies Home Journal, showed a woman shopping at a produce market. Fresh vegetables sit in crates outside a small store. She is wearing a tasteful knit sweater suit over a crisp white round-collared shirt, a sophisticated velvet hat decorated with a few feathers, shiny flesh-colored hose, and 1- or 1½- inch pumps. She displayed her prosperity by wearing a fur stole made using a full animal pelt that included the animal’s head and paws.
The picture took me back to my childhood. Each Sunday my family sat on the left side in the fifth pew from the front in a small rural central Pennsylvania church. After all these years, I’m a bit foggy on names, but a family I’ll call the Smith family sat two rows ahead of us. Mr. Smith, a highway contractor, was wealthy by the standards of the isolated area where we lived. His wife, in the spring and on cool autumn Sundays, often topped her church outfit with a mink stole made of four mink pelts, each still with its head and tail. Several of the minks were biting the tail of the mink ahead of it.
My mind would drift away from the minister’s sermon. I was entranced by Mrs. Smith’s stole. It must have cost hundreds of dollars. I dreamed of buying one someday . . . if I ever got rich.
Fast forward, 40 or 50 years. I visited the area where I grew up and, on a lark, went into the Roller Mills Market Place in Lewisburg. It is an old three-story brick flour mill that has been converted into an antique store (aka flea market) with more than 400 venders, each with a small stall. It’s a building where it’s easy to get lost, and time flew by as I looked at old knickknacks, pot and pans, mid-century calendars, tools, and much more.
And, then I turned a corner, and there IT was, draped over an ancient manikin with frizzy, unkempt, blond hair – a mink pelt stole made from four animals with several biting the tail of the one ahead of it. It looked just like Mrs. Smith’s stole. Maybe it actually was Mrs. Smith’s stole. After gasping, I walked over to the manikin, and turned over the attached price tag. $15.
Only $15!! I removed the pelt stole from the manikin and headed to the checkout. I was finally wealthy enough to own a mink stole.
When I got home, I showed it to my husband. He said, “Egad! Why did you buy that?”
I said, “Maybe I’ll wear it a party.”
He said, “I’m not going with you. What would people think? You’ll get into trouble with PETA.”
I said, “That’s silly. These animals were killed years ago. I’m recycling them”
I hung the stole in an empty closet in a bedroom that once had been our son’s room. It’s hung there ever since.
While writing this post, I decided that it was time to give the stole another try. I flung it over my shoulder, and looked in a mirror. I looked great. I decided to go outside to take a photo.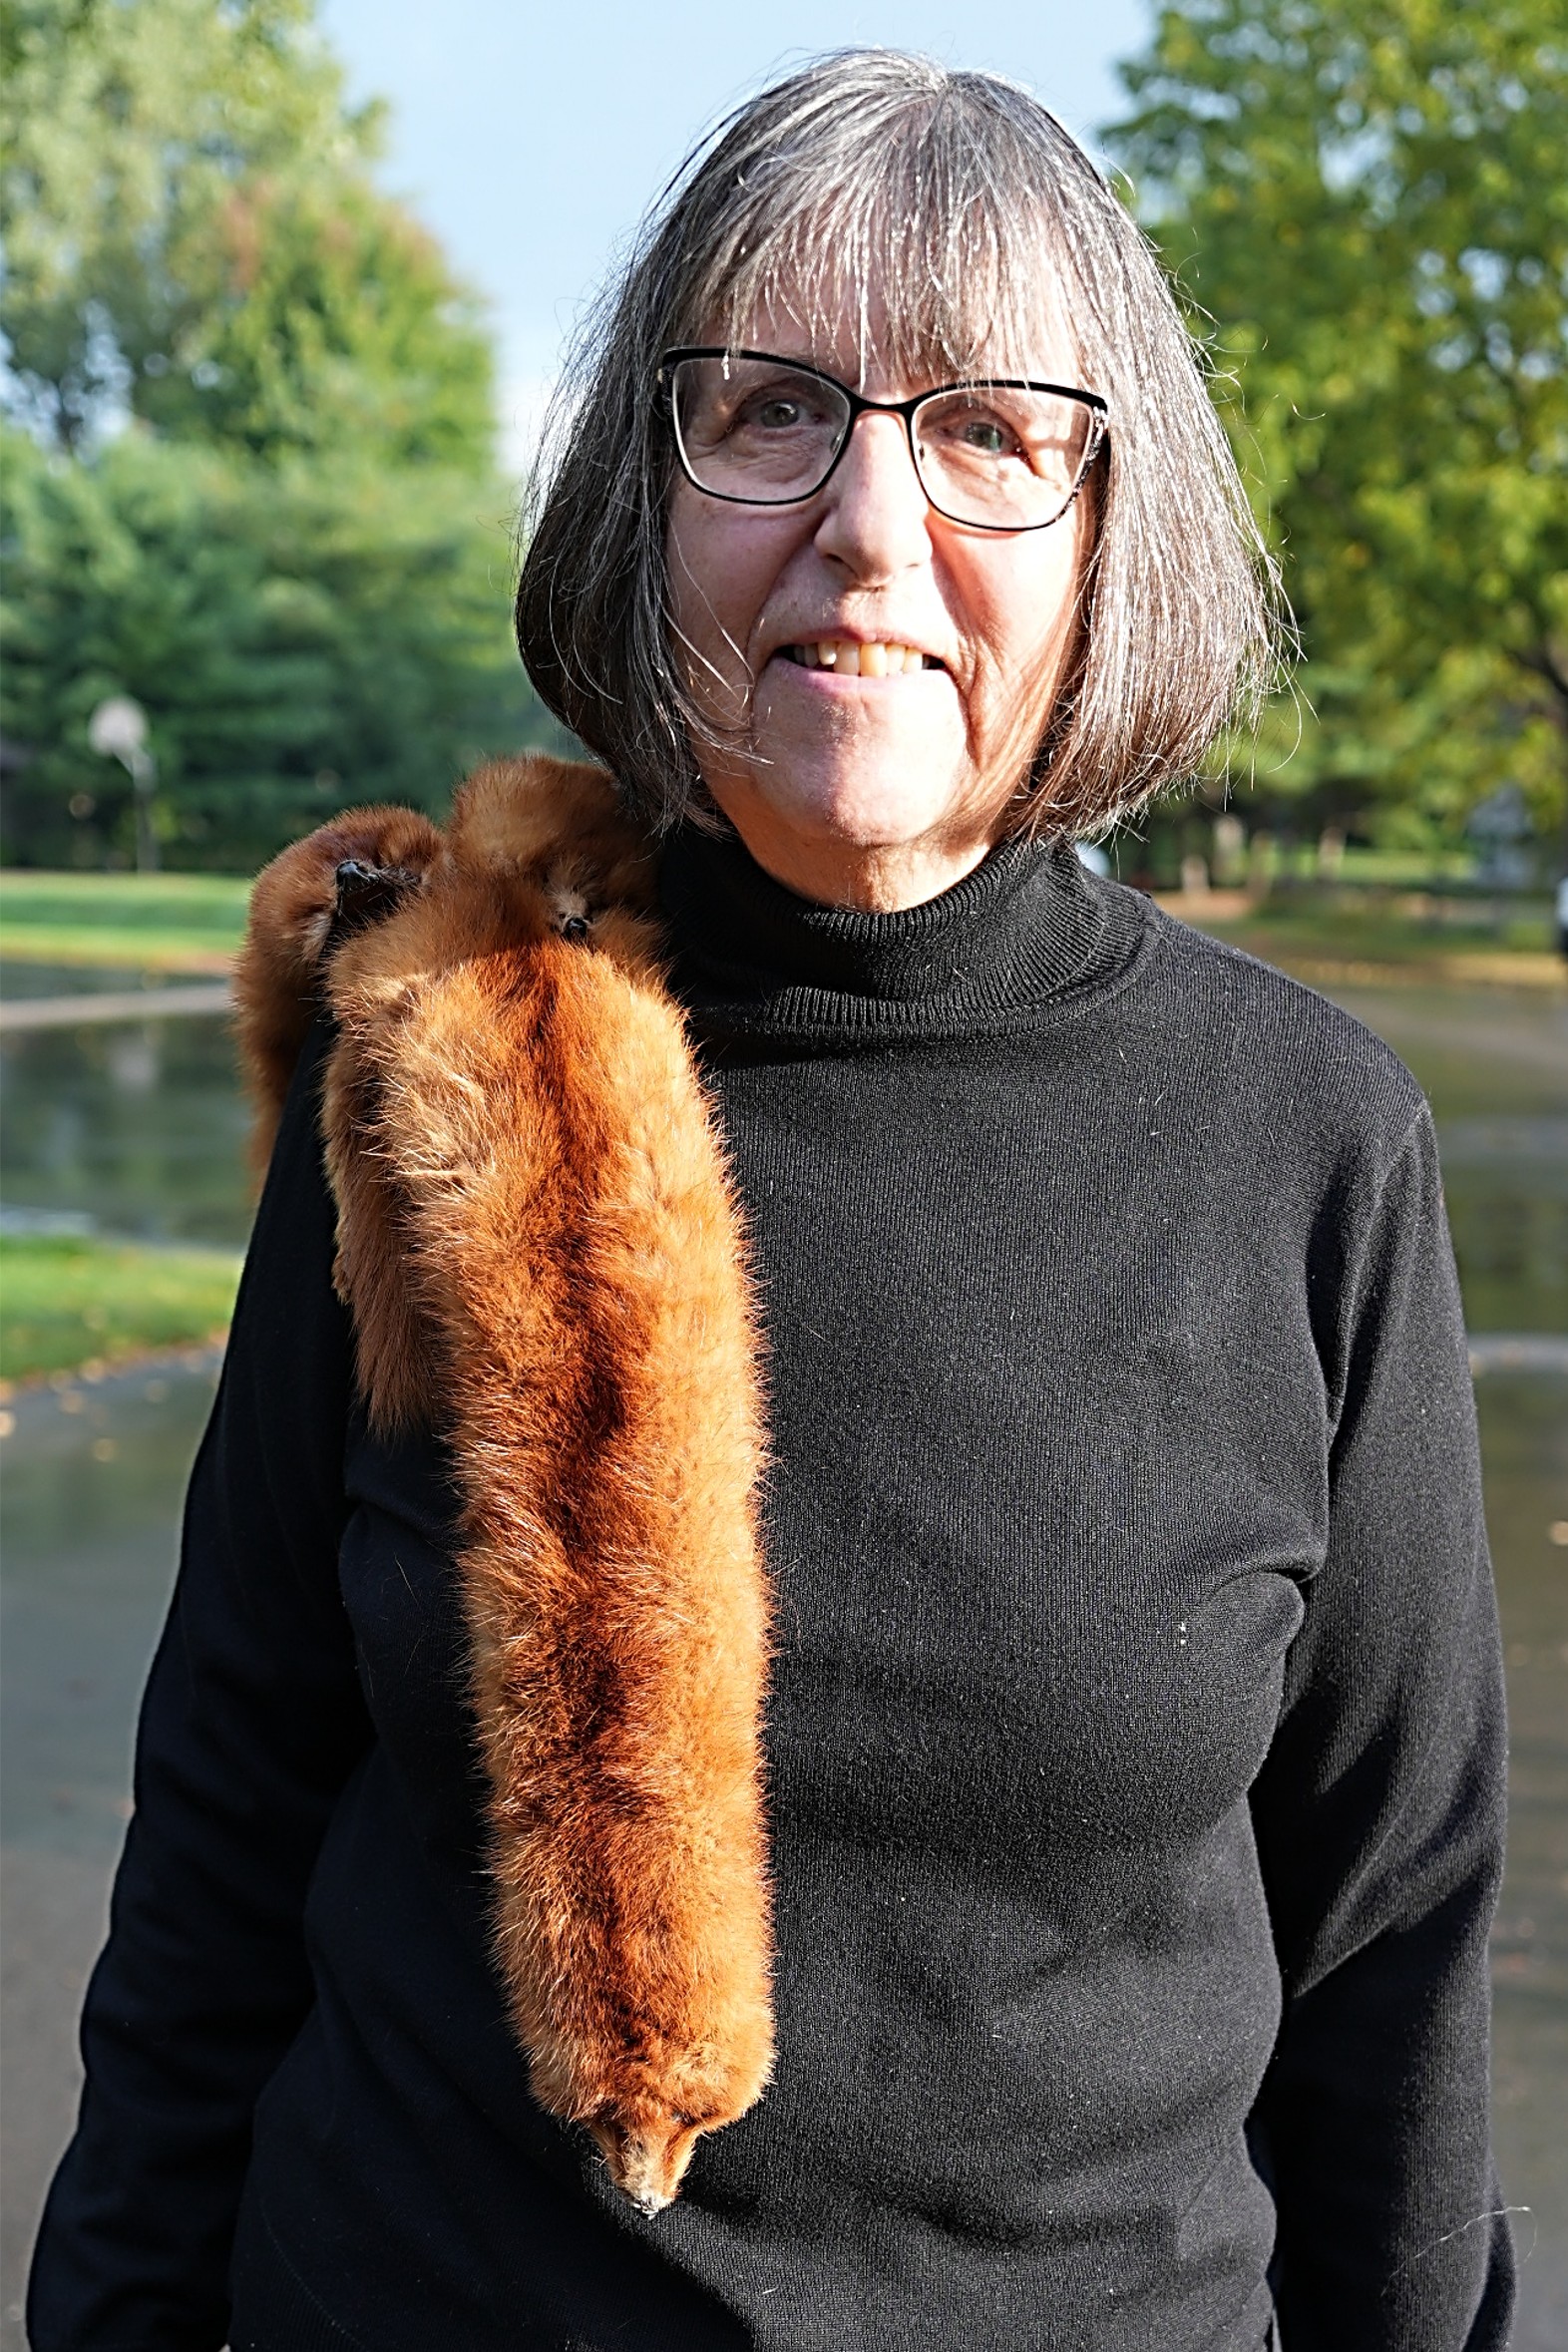
An Excel Energy truck was parked in front of our house and a repairman was fixing a street light. It might just be my imagination, but I think that he gave me a strange look.
I told a friend about the repairman’s reaction. She said, “Next week wear the stole to the farmers’ market. You could be a Glam Gran.”
I thought about it a little, and concluded that I’m not confident enough to wear the stole to the farmers’ market. I’ll never be a Glam Gran. I hung the stole back in the closet.
Oh well. . .I have something that once was a symbol of prosperity, but times change, and that symbol has become flea market junk. I guess that I’ll never look as fashionable as my childhood fashion icon. Sigh. . .I’m just going to have to continue wearing my ratty t-shirts when shopping for vegetables.