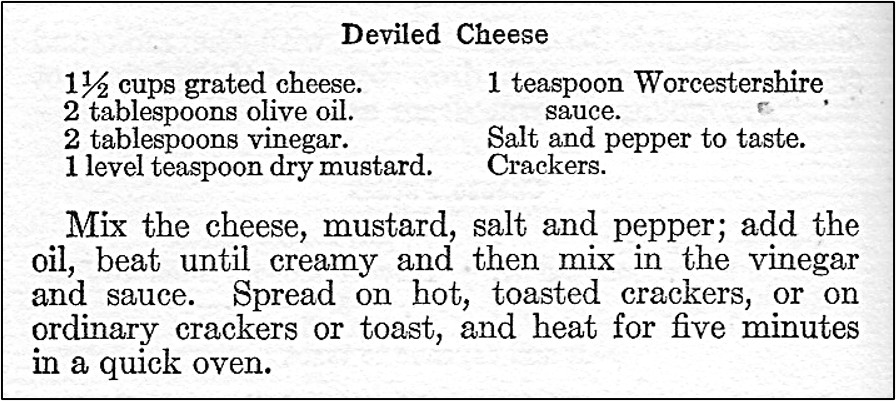
I recently came across a hundred-year-old recipe for Deviled Cheese. It basically was a recipe for hot crackers with a tangy cheese topping. In addition to cheese, the topping contained olive oil, vinegar, ground mustard, and Worcestershire sauce. The zesty topping was tasty. This recipe was easy to make and is a fun twist on more modern ways of serving crackers and cheese.
Here’s the original recipe:
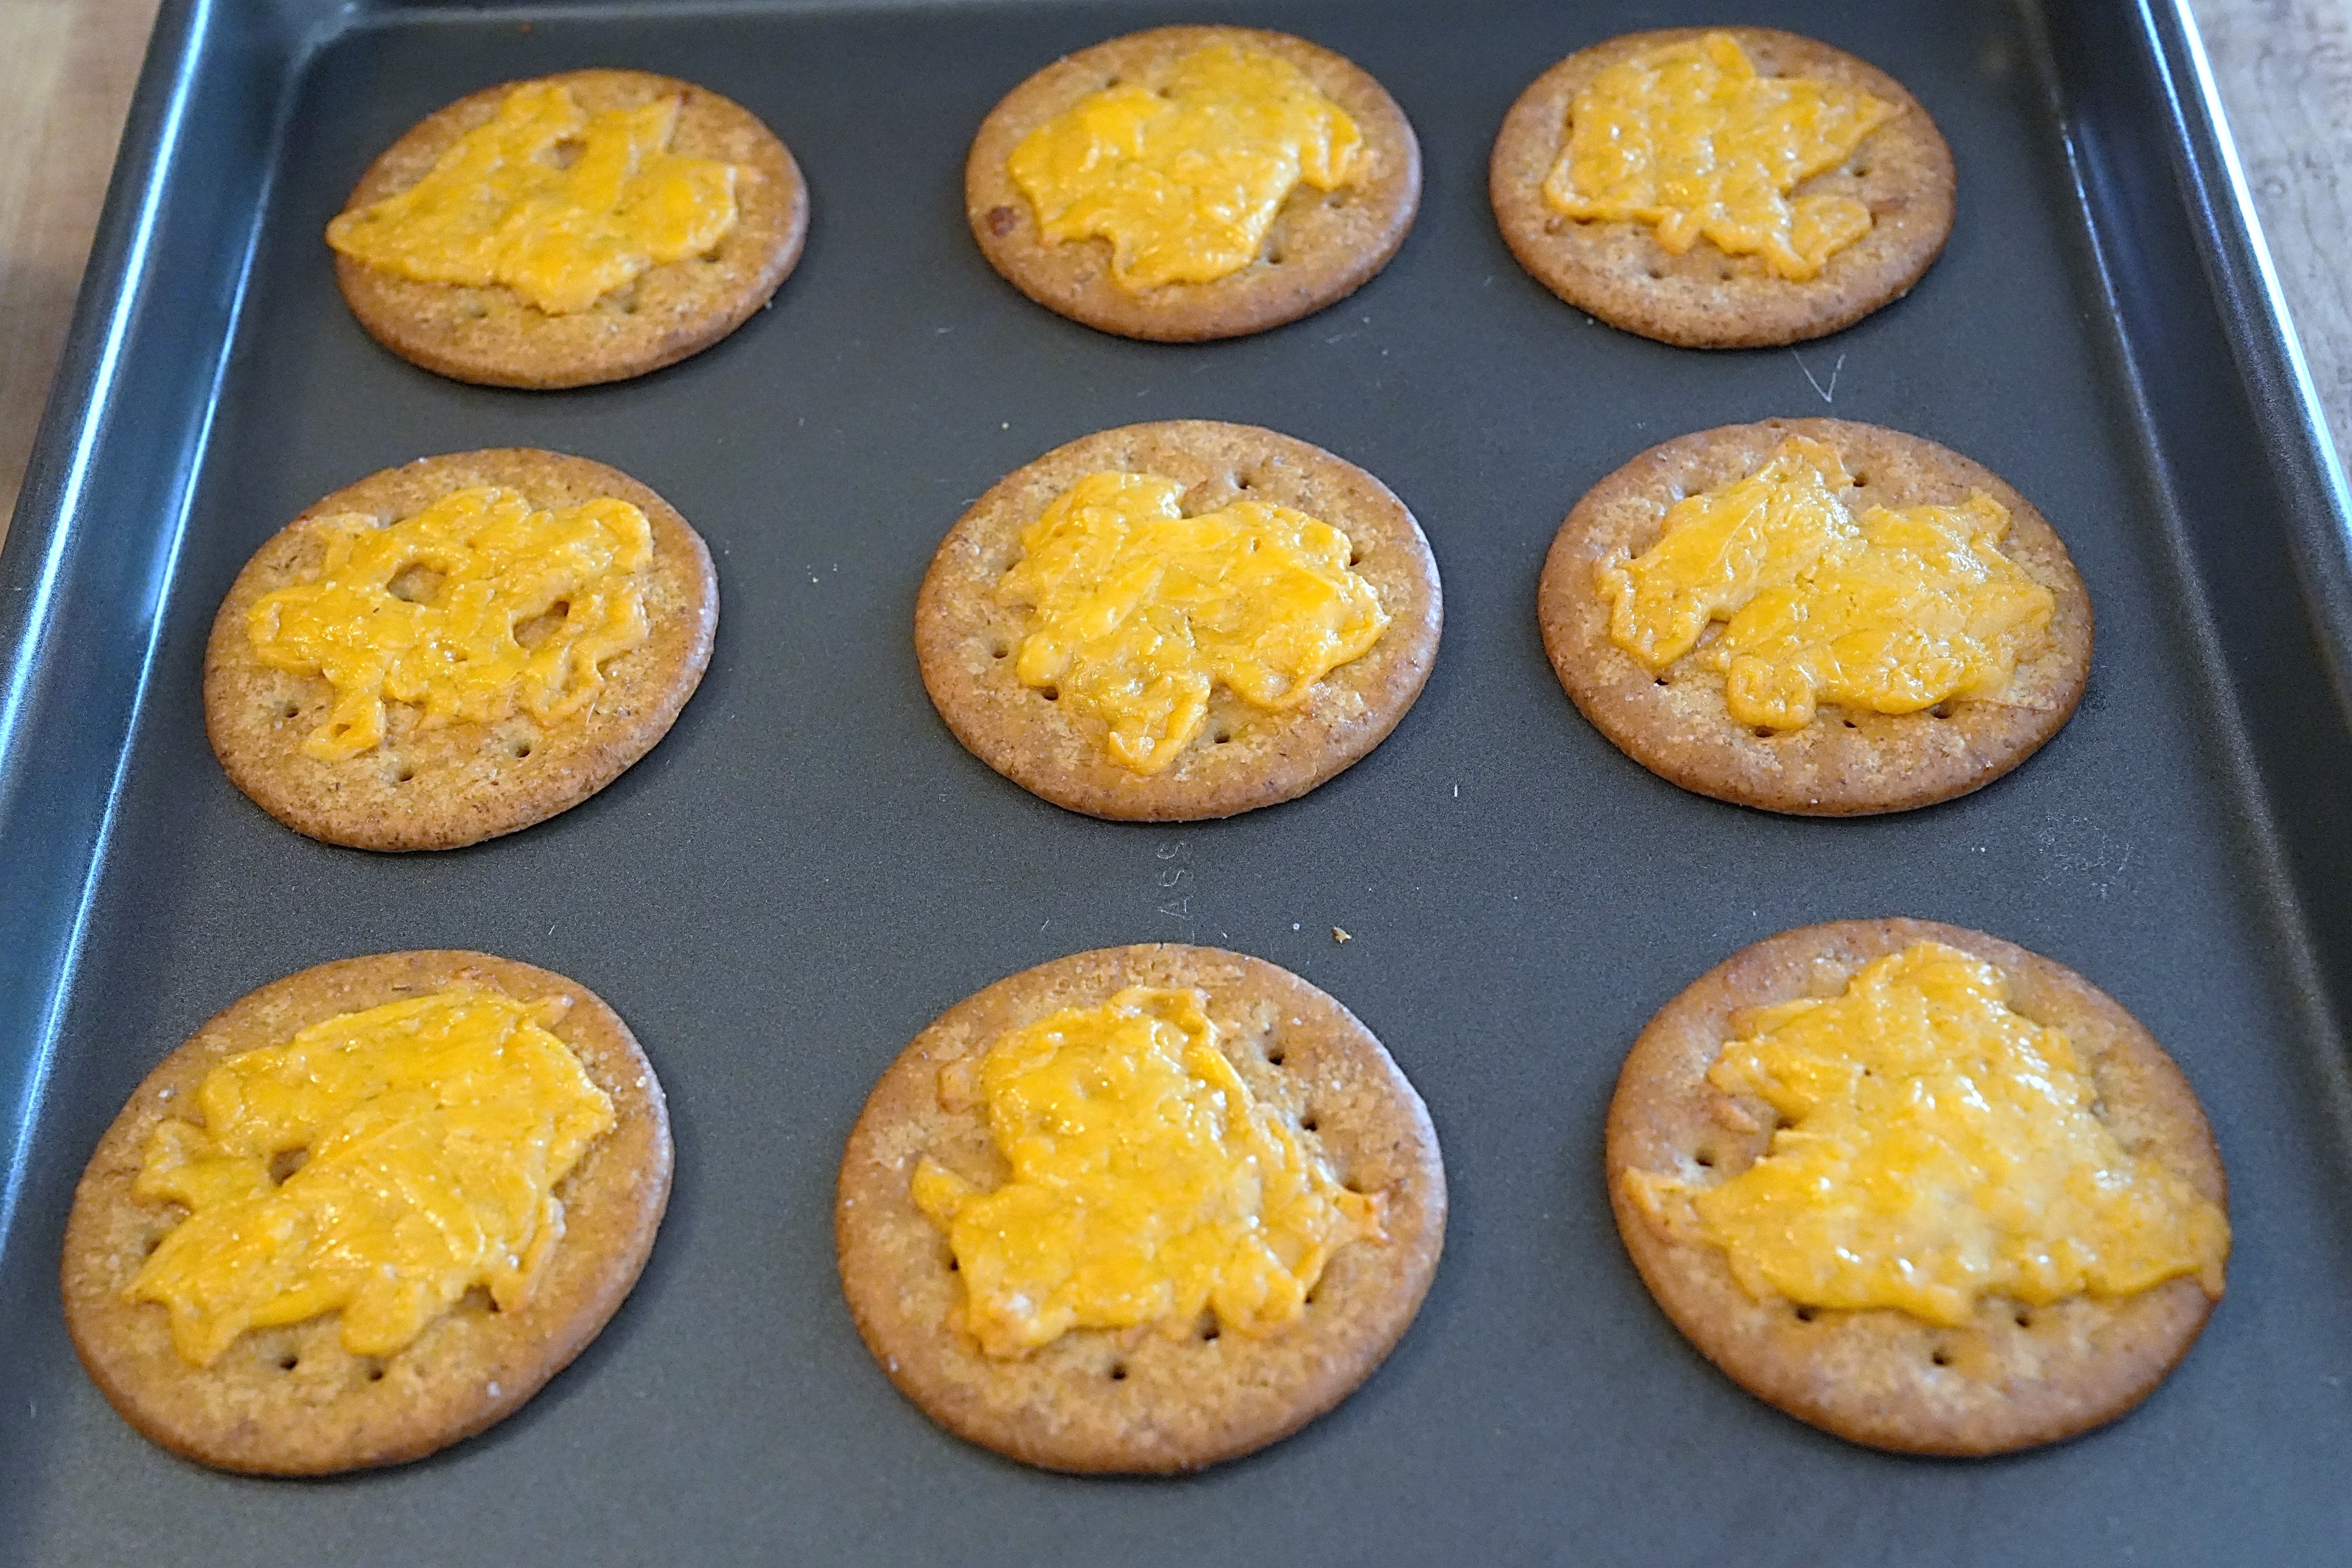
I spread the cheese topping on the crackers, and then heated in the oven for five minutes. I did not add any salt or pepper. The cheese and Worcestershire sauce already made this a bit salty and, in my opinion, it did not need pepper.
I didn’t try the toast option, or the option of spreading the topping on hot, toasted crackers. The cheese, oil, and vinegar did not combine very well until they were heated, so I didn’t think that it would work very well without actually heating the topping.
Here’s the recipe updated for modern cooks:
Deviled Cheese
1 1/2 cups grated cheese (I used cheddar cheese.)
1 teaspoon ground mustard
1 teaspoon Worcestershire sauce
2 tablespoons olive oil
2 tablespoons vinegar
crackers
Preheat oven to 400◦ F. Put the grated cheese, ground mustard and Worcestershire sauce in a bowl; stir to combine. Add the olive oil and stir. Then add vinegar and stir until all ingredients are combined. Put crackers on a baking sheet then spread the deviled cheese on top of them. (Do not go quite to the edge.). Put in oven for 5 minutes or until the cheese is melted.

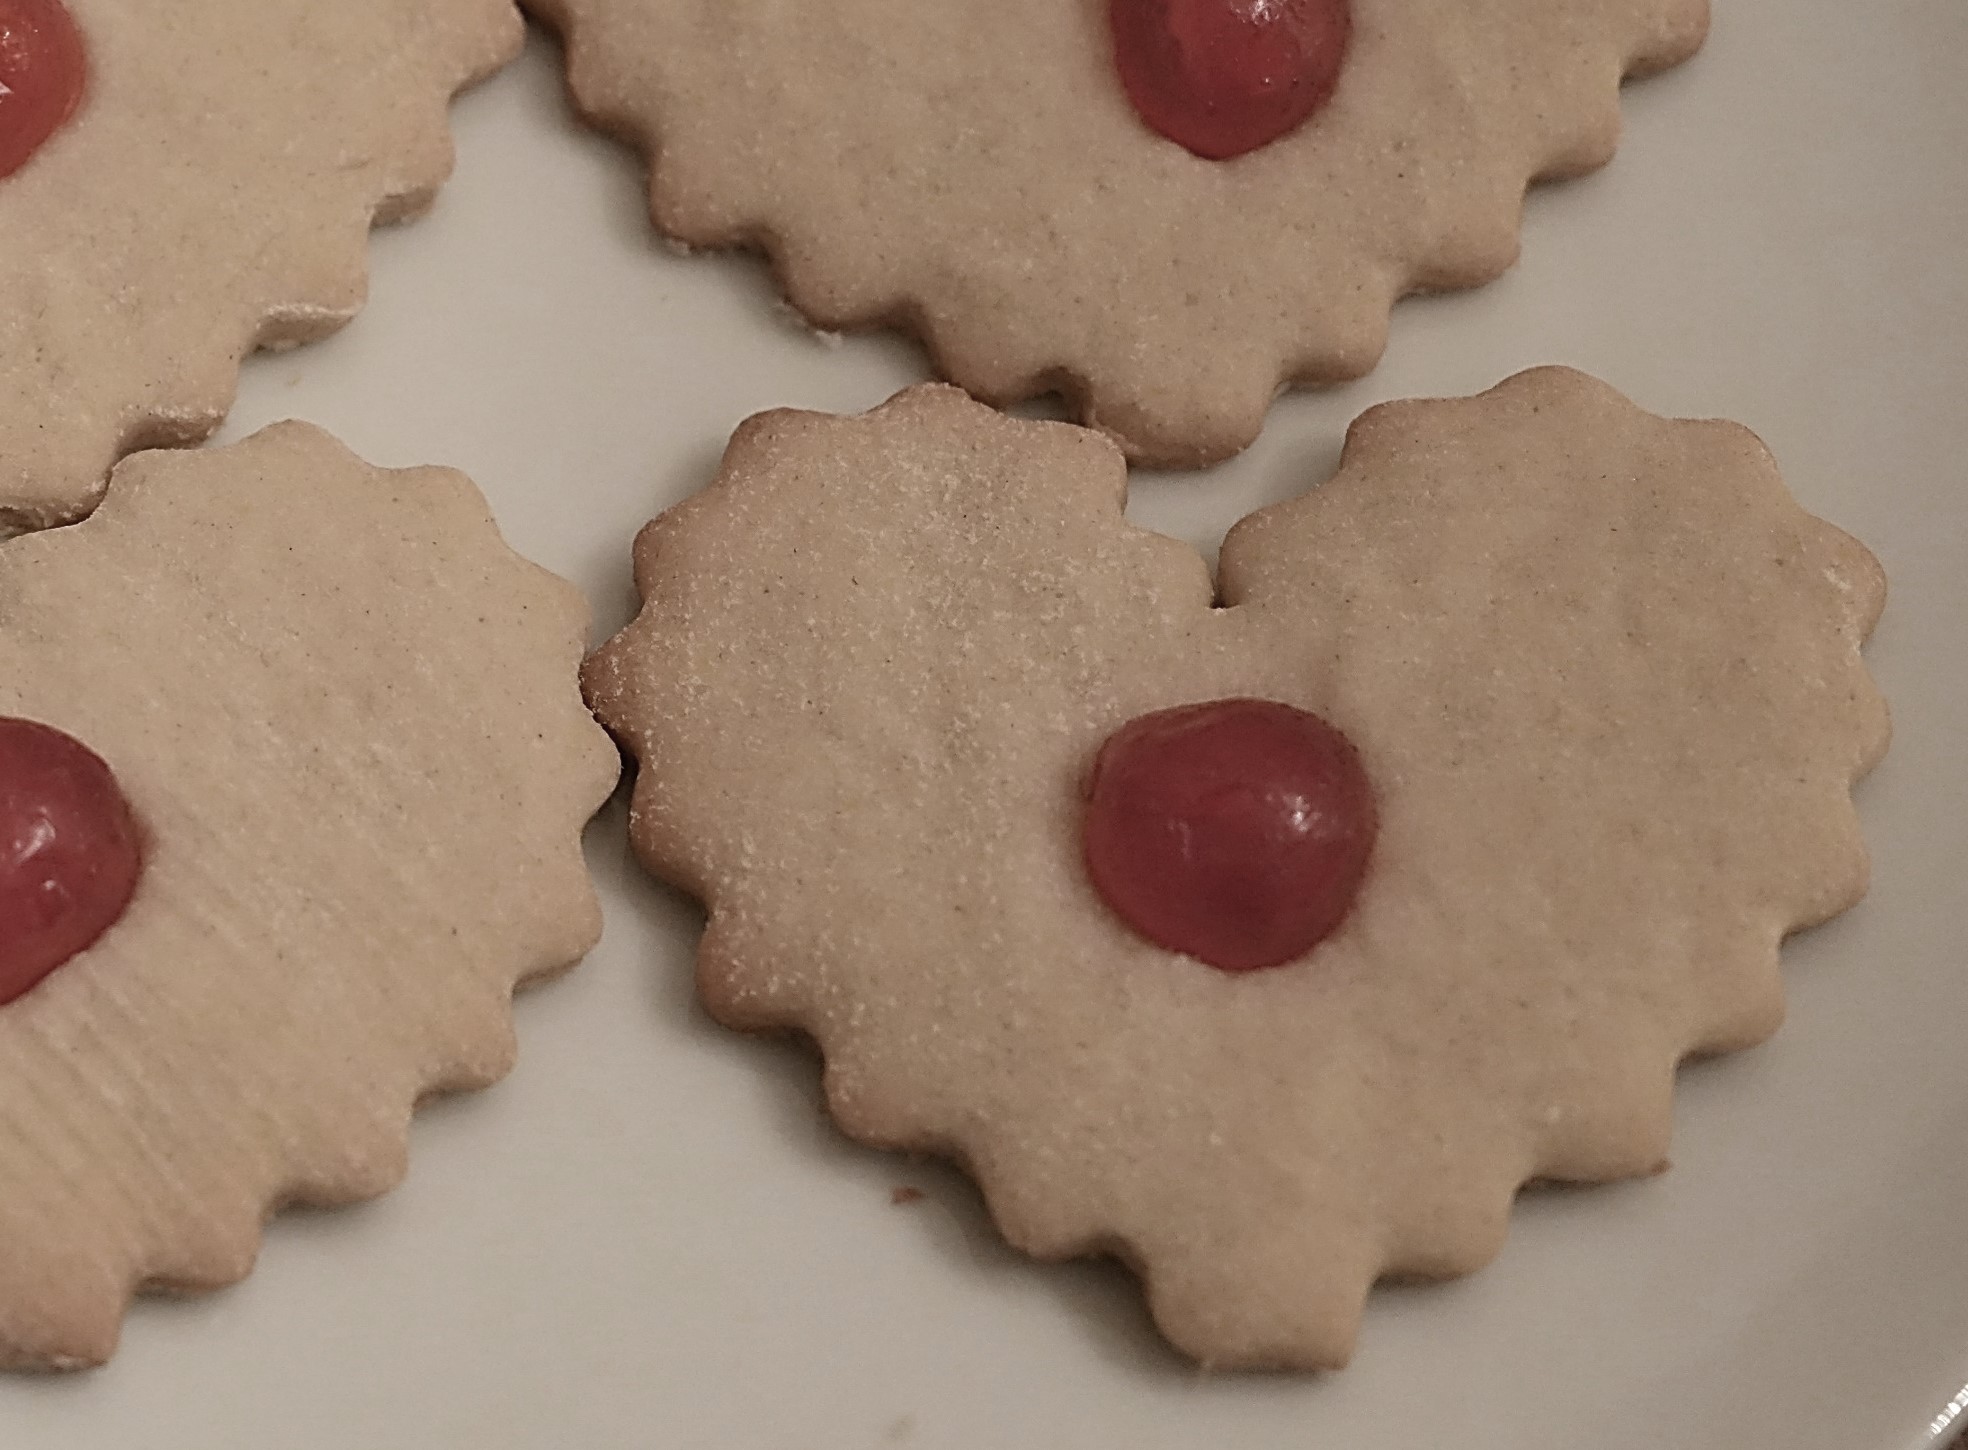 In some ways it is hard to believe that it is already February, and time to start thinking about Valentine’s Day. I have warm memories of helping my children prepare valentines to distribute at school and baking heart-shaped cookies, so when I saw a hundred-year-old recipe for Valentine Wafers, I decided to give them a try.

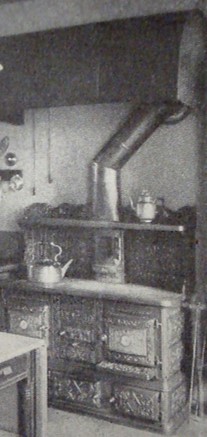 Here’s some abridged tips for caring for wood and coal stoves from a hundred-year old magazine: