Pears are a delightful, but sometimes overlooked, Fall fruit. I recently came across a hundred-year-old recipe for Pear Honey and decided to give it a try. Pear Honey does not actually contain any honey; rather it is a delightful spread that is lovely on bread, toast, pancakes, and other foods. The Pear Honey was sweet with a nuanced tanginess and notes of citrus.
Here is the original recipe:
Source: Farm Journal (August, 1925)
A hundred years ago many children attended small (often one-room) schools. The original recipe suggests using Pear Honey when making school lunches. Peanut Butter and Pear Honey sandwiches would be a nice change of pace from the usual Peanut Butter and Jelly sandwiches.
Peel pears, cut into halves, core, and then grate the pears. Put the grated pears into a Dutch oven or other large pan, and add the water. Do not cover pan. Bring to a boil using medium heat, then reduce heat and gently simmer for 1/2 hour. Stir occasionally. Add sugar, and continue cooking until it is translucent and begins to thicken (approximately an additional 15 – 20 minutes). Remove from heat and stir in the lemon juice.
Ladle into hot one-half pint jars to within 1/4 inch of the top. Wipe jar rim and adjust lids. Process in boiling water bath for 10 minutes.
By mid-September 1925, schools were back in full swing. Students often had to memorize poems. The September, 1925 issue of Farm Journal included a “Good Poem to Recite” about apple butter. There was a section in each issue of the magazine that focused on cooking, sewing, and other household topics. Apparently, the Farm Journal editors thought that teachers read the magazine, and might assign the poem to students to memorize and then recite. Some teachers lived with their families on farms; other teachers in rural areas boarded with farm families.
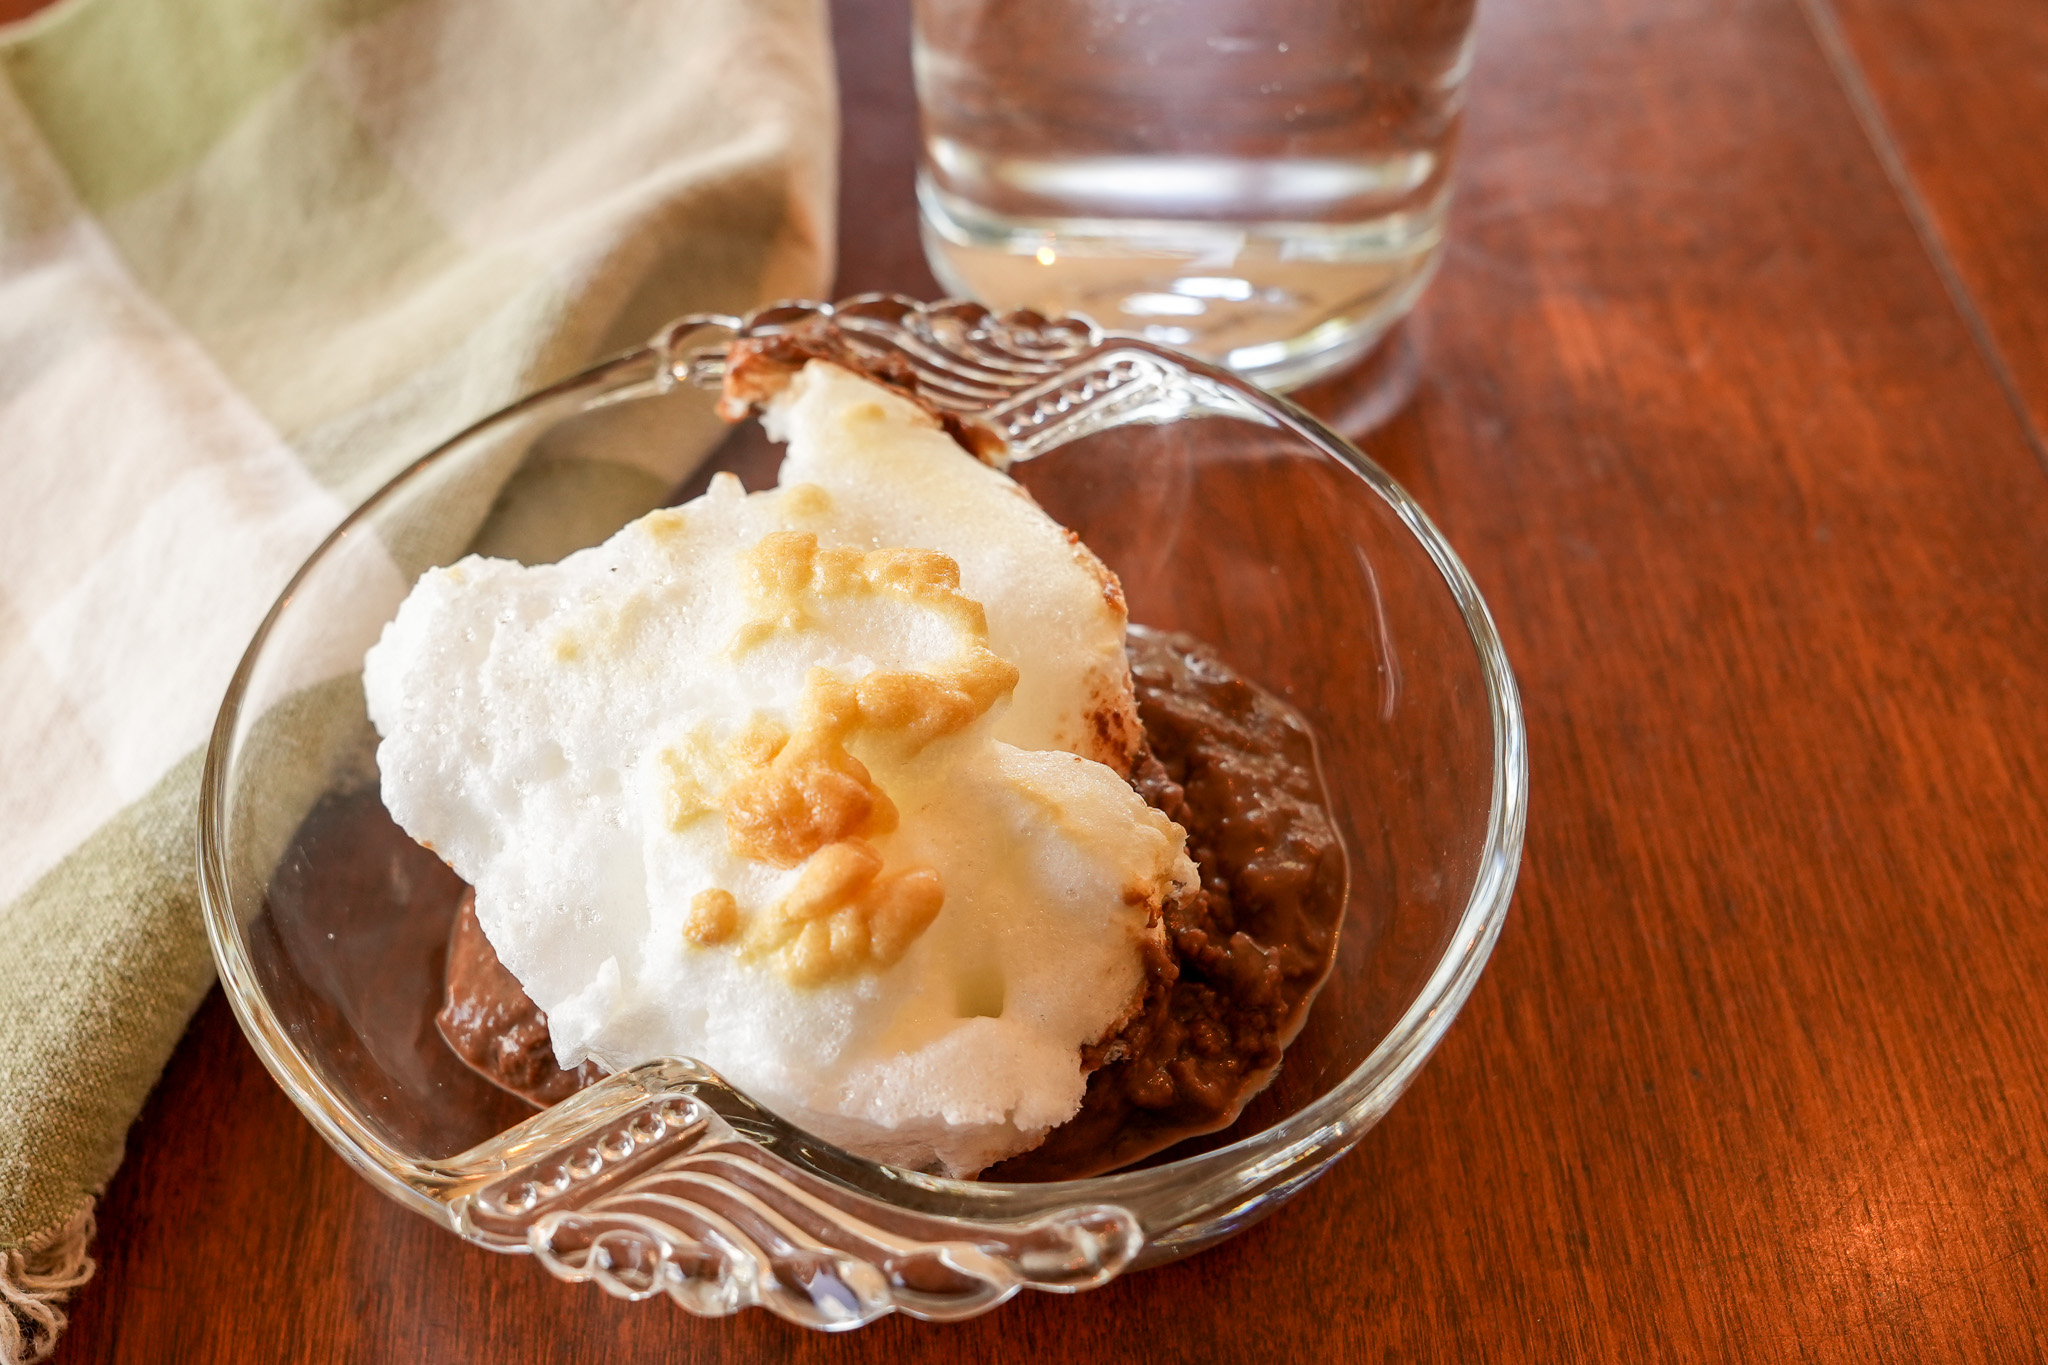
Chocolate pudding is a favorite around my house, so when I saw a hundred-year-old recipe for it (with the twist of topping the pudding with meringue), I just had to give it a try.
The Chocolate Meringue Pudding was rich and creamy, and had just the right amount of sweetness. The delicate and airy meringue with its distinctive crispy exterior almost melted in my mouth and worked well with the chocolatey pudding.
Except for the ubiquitous Lemon Meringue Pie, I seldom see desserts today with meringue toppings. It seems strange to me that meringue seems to be somewhat out of style when it is such a delightful dessert topping.
Meringue looks like it would be hard to make, but it actually is very easy. It only takes a few minutes to beat the egg whites into stiff peaks with an electric mixer, and it is easy to pile the meringue on top of a dessert – and it always looks awesome after the meringue has been lightly browned in the oven. Cooks a hundred years ago would have typically beaten the egg whites by hand or used a hand mixer. It would have taken much longer to beat the egg whites back then – but meringue was more popular back then. Go figure.
Here’s the original recipe:
Source: The Daily Argus-Leader Home Economics and Cook Book (Newspaper Supplement), Sioux Falls, South Dakota (1925)
This recipe makes a relatively small amount of pudding, and was the perfect amount for my husband and me.
Preheat oven to 350° F. Put 1/2 cup milk and the cornstarch in a small bowl; stir until combined and smooth. Put the remaining 2 1/2 cups of milk and the baking chocolate in a saucepan. Using medium heat scald the milk while stirring constantly. Gradually add the cornstarch mixture while continuing to stir. Reduce heat to low, and cook for 15 minutes while stirring constantly. (It is important to stir to the bottom of the pan and to keep the temperature low to avoid scorching the pudding at the bottom of the pan.) Remove from heat.
Put egg yolks in a small bowl and beat with a whisk or fork until smooth. Place a small amount (approximately 1 – 2 tablespoons) of the hot mixture into dish with the beaten egg; stir quickly, then gradually add the egg combination to the hot mixture while stirring rapidly. (The egg yolks are first combined with a little of the hot mixture to prevent them from turning into scrambled eggs when introduced into the hot combination.) Reserve 2 tablespoons of the powdered sugar, then add the remaining sugar and salt into the hot mixture; stir to combine. Put the mixture in a baking dish and bake for 20 minutes.
In the meantime, make the meringue. Place egg whites in a bowl, and beat the egg whites until they form stiff peaks. Gradually add the 2 tablespoons of powdered sugar and vanilla while continuing to beat.
Remove pudding from oven and spoon the meringue on top and swirl decoratively. Return to oven and cook for an additional 8-10 minutes or until the meringue is lightly browned. Can be served hot or cold.
Recently harvested new potatoes are delectable. These small, very fresh potatoes are so tender and delicately sweet, and have a firm, yet creamy texture. I love them boiled, roasted, and in potato salads, especially when the skin has been scraped, and there are colorful bits of skin still clinging to the potatoes.
According to a 1925 home economics textbook, School and Home Cooking by Carlotta A. Greer, potatoes are prepared for boiling by paring “them as thin as possible, or in the case of new potatoes, scrape them.”
My mother and grandmother taught me to scape potatoes with a paring knife, and it is very easy to do. The feathery skin is so different from the leathery skin of older potatoes. When I was recently scraping potatoes, it dawned on me that I never taught my children how to scrape them. In the big scheme of things, this is probably a minor omission, but it made me wonder if people commonly scrape new potatoes today. When scraping new potatoes, the potatoes should first be washed. The potatoes are then scraped by holding a paring knife at angle where the blade is dragging slightly against potato. The blade is then pulled across the potato to remove the skin. After the potatoes have been scraped, they should be rinsed to remove loose skin fragments. If desired, the potato eyes can be removed with the tip of the knife. It’s okay if some of the skin remains.
The iconic novel jazz age novel, The Great Gatsby, was published in 1925. Here’s a description of the foods served at one of Gatsby’s parties:
On buffet tables, garnished with glistening hors d’œuvres, spiced baked hams crowded against salads of harlequin designs and pastry pigs and turkeys bewitched to a dark gold. In the main hall a bar with a real brass rail was set up, and stocked with gins and liquors and with cordials so long forgotten that most of his female guests were too young to know one from another (Chapter 3).
There apparently were a variety of salads that had “harlequin designs.” I knew that “harlequin” can mean a masked comic character who wears bright clothes, but I was uncertain of the meaning of the word in this context, so I looked it up. According the Cambridge Dictionary, another definition of harlequin is, “fancifully varied in color, decoration, etc.”
“Salads of harlequin designs” sounds beautiful, so when I came across a recipe in a hundred-year-old cookbook for Harlequin Salad, I just had to give it a try. The tasty, colorful, vibrant salad contained shredded red and green cabbage, chopped beets and carrots, peas, and onion in a vinaigrette dressing.
Here’s the original recipe:
Source: Rumford Complete Cookbook (1925)
The recipe called for French peas. I assumed this referred to green peas. It also called for white cabbage. I assume this is another name for the typical green cabbage.
I mixed all the ingredients together since the recipe said that “the effect is better if they are mixed,” though I’m intrigued by the possibility of creating an incredible harlequin design by arranging in “heaps.”
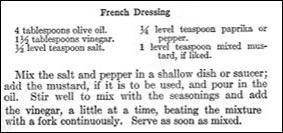
Here is the recipe for French Dressing that was in the same cookbook that contained the Harlequin Salad recipe:
Source: Rumford Complete Cook Book (1925)
Both the salad recipe and the salad dressing recipe called for salt and pepper (or paprika). I only put the seasonings in the dressing, and used 1/8 teaspoon of pepper and 1/8 teaspoon of paprika (as well as 1/3 teaspoon salt).
1 cup green peas (I used frozen peas that had been thawed.)
1/2 cup cooked beets, coarsely chopped (cool before layering in jar)
1/2 cup cooked carrots, coarsely chopped (cool before layering in jar)
dressing (see below)
Put all ingredients (except dressing) in a bowl and lightly toss to mix. Gently stir in the dressing, then chill for at least an hour.
Dressing
1/3 teaspoon salt
1/8 teaspoon pepper
1/8 teaspoon paprika
1 teaspoon prepared mustard
4 tablespoons olive oil
1 1/2 tablespoons vinegar
Put the salt, pepper, paprika, and mustard in a small bowl; stir to combine. Add the olive oil and stir until mixed. Slowly add the vinegar, a little at a time, while stirring continuously with a fork.
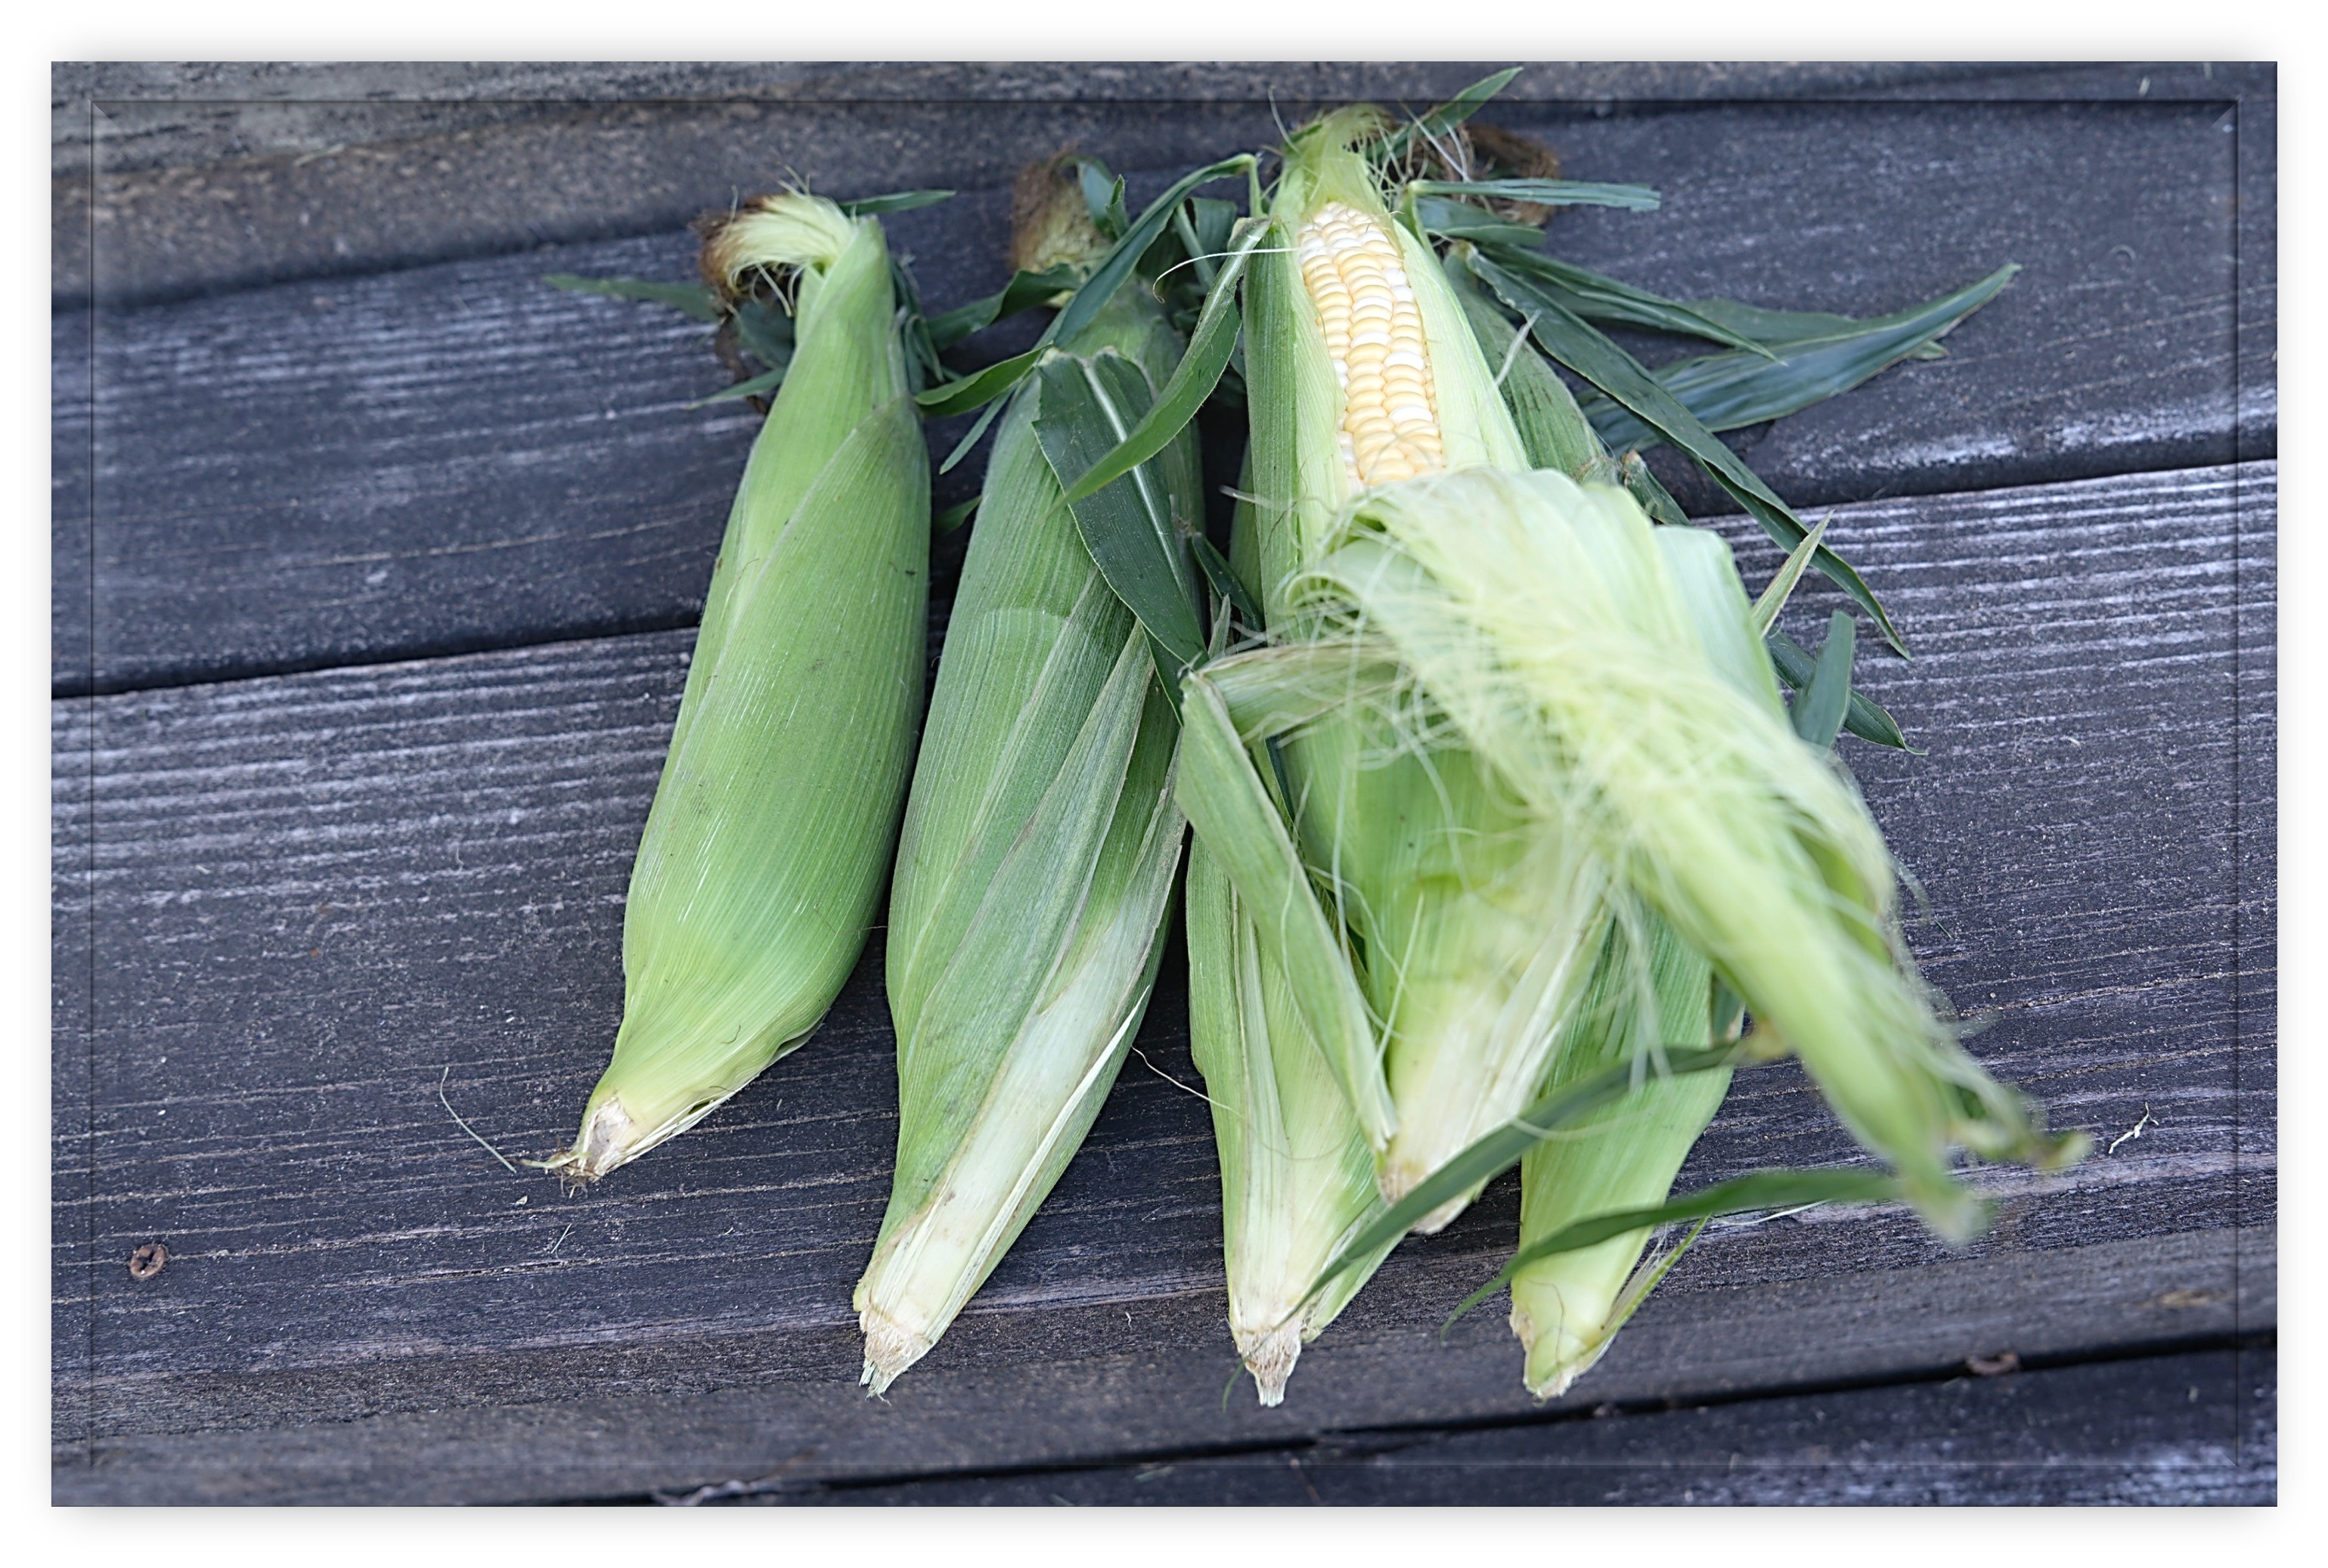
I occasionally see recipes that call for “green corn” in hundred-year-old cookbooks. Over the years, I’ve always skipped over those recipes because I was not sure what green corn was. Well, now I know. It’s corn on the cob (sweet corn). Here’s what it said in a 1925 home economics textbook:
GREEN CORN
In selecting corn for cooking, choose those ears that are filled with well-developed kernels, from which milky juice flows when pressed with the thumb. Cook as soon as possible after gathering.
To boil green corn remove silk and husk from the corn, place the ears in boiling water. Cook the corn until no juice flows from the kernels when pressed (usually from 12 to 20 minutes). Serve whole on a platter. The platter may be covered with a folded napkin.
To bake green corn select 6 ears. Remove the corn from the cob as follows: Cut through the center of each row of grains, slice off the tops of the kernels, and then scrape the pulp thoroughly from the cob. Put in a baking dish, add:
3/4 cup milk
1 tablespoonful butter or substitute
1 teaspoonful salt
pepper
Bake in a hot oven (400° F.) 45 minutes. Serve hot.
School and Home Cooking (1925) by Carlotta C. Greer
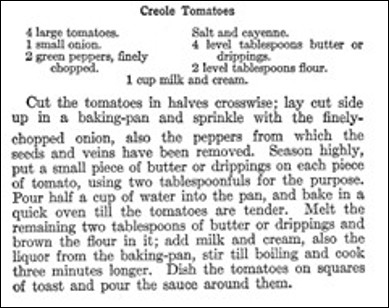
Tasty, fresh, ripe tomatoes from the garden or farmers’ market are at their peak, so I browsed through my hundred-year-old cookbooks for a tomato recipe. I found a recipe for Creole Tomatoes and decided to give it a try. The recipe called for cutting tomatoes in half, topping with chopped onion and green pepper (and a sprinkle of cayenne pepper), and then baking until hot and tender. The baked tomatoes are served on squares of toast that are surrounded by a lovely sauce made with browned flour.
I knew this recipe was a winner when my husband, after his first bite, said, “This is really good.” The tender, sweet tomatoes paired perfectly with the slightly bitter and tangy onions and green peppers, while the cayenne pepper added a bit of heat – and the toast and sauce provided additional delightful textures and flavors.
Here’s the original recipe:
Source: Rumford Complete Cookbook (1925)
This recipe called for four large tomatoes – which would probably make four (if everyone had two squares of toast and a whole tomato) to eight (if everyone had a square of toast with 1/2 tomato) servings. This seemed like a lot of servings, so I halved the recipe when I updated it (though I did use the total amount of water called for in the original recipe). One-half cup of water was needed to adequately cover the bottom of the baking dish when baking the tomato halves.
I used butter rather than meat drippings when I made this recipe (though bacon drippings might add a nice additional dimension). The recipe called for using a mixture of milk and cream when making the sauce; I just used milk which worked fine, though the sauce was probably slightly less rich than if the mixture had been used.
This recipe called for melting the butter, then stirring in the flour and browning. I think that the usual way to brown flour is to put it in a heavy skillet, then heat using medium heat for a few minutes while stirring constantly, so that is what I did. After the flour was lightly browned, I added the butter and continued stirring until it was melted and combined with the browned flour.
I trimmed the edges off the toast and cut the pieces into squares as directed in the recipe, but whole slices of toast would work fine.
1 tablespoon + 1 tablespoon butter or meat drippings (I used butter.)
1 tablespoon flour
1/2 cup milk
4 slices toast
Preheat oven to 425° F. In a small bowl, combine the chopped onion and green pepper. Set aside.
Remove the stem from the tomatoes, then cut them in half crossways. Lay the cut tomatoes (cut side up) in a baking dish. (I used an 8-inch square baking dish.) Evenly spread the chopped onion and green pepper mixture over the top of cut tomatoes. Sprinkle with salt and cayenne pepper. Use 1 tablespoon of the butter to put small dabs of butter on top of tomatoes. Pour the water into the baking dish around the tomatoes. Put in oven and bake until the tomatoes are tender and hot (about 20 – 25 minutes).
In the meantime, put the flour in a small heavy skillet (a cast iron skillet works well). Using medium heat, lightly brown the flour while stirring constantly. When the flour is lightly browned, add the butter. Continue stirring until the butter is melted, and the butter and flour are combined. Slowly stir in the milk and the liquid from the baking pan (after the tomatoes are baked); bring to a boil while stirring constantly.
If desired, remove the crusts from the toast and trim the toast into squares. (Whole slices of toast would also work.)
To serve, put a baked tomato half on each square of toast. Pour the sauce around the toast squares.


 When scraping new potatoes, the potatoes should first be washed. The potatoes are then scraped by holding a paring knife at angle where the blade is dragging slightly against potato. The blade is then pulled across the potato to remove the skin. After the potatoes have been scraped, they should be rinsed to remove loose skin fragments. If desired, the potato eyes can be removed with the tip of the knife. It’s okay if some of the skin remains.

 I occasionally see recipes that call for “green corn” in hundred-year-old cookbooks. Over the years, I’ve always skipped over those recipes because I was not sure what green corn was. Well, now I know. It’s corn on the cob (sweet corn). Here’s what it said in a 1925 home economics textbook: