There are many recipes in hundred-year-old cookbooks that call for graham flour. Back then, graham flour was a popular type of flour, and cookbooks contained recipes for graham bread, graham muffins, graham pudding, and other graham foods. But, now graham flour is almost impossible to find, so when browsing through hundred-year-old cookbooks, I generally skip over any recipes that call for it. I even did a post several years ago titled “Why is it so Difficult to Find Graham Flour?”
But, I recently looked through Beth Dooley’s Forever Green Cookbook, and came across this statement:
Kernza flour resembles whole wheat flour and has a nutty, earthy flavor that is reminiscent of graham flour.
I was ecstatic. If Beth was right, maybe I could make some of those old recipes that called for graham flour. I have known Beth since I took a food writing class from her many years ago. Beth is a James Beard Award-winning author, has written numerous cookbooks, and is a food writer for the Minneapolis Star Tribune. She also has a Substack newsletter called Beth Dooley’s Kitchen, as well as held an endowed chair at the Minnesota Institute for Sustainable Agriculture at the University of Minnesota. Much of her recent work focuses on integrating traditional knowledge with the latest science to help support healthy eating and regenerative farming practices. Soon Beth and I had an email conversation going about how to substitute Kernza for graham flour.
What is Graham Flour?
Graham flour is a coarsely ground whole wheat flour that contains the endosperm, bran, and wheat germ of the wheat kernels. Year ago, it was considered a health food. Graham flour is named after its inventor Sylvester Graham. He began making graham flour in the 1830s, and promoted it as part of a health movement which encouraged eating vegetarian meals and unseasoned foods.
Even if graham flour is found today, it may not contain the wheat germ. Modern graham flours sometimes have most of the wheat germ removed to prolong shelf life and to help keep it from going rancid. In the past, I sometimes substituted whole wheat flour for graham flour, but was not totally pleased with the results.
What is Kernza?
Kernza is an intermediate wheatgrass. According to the Forever Green Cookbook:
Kernza: This relative of wheat, developed by The Land Institute and the Forever Green Initiative, is high in nutrients and long on flavor. Unlike wheat, it’s a perennial crop and its ecological benefits to the land are immense – filtering water, retaining topsoil and nutrients, and providing habitat for wildlife while producing a kernel that may be milled for flour.
A New York Times article provides additional information about the environmental benefits of Kernza:
Kernza, which can be used as a substitute for wheat, has roots that can stretch more than 10 feet into the ground, allowing it to absorb more carbon dioxide than many crops. And because Kernza is a perennial grain and doesn’t need to be replanted each year, it requires less water and fertilizer than traditional wheat, making it a boon for cost-conscious farmers.
Updating a Hundred-Year Old Graham Nut Bread Recipe to Use Kernza Flour
I looked through my 1926 cookbooks, and found several recipes that called for graham flour. I shared them with Beth, and we decided that a recipe for Graham Nut Bread would be a good one to try updating:

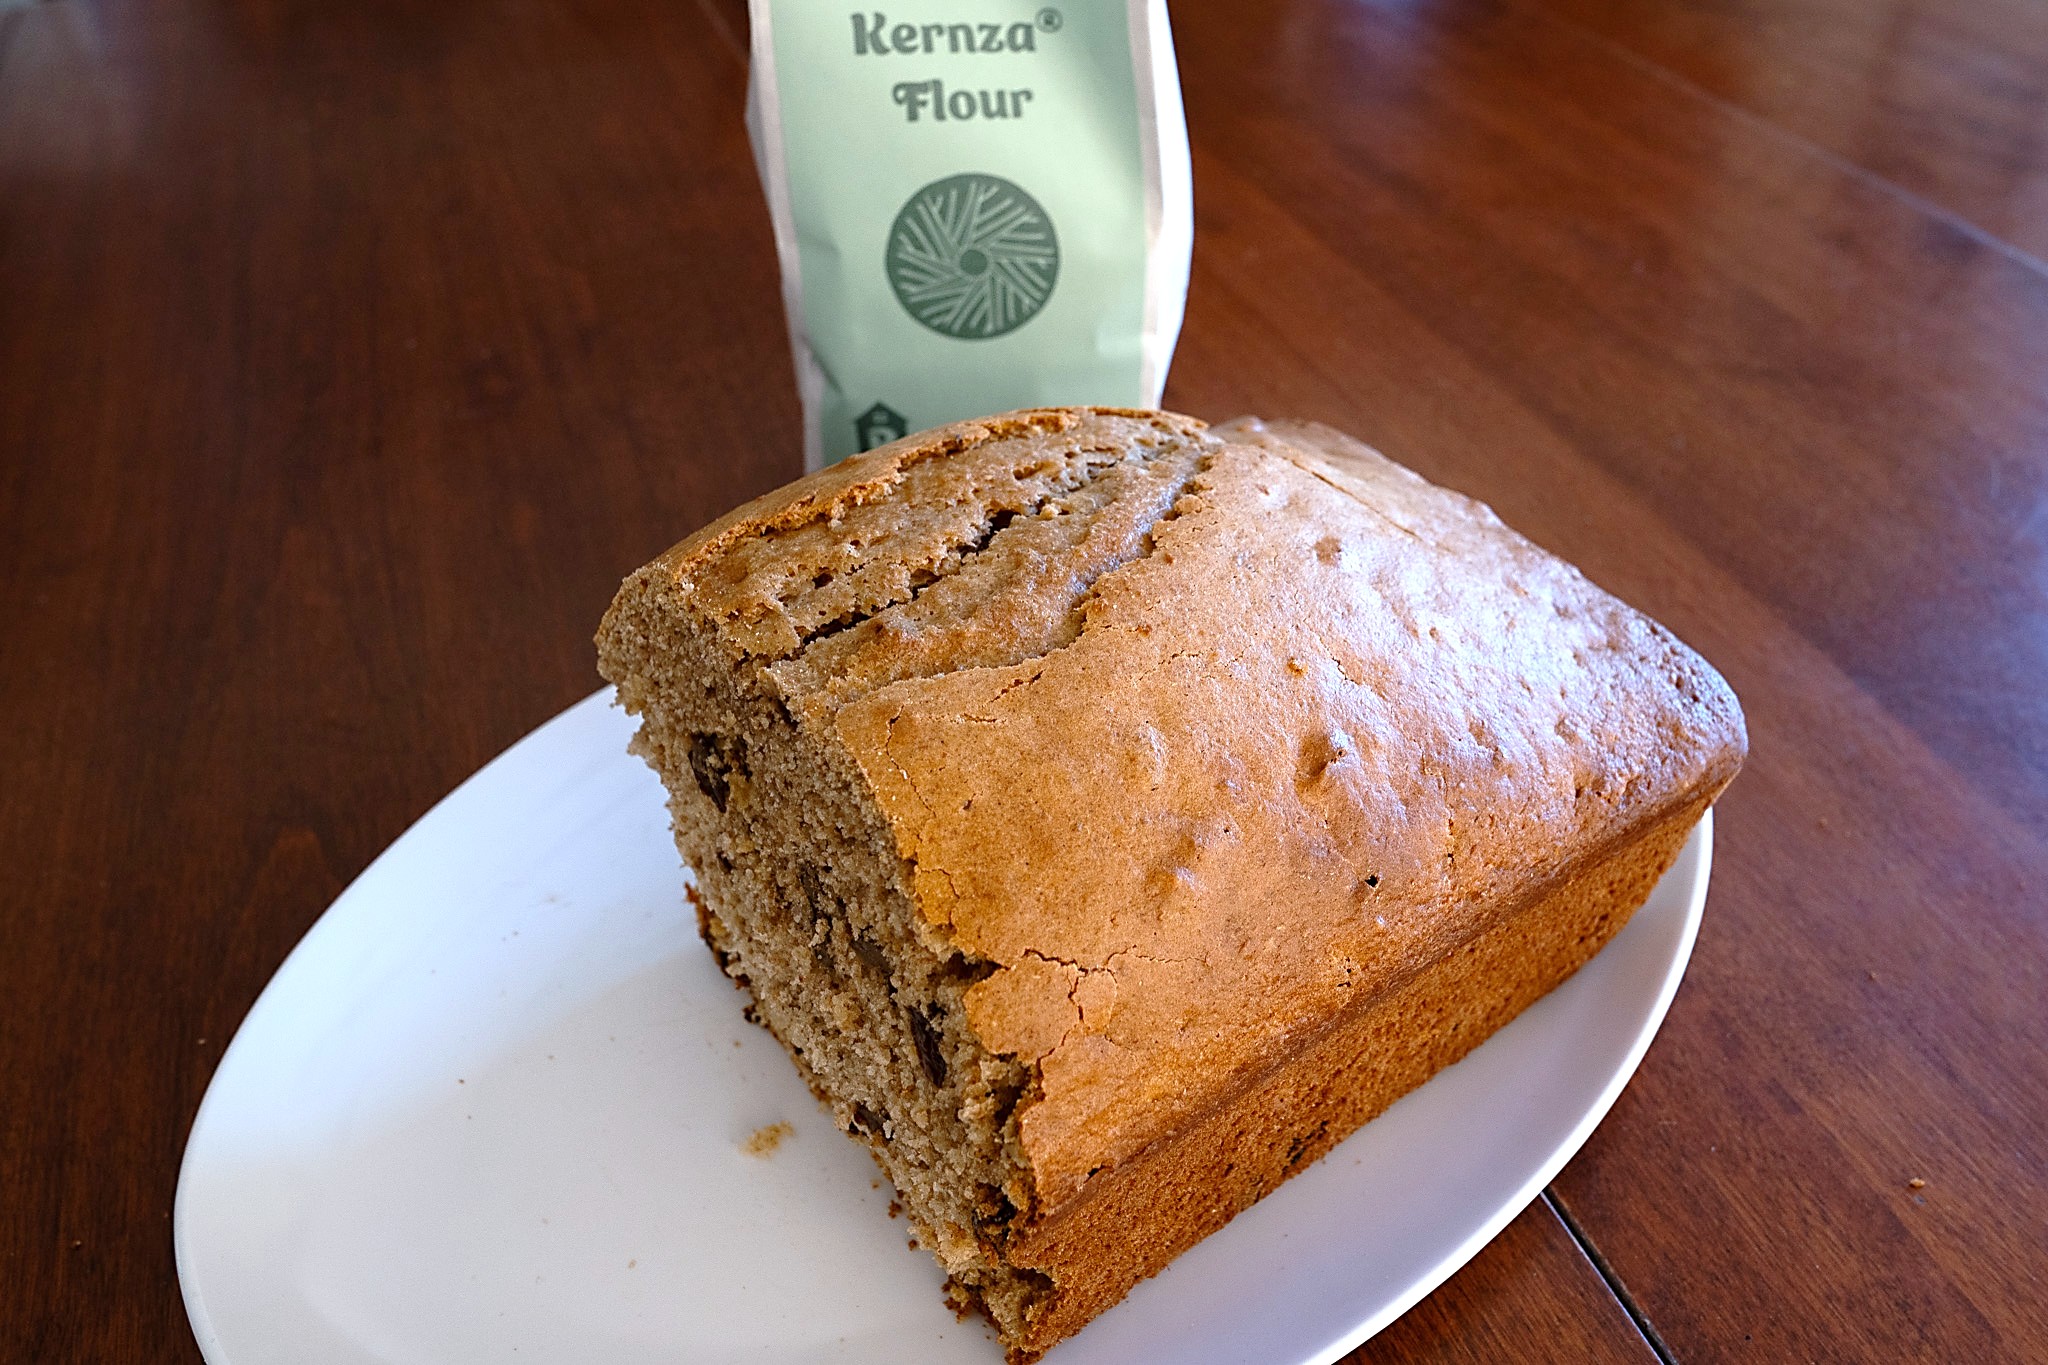
We decided to substitute Kernza flour for the graham flour at a 1:1 ratio. In other words, instead of using 2 cups of graham flour, I used 2 cups of Kernza flour. Since the old recipe called for baking the bread in a “moderate” oven, I baked it at 350° F. until a wooden pick came out clean (about 1 hour and 15 minutes).
The bread was sweet, had a rustic, firm texture, and contained lots of chopped walnuts and raisins. It was not crumbly. In my opinion, the crust was a little thick, though when I took it to a coffee group gathering, it was a huge success. They loved it, and two people even asked if they could have slices to take home.
I also shared my experience making the bread with Beth, and she said that the crust might be better if I baked the bread at a lower temperature (325° F). This would also mean cooking it for a little longer. Additionally, she suggested adding ¼ cup of melted butter.
I made the bread again using Beth’s suggestions, and the bread was perfect. The crust had just the right amount of crustiness, and the bread still had a lovely rustic, firm texture. Success! Kernza flour was a great substitute for graham flour (and it has the added bonus of being good for the environment).
A minor issue is that many stores do not carry Kernza flour, but it is available at some food co-ops and online. Hopefully, before too long, it will be more readily available.
Here is the updated recipe:
Kernza Nut Bread
2 cups all-purpose flour
2 cups Kernza flour
3 teaspoons baking powder
2 eggs, beaten
1 cup sugar
1/8 teaspoon salt
¼ cup butter, melted
2 cups milk
1 cup walnuts, chopped
1 cup raisins
Step 1. Preheat oven to 325° F. Grease a 9” X 5” loaf pan.
Step 2. Combine Kernza flour, all-purpose flour, and baking powder; set aside.
Step 3. Put the eggs, sugar, and salt in a mixing bowl; stir to combine. Add butter, then stir. Alternately add the flour mixture and the milk (add about a third of each at a time). Stir until just mixed.
Step 4. Add chopped walnuts and raisins; stir just enough to distribute throughout the batter.
Step 5. Put batter into prepared loaf pan.
Step 6. Put in oven and bake for about 1 hour and 30 minutes (or until a wooden pick comes out clean). Remove bread from oven, and allow it to cool for about 10 minutes before removing it from pan.


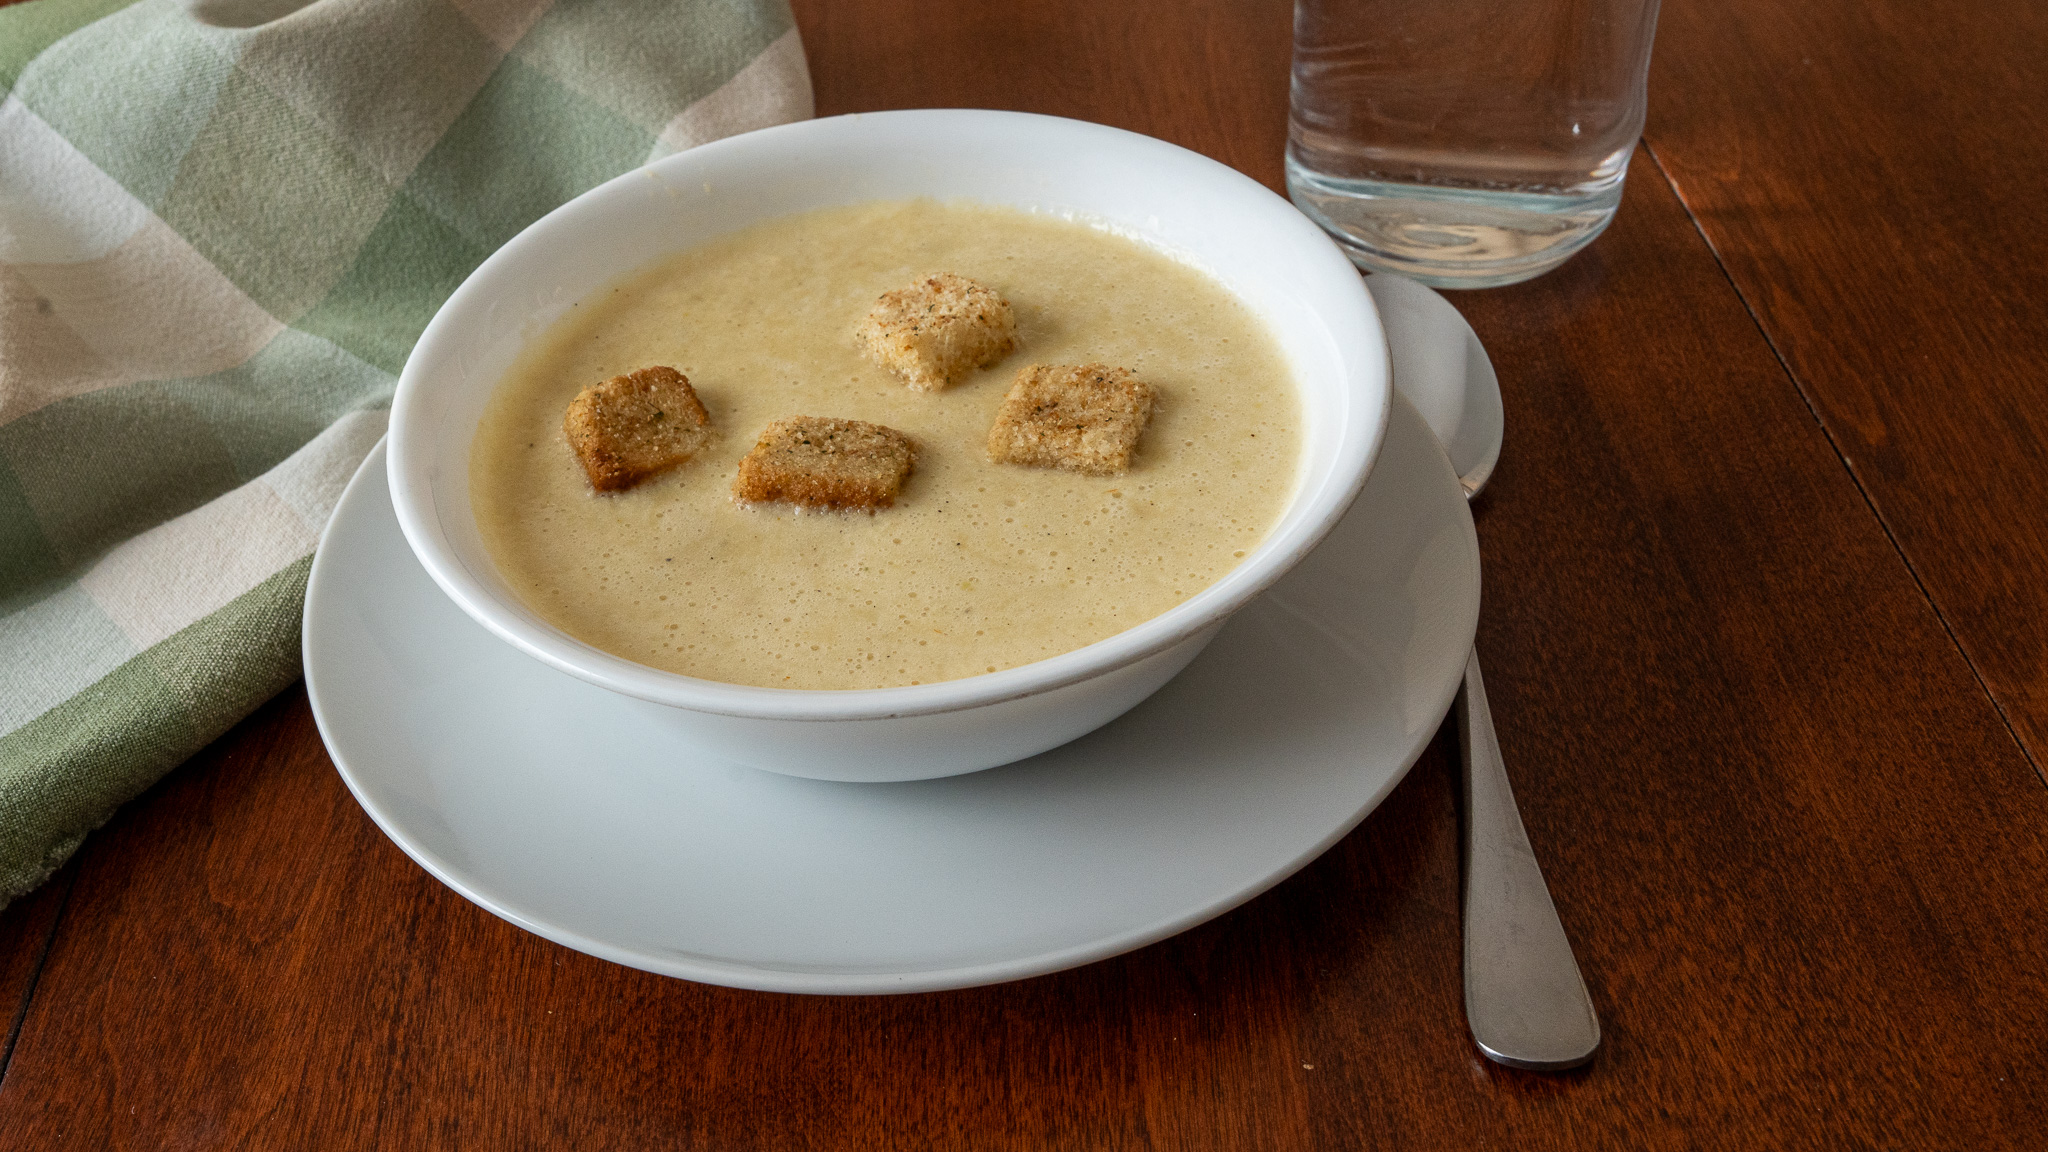 Brrr . . . it’s cold outside. I’ve also made a new year’s resolution not to waste food. The winter weather, plus my resolution, led me to search for hundred-year-old soup recipes that used left-over vegetables. I found an old general description of how to make soup using left-over vegetables as well as a recipe for Standard Cream of Vegetable Soup. I combined the directions from the two sources to make a lovely Cream of Vegetable Soup.
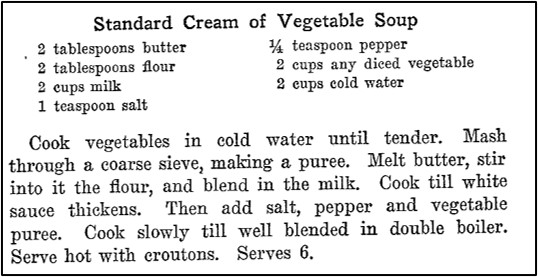
 Helena Muffly
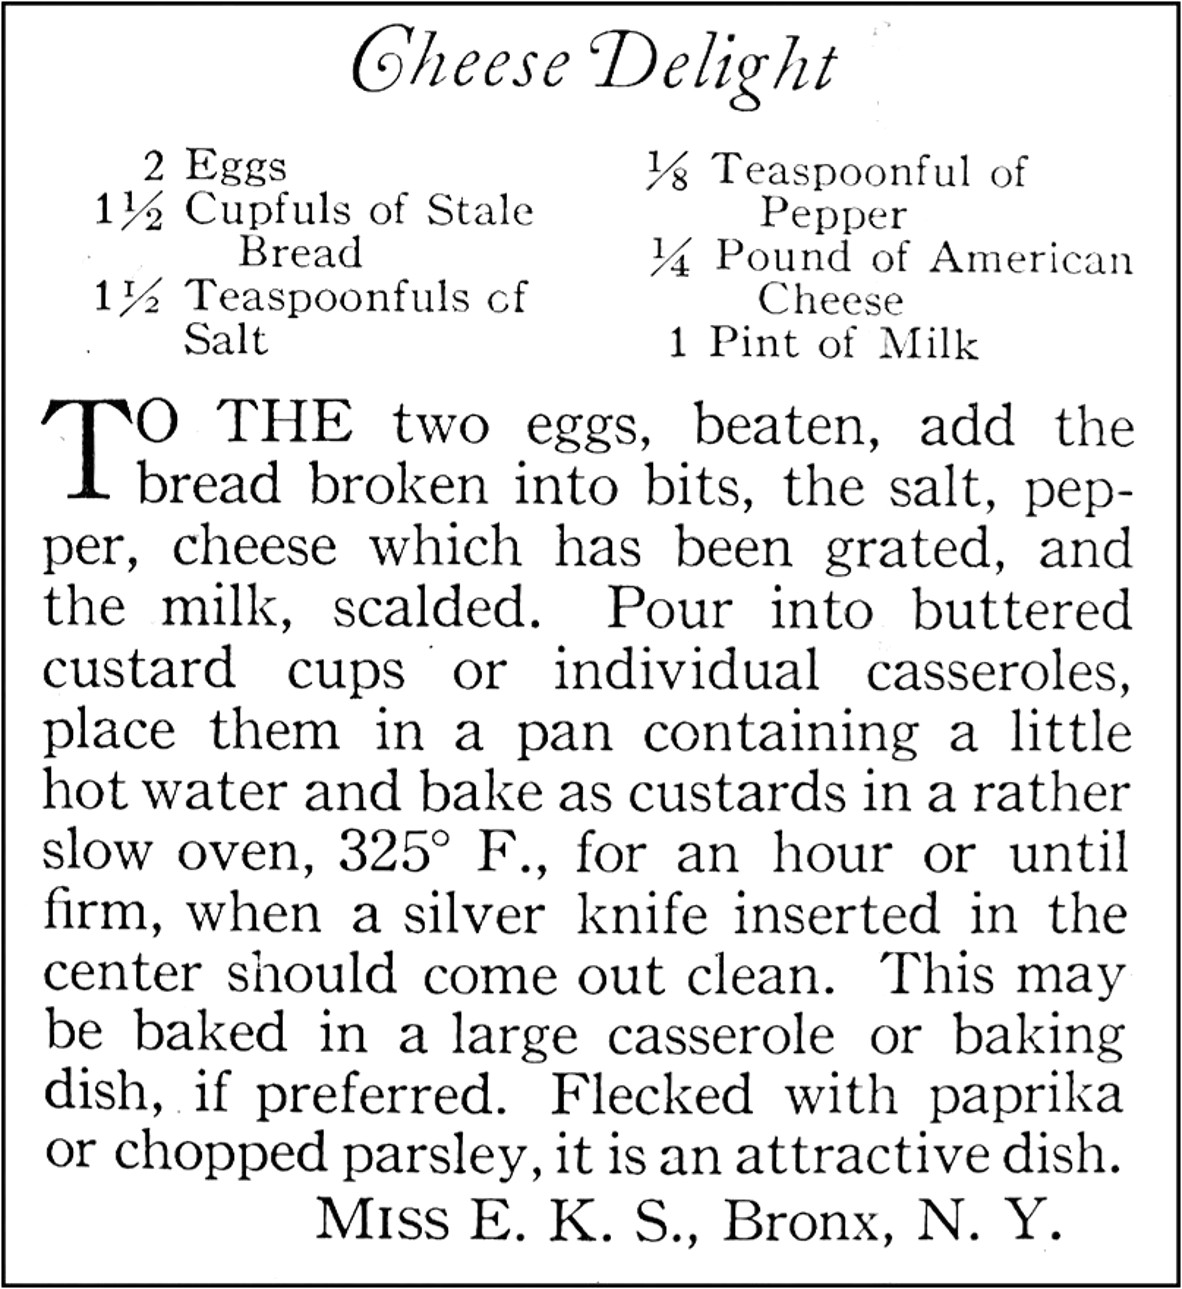
 As the holidays are beginning to wind down, I’m in the mood for comfort food. So, when I came across a hundred-year-old recipe for Cheese Delight, I was intrigued and decided to give it a try.