Graham flour is a coarsely ground whole wheat flour that contains the endosperm, the bran, and the wheat germ. Year ago it was considered a health food. Graham flour is named after its inventor Sylvester Graham. He began making graham flour in the 1830s, and promoted it as part of a health movement which encouraged eating vegetarian meals and unseasoned foods.
A hundred years ago graham flour was a popular type of flour, and cookbooks contained recipes for graham bread, graham muffins, graham pudding, and other graham foods. Several years ago I bought graham flour at my local store and made a couple old recipes that used graham flour for this blog:
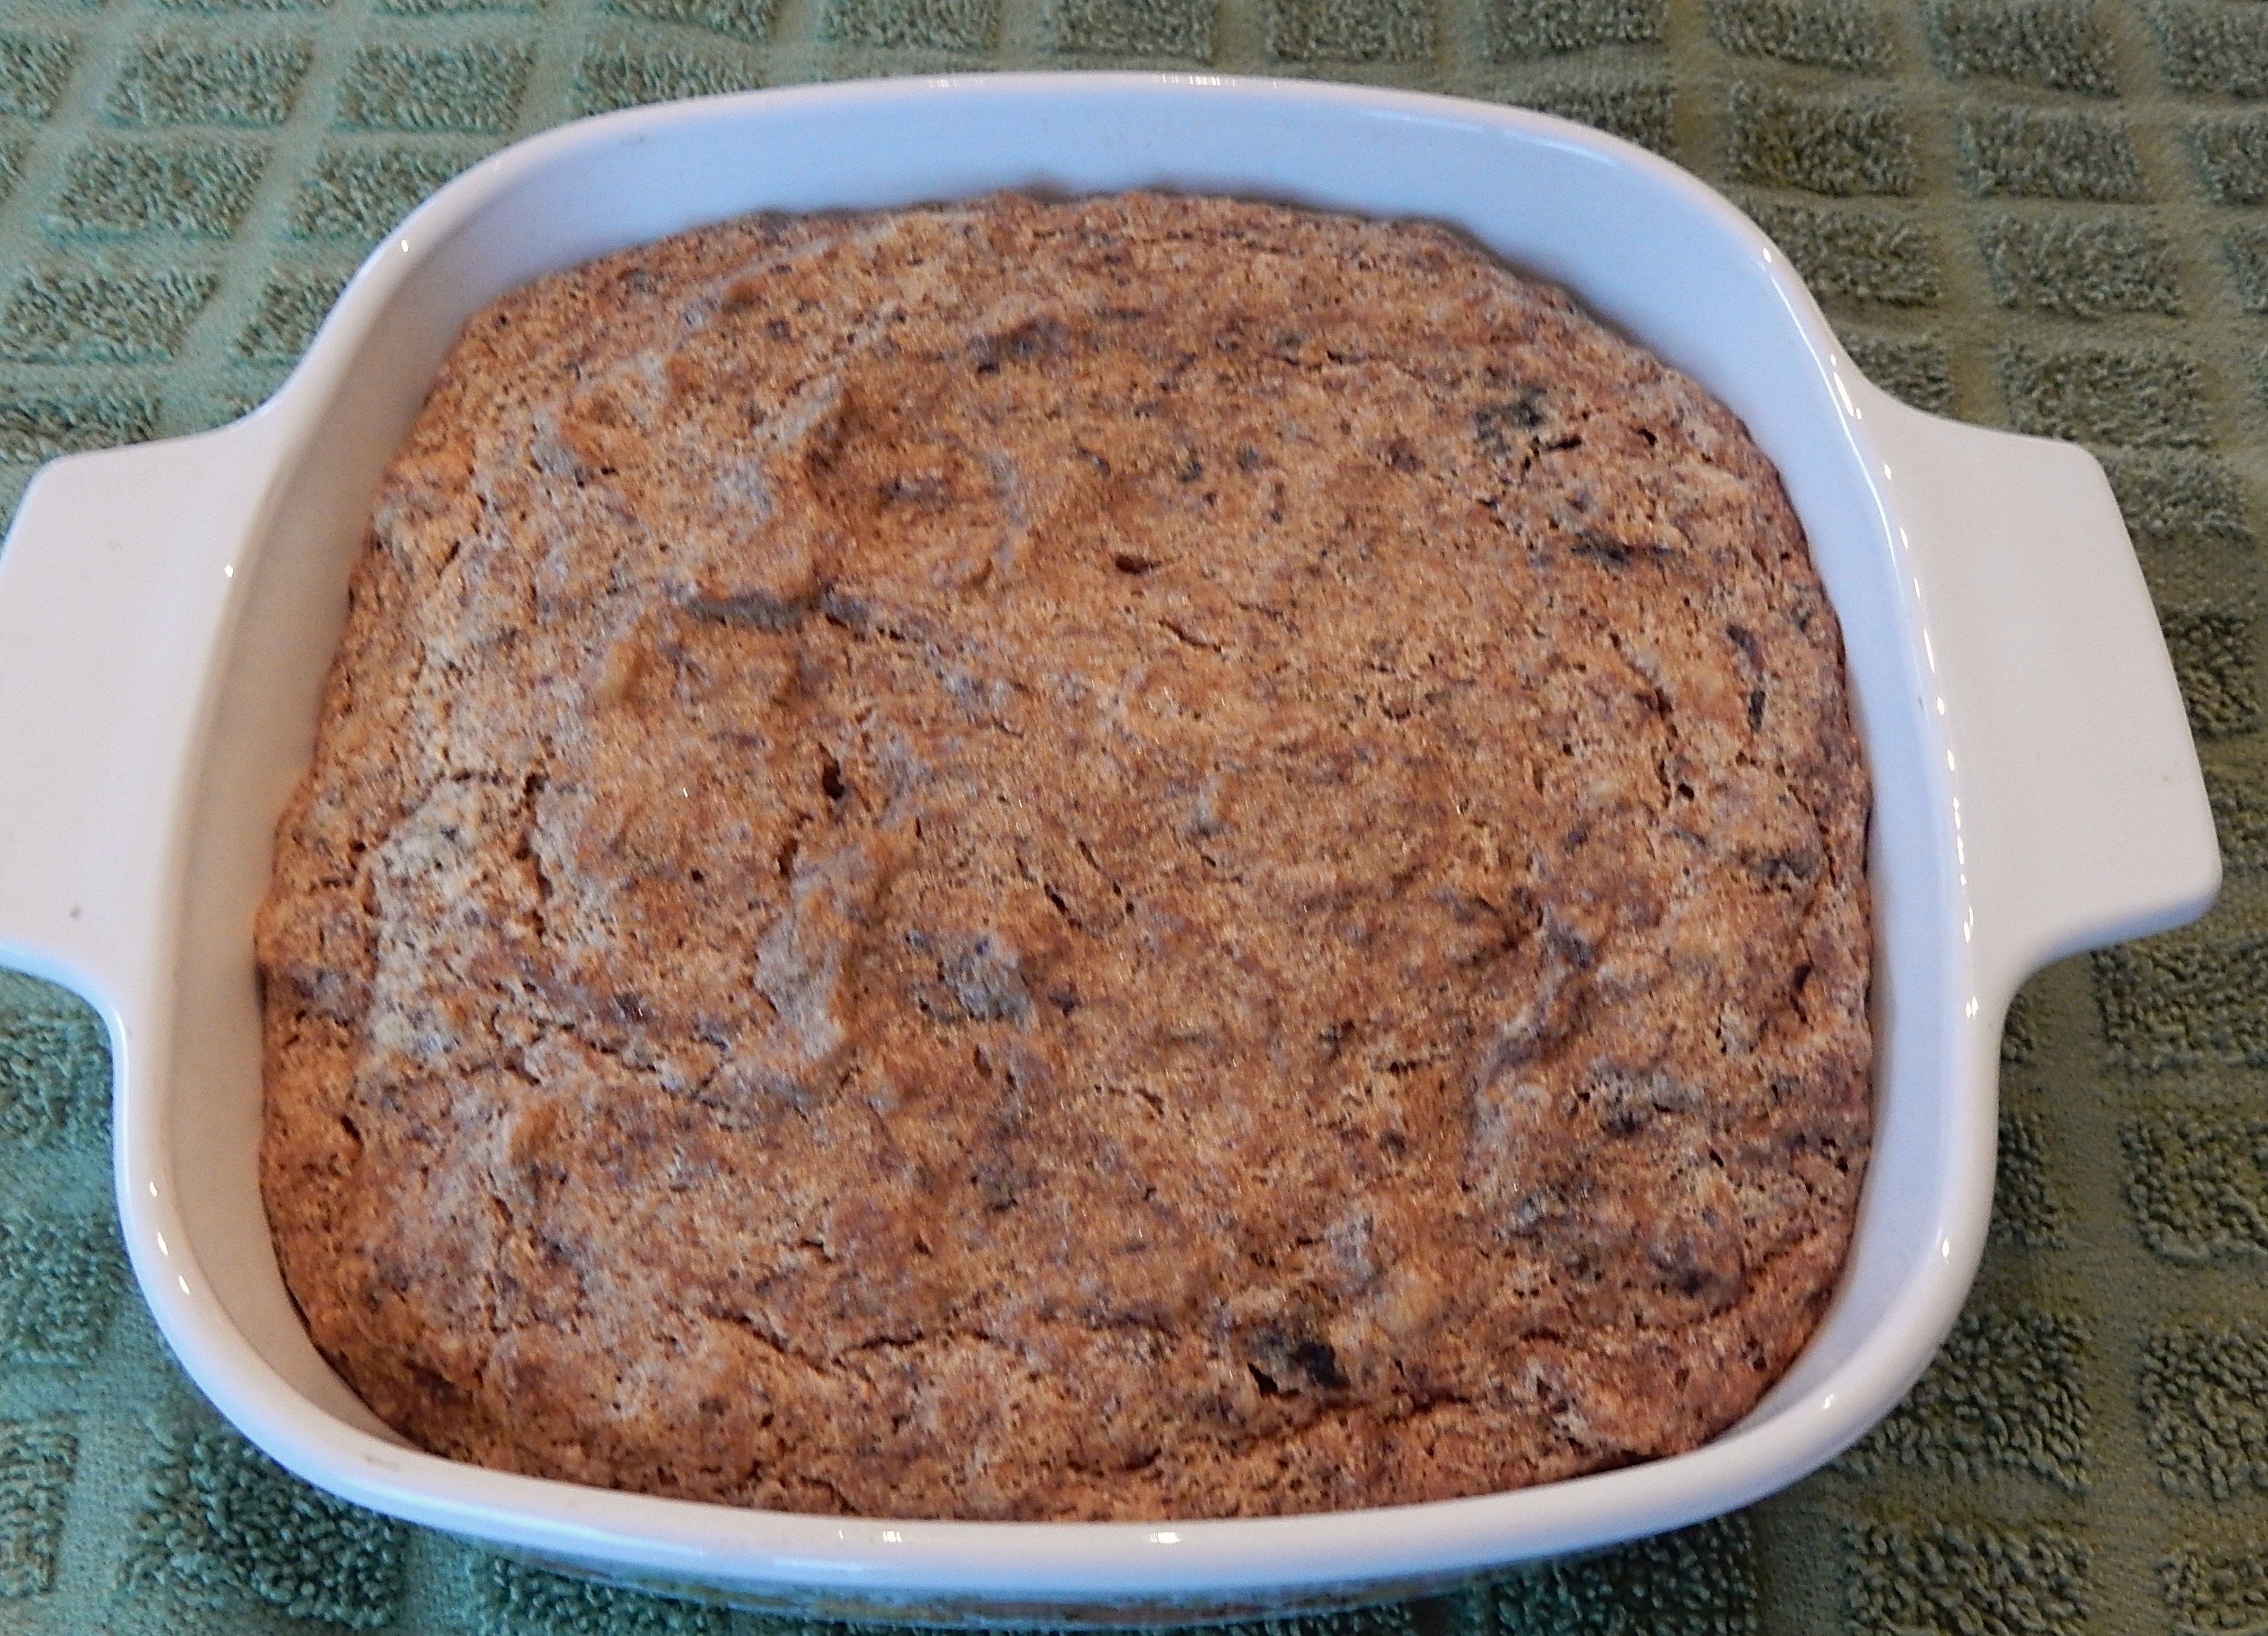
Steamed Graham Pudding with Lemon Sauce
However, when I recently wanted to make a recipe from a 1924 cookbook that called for graham flour, I looked for it at half a dozen stores and couldn’t find it. I eventually bought some (at an outrageous price) off the internet. Each of those stores probably sold at least two dozen other types of flour, some of which sounded very exotic to me. But, why no graham flour? Have tastes changed so much across the past hundred years that a food that once was a common staple is now extremely difficult to find?
While searching for information on graham flour, I learned that modern graham flours sometimes have most of the wheat germ removed to prolong shelf life and to help keep it from going rancid. Some websites say that coarsely ground whole wheat flour can be substituted for graham flour, though as with modern graham flours, most of the wheat germ may have been removed. I guess that even if I follow an old recipe calling for graham flour exactly that I’m probably not accurately replicating it. Sigh. . .