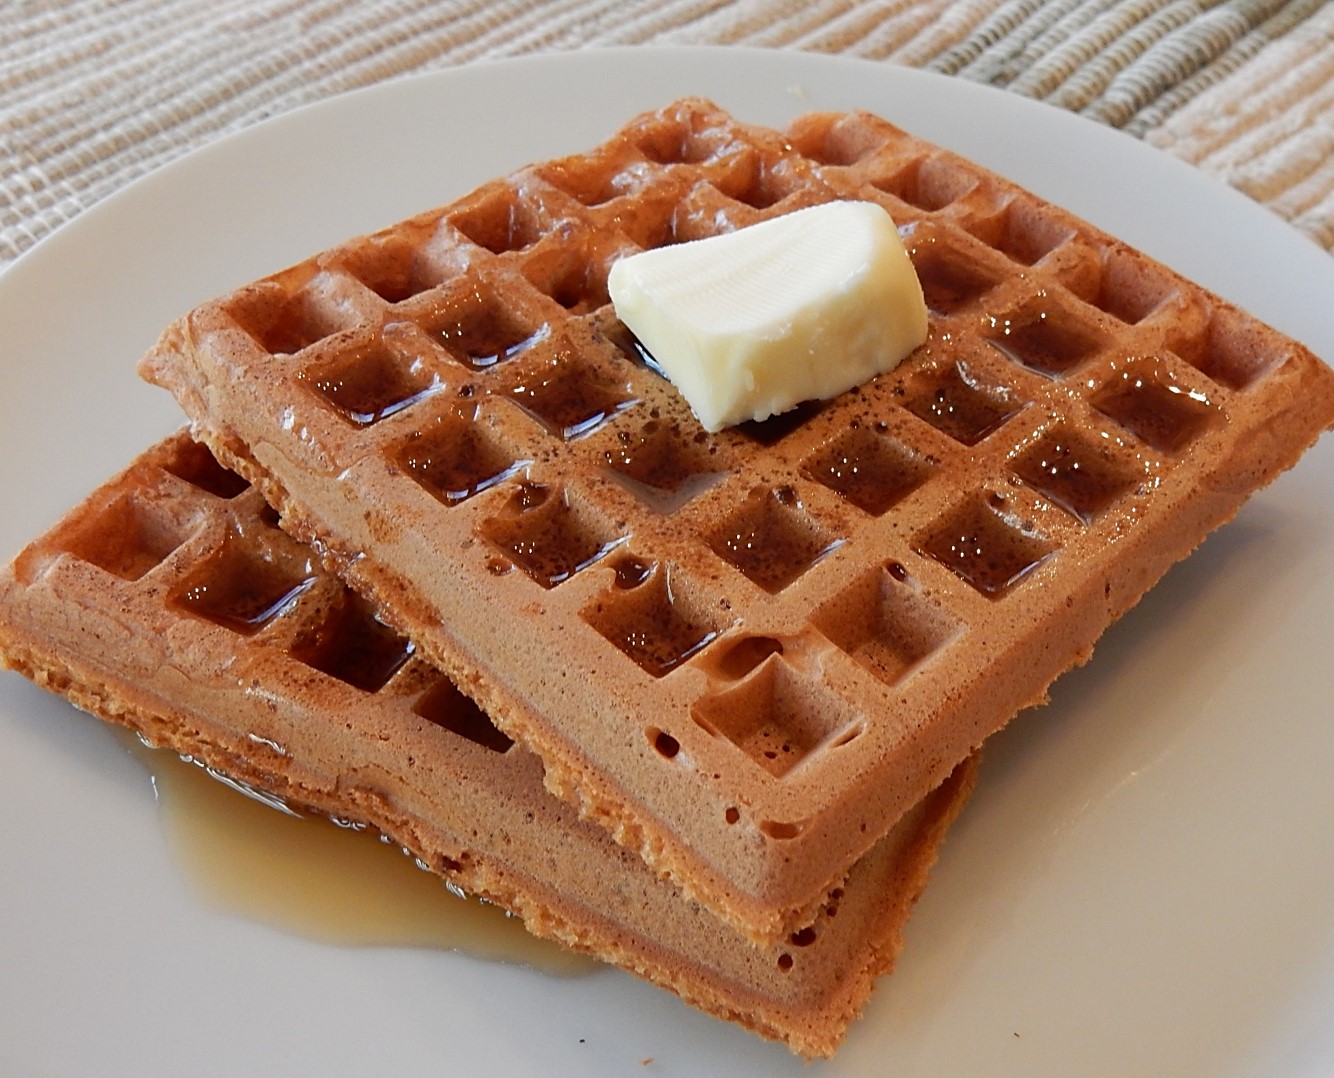
 In some ways it is hard to believe that it is already February, and time to start thinking about Valentine’s Day. I have warm memories of helping my children prepare valentines to distribute at school and baking heart-shaped cookies, so when I saw a hundred-year-old recipe for Valentine Wafers, I decided to give them a try.
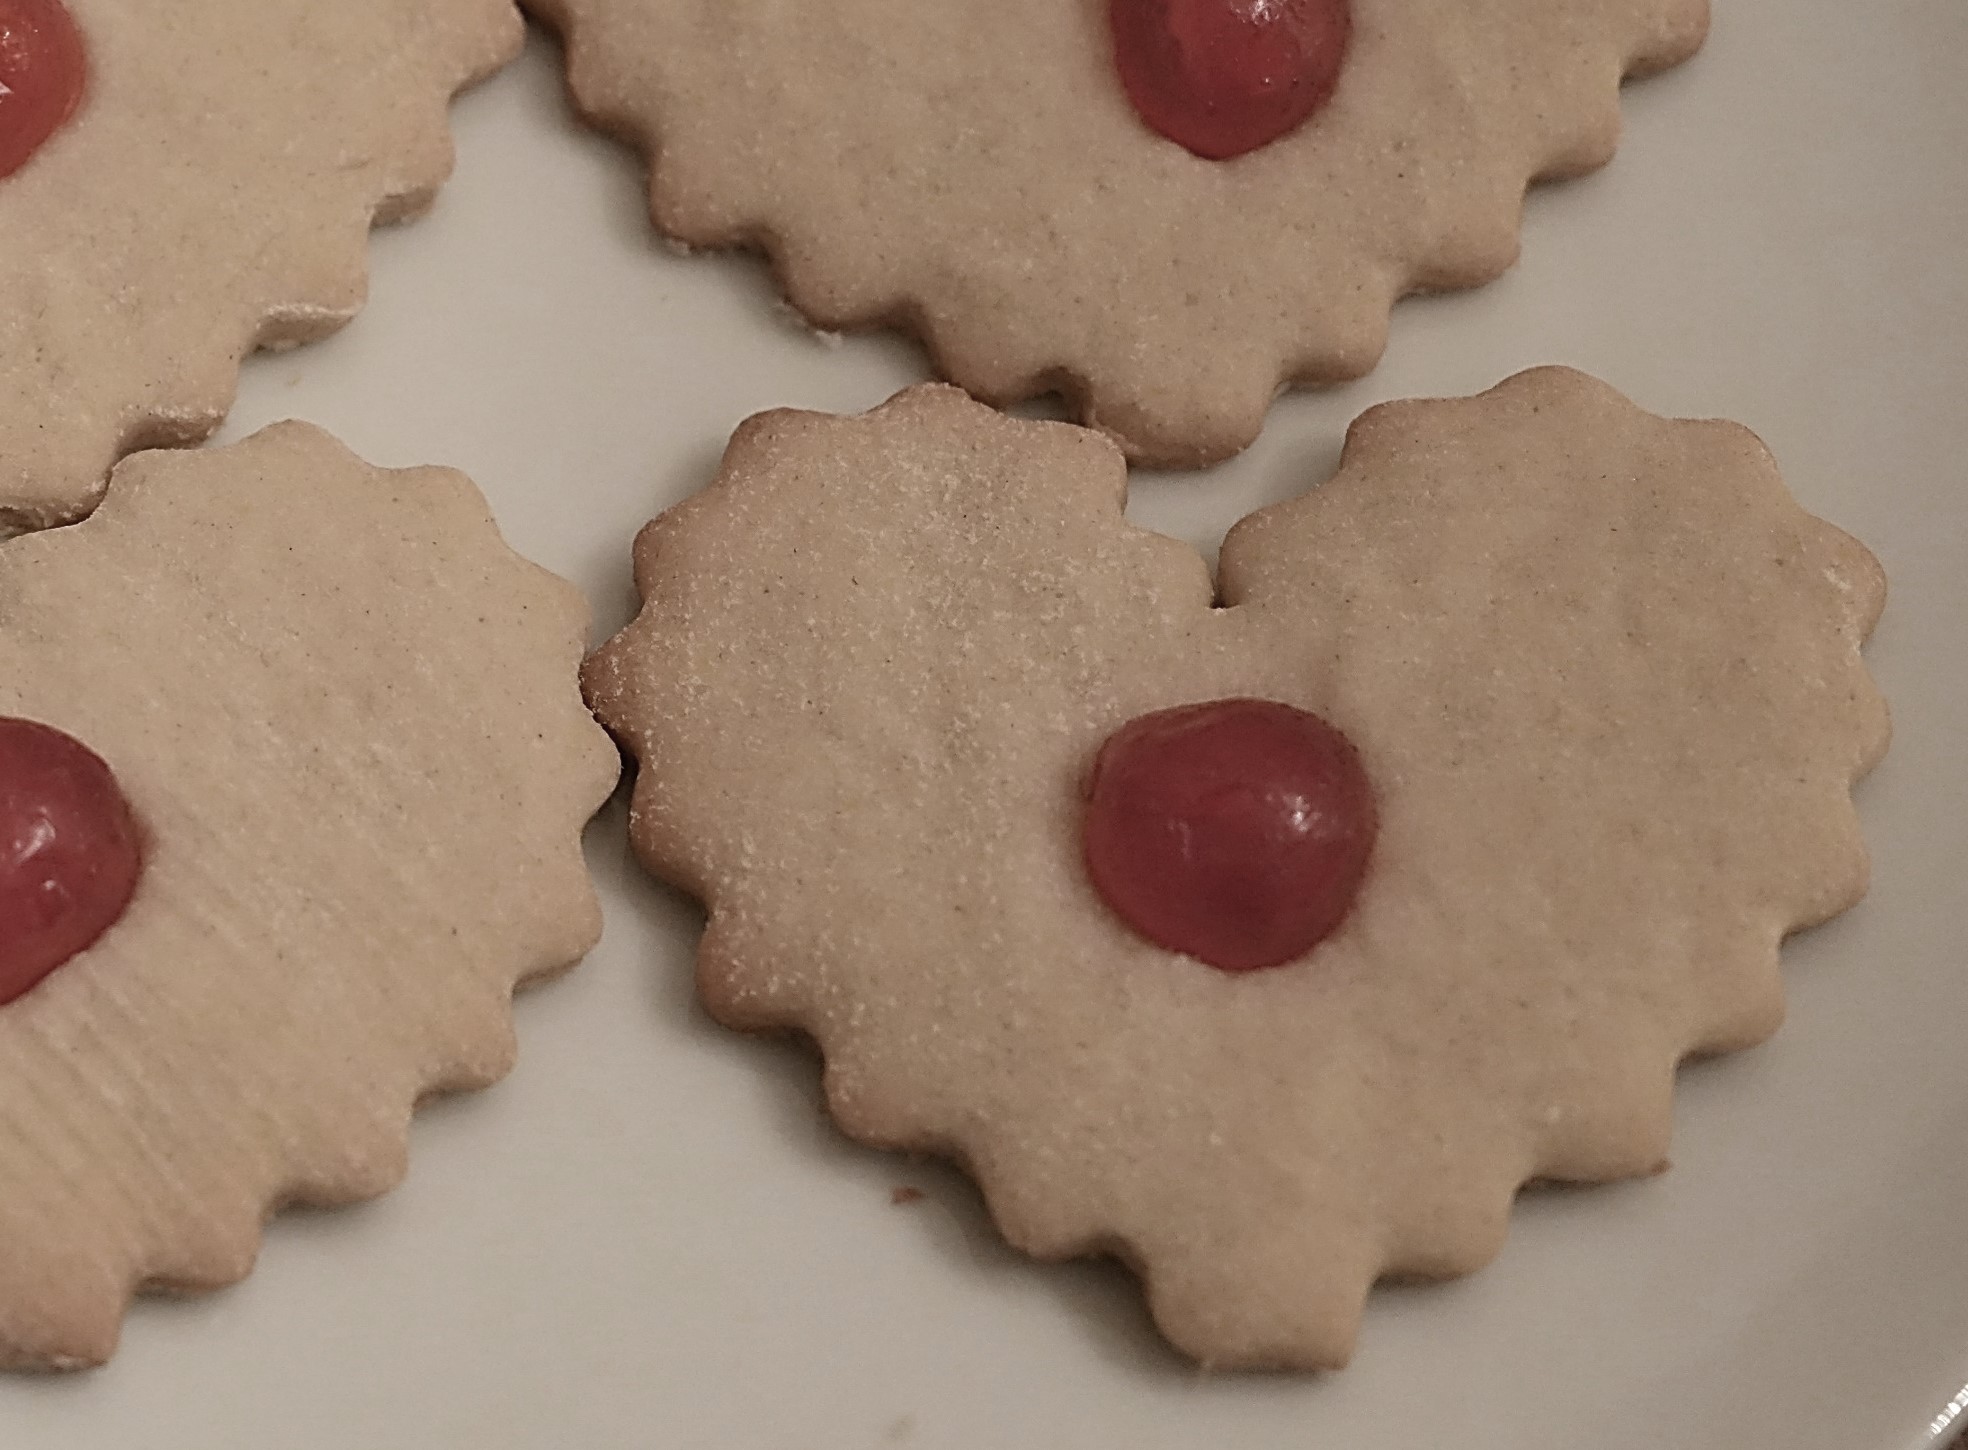
The Wafers were delightful. Each cookie has half of a candied cherry in the center. A unique feature of the recipe is that it calls for whole wheat flour, so I guess that the cookies are marginally healthier than the typical cut-out cookie.
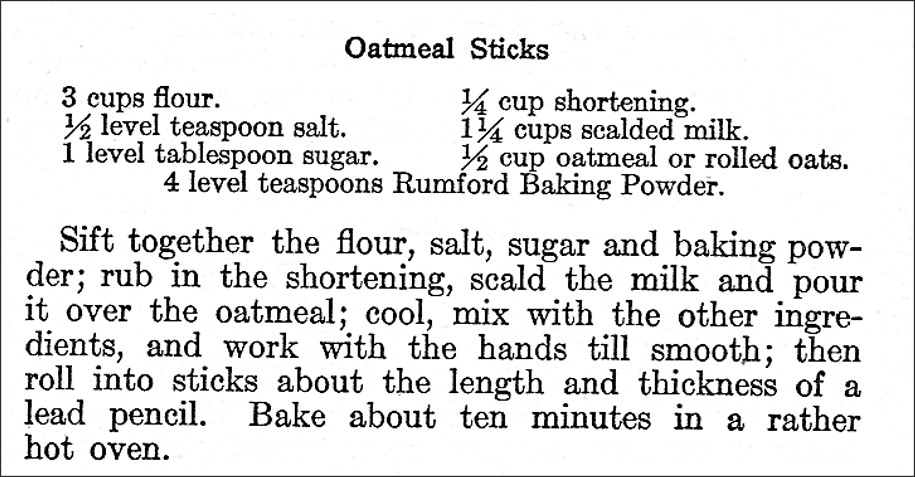
Here’s the original recipe:


Here’s the recipe updated for modern cooks:
Valentine Wafers
1 egg white
1/3 cup butter, softened
1 cup sugar
2 teaspoons cream of tartar
1/2 teaspoon baking soda
1 teaspoon vanilla
1/2 cup water
2 cups whole wheat flour
candied cherries, cut into halves (approximately 18 cherries needed; may be more or less depending upon size of cookie cutters)
Preheat oven to 400◦ F. Put egg white into a bowl and beat until stiff peaks form. Set aside.
In another bowl, cream together the butter and sugar. Add cream of tartar, baking soda, and vanilla; stir to combine. Then add half the water and half the flour; stir. Add remaining water and flour; stir until thoroughly combined, then fold in the beaten egg white. If the dough is sticky, add additional flour to get it to a good consistency for rolling. Roll out the dough on a prepared surface to 1/4 inch thick; then cut into heart shapes. Place on greased baking sheets. Put half a candied cherry in the center of each heart, and press firmly. Bake 8-10 minutes or until lightly browned.
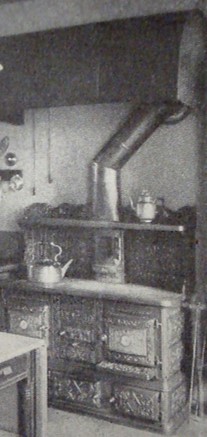 Here’s some abridged tips for caring for wood and coal stoves from a hundred-year old magazine: