

Hundred-year-old magazines sometimes have holiday recipes. For St. Patrick’s Day, the March, 1925 issue of American Cookery had a recipe for Shamrock Salad with French Dressing with Mustard. I decided to give it a try.
Shamrock Salad is made by stuffing green pepper halves with a cream cheese and olive mixture. The stuffed peppers are refrigerated for several hours, then sliced. The French Dressing with Mustard is very different from modern bottled French dressings, but it was a nice oil and vinegar dressing.
The Shamrock Salad with French Dressing with Mustard was good, but had a very old-fashioned look and taste.
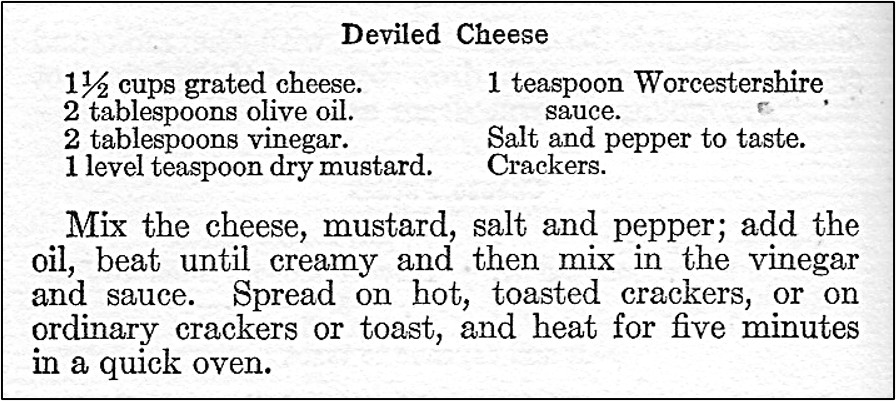
Here’s the original recipe:

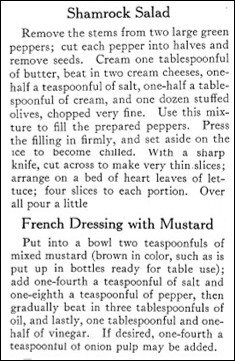
The old recipe indicates that the serving size is four slices. I cannot imagine eating a serving that large of this salad; 1 slice – at most 2 – makes a nice serving size. Since I thought that the serving size was very large, I halved the recipe when I updated it.
For the French Dressing with Mustard, I used olive oil for the oil.
Here’s the recipe updated for modern cooks:
Shamrock Salad with French Dressing with Mustard
1 large green pepper
1/2 tablespoon butter, softened
1 8-ounce container cream cheese (room temperature)
1/4 tablespoon cream
1/4 teaspoon salt
6 stuffed green olives, finely chopped
lettuce (optional)
Remove stem from the green pepper, then cut in half. (There will be a top half and a bottom half.) Remove pith and seeds. Set aside.
Put butter in a bowl and cream, then add the cream cheese, cream, and salt. Stir until smooth. Add the chopped olives and stir until the olives are evenly distributed in the mixture.
Use the cream cheese mixture to fill the green pepper halves. Press the mixture in firmly. Refrigerate the stuffed peppers until the cream cheese is firm (at least 4 hours)
Remove from refrigerator and with a sharp knife cut the stuffed peppers into thin slices (about 1/4 inch thick). If desired, put the slices on lettuce leaves. Serve with French Dressing with Mustard (see below).
French Dressing with Mustard
1 teaspoon brown mustard
1/8 teaspoon salt
dash of pepper
1 teaspoons onion, grated (optional)
1 1/2 tablespoons olive oil
3/4 tablespoon vinegar
Put the brown mustard in a bowl, then stir in the salt and pepper. If desired, add the grated onion and stir. Gradually add the olive oil while stirring rapidly, then add the vinegar and stir to combine.
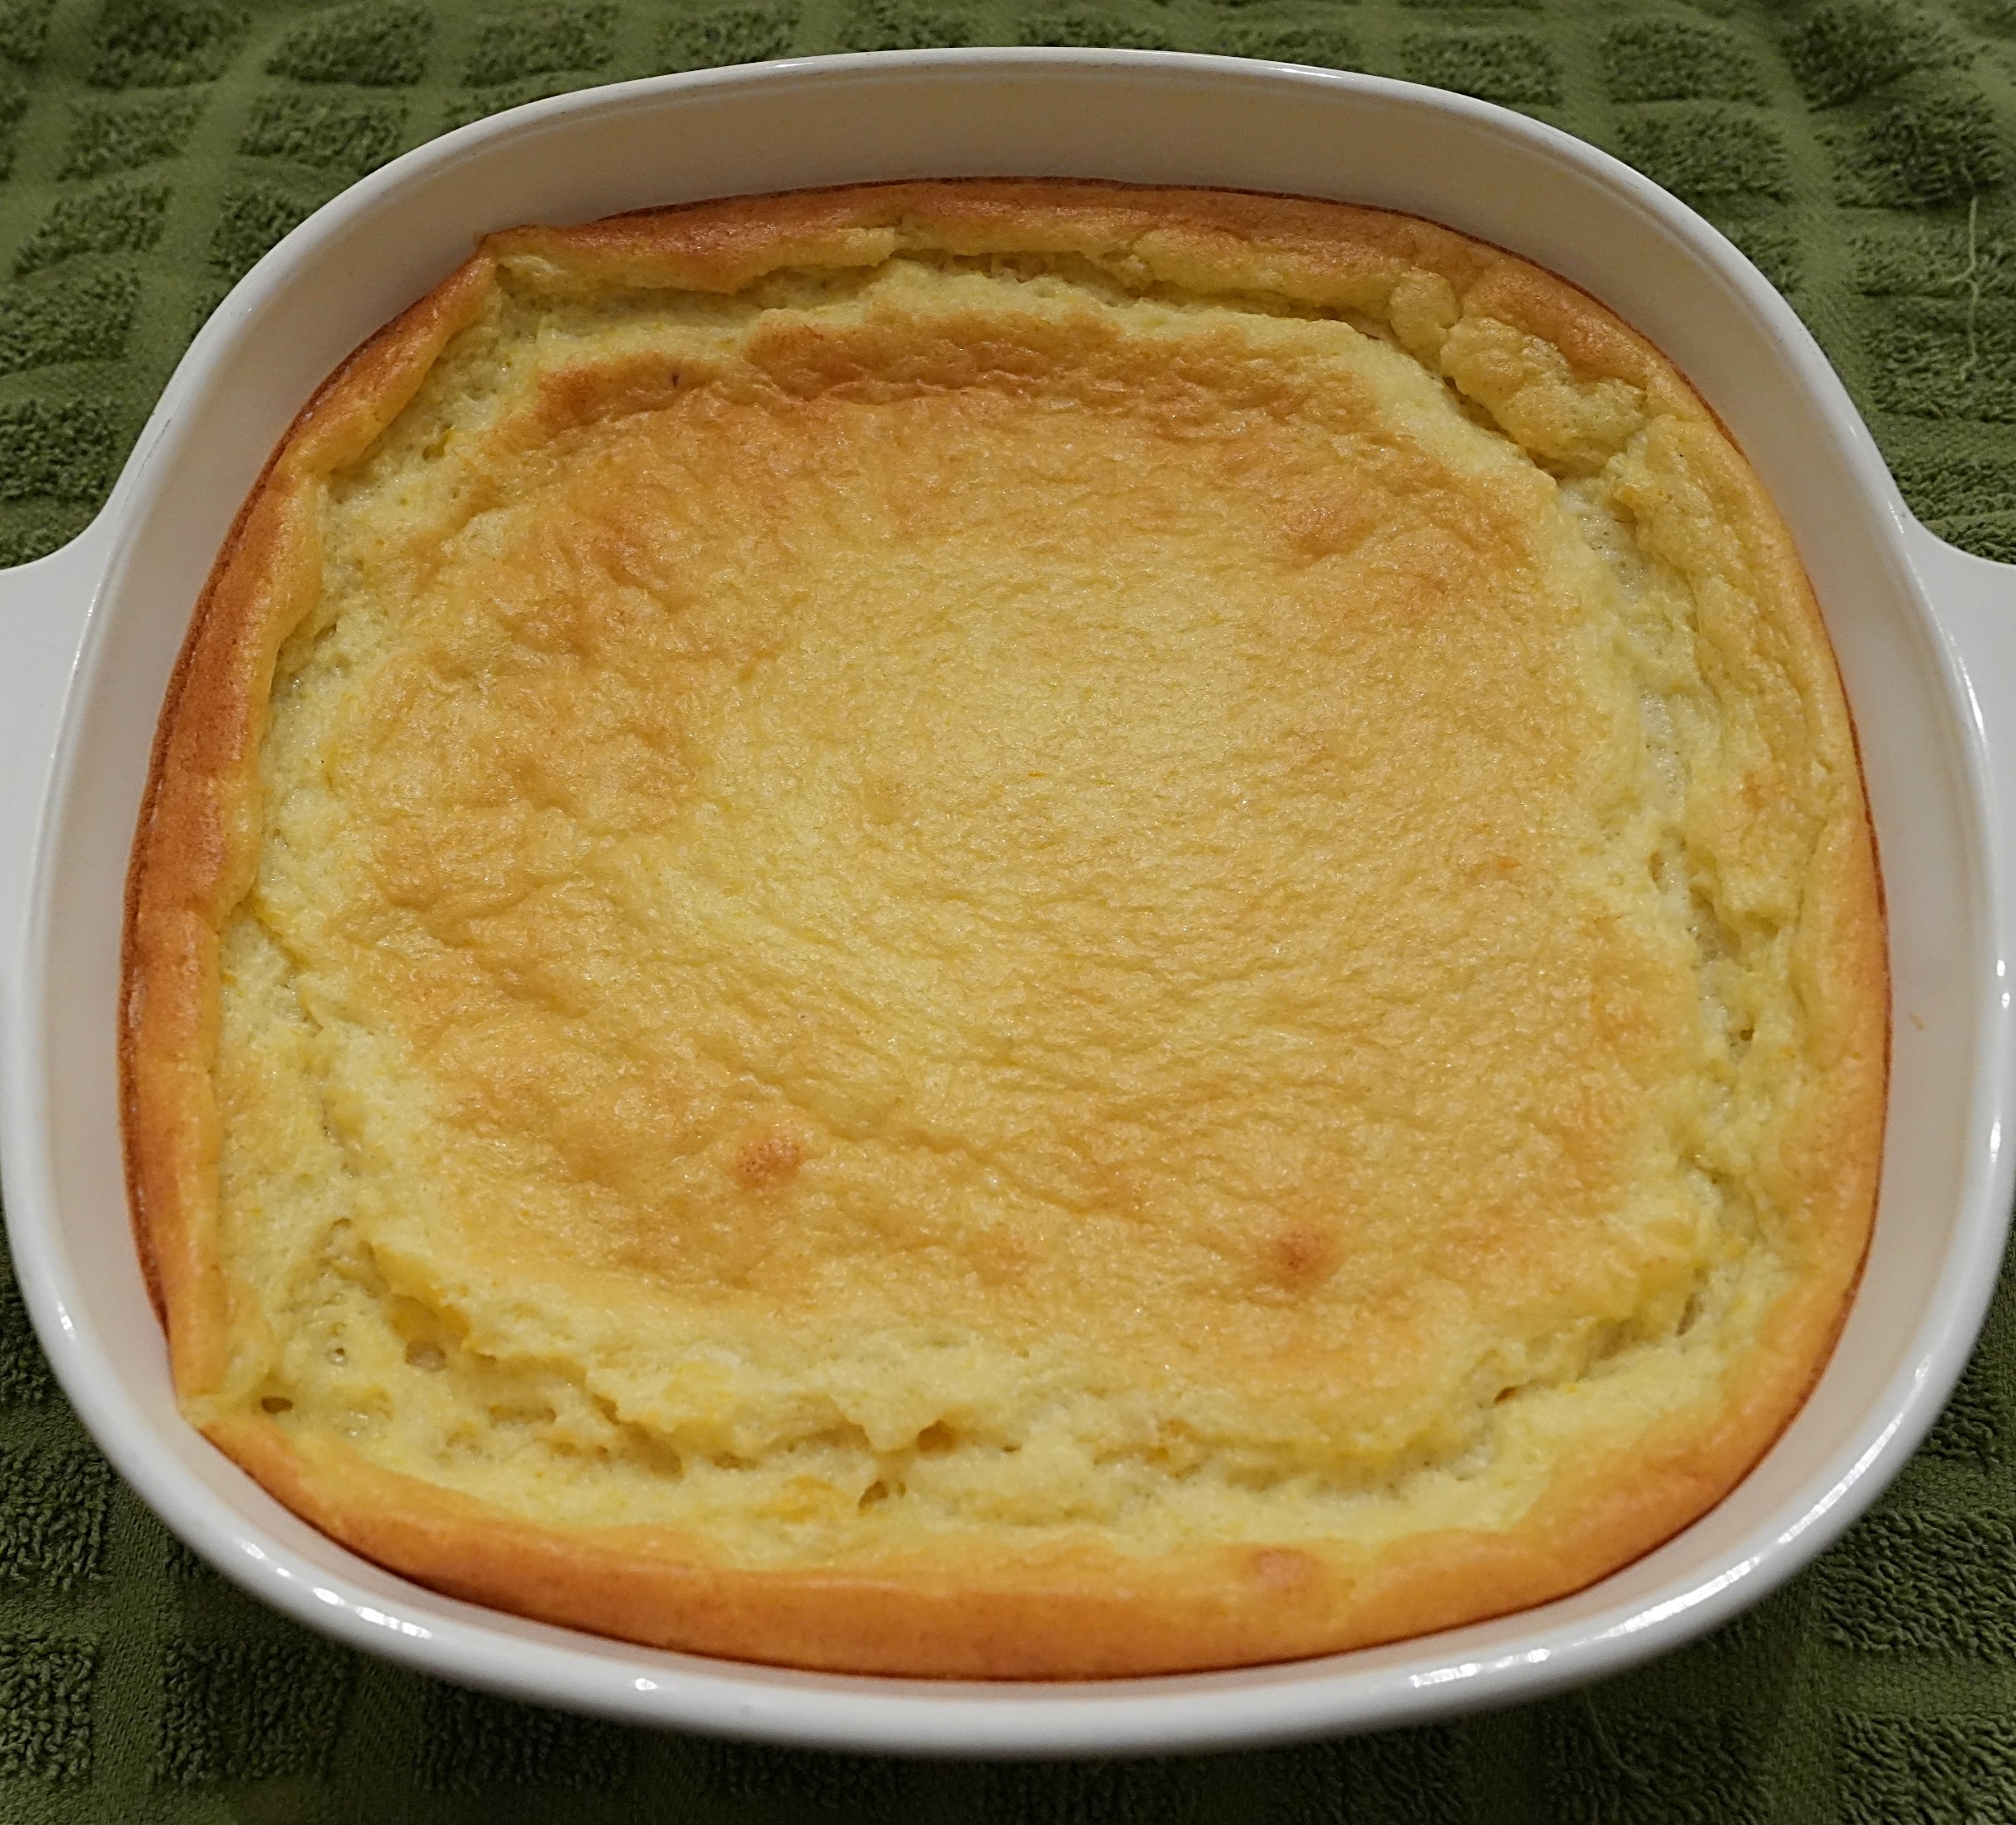
 Where I live March came in like a lion, and I wanted to make a cheery dessert. I found a hundred-year-old recipe for Apricot Souffle that fits the bill. It was light and had a lovely apricot flavor with a hint of almond.


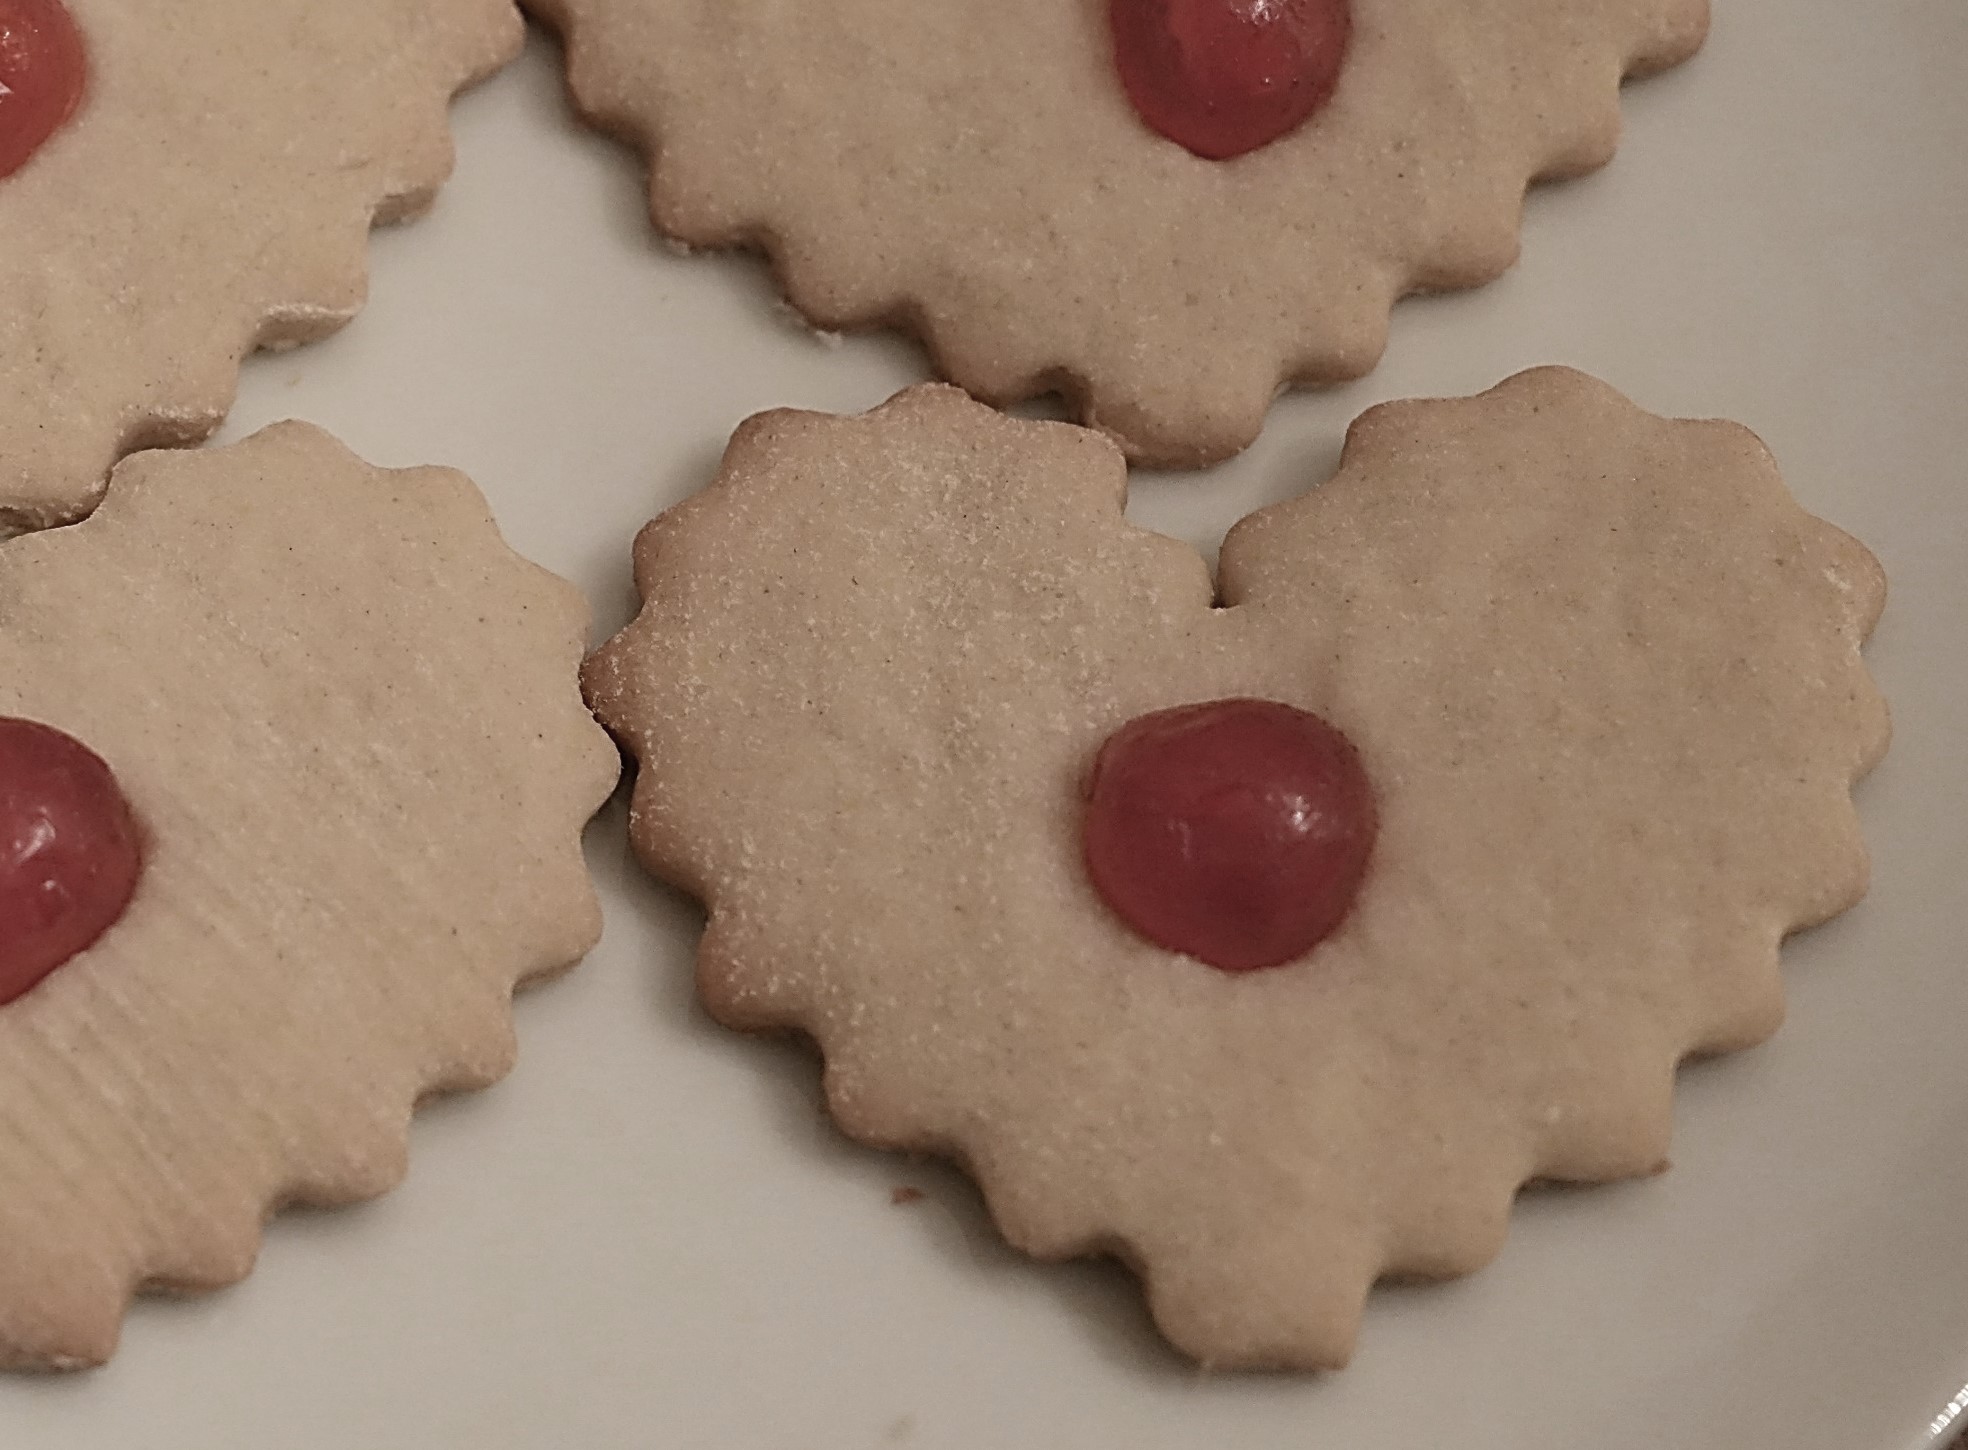 In some ways it is hard to believe that it is already February, and time to start thinking about Valentine’s Day. I have warm memories of helping my children prepare valentines to distribute at school and baking heart-shaped cookies, so when I saw a hundred-year-old recipe for Valentine Wafers, I decided to give them a try.

