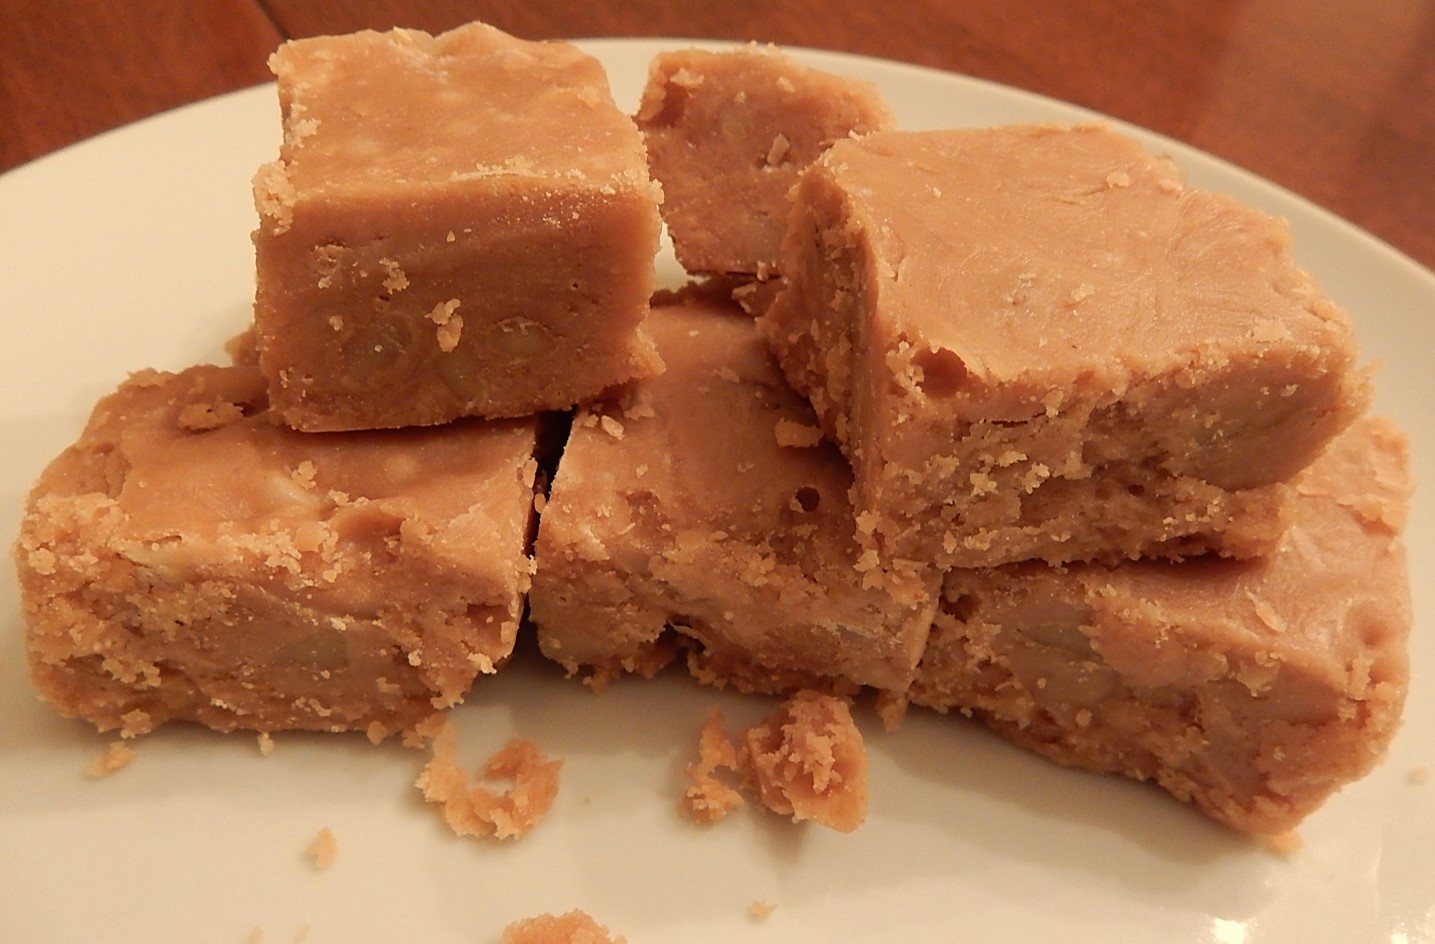
Ever wonder how to make a homemade candy that tastes similar to Tootsie Rolls? Well, I had never even thought about making Tootsie Rolls, but when I made a hundred-year-old candy recipe for Honey and Cocoa Cushions, I was surprised to discover that they tasted very similar to Tootsie Rolls.
Honey is the only sweetener called for in the Honey and Cocoa Cushions recipe, so it may be a tad healthier than many candies (at least that is what I tell myself when I nibble on the candies).
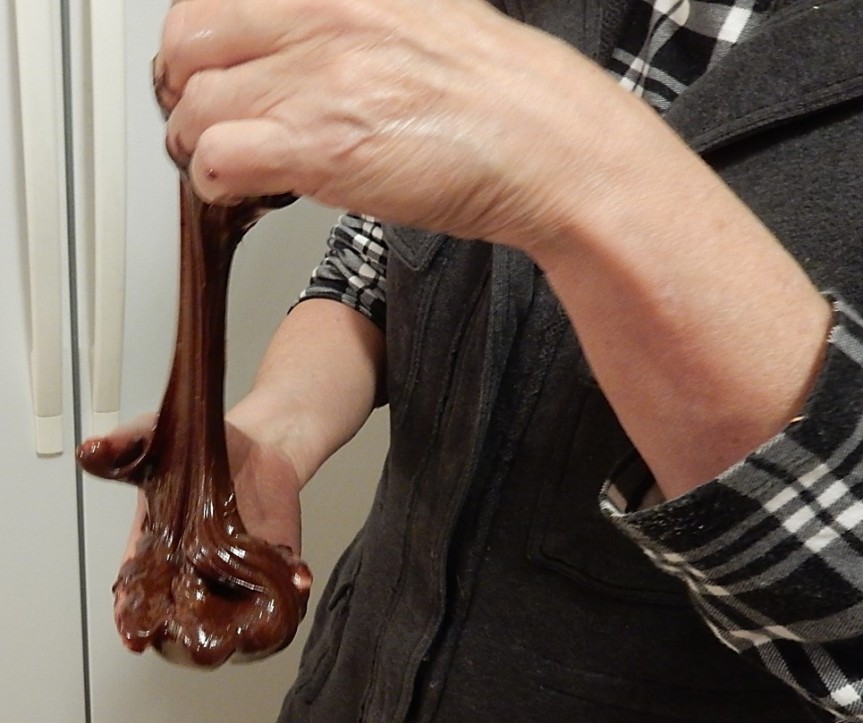
It is tricky getting this candy cooked to exactly the right stage, but similarly to taffy, it needs to be pulled, which can be a fun family activity.
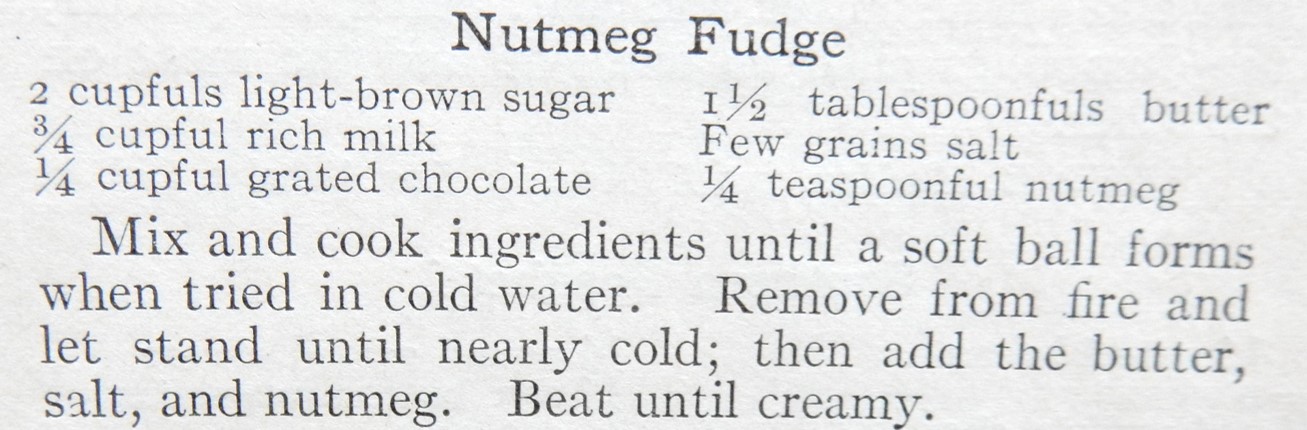
Here’s the original recipe:

The ingredients list calls for a pinch of baking soda, though it is never actually mentioned in the directions. I assumed that it was combined with the cocoa and water when the thick paste was made. I generally try to avoid using old-fashioned terms like “pinch” when updating recipes – but couldn’t figure out what other term to use for the small amount of baking soda required in this recipe, so kept the original terminology and used the word “pinch” in the updated recipe.
The original recipe calls for cooking the mixture to the soft ball stage. When I made the recipe, the candy didn’t seem firm enough to pull when cooked to the soft ball stage, so I cooked it to the hard ball stage.
The original recipe also calls for cooking the mixture in an iron frying pan. When I poured 1 cup of honey into my 14-inch cast iron skillet, it barely covered the bottom of the pan, so I ended up doubling the recipe. Another option would be to use a smaller pan that is approximately 8-inches in diameter.
Here’s the recipe updated for modern cooks:
Honey and Cocoa Cushions Candy
(I doubled this recipe when I made it, and used a full-size cast iron frying pan.)
1 cup honey
1/4 cup cocoa
a pinch of baking soda
1+ tablespoon water
Put the cocoa and baking soda in a small bowl. Add water and stir to make a very thick smooth paste. (A small amount of additional water may need to be added to create the paste.) Set aside.
Put honey in a small cast iron skillet (about 8 inches in diameter). Using low heat, bring to a slow boil. Add the cocoa paste, and continue boiling while stirring constantly. Boil until it reaches the firm-ball stage. The firm-ball stage is when a small amount of the syrup is dropped into cold water. If it can be gathered together to form a firm ball (though malleable when pressed), it is at the right stage—or just use a candy thermometer (255 – 265 degrees F).
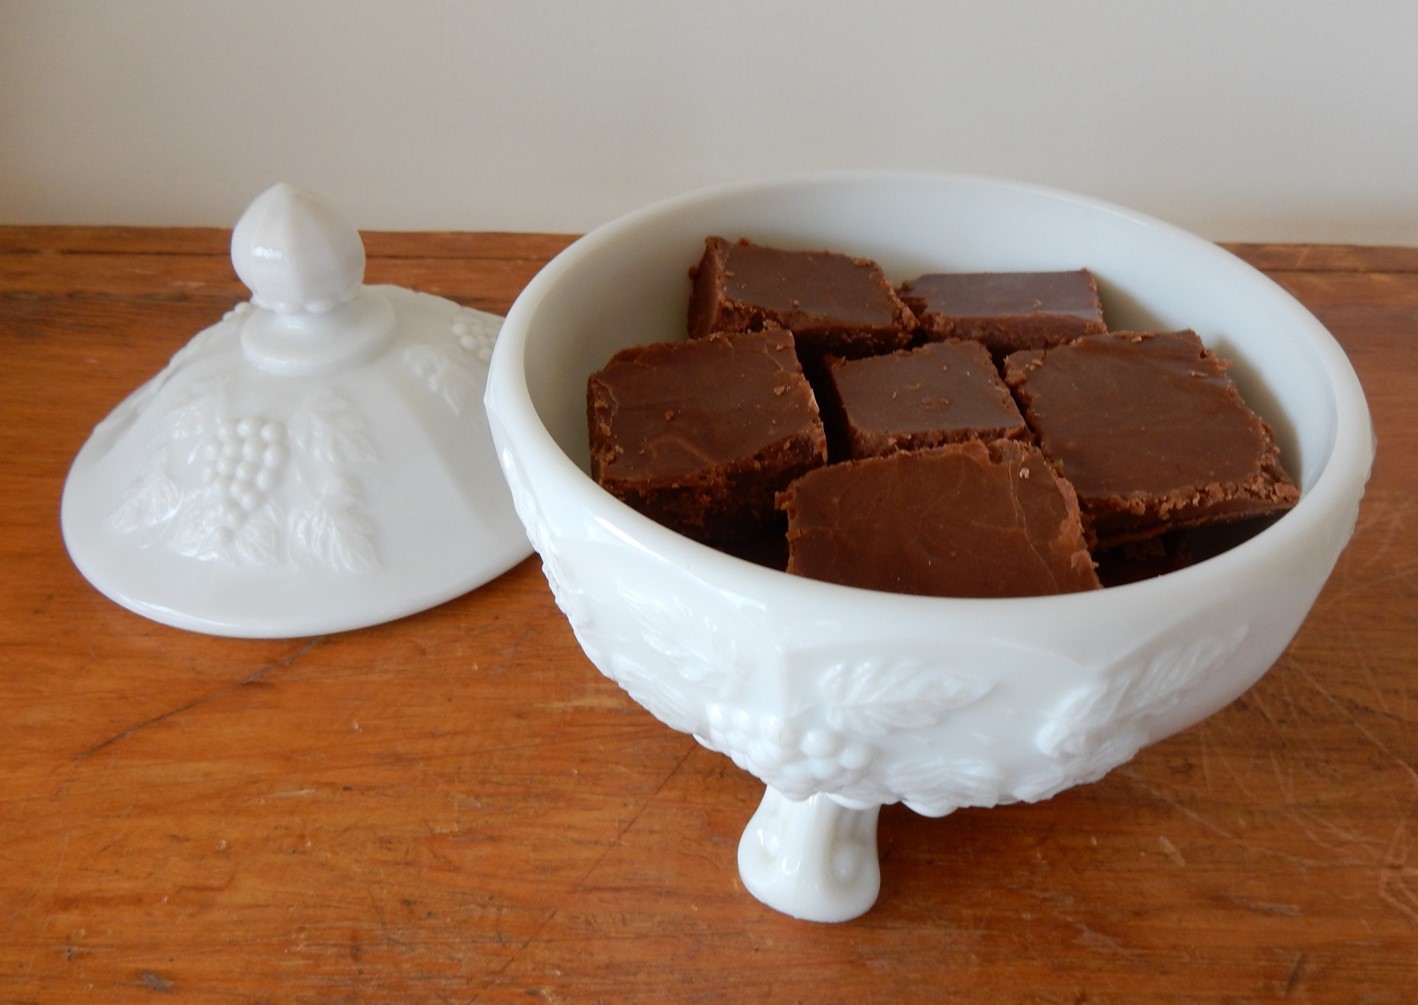
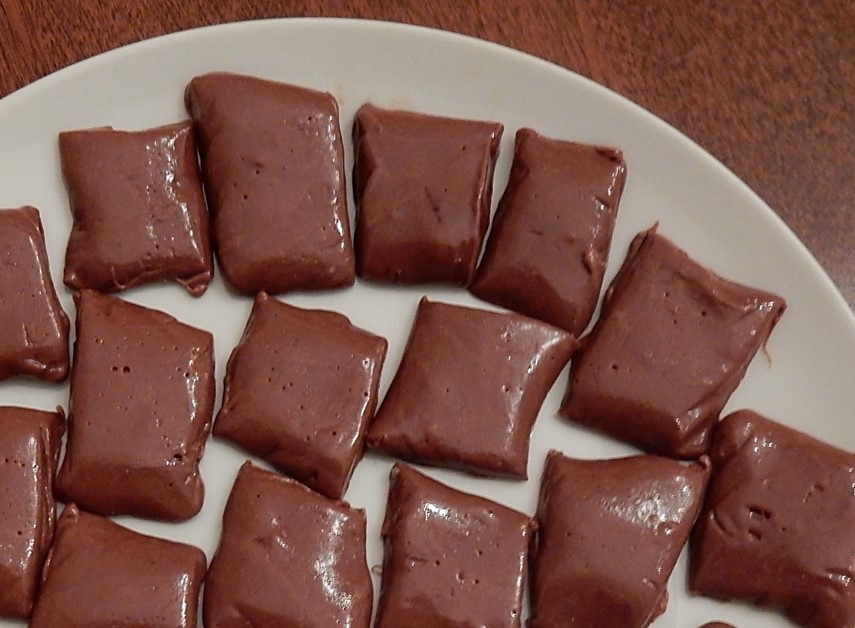
Remove from heat and pour onto a buttered platter. Let cool until it is cool enough to be handled. Then butter hands and pull the candy until it becomes cold and glossy (about 5 – 10 minutes). Form long thin strips of the candy and place on waxed paper; then cut with a buttered knife or scissors into pieces approximately 1/2 inch long. If desired, the pieces can be wrapped in squares of waxed paper.