WordPress recently featured A Hundred Years Ago in its list of 11 Delicious Food Blog Examples (And How to Follow Their Lead). It is #3 on the list. I’m very humbled and honored that this blog was included. There are lots of incredible food blogs on WordPress sites.
According to WordPress, A Hundred Years Ago was selected as an example because the posts:
Make something old new again: Part of what makes A Hundred Years Ago so successful is that it archives and digitizes recipes and cookbooks that are likely not online elsewhere. An archival focus can help your blog stand out in this highly digitized space and guide content creation.
Keep a content schedule: Posting on a regular cadence can help keep your audience engaged and keep you accountable. For example, in addition to a weekly recipe every Sunday, Sheryl posts more general musings about food from the early 1900s each Thursday.
Many fruits are available year round, but some fruits are available only for a few weeks each year. Cranberries are one of those fruits. I crave them for months, and am excited when they finally begin to appear in the produce aisle at the store. This fall, I saw them for the first time last week. I immediately began searching through my hundred-year-old cookbooks for cranberry recipes.
I found a recipe for Pink Chiffon Pie which is made using cranberries, and decided to give it a try.
The Pink Chiffon Pie was smooth and silky with the sweetness of the sugar in the filling nicely balancing the tart cranberries. It was tasty and looked lovely; however, if you decide to make this pie, be sure to set aside sufficient time. It is a relatively complicated recipe.
Here’s the original recipe:
Source: Diamond Jubilee Recipes (1925) compiled by the Sisters of Saint Joseph, St. Paul, MN
When I selected this recipe, it looked easy – not very many ingredients and directions that, based on a quick scan, sounded straight forward. Then I started making the recipe and discovered that it was more challenging than I anticipated.
I had lots of questions. How large is the pie shell/pan? The amounts called for in the recipe seemed fairly small – so it probably was for a 7 or 8-inch pie. I decided to make a 9-inch pie, so I doubled all ingredients. The recipe called for a baked pie shell – so I needed to make and pre-bake a pie shell prior to beginning this recipe.
I was also was not sure whether the recipe called for 1 cup of raw cranberries or for 1 cup of cranberries that had previously been cooked. I decided to assume that it meant raw cranberries. That decision led to my next question. How much water should be added to the cranberries prior to cooking? I decided to go with 1/3 cup of water.
Once the cranberries were cooked, I tried to strain them, I was able to press relatively little liquid through the strainer, so I used a Foley mill to more thoroughly strain and mash the cooked cranberries. A food processor could also be used to puree the cranberries.
It was tricky cooking the egg-rich chiffon so that the pie filling was smooth, and the egg did not separate out while cooking. It is important to cook the filling until it barely begins to bubble. And, it is vital to not rush cooking the filling, and to stir it vigorously and constantly to prevent the filling on the bottom of the pan from scorching.
I skipped garnishing the pie with confectioners’ sugar, and instead served it with whipped cream.
Wash cranberries, then put them in a saucepan and add the water. Bring to a boil using medium heat, then reduce heat and simmer until all of the cranberries have softened and burst (about 8-10 minutes). Remove from the heat and press through a strainer. (I used a Foley mill.)
Put the egg yolks in a mixing bowl and beat until smooth, then add 1 cup of sugar and beat. Add the pureed cranberries and continue beating. Put mixture in a saucepan; add butter. Heat, using medium heat, until the cranberry mixture gets very thick; stir constantly. Remove from heat when the mixture is barely beginning to bubble.
In a mixing bowl, beat the egg whites until stiff peaks form. Then add a small amount of the hot cranberry mixture, while beating continuously. (Be sure to add only a small amount of the cranberry mixture and beat it in immediately to prevent the egg whites from cooking.) Continue adding small amounts of the cranberry mixture while continuing to beat.
After all the cranberry mixture has been incorporated into the egg whites, return the mixture to the saucepan. Using medium heat, cook until the mixture barely begins to boil; stir constantly and vigorously. (This mixture will easily scorch on the bottom of the pan. It is vital to stir continuously and vigorously with the spoon while regularly scraping the bottom of the pan. A double boiler could be used to reduce the possibility of scorching the mixture.) Remove from heat and spoon the cranberry chiffon filling into the previously baked pie shell.
If desired, lightly sprinkle confections’ sugar on the pie to garnish. Refrigerate until the pie is cold (at least 2 hours).
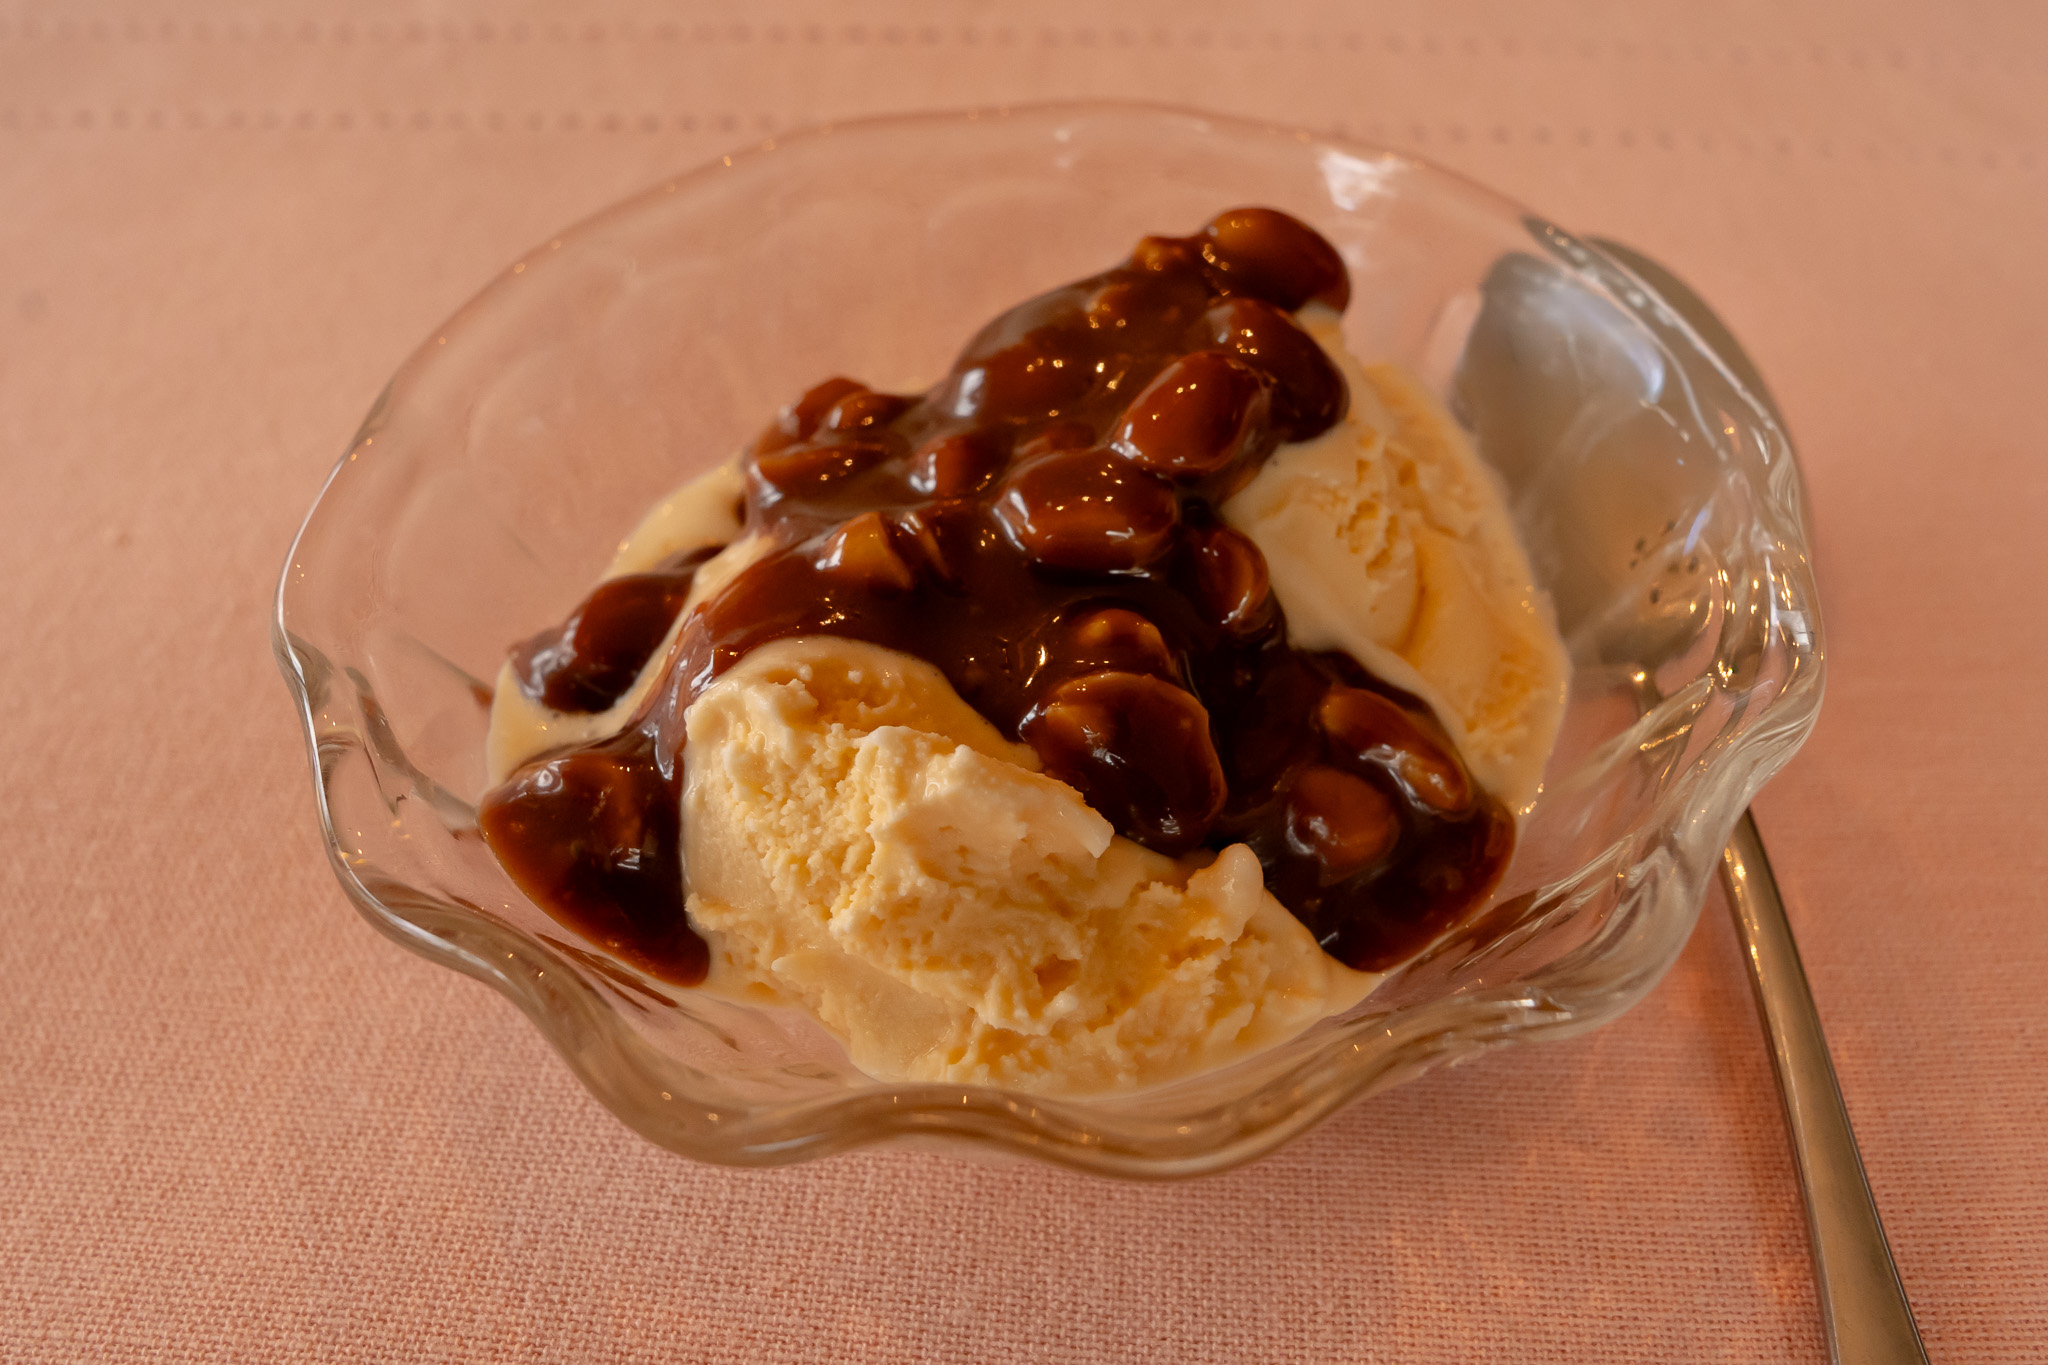
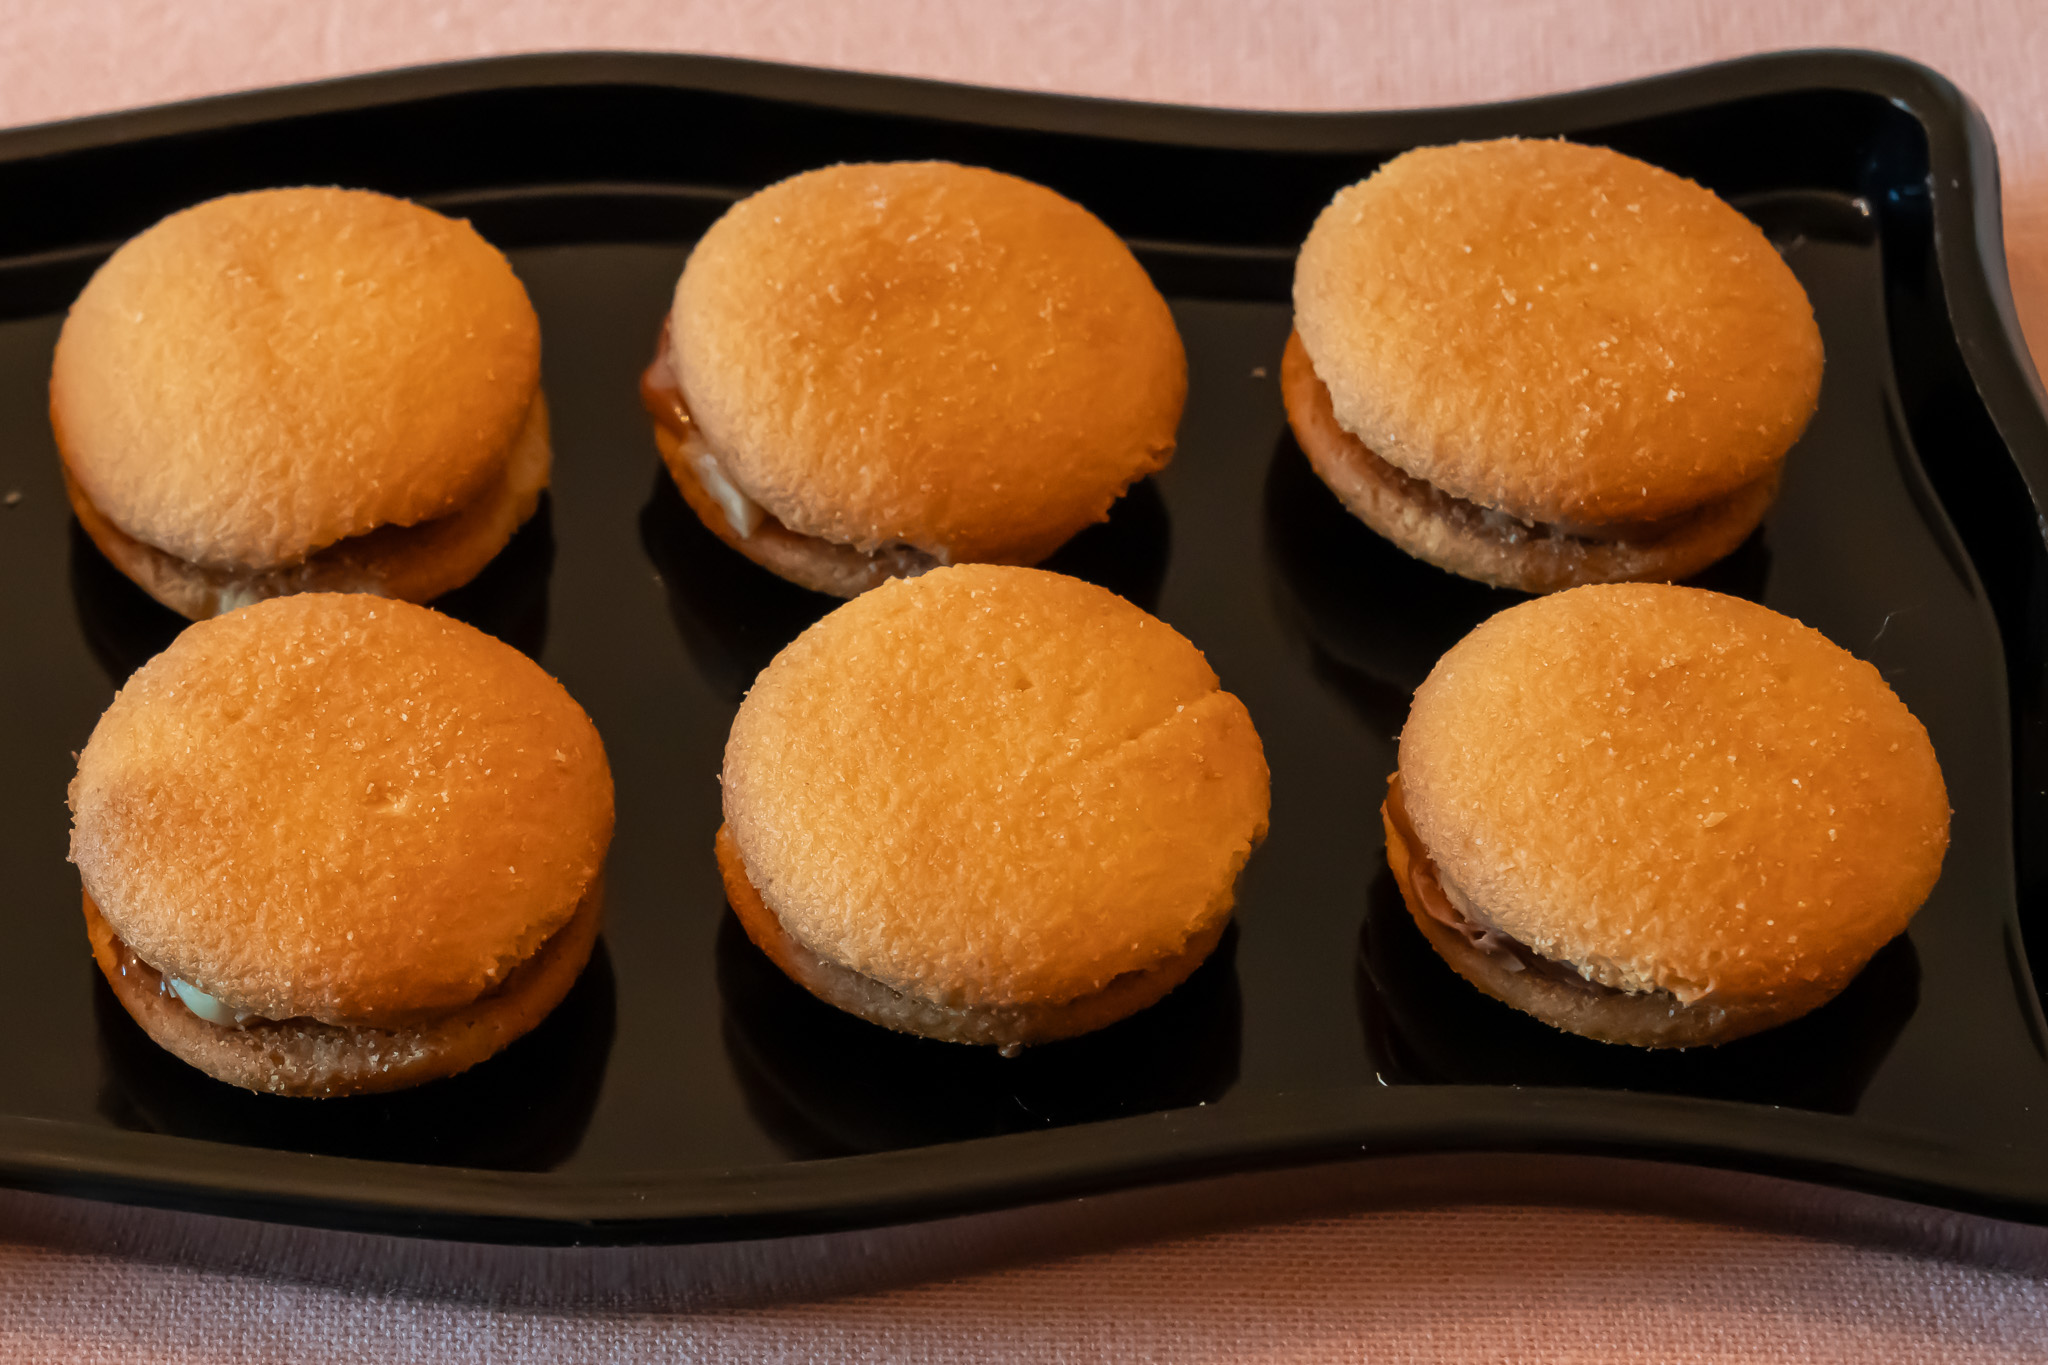
Candy, candy everywhere. I love Halloween, and buy lots of candy for Halloweeners. I eat a little of it (well, maybe a lot, if not many kids come to the door). While browsing through hundred-year-old magazines this fall, I saw this advertisement for Oh Henry! candy. It even included recipes for ice cream sauce and sandwich cookies that called for using Oh Henry! as the main ingredient. I immediately planned to buy a bag of Oh Henry!
A few days later, I was disappointed to discover that Oh Henry! candy is no longer available in the U.S.
I still wanted to make the recipes in the advertisement. Baby Ruth is a similar chocolate nougat candy with peanuts, so I bought a bag of snack-size Baby Ruth, and substituted it for Oh Henry! in the recipes. (Other chocolate nougat candies such as Snickers would also work.)
The ice cream sauce was made by melting the candy and stirring in a little milk. The sauce was delightful when spooned over ice cream. It was chocolaty and contained lots of peanuts.
The sandwich cookies were made by putting thin slices of the candy between two vanilla wafer cookies, and then heating until the candy melted. The old recipe says to serve the cookie sandwiches hot, but they were also tasty after they cooled.
4 snack-size bars of Baby Ruth candy (or other similar chocolate nougat candy)
1 – 3 teaspoons milk
Chop the candy into small pieces. Put chopped candy into a microwaveable bowl, then cover. Microwave for 30 seconds. Stir and add a small amount of milk while continuing to stir. Continue adding small amounts of milk until the sauce is the desired consistency. Reheat in microwave for a few seconds; then, while still warm, spoon over ice cream and serve.
3 snack-size bars of Baby Ruth candy (or other similar chocolate nougat candy)
24 vanilla wafer cookies
Thinly slice the candy. (Each bar can be sliced into 8 pieces.) Put two slices of candy side by side on top of half of the wafer cookies. (If the wafers are very small, use less candy.) Put the remaining wafers on top of the candy. Put the cookie sandwiches on a microwaveable dish; cover and microwave for 30 seconds. If the candy filling is not melted, microwave a few additional seconds.
Both today and a hundred years ago, some tasty recipes are embedded in advertisements. Food companies hoped to sell more of the advertised ingredient, and they carefully tested recipes before including them in an advertisement. I recently saw a Jell-O advertisement in a 1925 magazine that included a recipe for Apple Snow Jell-O (Gelatin), and decided to give it a try.
Apple Snow Gelatin contains strawberry gelatin topped with whipped lemon gelatin that is embedded with very small pieces of grated apple. It is refreshing with prominent notes of citrus in the foamy “snow” topping, but had almost no apple flavor (which was unexpected since the recipe title refers to “apple snow”). The grated apple pieces do create a slightly chewy texture. The recipe is fun and easy to make.
Here’s the original recipe:
Source: Jell-O advertisement in American Cookery (March 1925)
The recipe does not call for putting any lemon juice on the grated apples to avoid discoloration, but I was concerned about potential discoloration, so I used a little lemon juice. I stirred the lemon juice and sugar into the grated apples, then let them sit for a few minutes while I whipped the lemon gelatin. I then drained the grated apple mixture before adding to the whipped gelatin.
1/2 3-ounce box of lemon gelatin (Use other half of the box to make another recipe or plain lemon gelatin.)
2 cups boiling water + 1 cup boiling water
1 medium apple
4 tablespoons sugar
1 teaspoon lemon juice
Step 1. Put strawberry gelatin into a bowl, then add 2 cups boiling water. Stir until the gelatin is dissolved. Let cool slightly then fill small dessert serving glasses 3/4 full with the liquid. (The number of glasses needed will vary depending upon their size. Refrigerate at least 3 hours or until the gelatin is set.
Step 2. In the meantime, put lemon gelatin int0 a bowl, then add 2 cups boiling water. Stir until the gelatin is dissolved. Pour into a mixing bowl. Refrigerate until the gelatin is just beginning to thicken (about 1 – 1 1/2 hours).
Step 3. Wait until the gelatin is cool and just barely beginning to thicken, then peel and core the apple. Grate the apple. (I used a box grater.) Put the grated apple, sugar, and lemon juice in a small bowl, and stir to mix the ingredients. Set aside.
Step 4. Beat the lemon gelatin that is beginning to thicken with electric beaters until the gelatin is very foamy.
Step 5. Drain the grated apple mixture using a strainer. Gently press the grated apples to remove any additional liquid. Then gradually add the grated apples to the whipped lemon gelatin. The grated apples have a tendency to clump, so just put a small amount into the whipped gelatin at a time, and stir before adding more. If there are still clumps of grated apple in the gelatin, beat the gelatin for just a couple seconds to evenly disperse. (If there is a need to beat to disperse clumps of grated apple, take care not to beat more than a few seconds or the grated apples will be pulverized and lose their texture.) Refrigerate the whipped gelatin with grated apples until set (at least an additional 2 hours).
Step 6. To serve: Scoop some of the whipped lemon gelatin mixture on top of the strawberry gelatin.
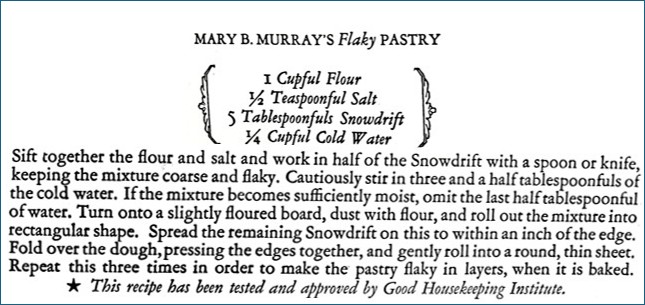
Source: Snowdrift Shortening advertisement, Good Housekeeping (October, 1925)
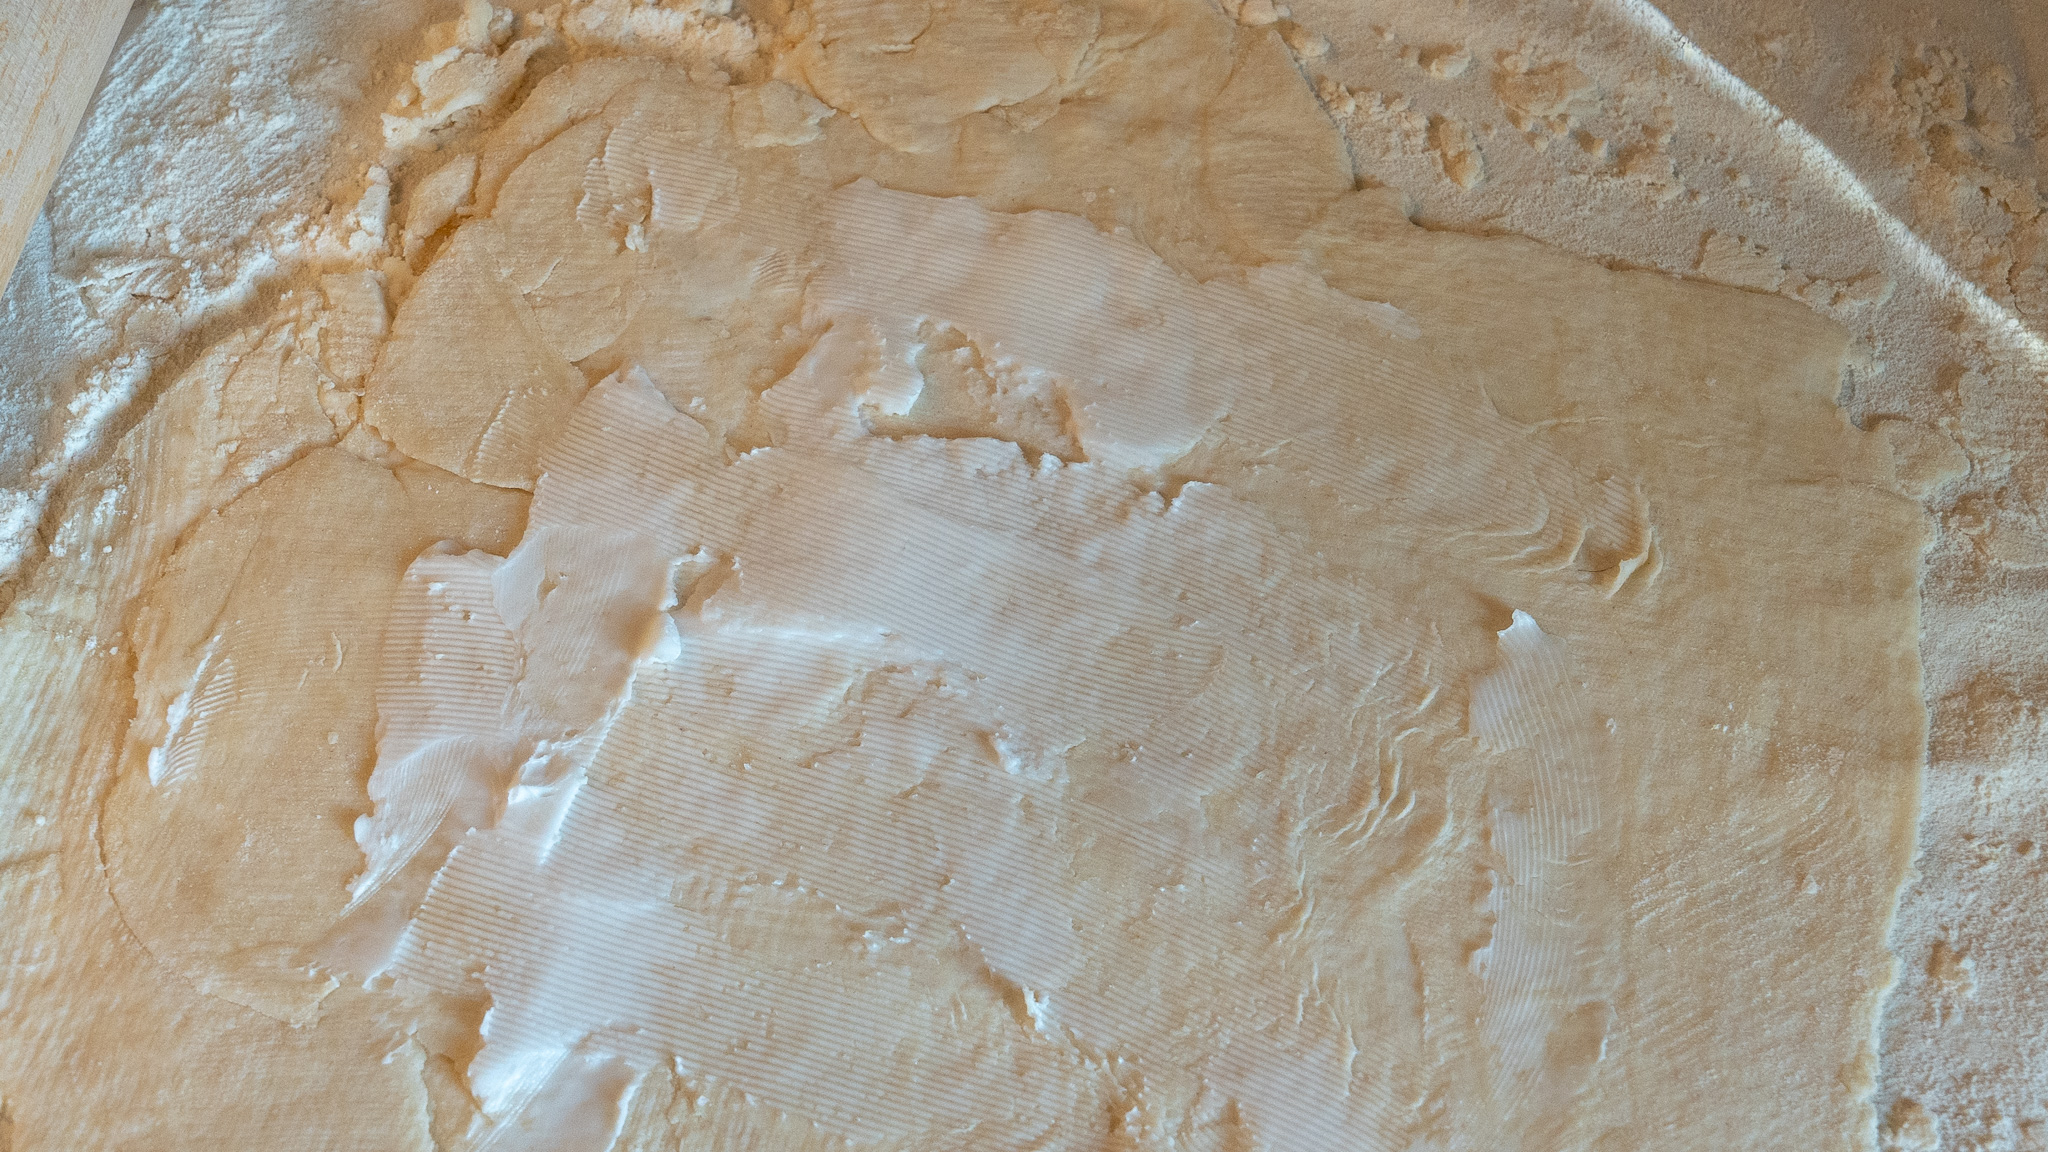
Sometimes information in a hundred-year-old magazine or cookbook helps me improve my cooking technique. Making a flaky pie crust is a recurring challenge for me, and I often end up with hard, dry crusts. I tried many recipes that call for using shortening, lard, or butter – but I have not found the perfect recipe.
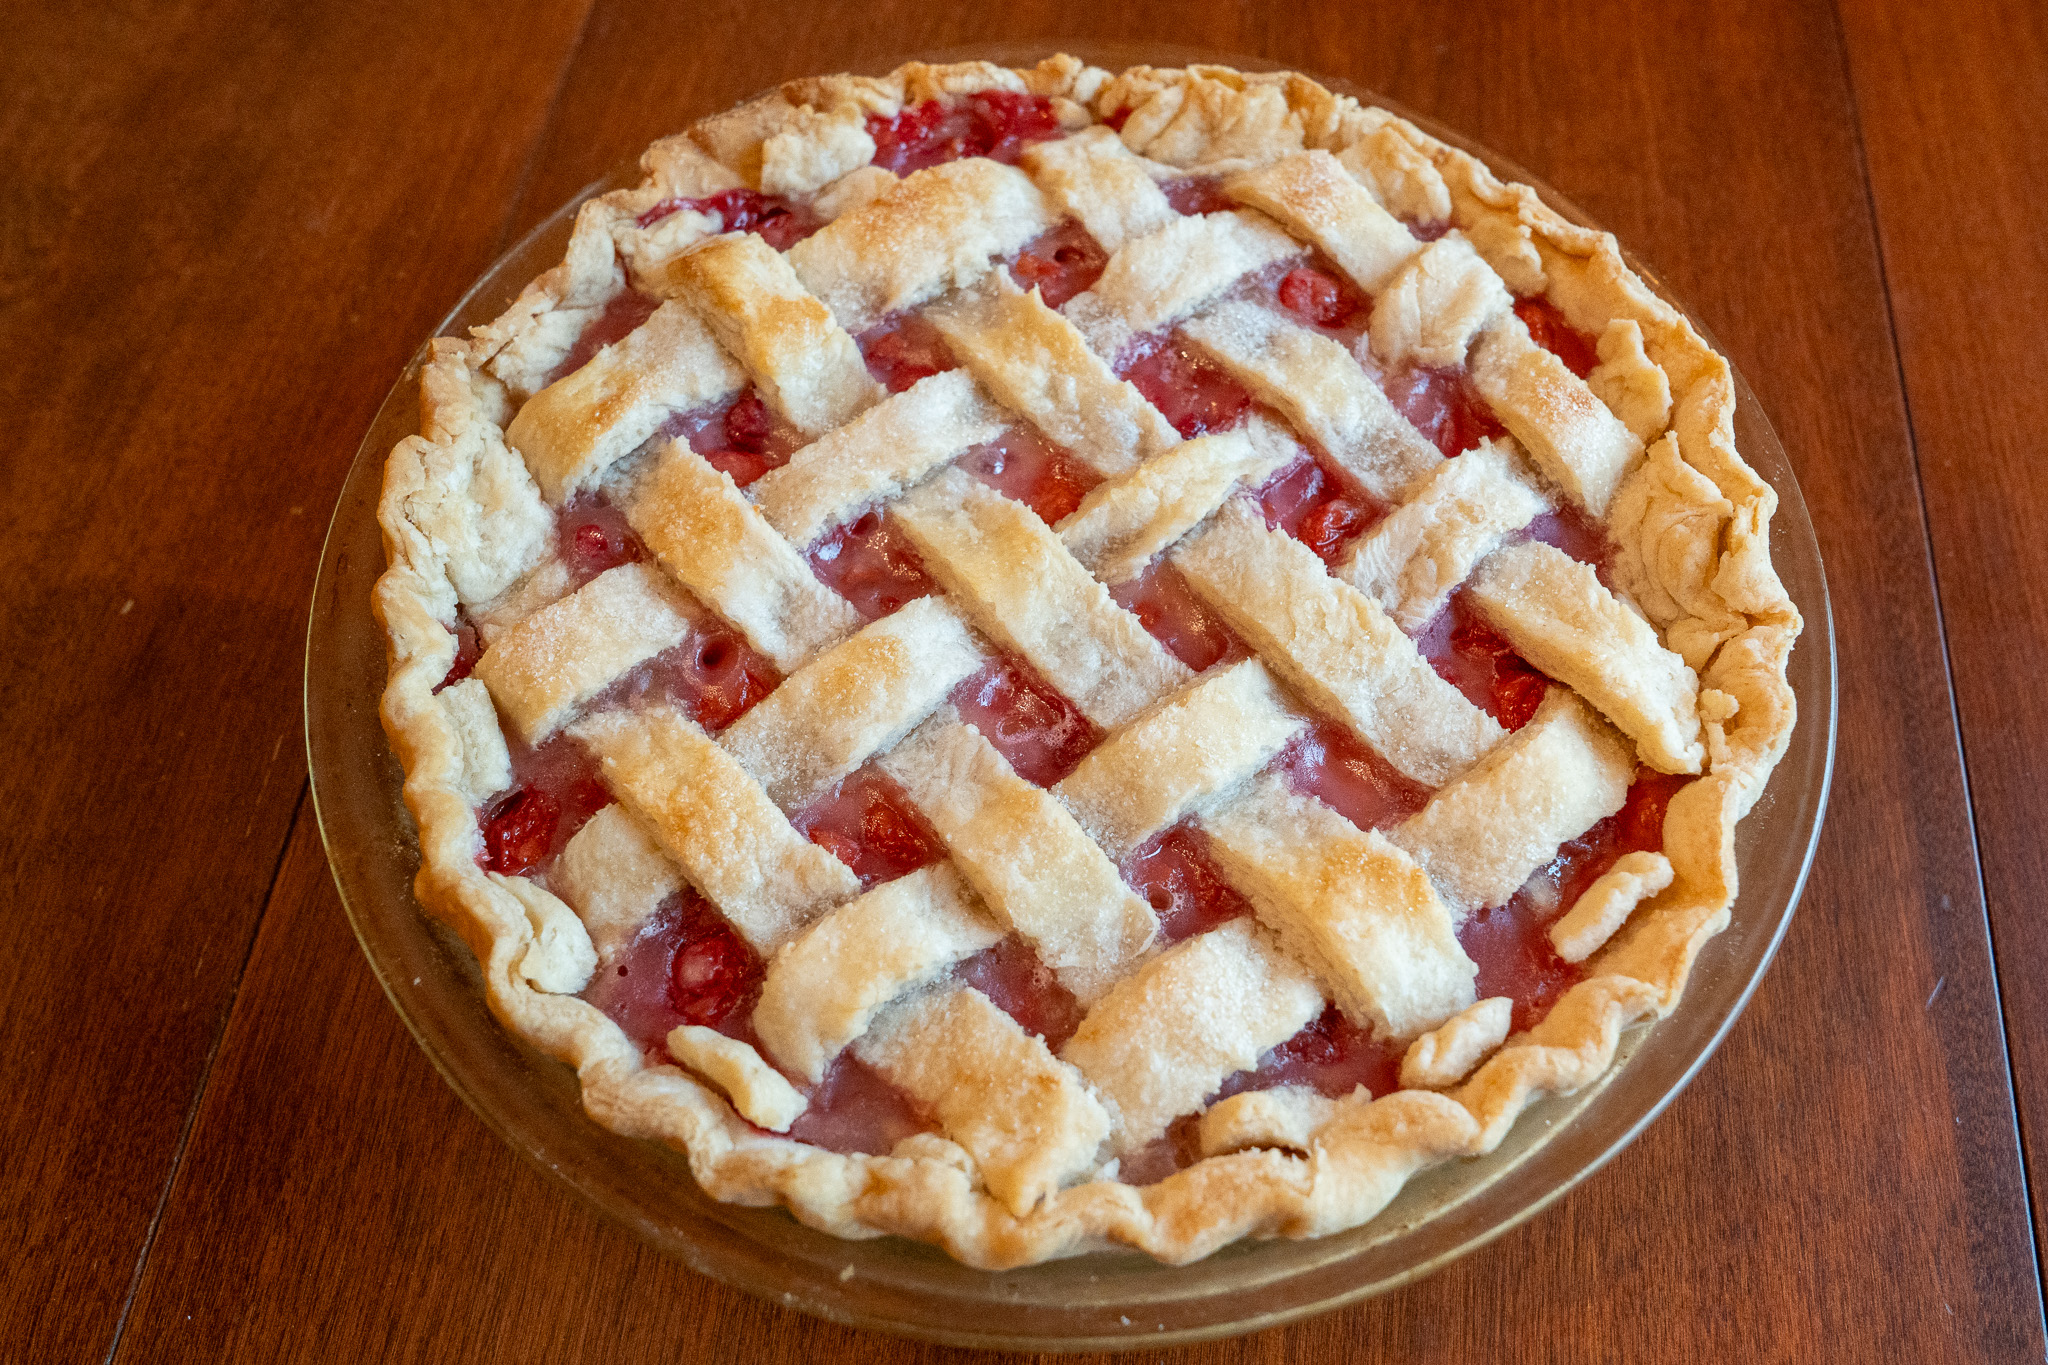
Our sour cherry tree produced lots of cherries last summer, and I froze 24 pints. A few days ago, I decided to use some of the cherries to make a cherry pie. I wasn’t thinking about hundred-year-old recipes, or this blog – but I was thinking about how hard it is to was to make good pie crusts. Suddenly I remembered seeing a hundred-year-old advertisement for an old-time cottonseed oil shortening called Snowdrift – and how it contained a recipe with a tip for flaky pie crusts. Next thing I knew I was digging through old magazines looking for recipe in the ad:
Source: Snowdrift Shortening advertisement, Good Housekeeping, October, 1925
Even if I could find a cottonseed shortening similar to Snowdrift, I had no interest in making a pie pastry using it. What intrigued me were the directions for making flaky pastry – reserve a little of the shortening when making the pie pastry, then spread some of the reserved shortening on the rolled out dough, fold dough, re-roll, repeat. Were they adaptable for use with other recipes?
The answer is a resounding “yes.” I made the crust for the cherry pie using a modern pastry recipe – but with the added steps described in the old recipe. This resulted in a noticeably flakier pie crust. I definitely plan to regularly use this technique in the future.
Here are the additional steps for a flaky pie crust.
Step 1
Reserve a little of the shortening or other fat when making the pastry. Use any pastry recipe that calls for shortening, lard, or butter; but, use a little less shortening or other fat than called for in the recipe.
Step 2
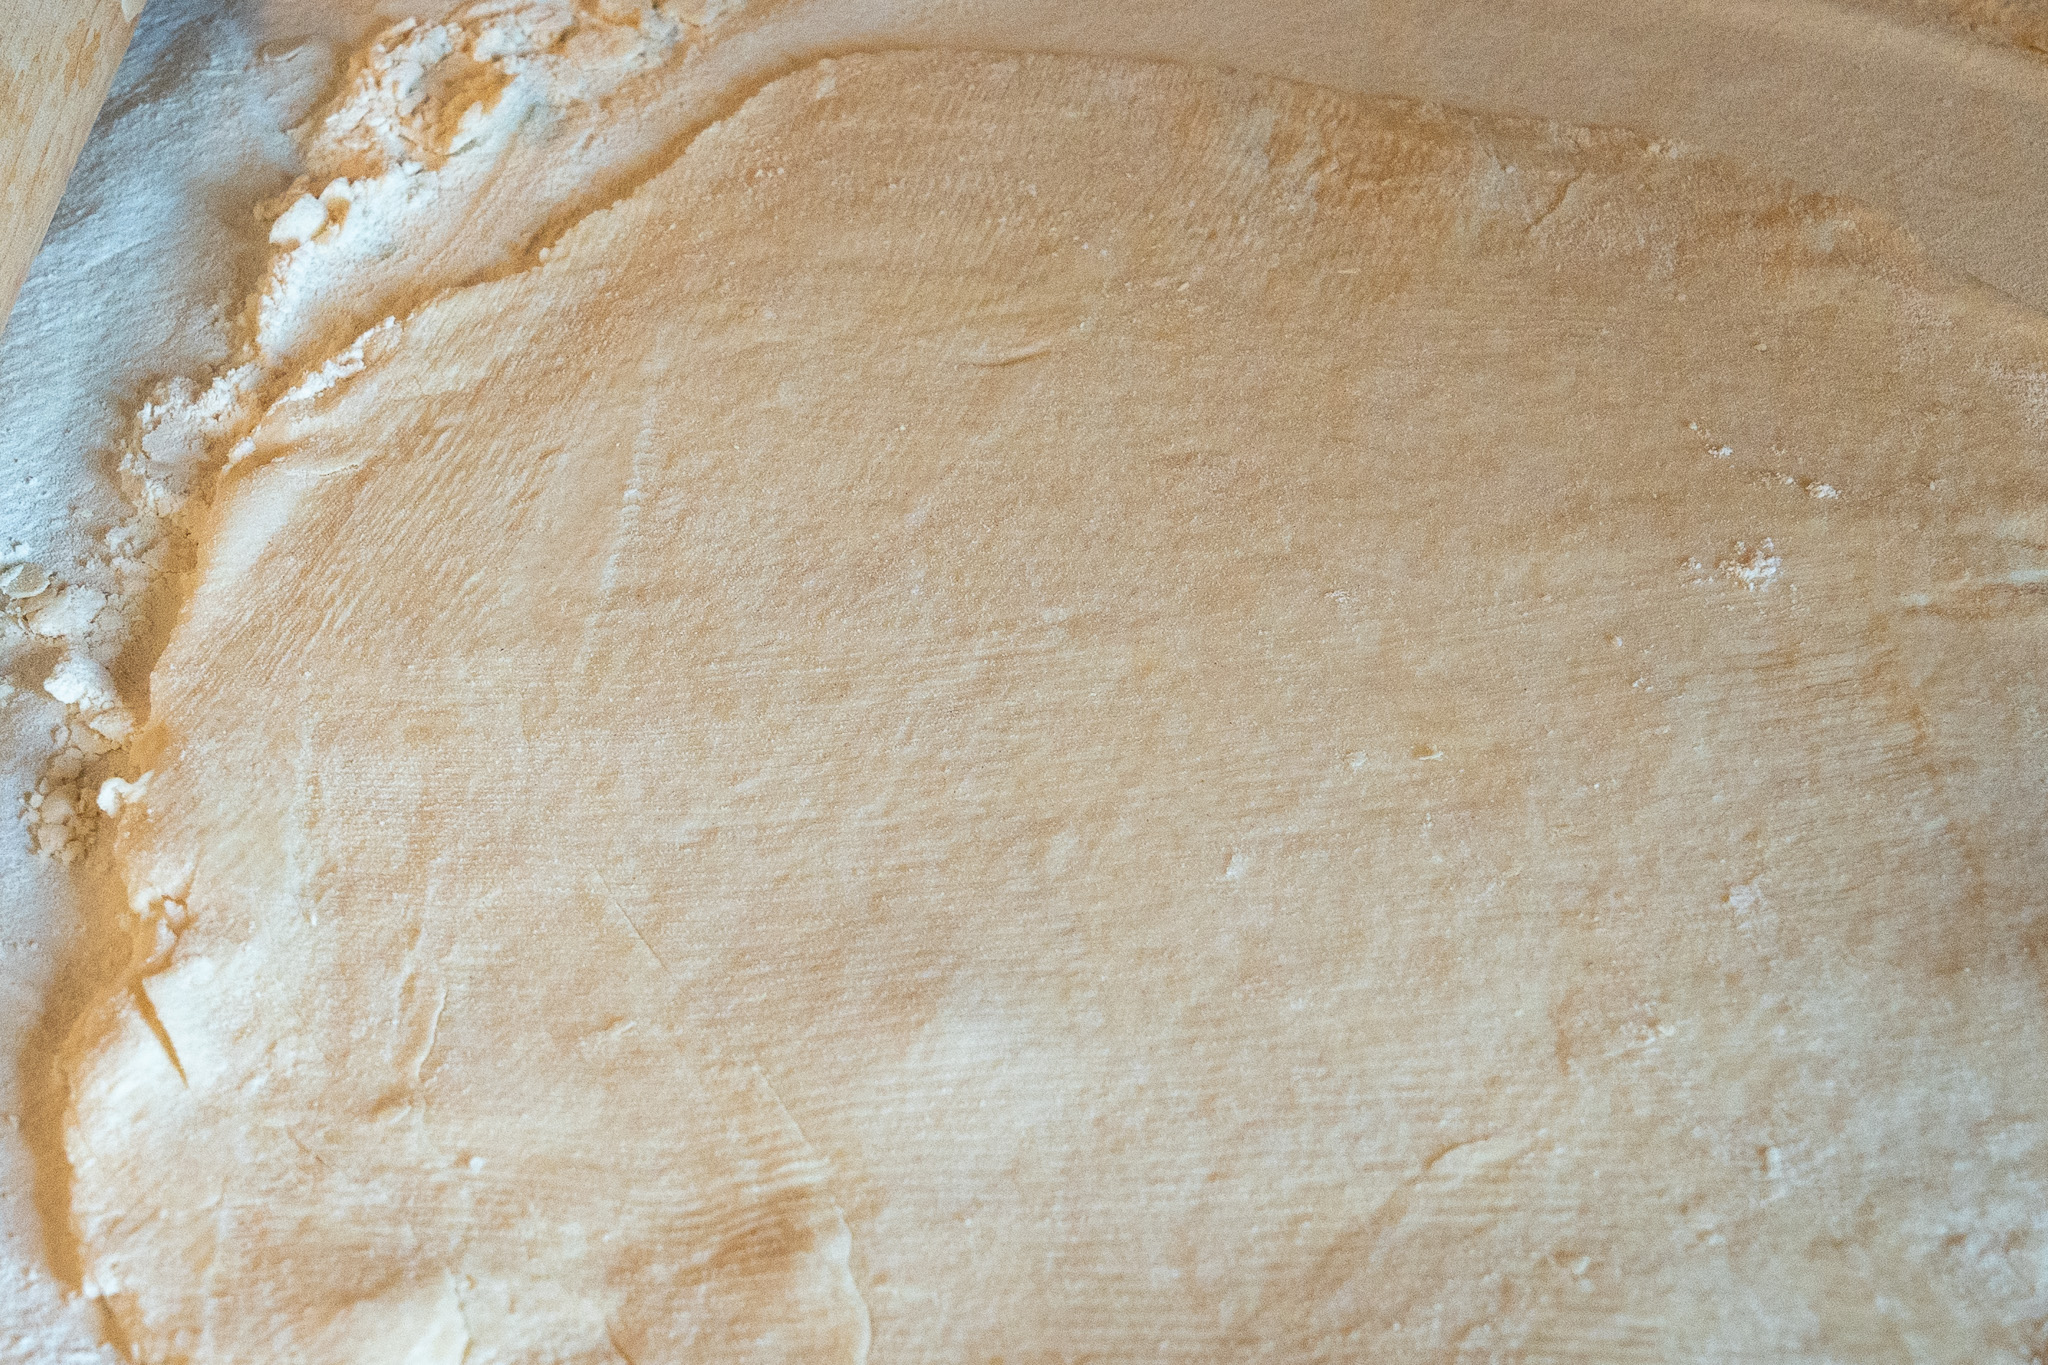
Roll out the pastry, and spread with some of the reserved shortening or other fat.
Step 3
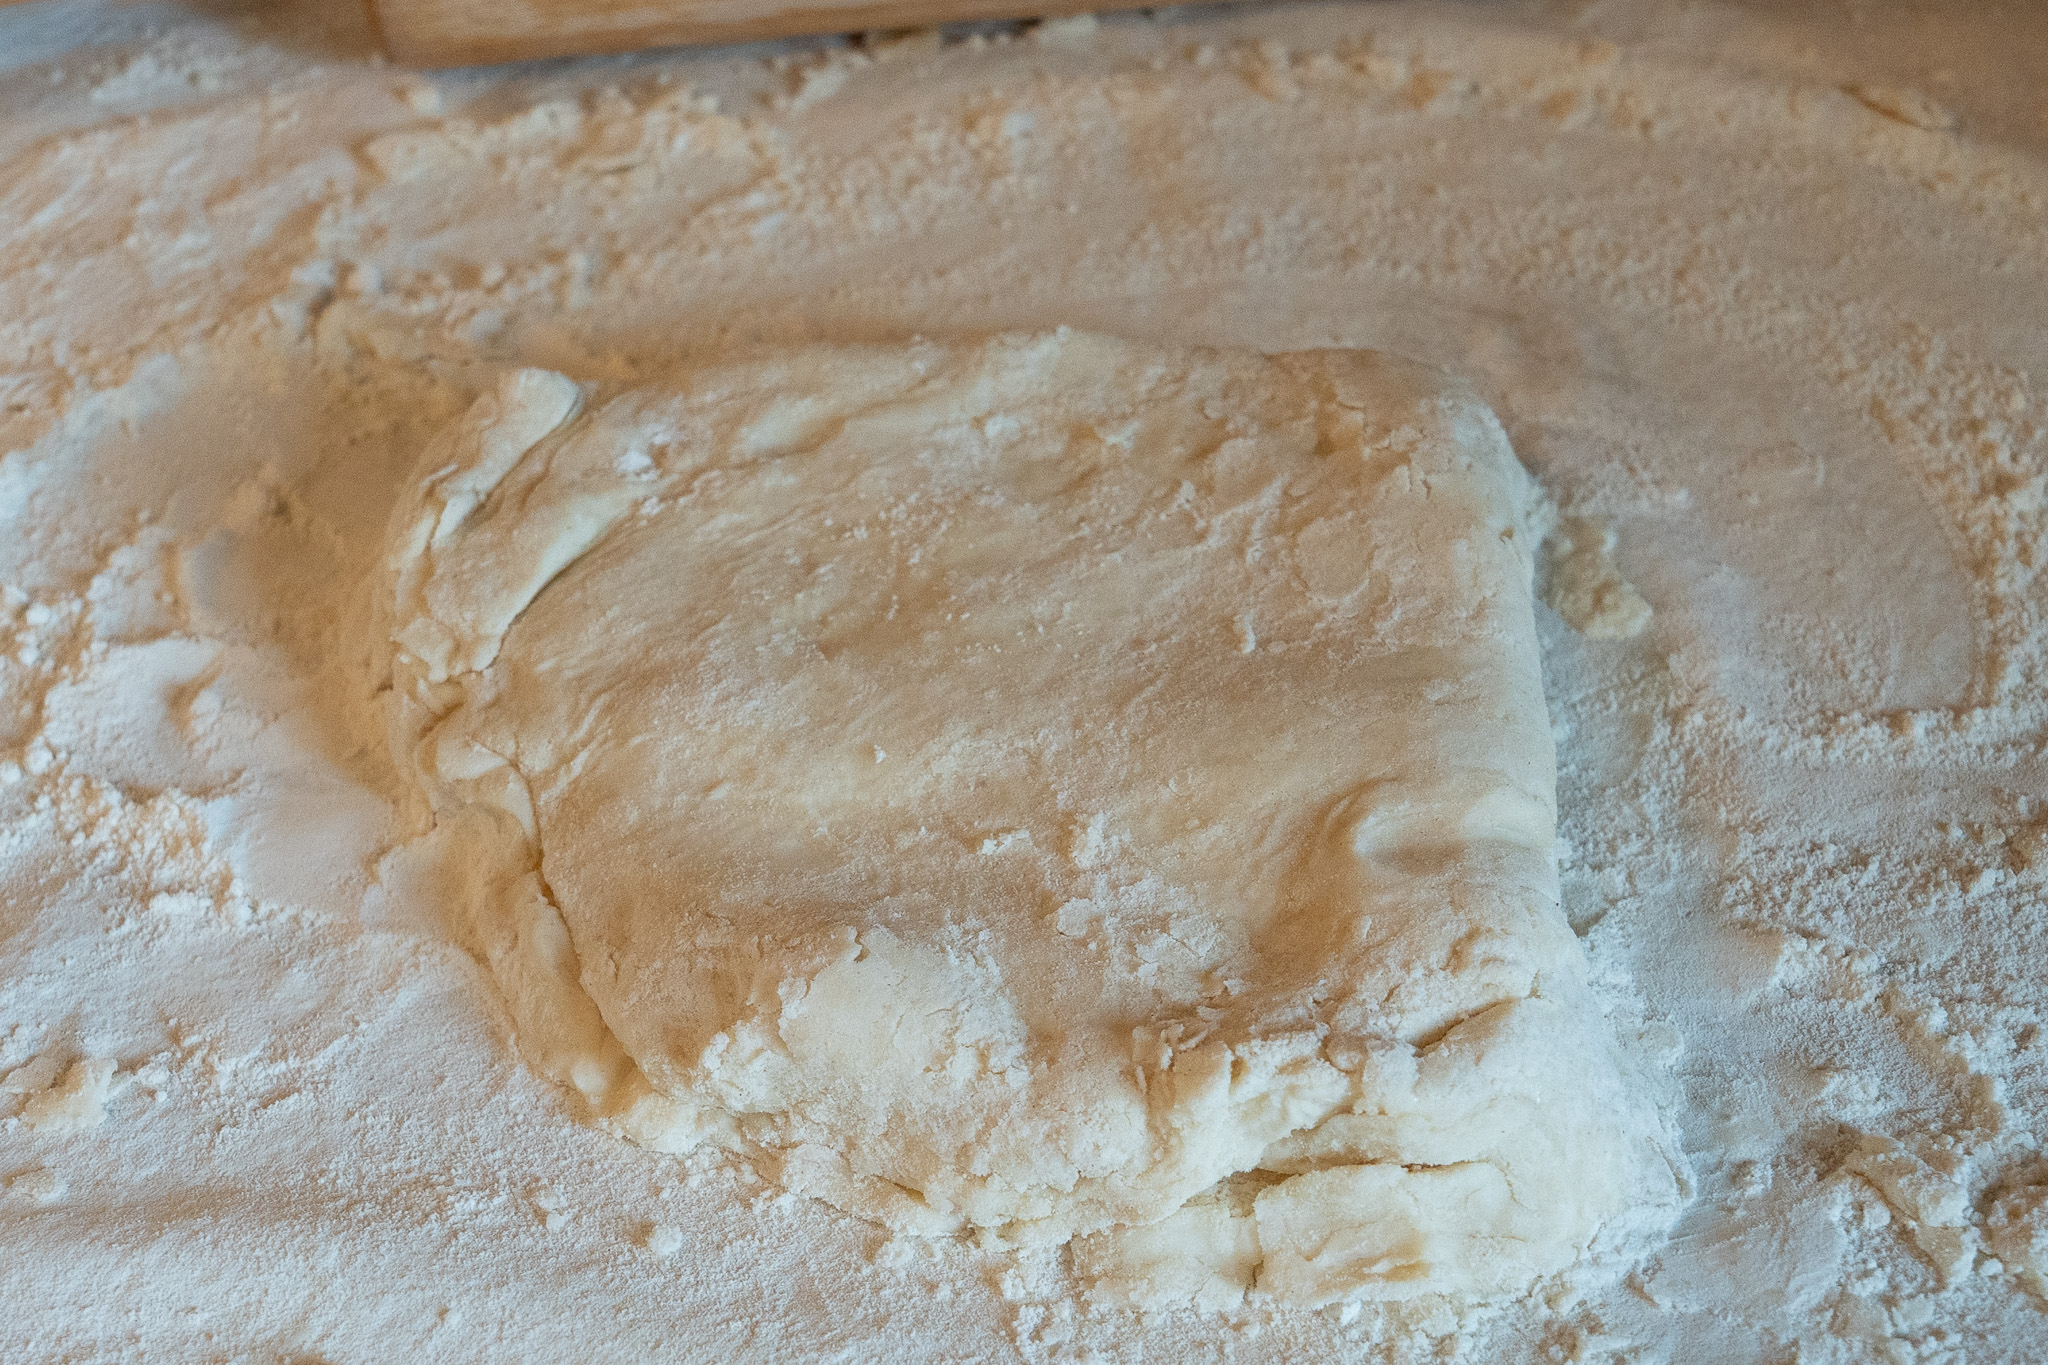
Fold the pastry dough twice (so that it is four layers thick).
Step 4
Roll dough out.
Step 5
Repeat Steps 2 – 4 (roll out dough and spread with shortening or other fat, fold dough, roll dough) two additional times.
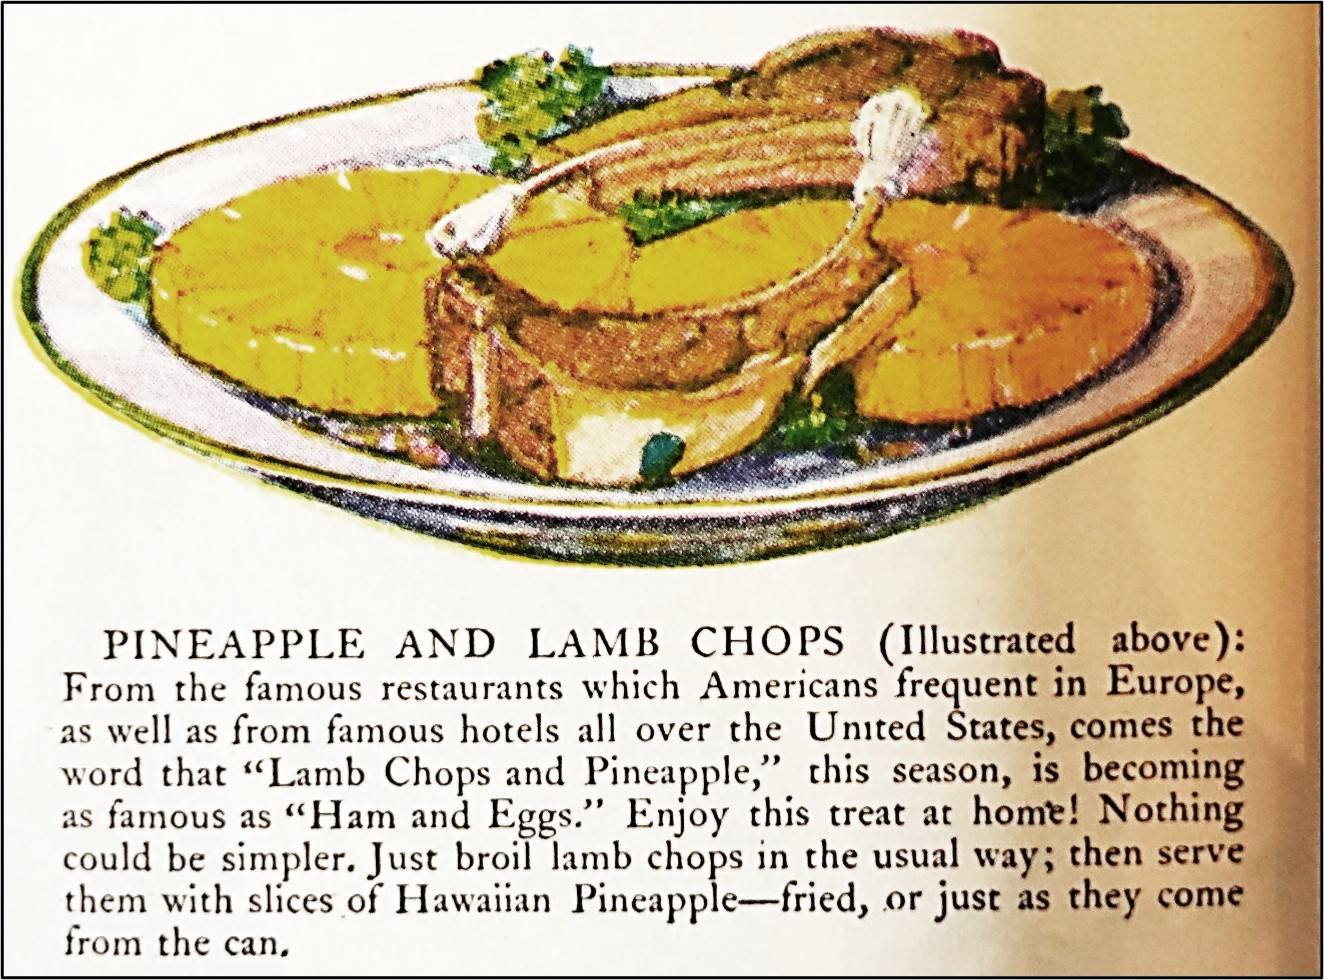
Hundred-year-old cookbooks and magazines often include lamb recipes. Since lamb is so expensive, I seldom choose to make one of those recipes, but last week lamb shoulder chops were on sale at the store where I shop. The price was almost reasonable. I just couldn’t resist and bought some.
Next, I started to look for lamb chops recipes. The one I selected was for Pineapple and Lamb Chops. The recipe was embedded in a 1925 advertisement by the Hawaiian Pineapple Growers Association. Here’s the original recipe:
Source: Ladies Home Journal (December, 1925)
I loved how the recipe author claimed that Pineapple and Lamb Chops were served in famous restaurants and hotels throughout Europe and the United States – and I also loved the simplicity of the recipe. It called for broiling the lamb chops and serving with fried pineapple.
The Pineapple and Lamb Chops were delightful and very tasty. I’m keeping my fingers crossed that the grocery store has another sale on lamb chops very soon.
A hundred-years-ago, lamb was more popular meat in the U.S. than it is now (probably because it wasn’t as expensive back then). In the 1920’s, per capita consumption of lamb was about 5.5 pounds per person; in 2025, it is about 1 pound person. The data for the 1920’s was from a 1948 article in the Southern Economic Journal called Trends in the Per Capita Consumption of Foods in the United States Since 1920. The recent data was from The U.S. Department of Agriculture’s Sheep, Lamb, and Mutton – Sector at a Glance.
A 1925 home economics textbook for high school students included extensive information about lamb, and even contained a picture showing various types of lamb chops:
Source: School and Home Cooking (1925) by Carlotta C. Greer
Here’s the Pineapple and Lamb Chops recipe updated for modern cooks:
For each serving (2 lamb chops), the following are needed:
2 lamb chops (loin, rib, shoulder) (I used shoulder lamb chops.)
salt and pepper
2 slices of canned pineapple
butter
Broil or grill lamb chops to desired doneness. Lightly sprinkle with salt and pepper.
In the meantime, melt butter in a skillet. Add pineapple; cook until lightly browned, then flip and lightly brown the other side.
To serve – Arrange the lamb chops and fried pineapple slices on serving plate. The pineapple slices look lovely on top of large lamb chops. For smaller chops, put the pineapple slices beside or under the chops.
Halloween parties are the best – and they have been lots of fun for many years ago. Like now, a hundred years ago, people made jack-o-lanterns and decorated their home for Halloween. Back then, the decorations were often homemade rather than the typical purchased decorations used today.
The October, 1925 issue of Good Housekeeping magazine provided party suggestions -and included an image of a centerpiece with a Gingerbread Witch House surrounded by black cats, small jack-o-lanterns, and other spooky figures.
In the early 1900’s, the “trick” part of “trick or treat” was still in play, and people often played tricks on others – and sometimes even did pranks, including “soaping windows” by taking a bar of soap and rubbing it on windows.
More than 14 years ago, I started this blog as a place to post my grandmother’s diary entries exactly one hundred years to the day after she wrote them. She was a teen-ager living on a farm in central Pennsylvania when she wrote the entries. Her diary ended after four years, and I then converted this blog to its current food blog format. Here is what Grandma wrote in her diary about a Halloween party:
At last this old house sees a party. It was fun to see the guests arrive. They were gowned in many crazy ways. One fellow wore a skirt with hoops and looked too silly for anything. We also had a clown, a ghost, and a witch. The rest were dressed in any old way. As for the false faces, they were about as ugly as could be. There were twenty-one in all and made quite a merry company.
As it was Halloween, one of the guests caught it. Someone unhitched his buggy and carted it away, but it was found at last.