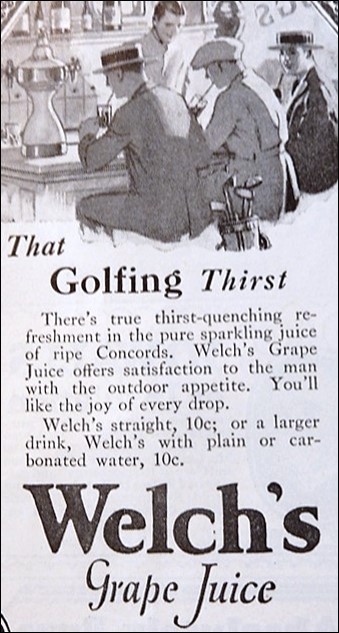
Got “that golfing thirst?” A hundred years ago prohibition was in full swing, so Welch’s Grape Juice was clearly the drink to quench it.
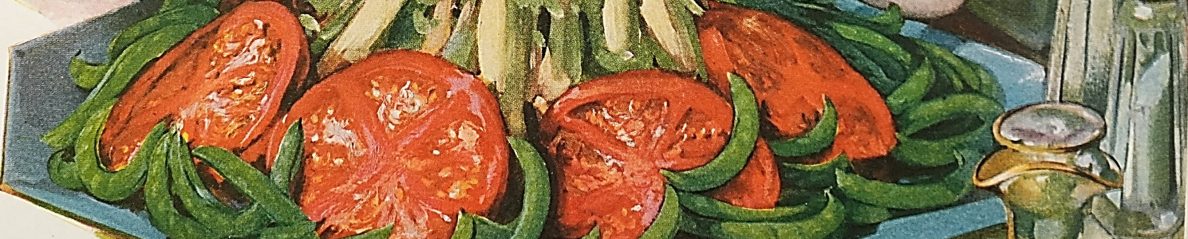
Got “that golfing thirst?” A hundred years ago prohibition was in full swing, so Welch’s Grape Juice was clearly the drink to quench it.
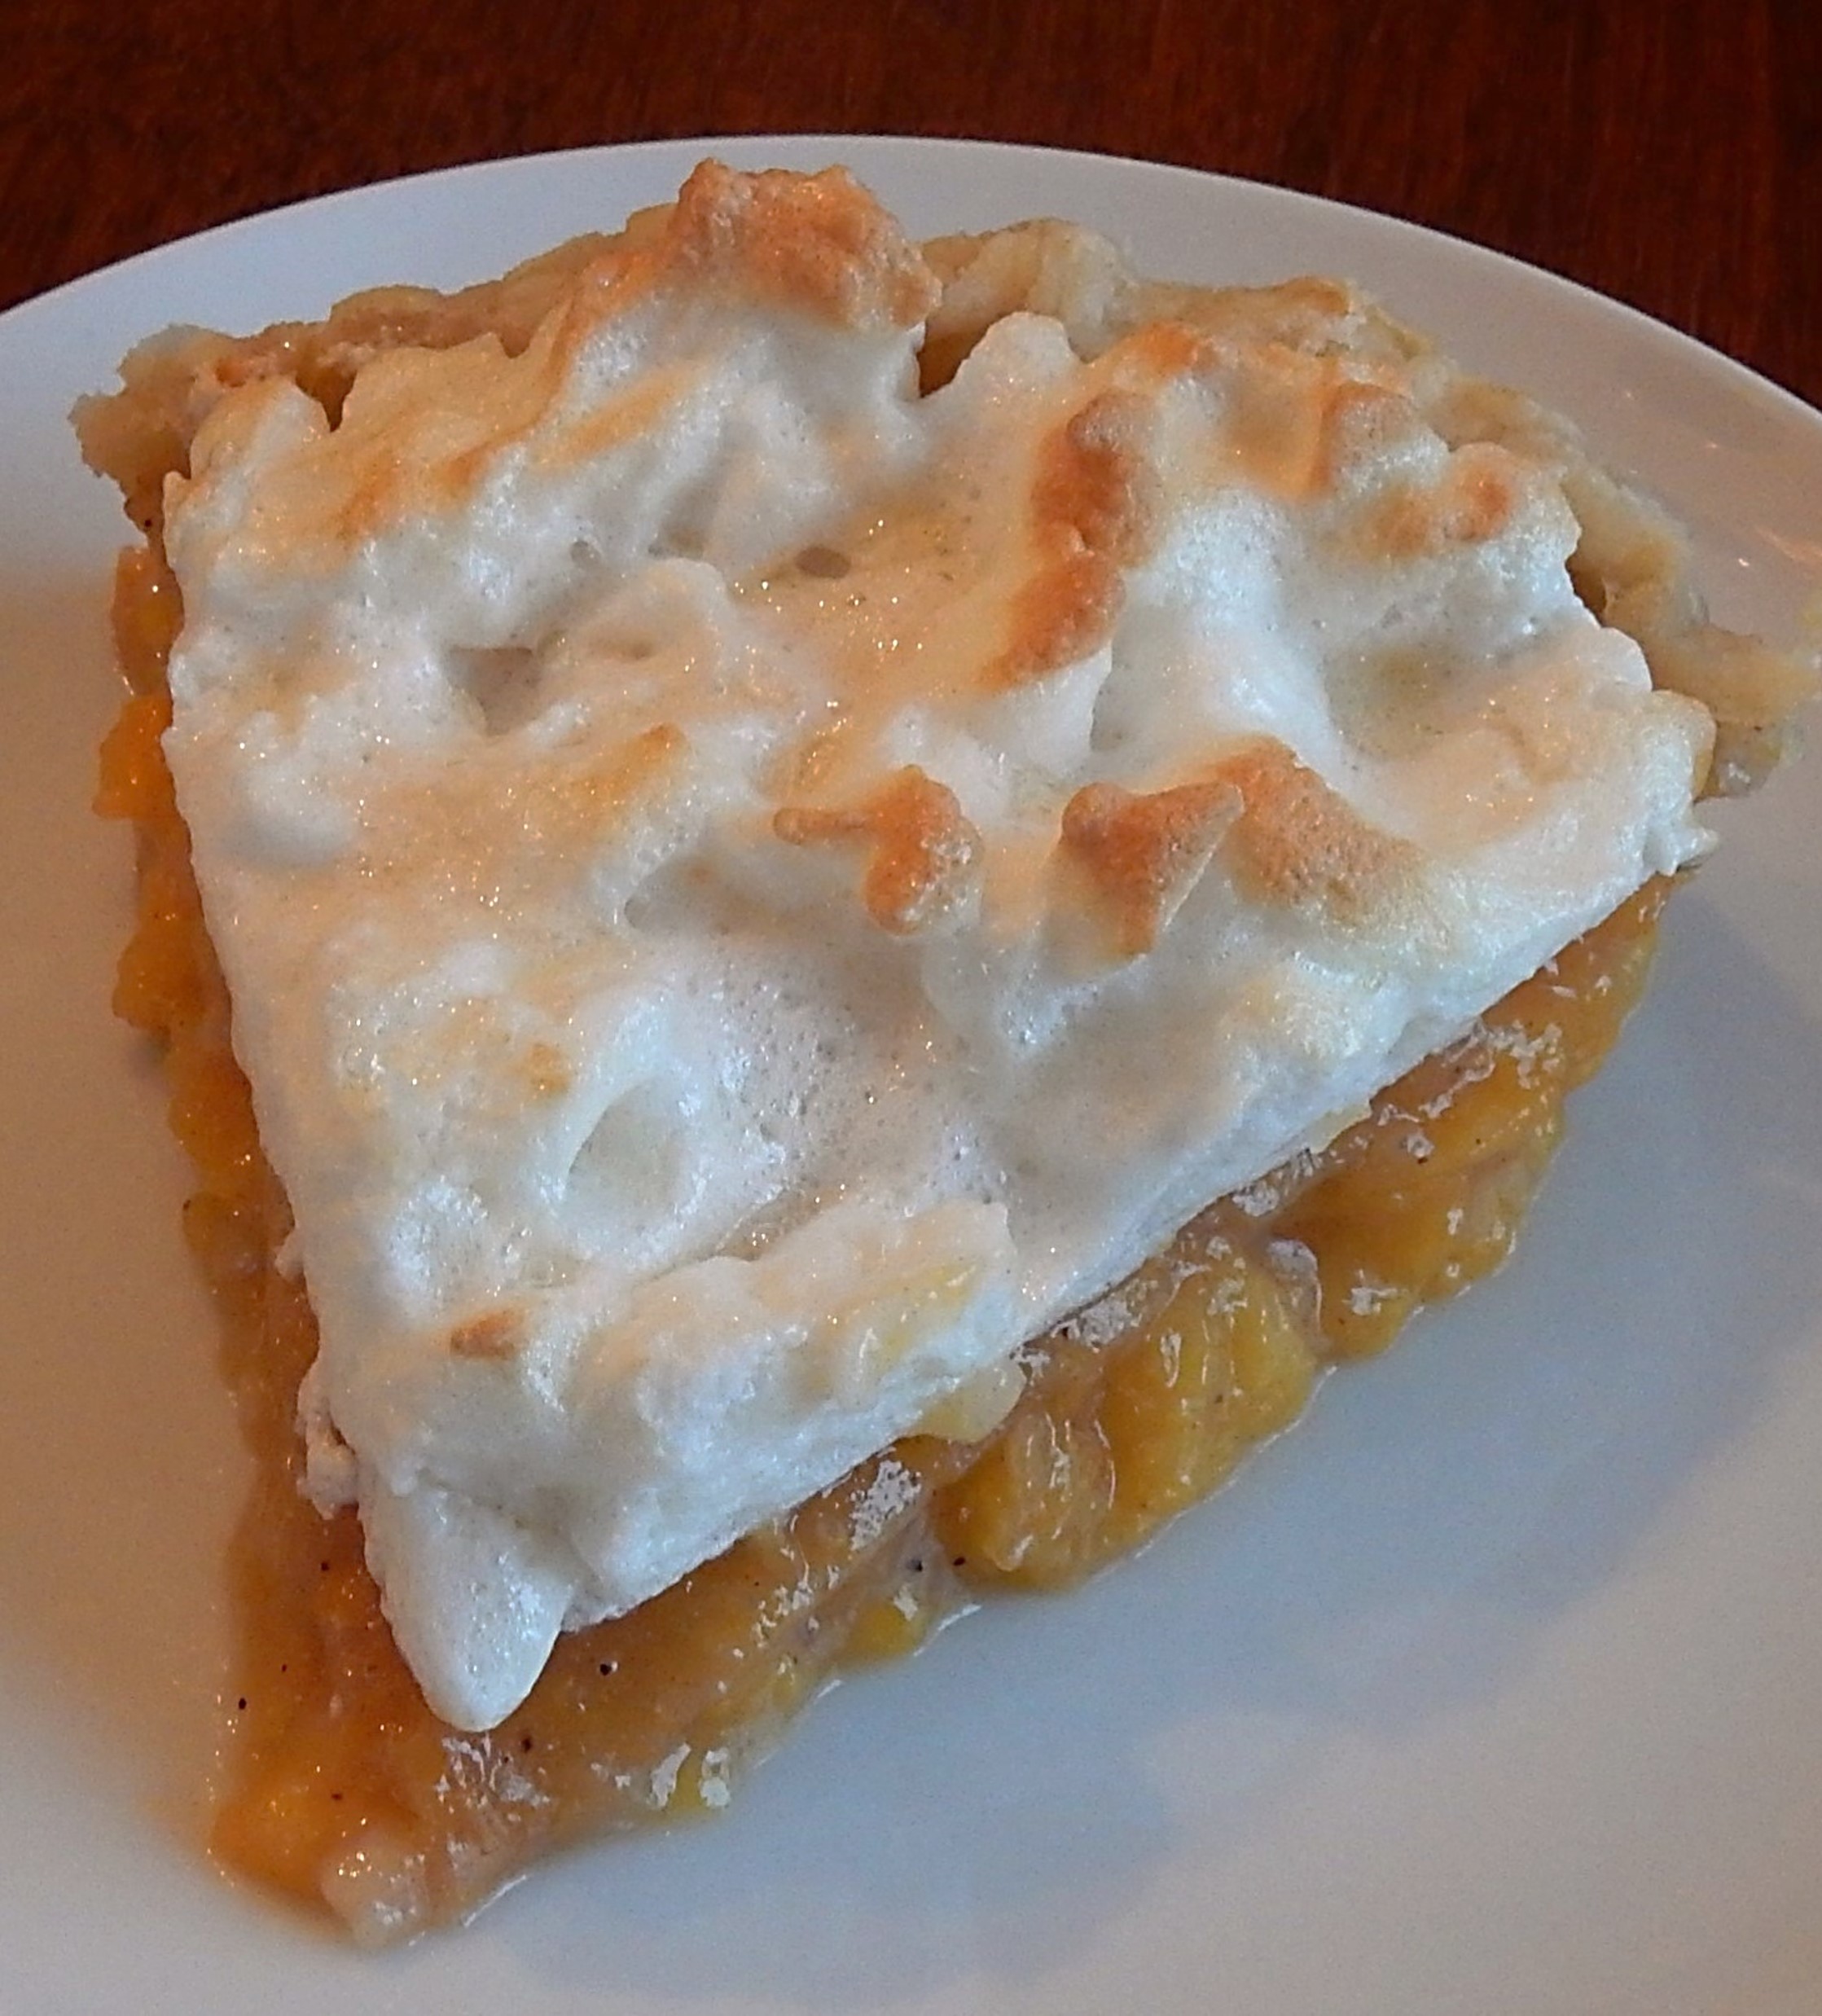
We’re getting to the peak of peach season. Succulent peaches are wonderful fresh, and are also wonderful when baked into various delectable desserts. I recently came across a recipe for Peach Meringue Pie in a hundred-year-old cookbook, and decided to give it a try.
The pie was a winner. The peach filling was sweet with a hint of tartness, and the meringue topping was refreshingly light with a nuanced vanilla flavor which nicely balanced the peaches.
Here’s the original recipe:
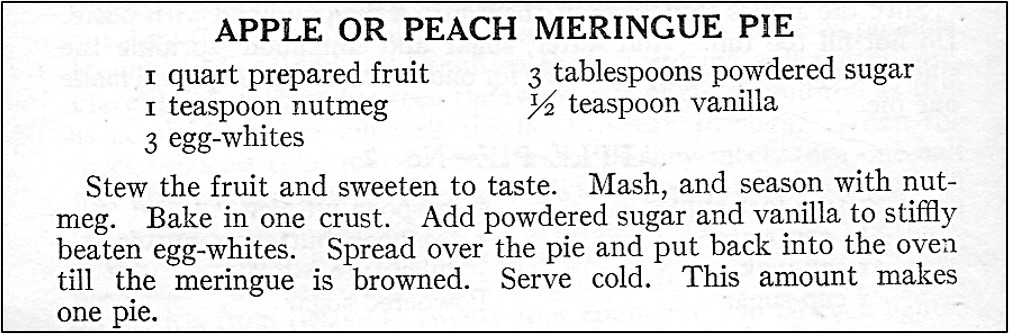
I’m not sure why the recipe called for cooking and mashing the peaches prior to putting them in the pie shell, but I followed the directions. Maybe the recipe author did not want distinct slices of peach in the baked pie.
I sweetened the peaches with 1/2 cup sugar. When I made this recipe the cooked peaches were very juicy -and I knew that they would not hold their shape in a pie, so I added 1/4 cup of flour. This worked well, and the cooked peach pie filling was an appropriate consistency when the pie was baked.
It’s intriguing that the old recipe indicated that the recipe was for either apple or peach meringue pie. I would think that the spices that are used in an apple pie would be somewhat different than the spices in a peach pie. Similarly, I would think that more flour would be needed to thicken the filling of a peach pie than an apple one (though, of course, no flour or other thickener was called for in the old recipe).
Here’s the recipe updated for modern cooks:
4 cups sliced and peeled peaches
1/2 cup sugar
1/4 cup flour
1 teaspoon nutmeg
1 9-inch pie shell
3 egg whites
3 tablespoons powdered sugar
1/2 teaspoon vanilla
Preheat oven to 400° F. Put the sliced peaches and the sugar in a saucepan; stir together. Using medium heat bring to a boil while stirring occasionally; simmer, until the peaches are soft, while continuing to stir occasionally (about 5 minutes). Remove from heat and mash the cooked peaches. (I used a potato masher). It is okay if the mashed peaches are chunky. Stir in the flour and nutmeg. Put the peach mixture into the pie shell and bake in oven until the filling begins to bubble, and the crust is lightly browned.
In the meantime, make the meringue. Place egg whites in a bowl, and beat the egg whites until they form stiff peaks. Gradually add powdered sugar and vanilla while continuing to beat. Then spoon on top of the pie and swirl. Reduce oven temperature to 350° F. Return pie to oven and cook for an additional 8-10 minutes or until the meringue is lightly browned.
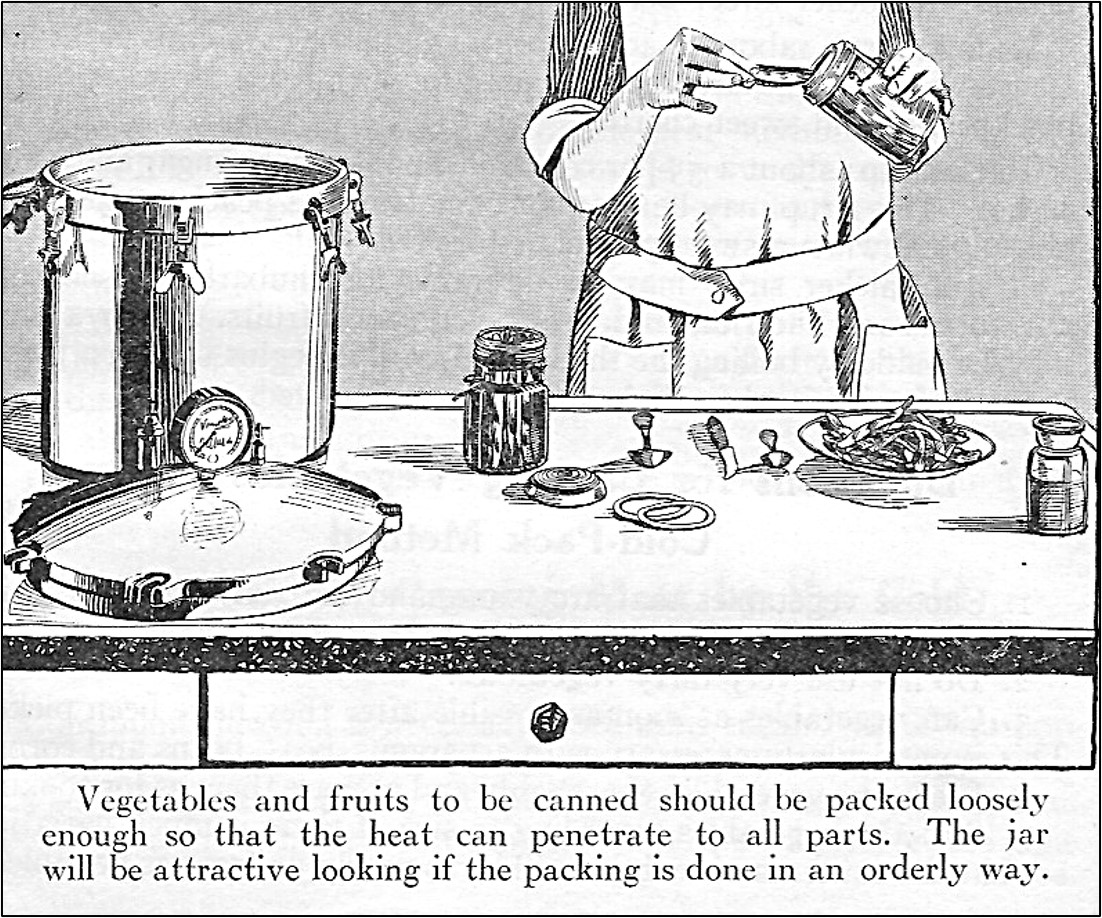
Venders at the farmers market often have bushel baskets filled with fruits and vegetables, but I’m never sure how many quarts of canned goods they’ll yield, so I was pleased to find a canning guide in a hundred-year-old cookbook. Many things change over time, but I assume that yield ratios stay the same.

 I was intrigued by a recipe in a hundred-year-old cookbook for Cucumber Sauté, so decided to give it a try. Cucumber spears are briefly boiled, then rolled in flour and sautéed.
The Cucumber Sauté spears were slightly crunchy and very tasty.
Here’s the original recipe:

Except for the number of cucumbers, the amounts are not listed for any of the ingredients. When I updated the recipe, I added amounts for some of the ingredients.
Here’s the recipe updated for modern cooks:
water
4 small cucumbers (about 4 – 5 inches long)
butter or cooking oil (I used butter.)
1/3 cup flour
1/4 teaspoon salt
1/8 teaspoon pepper
2 tablespoons minced parsley or chives (I used parsley)
Fill a saucepan about 2/3’s full of water; bring to a boil using high heat.
In the meantime, peel the cucumbers, and then quarter them lengthwise. Put the quartered cucumbers into the boiling water, reduce heat so the water simmers and cook the cucumbers 3 minutes. The drain the cucumbers and lay on a paper towel to eliminate any excess moisture.
In the meantime, combine the flour, salt, and pepper. Then roll the cooked cucumbers in the flour mixture.
In a skillet, heat enough butter or cooking oil to cover the bottom of the pan. When hot, add the floured cucumbers. Cook until they begin to lightly brown, then turn and lightly brown the other side. When the cucumbers are turned add the parsley or chives and evenly distribute over the cucumbers. When lightly browned on both slides remove from heat, drain on paper towels, and serve.
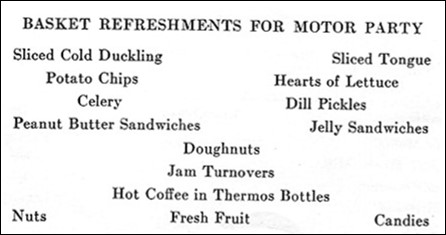
I recently came across a menu for basket refreshments for a motor party in a hundred-year-old magazine. A motor party picnic sounds like so much fun. If I could only get in a time machine, and go back to the early days of automobiles, dirt roads, and adventures. I’d wear a short dress that only came to my knees (this was the flapper era) and a huge bonnet with ribbons that tied under my chin. I’d put the refreshments in a wicker basket; and, I’d spend all morning cooking and packing refreshments for the trip. We’d drive out into the country and spread out a blanket in a grassy field, and then lay out the spread of food.
Things start to get blurry – Is this motor party a date? An event with friends? A family trip?
Then I come back to reality, and 2024. Sigh. . . maybe I should pack a picnic lunch and take it a nearby park. Somehow it just doesn’t seem the same.
 On hot summer days, when the heat is intense and blistering, I always remember making hay when I was a child growing up on a farm. It was hot, hard work to bale hay, and then unload it off wagons and stack in the barn. I can remember we thought that it was a good day if we made 1,000 40-pound bales in a day. To keep the hay from the scratching me, I’d wear long pants and a long-sleeved shirt that were quickly soaked with sweat. To stay hydrated, we took huge jugs of water or Kool-Aid out the fields and the barn.
A hundred-years-ago it was even more labor intensive to make hay. Most farmers used horses rather than tractors, and the hay wasn’t baled. Rather the loose hay was stacked on wagons, and then unloaded in the barn. I never thought about what they drank back then while working in the hot fields until I came across a recipe in a hundred-year-old cookbook published by a Springfield, Illinois newspaper for Harvest Drink.
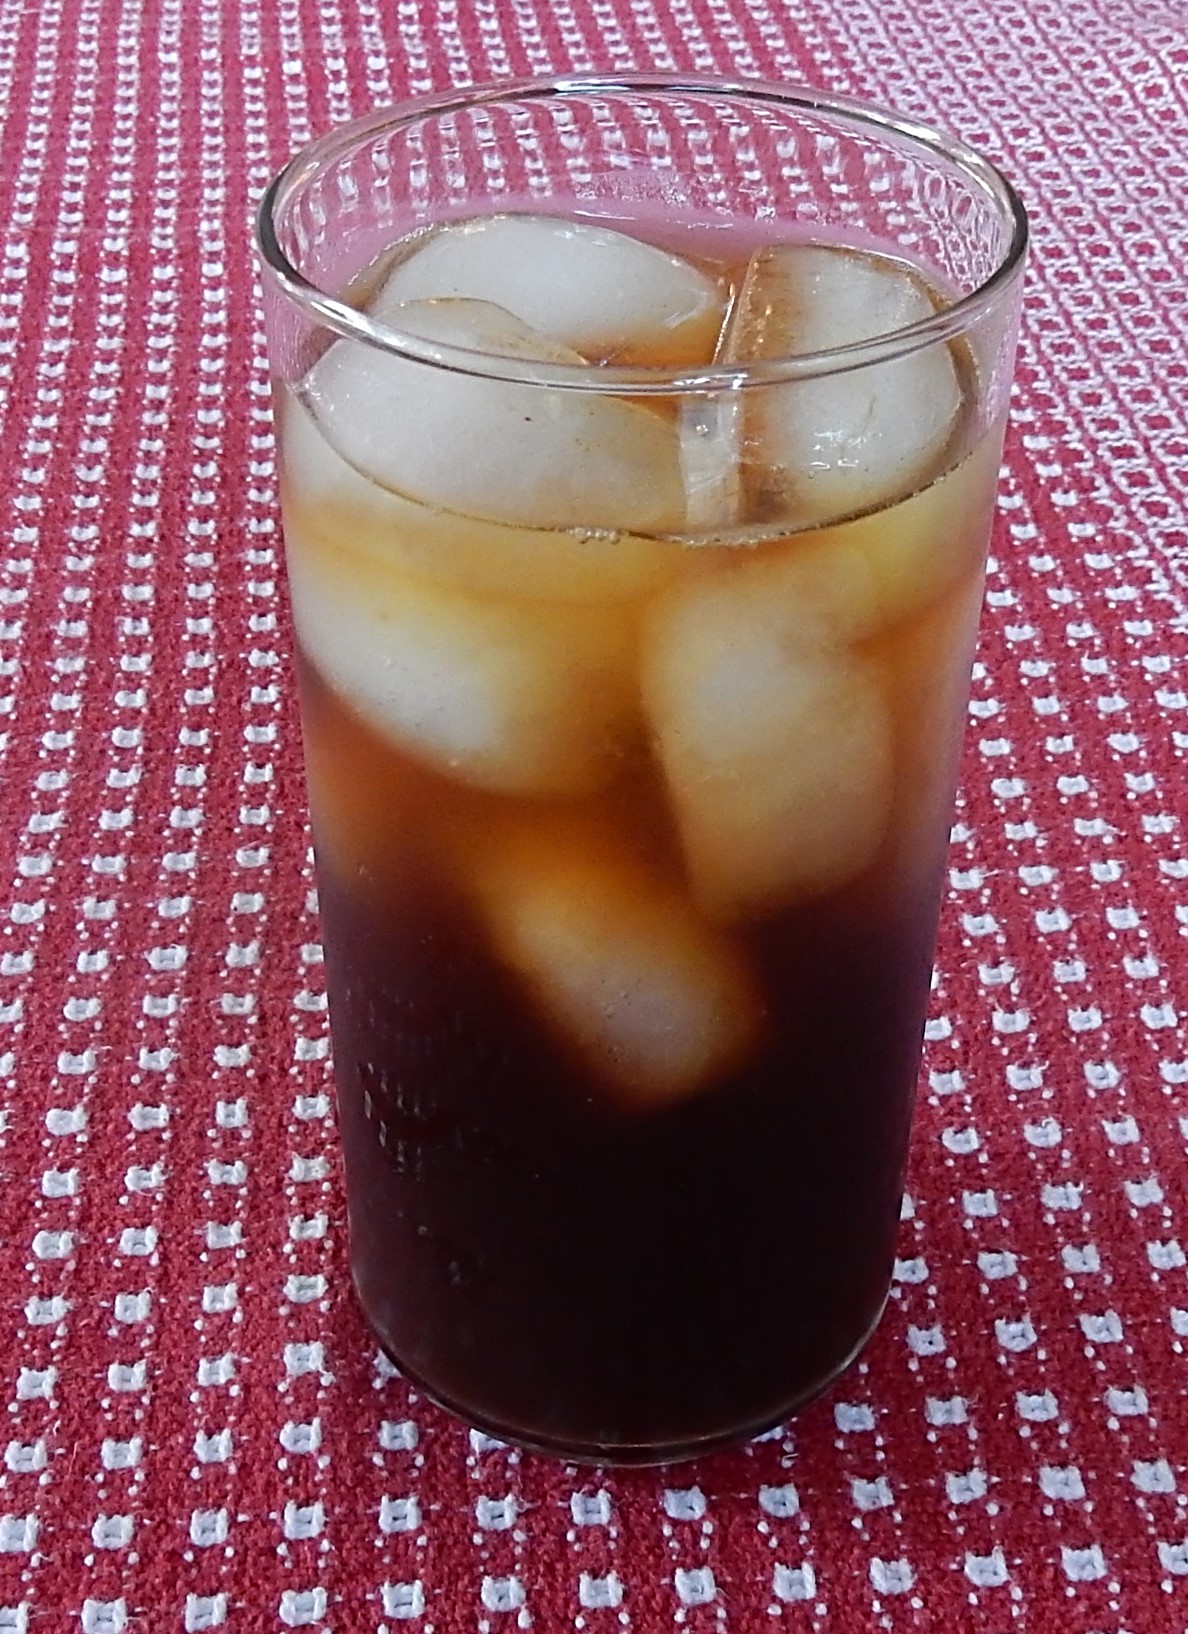
According to the recipe, Harvest Drink is “relished in the hay-field.” It is made using vinegar, molasses, water, and ground ginger. I decided to give it is try.
I can’t say that I liked Harvest Drink. It is slightly tart with a molasses flavor. Maybe if I was making hay, and was hot and dehydrated, I would find it refreshing – but can totally understand why this beverage has gone out of fashion. We have a lot of better options now that are much tastier.
Here’s the original recipe:

This is a large recipe. I actually divided the amounts by 10. However, many of the ingredient amounts were unusual fractions, so when I updated the recipe, I kept the original amounts.
Here’s the recipe updated for modern cooks:
1/4 cup vinegar
1 cup molasses
10 cups water
approximately 1 tablespoon ground ginger
Combine vinegar, molasses, and water. Stir in the ground ginger; more or less may be used to taste. Serve very cold.

Here are some tests listed in a hundred-year-old cookbook that can be used to tell when bread and cakes are done:
- When the color is a rich golden brown.
- When the mixture shrinks away from the sides of the pan.
- When the sides of the pan sizzle when touched with a damp finger.
- When a clean toothpick inserted comes out free from any particles of the mixture.
- When a cake springs back without leaving an impression when pressed gently on top.
- When the loaf of bread gives a hollow sound on tapping.
The New Butterick Cook Book (1924)
