 Some recipes in old cookbooks have the strangest titles. For example, I recently came across a hundred-year-old recipe for Tasty Asparagus. In one way the title was very descriptive – it clearly says that the asparagus is tasty. However, in another way, the description is very inadequate. How is the asparagus prepared? What are the main ingredients? I tend to skip over recipes with titles like this, but was intrigued when I saw that this was a recipe for asparagus and onions, and decided to give it a try.
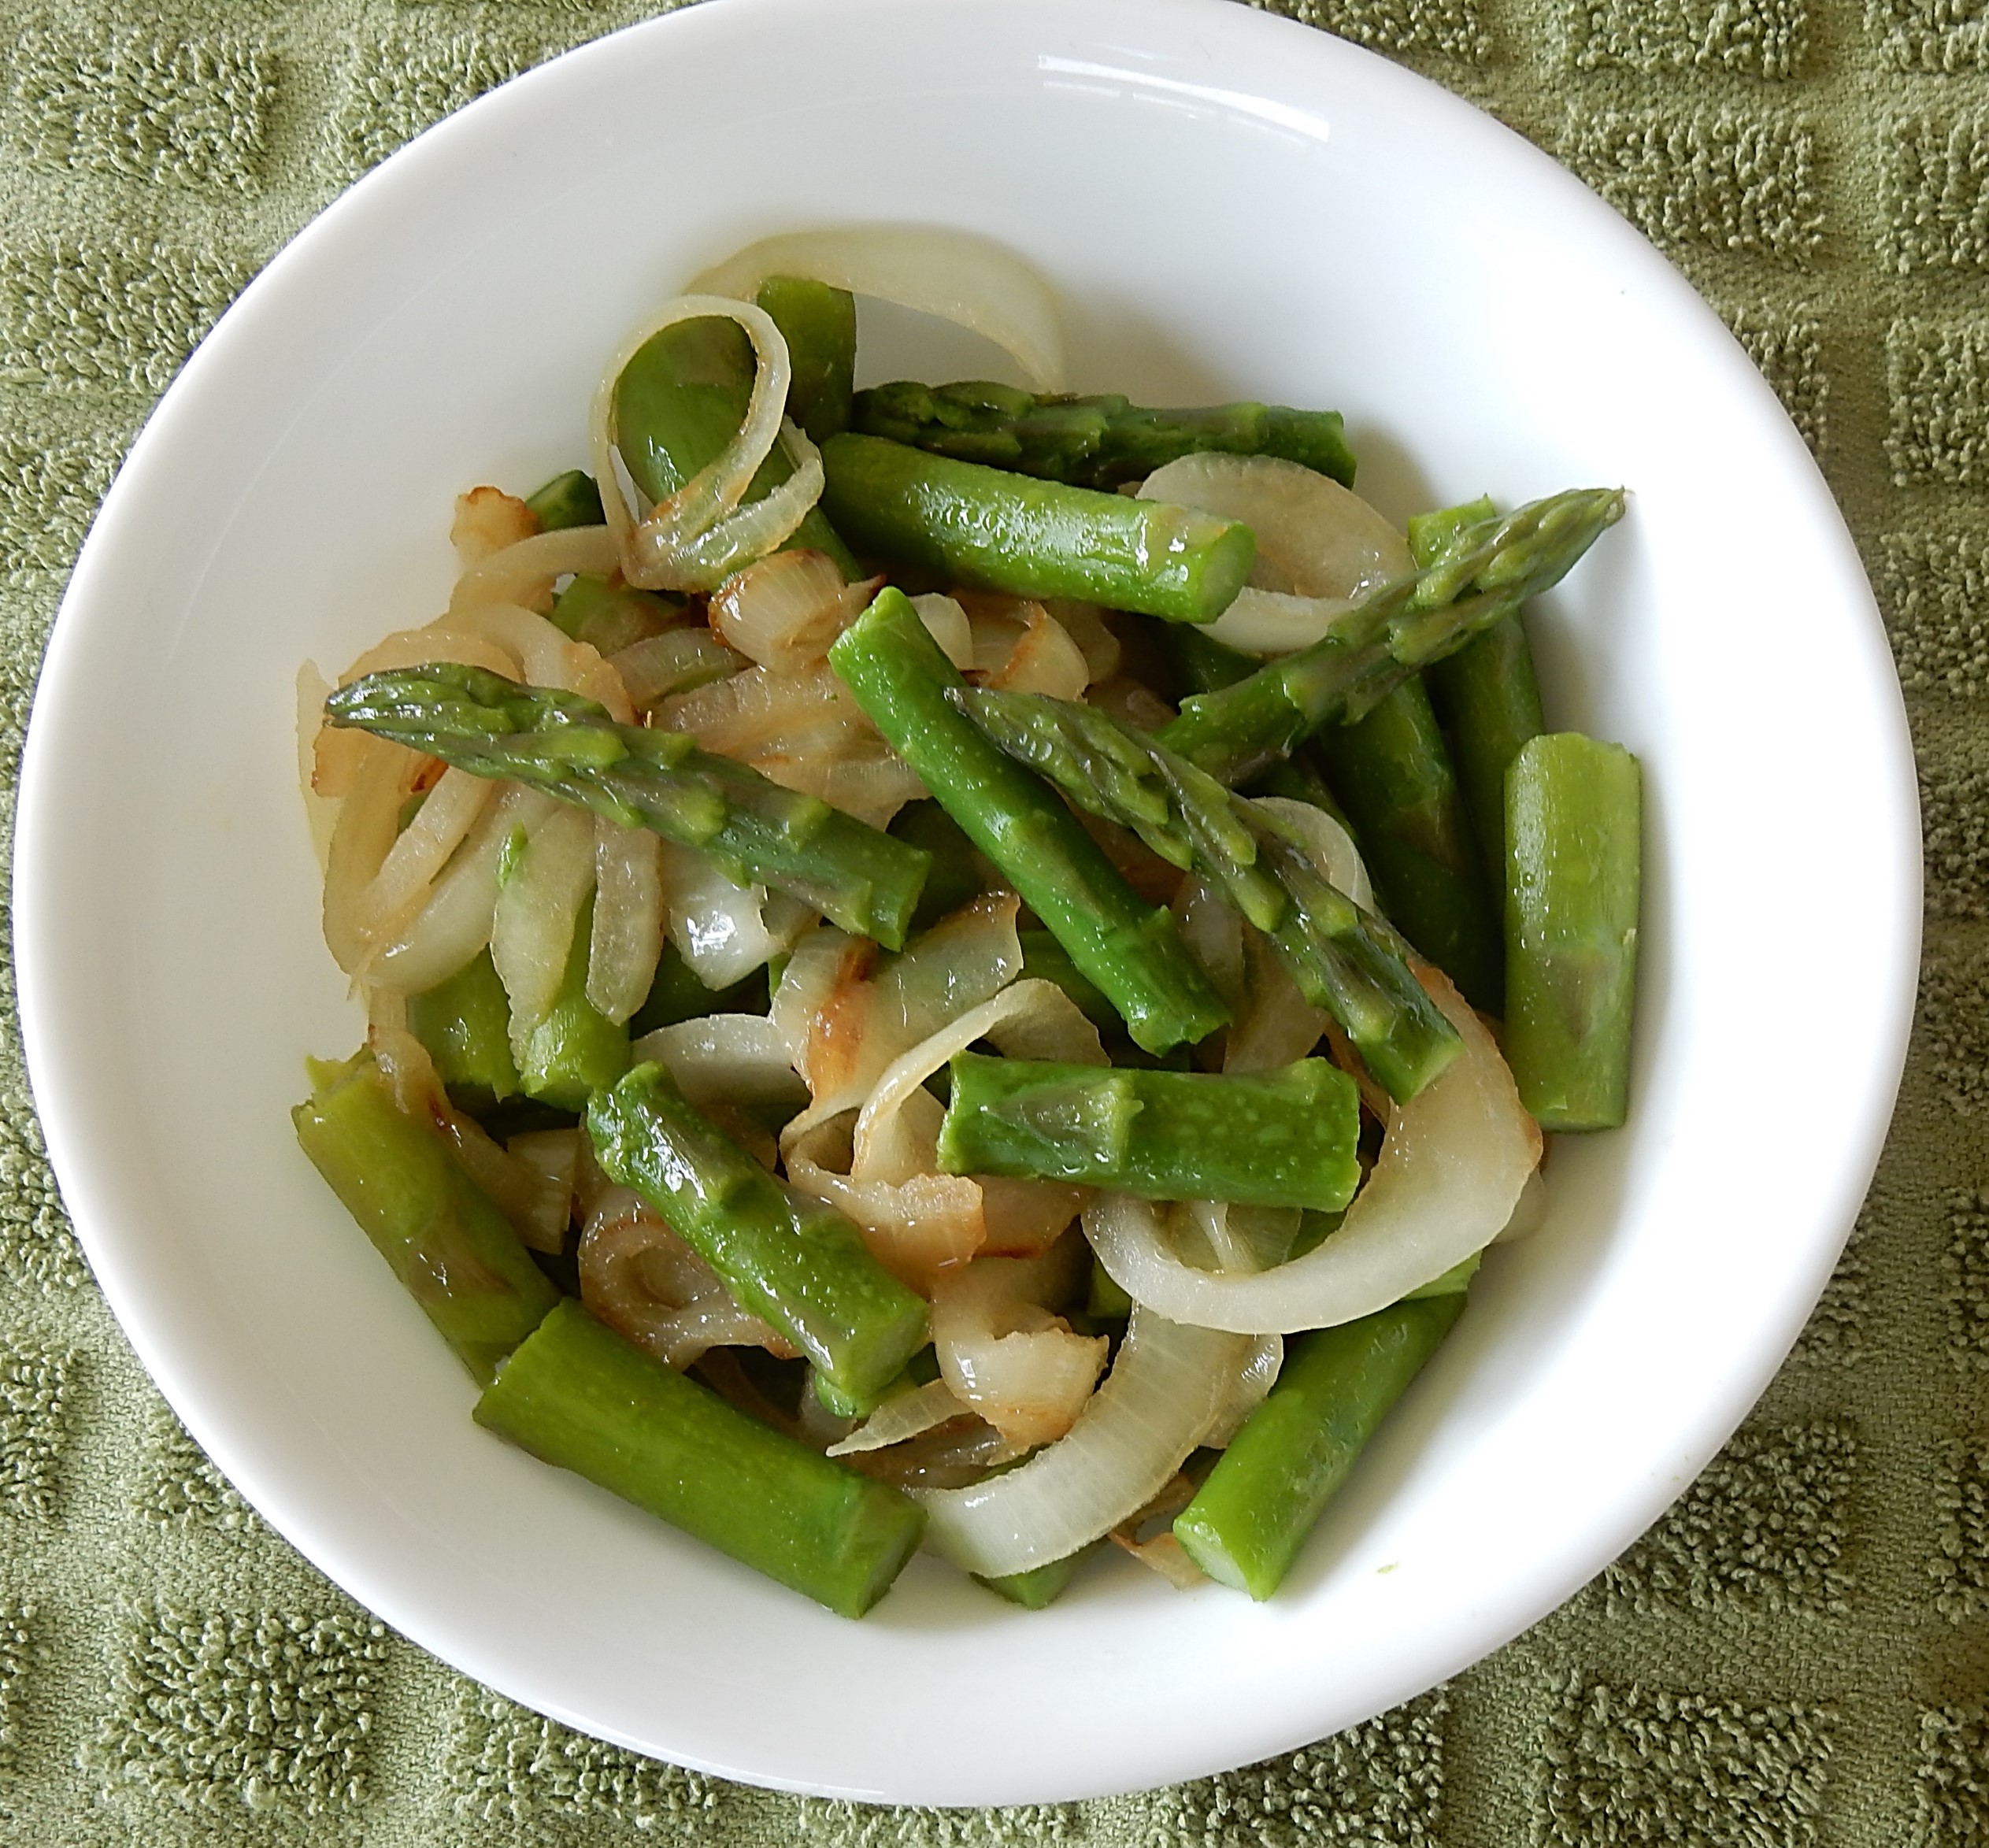
I agree with the recipe author. Tasty Asparagus is tasty. Asparagus and onions make a really nice combination. And, it was quick and easy to make. This recipe is a keeper.
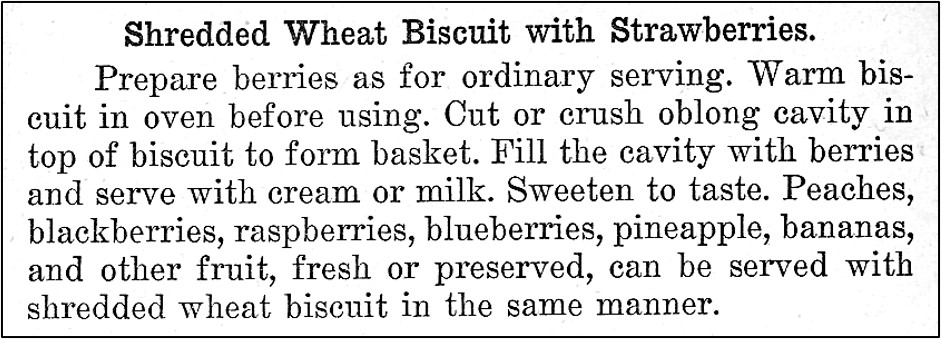
Here’s the original recipe:
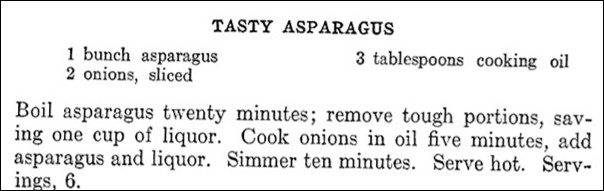
By today’s standards, cooking asparagus for half an hour is excessive, so when I updated the recipe I reduced the cooking time substantively. For the cooking oil, I used olive oil. I’m not sure why the old recipe calls for adding the water used to cook the asparagus to the asparagus and onion mixture. I drained some of the excess liquid off before serving.
Here’s the recipe updated for modern cooks:
Tasty Asparagus (Asparagus and Onions
1 bunch asparagus
2 medium onions, sliced
3 tablespoons olive oil
Trim off the woody ends of the asparagus, and then cut into 1-inch pieces. Put in saucepan, and add about an inch of water. Bring to a boil using high heat, then reduce heat and simmer for 4 minutes. Remove from heat. Drain, but save 1 cup of the water used to cook the asparagus.
In the meantime, put the olive oil in a skillet. Heat oil using medium heat, then add the sliced onions. Cook until the onions are transparent, then add the cooked asparagus pieces and 1-cup of the water in which the asparagus was cooked. Bring to a boil using medium heat, then reduce heat and simmer for 3 minutes. Remove from heat and serve.