I think this product still exists – though the name has changed slightly across the years. In 1924, it was called Grandma’s Old Fashioned Molasses while today it is just called Grandma’s Molasses. Interesting that company no longer considers it necessary to include “Old Fashioned” in the name, even though it’s been around for at least a hundred years.
Sometimes I know that I want to make a recipe for a particular seasonal food. This week is one of those times. I had some rhubarb, so began going through my hundred-year-old cookbooks and magazines looking for a rhubarb recipe. I found two that looked like possibilities Rhubarb and Figs and Bread and RhubarbPudding. I leaned towards making the Rhubarb and Figs. The Bread and Rhubarb Pudding recipe seemed complicated and I couldn’t quite picture what it would be like. However, my husband said that he didn’t like figs, and my daughter said that she thought the Bread and Rhubarb Pudding sounded awesome, so I decided to give it a try.
I’m glad that my family talked me into making Bread and Rhubarb Pudding. This recipe is a winner. Rhubarb and slices of bread are layered in a baking dish, then a milk, egg, and nutmeg mixture is poured over it. The dish is baked in the oven, and then jelly is spread over it. (I used current jelly – though the old recipe suggested using grape jelly.) I served the Bread and Rhubarb Pudding with whipped cream. The dish definitely was a hit with my family. My daughter said that it had just the right amount of sweetness, and my husband said that I should make it again.
One thing that I’d do differently if I made it again is to try to work a bit more on the presentation. My baking dish and the bread slices that I used when making this recipe didn’t exactly align in size and I had to cut some of the bread slices. If I made it again, I might either use another dish, bread slices that were a different size, or cut every slice of bread (and not just the ones that didn’t fit when whole).
Here’s the original recipe:
Source: American Cookery (March, 1924)
I cut the rhubarb into 1-inch pieces; 2 inches seemed a bit long to me. I decided that the egg and milk mixture that is poured over this dish made about enough to cover 8 slices of bread and 4 cups of diced rhubarb.
The recipe called for using sugar in the amount of “half the bulk” of the rhubarb (plus 4 additional tablespoons for the milk mixture). I decided to go with 1 1/2 cups of sugar, which may be a little less than half the bulk, but the Bread and Rhubarb pudding had just the right amount of sweetness so that’s the amount I put in the updated recipe.
I don’t have whole nutmeg, so I used 3/4 teaspoon of ground nutmeg.
I decided to serve with whipped cream rather than going the meringue route.
grape or other flavor of jelly (I used current jelly.)
whipped cream
Preheat oven to 400° F. Put the rhubarb and 1 1/2 cups sugar in a bowl; stir to coat the rhubarb with sugar. Then put half of the rhubarb mixture in a 7 1/2 ” X 12″ X 2″ (or similar sized) baking dish. (The dish I used was about the right size as far as volume goes, but I had to cut some of the bread slices, so if I made it again, I may use a different dish.)
Spread butter on 4 of the bread slices. Arrange the slices (buttered side down) on top of the rhubarb. Then put the remaining rhubarb over the bread slices. Spread butter on the other 4 bread slices, and place buttered side up on top of the rhubarb. Set aside.
Put the egg, 4 tablespoons sugar, and nutmeg in a mixing bowl; beat until smooth. Add milk and beat until combined. Pour the milk mixture over the rhubarb and bread. Cover (I used aluminum foil to cover), and then put in the oven. Bake for approximately 30 minutes or until the rhubarb is tender, and hot and bubbly. (Periodically check on how the baking is coming along. When I made this dish, liquid boiled over and onto my oven while I had the dish covered.)
Once the rhubarb is hot and bubbly remove cover, and continue baking until the bread is lightly browned (about another 10-15 minutes). Remove from oven and spread with jelly. Serve with whipped cream. I served this warm, though it could also be served cold.
Here’s how a hundred-year-old cookbook describes table clothes and other table coverings:
Table Coverings
The table-cloth is the form of table covering most frequently used, and if in an exquisite texture it may be considered the most formal type of cover. The table-cloth should always be laid over a silence cloth, which is usually of felt or a double-faced cotton material made expressly for this purpose. The silence cloth should drop over the edges of the table several inches. Many prefer to fold it at the corners and pin it underneath the table. The silence cloth prevent noise, protects the table and improves the appearance of the linen.
The table-cloth must be laid with great exactness. The center lengthwise crease should fall exactly in the middle of the table and extend over the sides and ends of the table until its edges just escape the seats of the chairs. For breakfast, luncheon or supper, a smaller cloth may be used, simply covering the top of the table or falling a few inches over the edge. Great care must always be taken that the threads of the cloth are parallel to the diameter of a round table, or parallel to the edges of a square or rectangular table. A table seldom presents as restful and interesting a picture when the cloth is placed diagonally as when it is placed with the treads running parallel to the edges of the table.
The small table-cloth, or the cloth used on informal occasions, does not need to be the snowy white linen used for the formal dinner. Nothing is more satisfactory or pleasing than beautiful unbleached cloths with possibly a simple line design in color along the edges.
Doilies for each place are also used instead of the table-cloth and silence cloth, and are most satisfactory not only for their ease in laundering but for their appearance when correctly arranged on a well-polished table top. . .
Runners are another type of covering used on the bare table. These may be made of linen, or of the various cotton materials sold for such use. The runner is used for the informal meal.
Paper coverings are being used more and more for very informal occasions and may be secured in a very usable quality and size.
The New Butterick Cook Book (1924)
In the old cookbook, “table-cloth” was always hyphenated. I guess its an example of how words have changed across the years.
I love old-fashioned baked custards so decided to try a hundred-year-old recipe for Raisin Custard. The raisins are on the bottom of the custard. I want to say that they sank to the bottom, but I think that the recipe author intended for there to be plain custard on the top and a raisin-custard mixture on the bottom.
The Raisin Custard was very delicate, but the recipe didn’t call for any sugar, so the custard was not sweet (though the raisins added a bit of sweetness when I got to the bottom).
Preheat oven to 325° F. Put eggs in mixing bowl and beat until smooth. Add milk, salt, and nutmeg; beat until thoroughly combined. Pour mixture into custard cups. Place the custard cups in a pan with hot water that comes to about an inch below the top of the cups ( 4 – 6 custard cups will be needed. The number of custard cups needed will vary depending upon the size of the custard cups.) Bake for 60-90 minutes or until a knife inserted in center of the custard comes out clean. May be served warm or cold.
Source: Low Cost Cooking by Florence Nesbitt (1924)
Here’s some excerpts from a hundred-year-old cookbook about how to cook hot cereals:
CookingBreakfast Cereals
Cereals are made from hard grains and contain much starch, so require long cooking to make them easily digested. Do not be deceived by directions on the box which say that the contents can be cooked in 15 or 20 minutes. This is never long enough to cook thoroughly and make them fit food for young children.
When the coal range is used, a very convenient way to cook the cereal is to start it cooking at supper time and leave closely covered on the back of the range all night. In the morning it will be found to be well done.
All of the cereals named above may be served hot as mush with cream or milk with or without sugar. Mush may also be served with syrup instead of milk. Cornmeal mush is much liked in this way.
When browsing through a hundred-year-old magazine, I came across a recipe for Hot Slaw with Sour Cream Sauce, and decided to give it a try.
The Hot Slaw was mild, rich, and creamy. The recipe called for only 1 tablespoon of vinegar (and no sugar), so the flavors were much more nuanced than many modern slaws.
1 head of cabbage (approximately 2 pounds; The cabbage should be firm and white.)
2 teaspoons salt
4 tablespoons butter
1 tablespoon flour
1 tablespoon water
1 cup sour cream
1 tablespoon tarragon vinegar or apple cider vinegar (I used apple cider vinegar.)
Grate or finely shred the cabbage. Stir the salt into the cabbage. Let sit for 30 minutes, then drain and rinse. Press to squeeze out excess water.
In a skillet or large saucepan, melt the butter. Stir in the cabbage. (Do not add water.) Cover and cook over low heat for 10 minutes. Several times remove lid and stir to keep the cabbage from scorching, then replace lid. (The idea is to stir enough to prevent scorching, but to keep the steam in as much as possible as the cabbage cooks.) Cook for 10 minutes.
In the meantime, stir water into the flour to make a thick paste. Then stir in the sour cream. Stir the sour cream mixture into the hot cabbage, and cook for 1-2 additional minutes while stirring. Stir in the vinegar and serve.
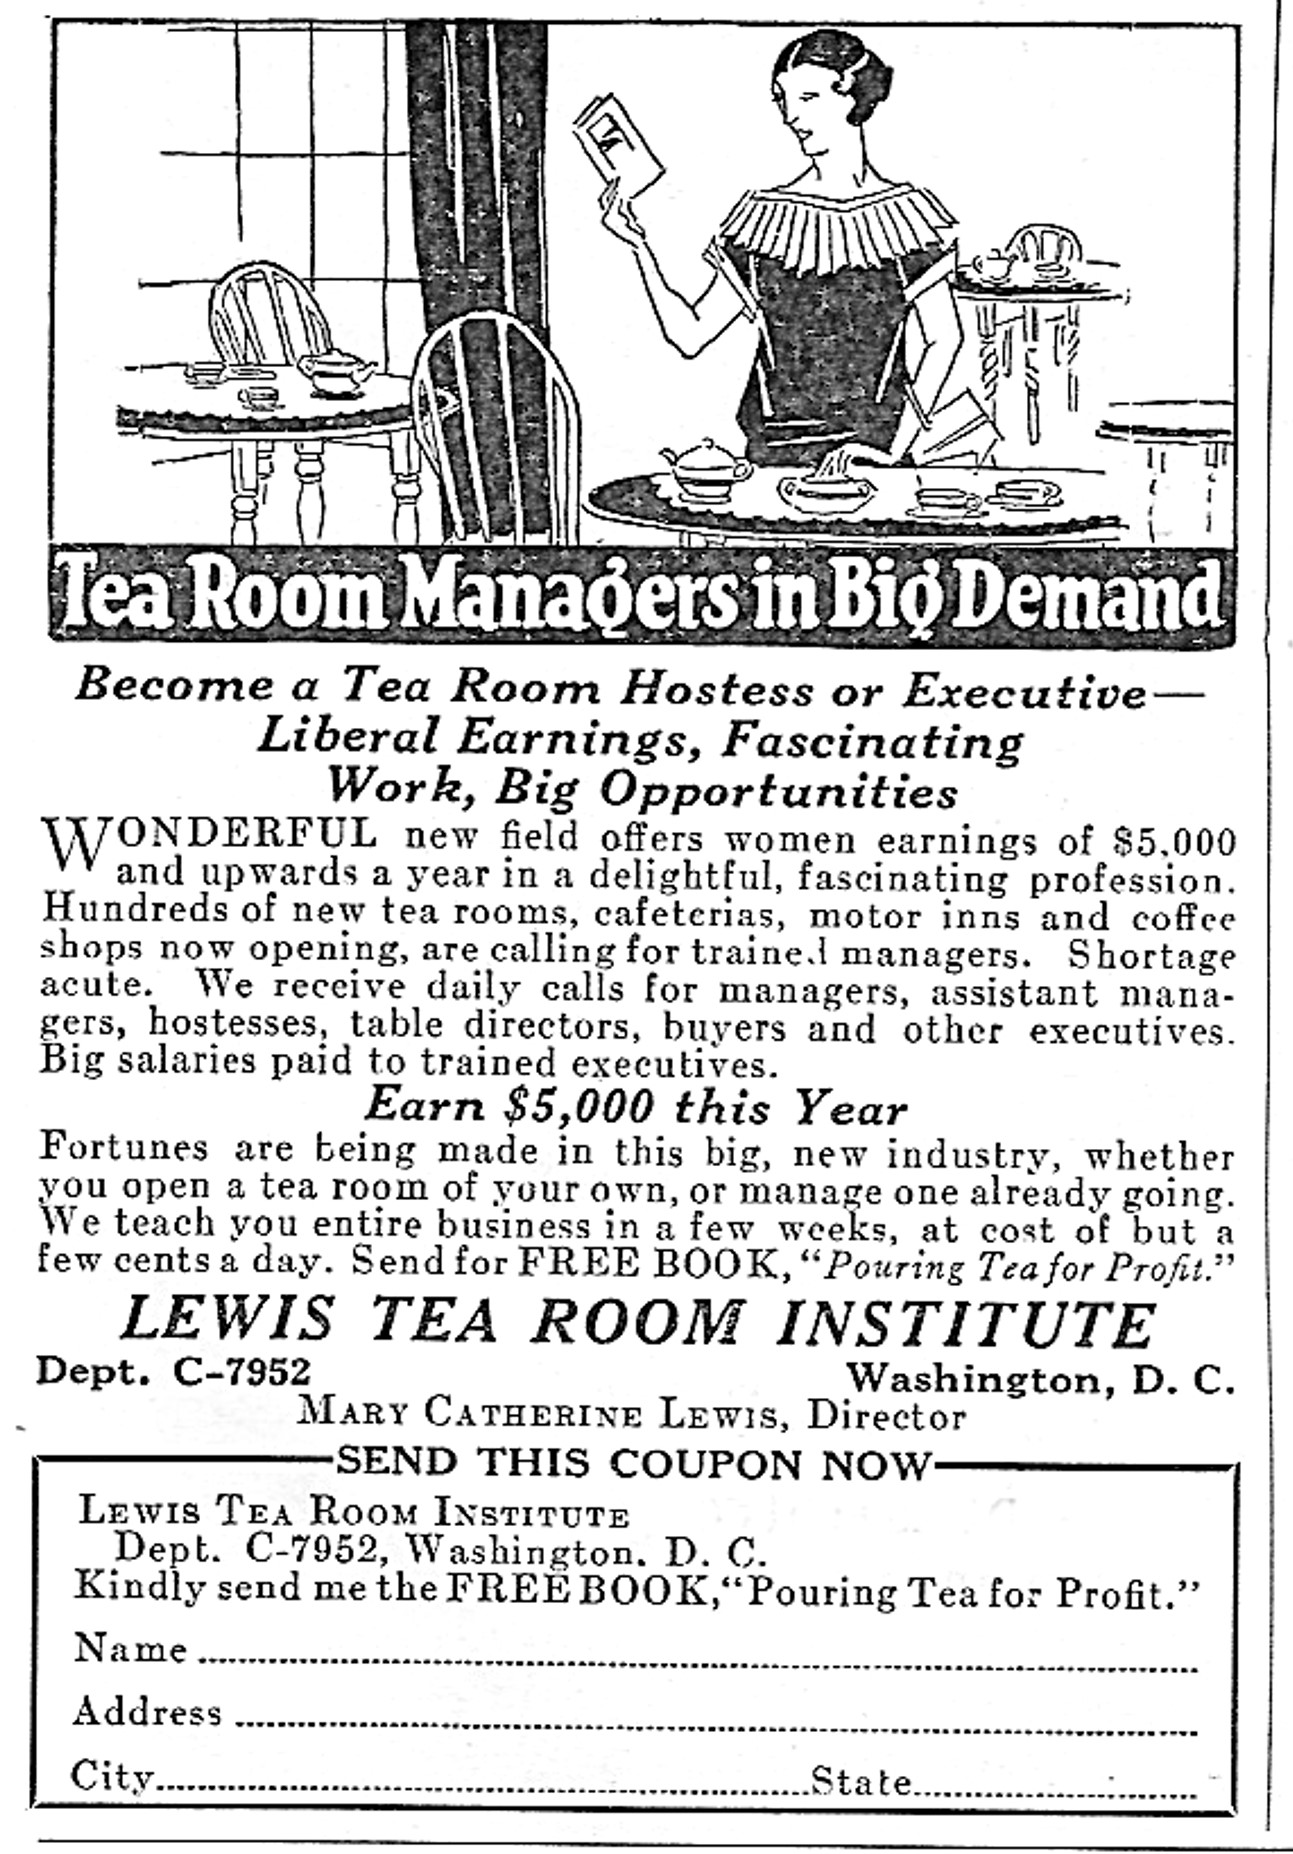
Careers for women were very limited a hundred years ago. One option was to become a tea room manager, and the Lewis Tea Room Institute was ready to teach women how to become one.