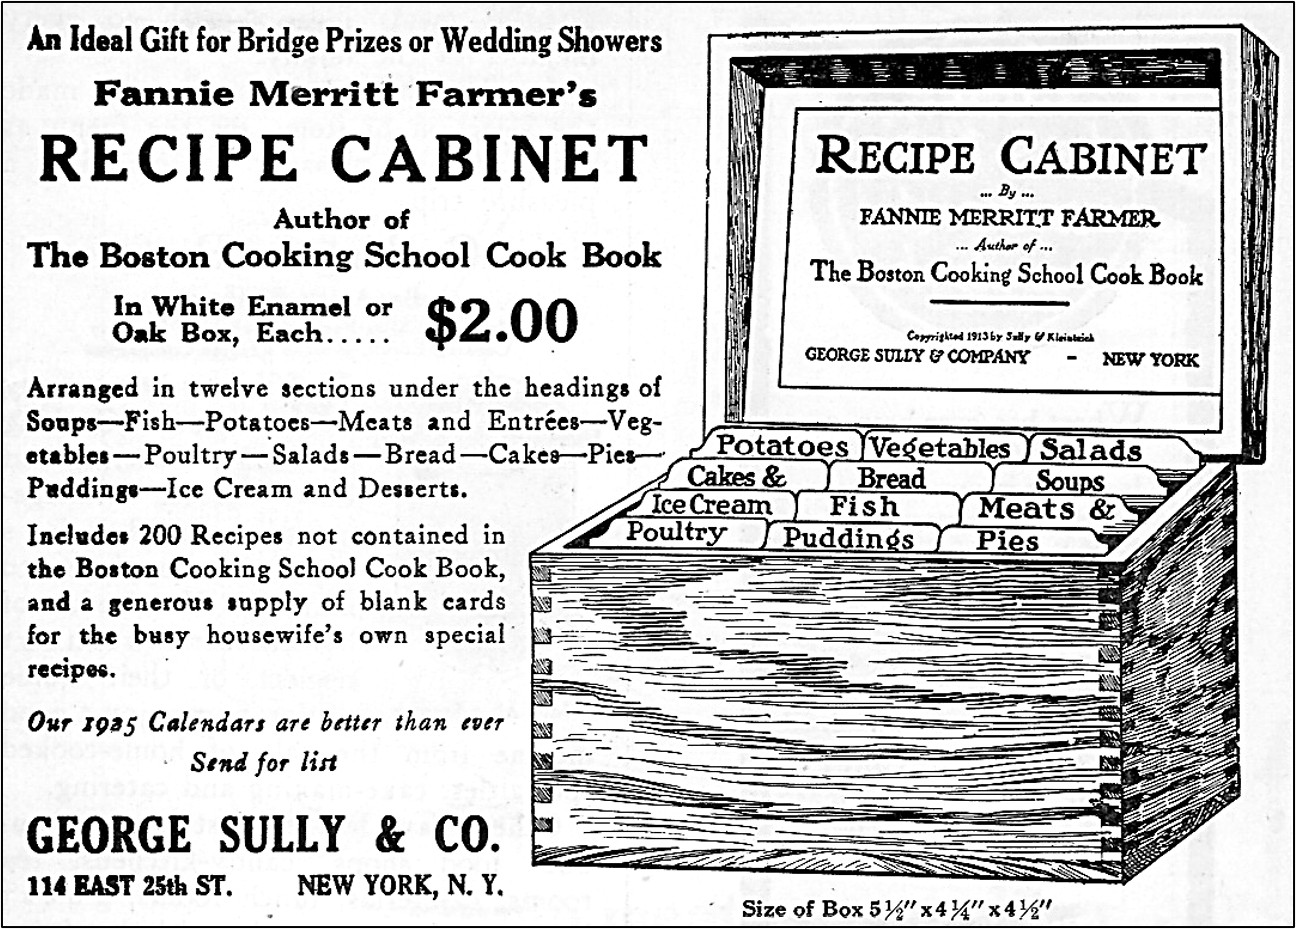
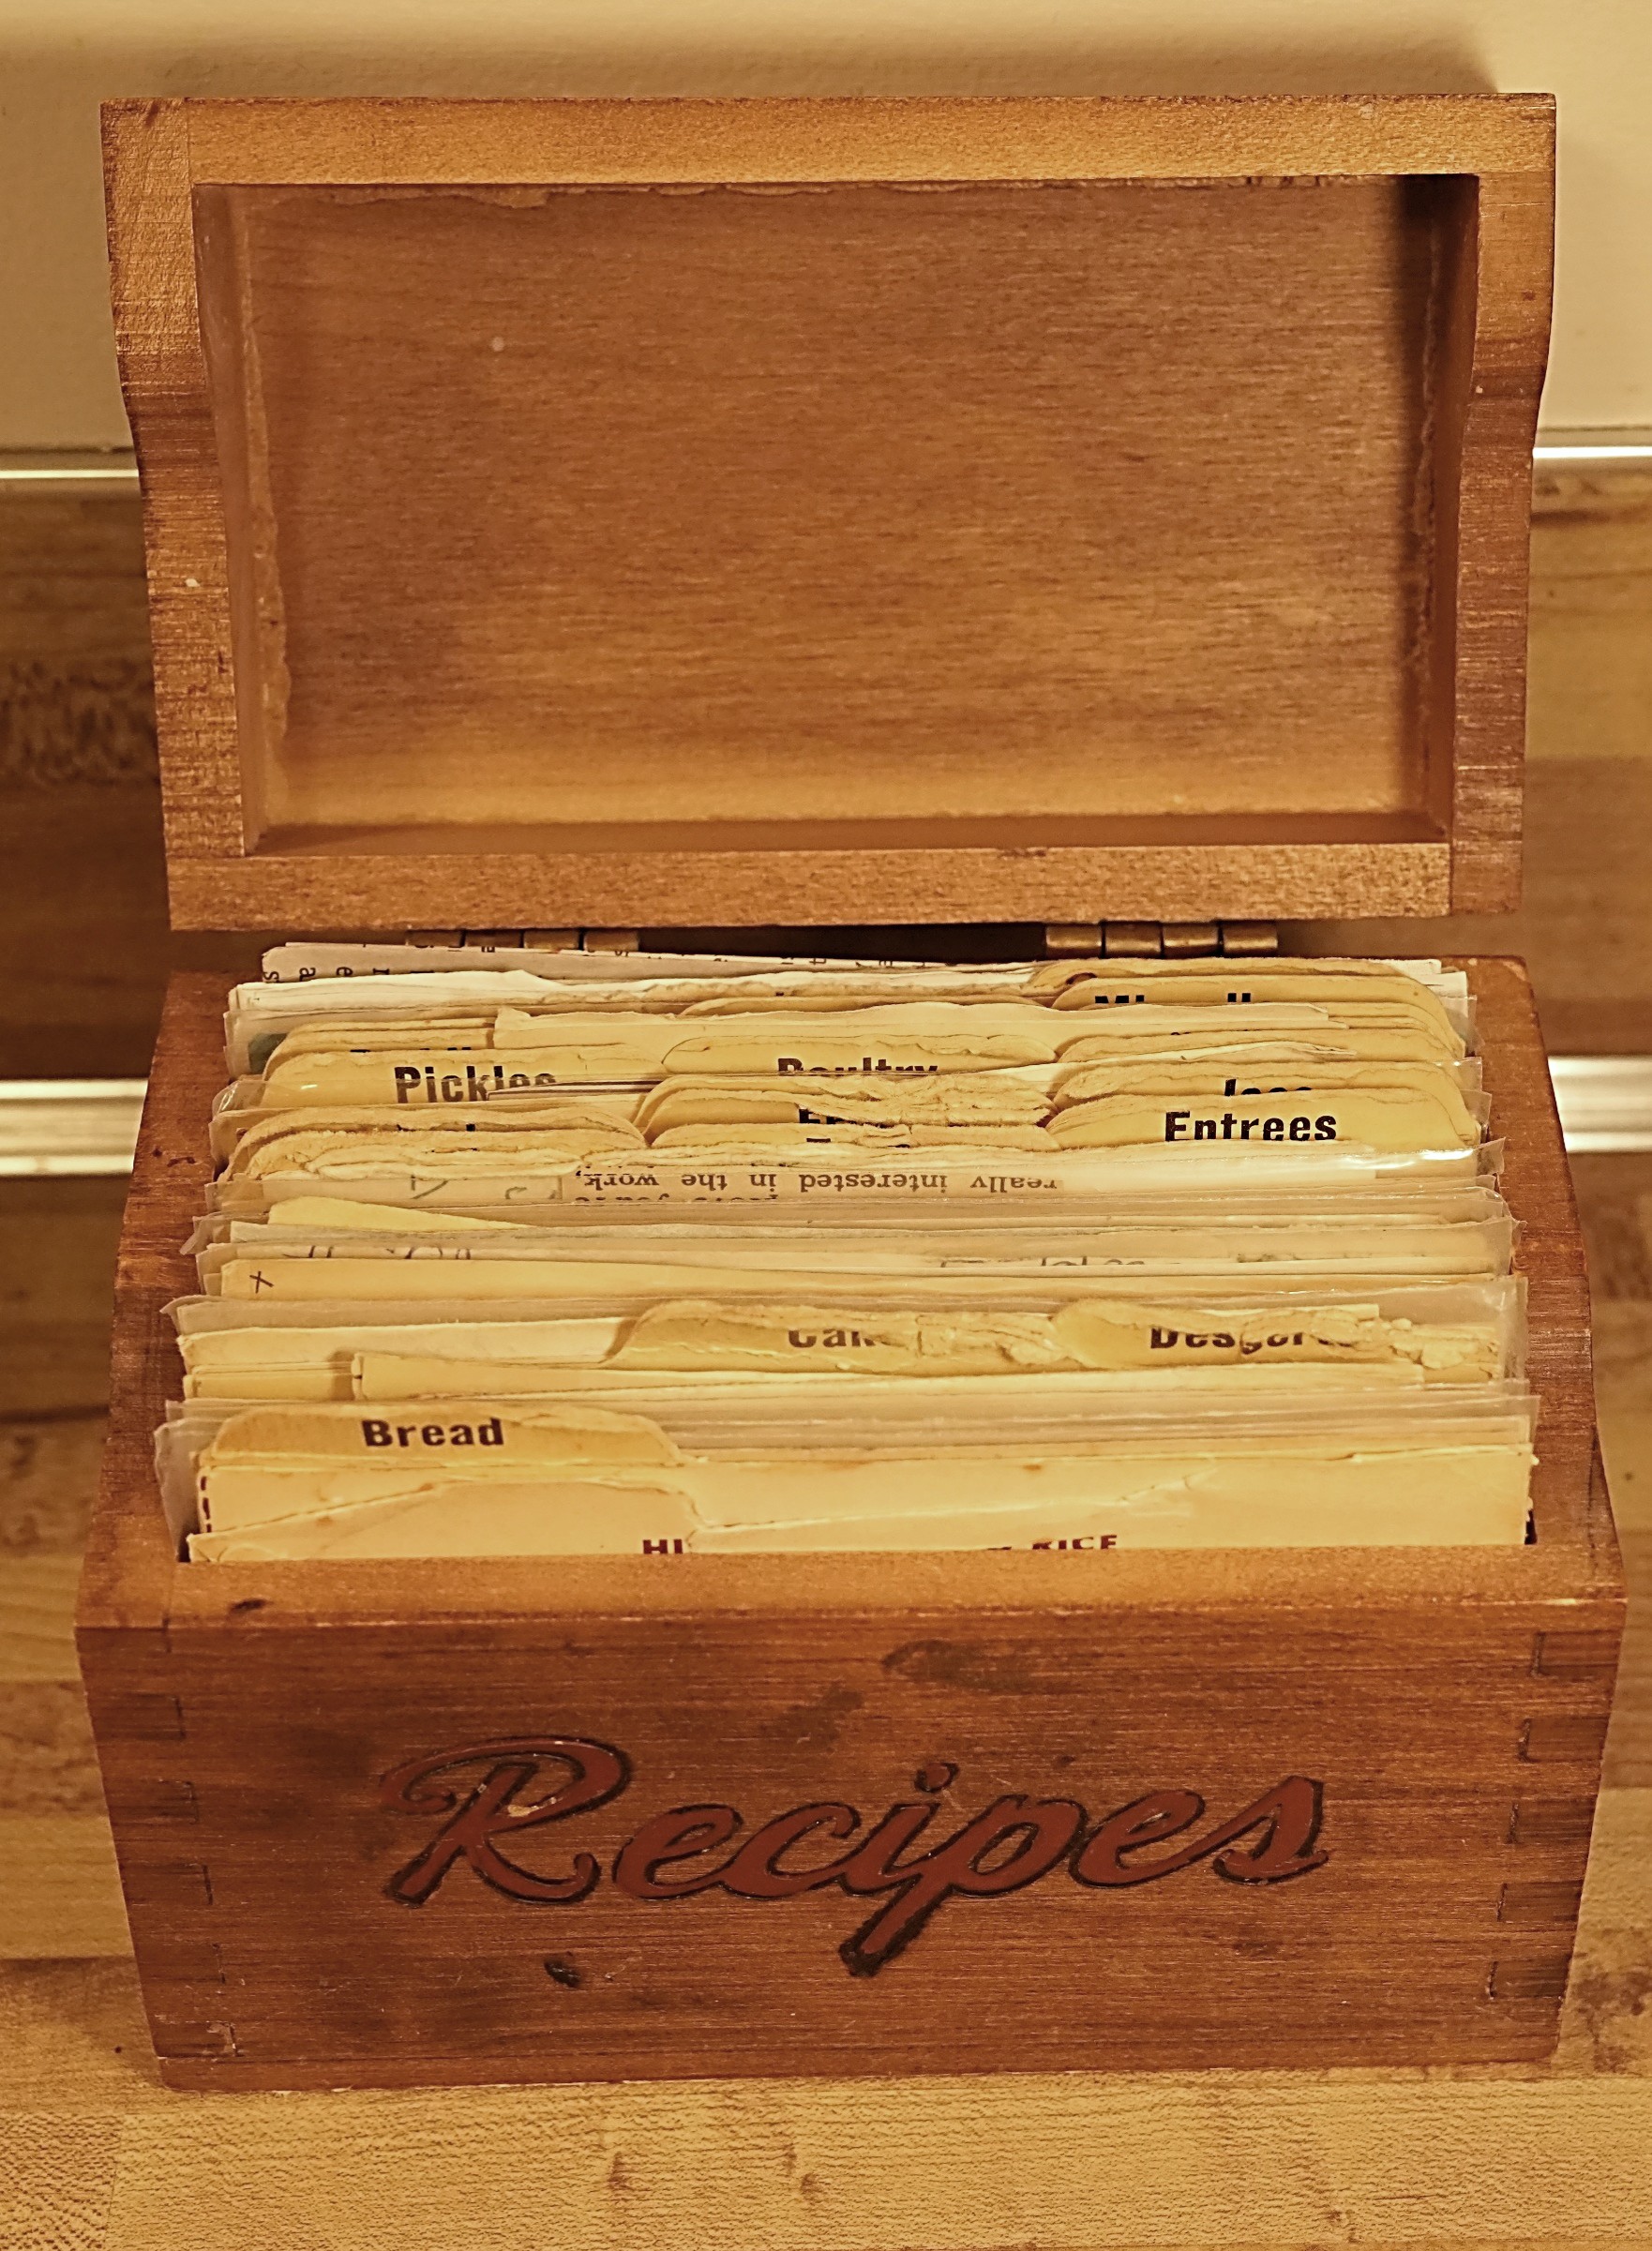
I have a wood recipe box that looks similar to the one in the picture. It was a gift at my wedding shower. Apparently, recipe boxes (or to use the term in in the old ad, “recipe cabinets”) have been considered good shower gifts for at least a hundred years. I wonder if brides today receive recipe boxes. I’m guessing not.
My Recipe Box
My recipe box and the cards in it are well worn. I’ve pulled recipes out of it on a regular basis for many years. It contains many special recipes that I got from my mother, mother-in-law, friends, and relatives. Each brings back lovely memories. My recipe box is not a Fannie Farmer one. It says on the bottom of my box that it is a Woodcroftery product.
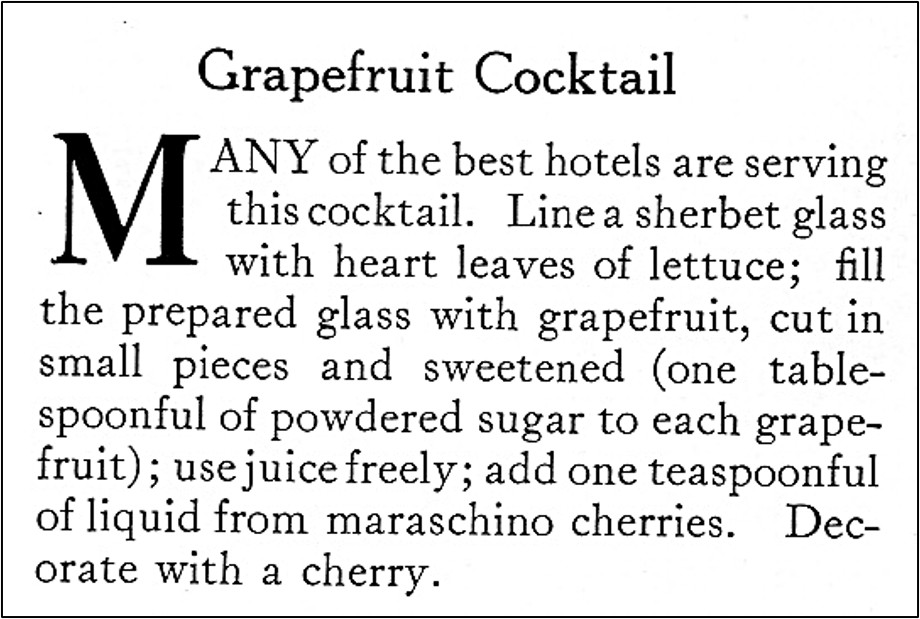
The word “cocktail” generally brings to mind alcoholic beverages, but another definition of cocktail is ” a cold dish, often eaten at the start of a meal, consisting of small pieces of food.” According to the January, 1925 issue of American Cookery magazine, a fruit appetizer called Grapefruit Cocktail was served at many of the best hotel back then. Given this strong recommendation, I decided to make Grapefruit Cocktail.
It was easy to make. Grapefruit segments are cut into bite-sized pieces, then a little powdered sugar and juice from a jar of maraschino cherries is added. The mixture is served in an attractive serving cup or sherbet glass that is lined with lettuce and topped with a maraschino cherry.
The recommended way of serving Grapefruit Cocktail in a sherbet glass lined with lettuce makes an attractive presentation, but it has a very old-fashioned look. (When is the last time you’ve eaten fruit nested in lettuce leaves?) But the Grapefruit Cocktail was refreshing and very tasty with a nuanced burst of flavor provided by the maraschino cherry juice.
1 teaspoon juice from a jar of maraschino cherries
lettuce
2 maraschino cherries
Peel the grapefruit, then divide into segments and cut each segment into thirds. Put into a bowl. Sprinkle with powdered sugar and add maraschino cherry juice; gently stir. Line serving cups or sherbet glasses with lettuce leaves, then fill with the grapefruit mixture. Garnish with a maraschino cherry on top.
When caring for a sick child it is important to keep them hydrated and well-nourished. Often a child will eat little while complaining that nothing tastes good. An article on serving food to sick children in the January, 1925 issue of American Cookery began:
The sick child that loved his “land of the counterpane” in Robert Louis Stevenson’s poem by that name must have had a resourceful nurse or mother to prepare interesting food for him, or he would have been just as irritable as any other youngster, recovering from the measles or grippe.
My first reaction to the sentence was not about food for a sick child. Instead, I started digging deeply into my brain trying to remember what “counterpane” and “grippe” meant. They’re words I’m familiar with, but that I don’t think that I’ve heard since I was a child. “Counterpane” is another word for bedspread. I did an online search and found Stevenson’s lovely poem: The Land of the Counterpane. “Grippe” is an old-fashioned word for flu.
The article continues with suggestions for making food more appealing to sick children:
The appearance of the tray has much to do with tempting the convalescent child. For instance, by folding a tent out of white wrapping paper, and standing it over the dishes, commonplace foods become delicacies of interest, particularly if a tin soldier stands near the tent to “guard your health.”
A little girl would, likewise, eat her food with more gusto if her tray were covered with a box that could be used for a doll house after dinner.
One little girl, who was too ill to go to a picnic she had planned attending, enjoyed her supper that night just because her mother thought to bring it to her in a picnic basket.
Children who have eaten toasted sandwiches in the sandwich shops will be delighted with three-deckers stuck together with toothpicks, and will eat them, even when the sandwich filling is composed of oft-despised scrambled eggs or stewed prunes.
Graham crackers are good, as well as nutritious, when served with milk. Try putting a few drops of hot syrup on the graham crackers, and standing an animal cracker on each one. It will be lots of fun to eat the circus parade along with the milk.
One child even learned to like grapefruit when his mother put the juice in a bottle, and let him pretend it was medicine.
To encourage the finicky child to eat up all the food on his tray, a meal ticket may be issued and every time the food is all eaten the ticket is punched. When a certain number of “meals” have been punched the child may be given a small reward.
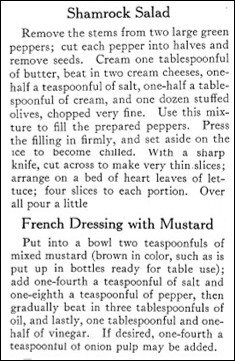
Hundred-year-old magazines sometimes have holiday recipes. For St. Patrick’s Day, the March, 1925 issue of American Cookery had a recipe for Shamrock Salad with French Dressing with Mustard. I decided to give it a try.
Shamrock Salad is made by stuffing green pepper halves with a cream cheese and olive mixture. The stuffed peppers are refrigerated for several hours, then sliced. The French Dressing with Mustard is very different from modern bottled French dressings, but it was a nice oil and vinegar dressing.
The Shamrock Salad with French Dressing with Mustard was good, but had a very old-fashioned look and taste.
Here’s the original recipe:
Source: American Cookery (March, 1925)
The old recipe indicates that the serving size is four slices. I cannot imagine eating a serving that large of this salad; 1 slice – at most 2 – makes a nice serving size. Since I thought that the serving size was very large, I halved the recipe when I updated it.
For the French Dressing with Mustard, I used olive oil for the oil.
Remove stem from the green pepper, then cut in half. (There will be a top half and a bottom half.) Remove pith and seeds. Set aside.
Put butter in a bowl and cream, then add the cream cheese, cream, and salt. Stir until smooth. Add the chopped olives and stir until the olives are evenly distributed in the mixture.
Use the cream cheese mixture to fill the green pepper halves. Press the mixture in firmly. Refrigerate the stuffed peppers until the cream cheese is firm (at least 4 hours)
Remove from refrigerator and with a sharp knife cut the stuffed peppers into thin slices (about 1/4 inch thick). If desired, put the slices on lettuce leaves. Serve with French Dressing with Mustard (see below).
French Dressing with Mustard
1 teaspoon brown mustard
1/8 teaspoon salt
dash of pepper
1 teaspoons onion, grated (optional)
1 1/2 tablespoons olive oil
3/4 tablespoon vinegar
Put the brown mustard in a bowl, then stir in the salt and pepper. If desired, add the grated onion and stir. Gradually add the olive oil while stirring rapidly, then add the vinegar and stir to combine.
Source: School and Home Cooking (Carlotta C. Greer, 1925)
It can be challenging to make an omelet. I often struggle to successfully fold them. Here are directions in a 1925 home economics textbook for folding an omelet:
To Fold an Omelet
Run a spatula underneath the omelet to loosen it. Make a slight incision with a knife through the middle of the omelet at right angles to the handle of the pan, and fold the omelet over upon itself away from the handle of the pan. Grasp the handle of the pan in the right hand, placing the back of the hand underneath with the thumb pointing away from you. then turn the omelet upon a platter (see Figure 40).
School and Home Cooking by Carlotta C. Greer (1925)
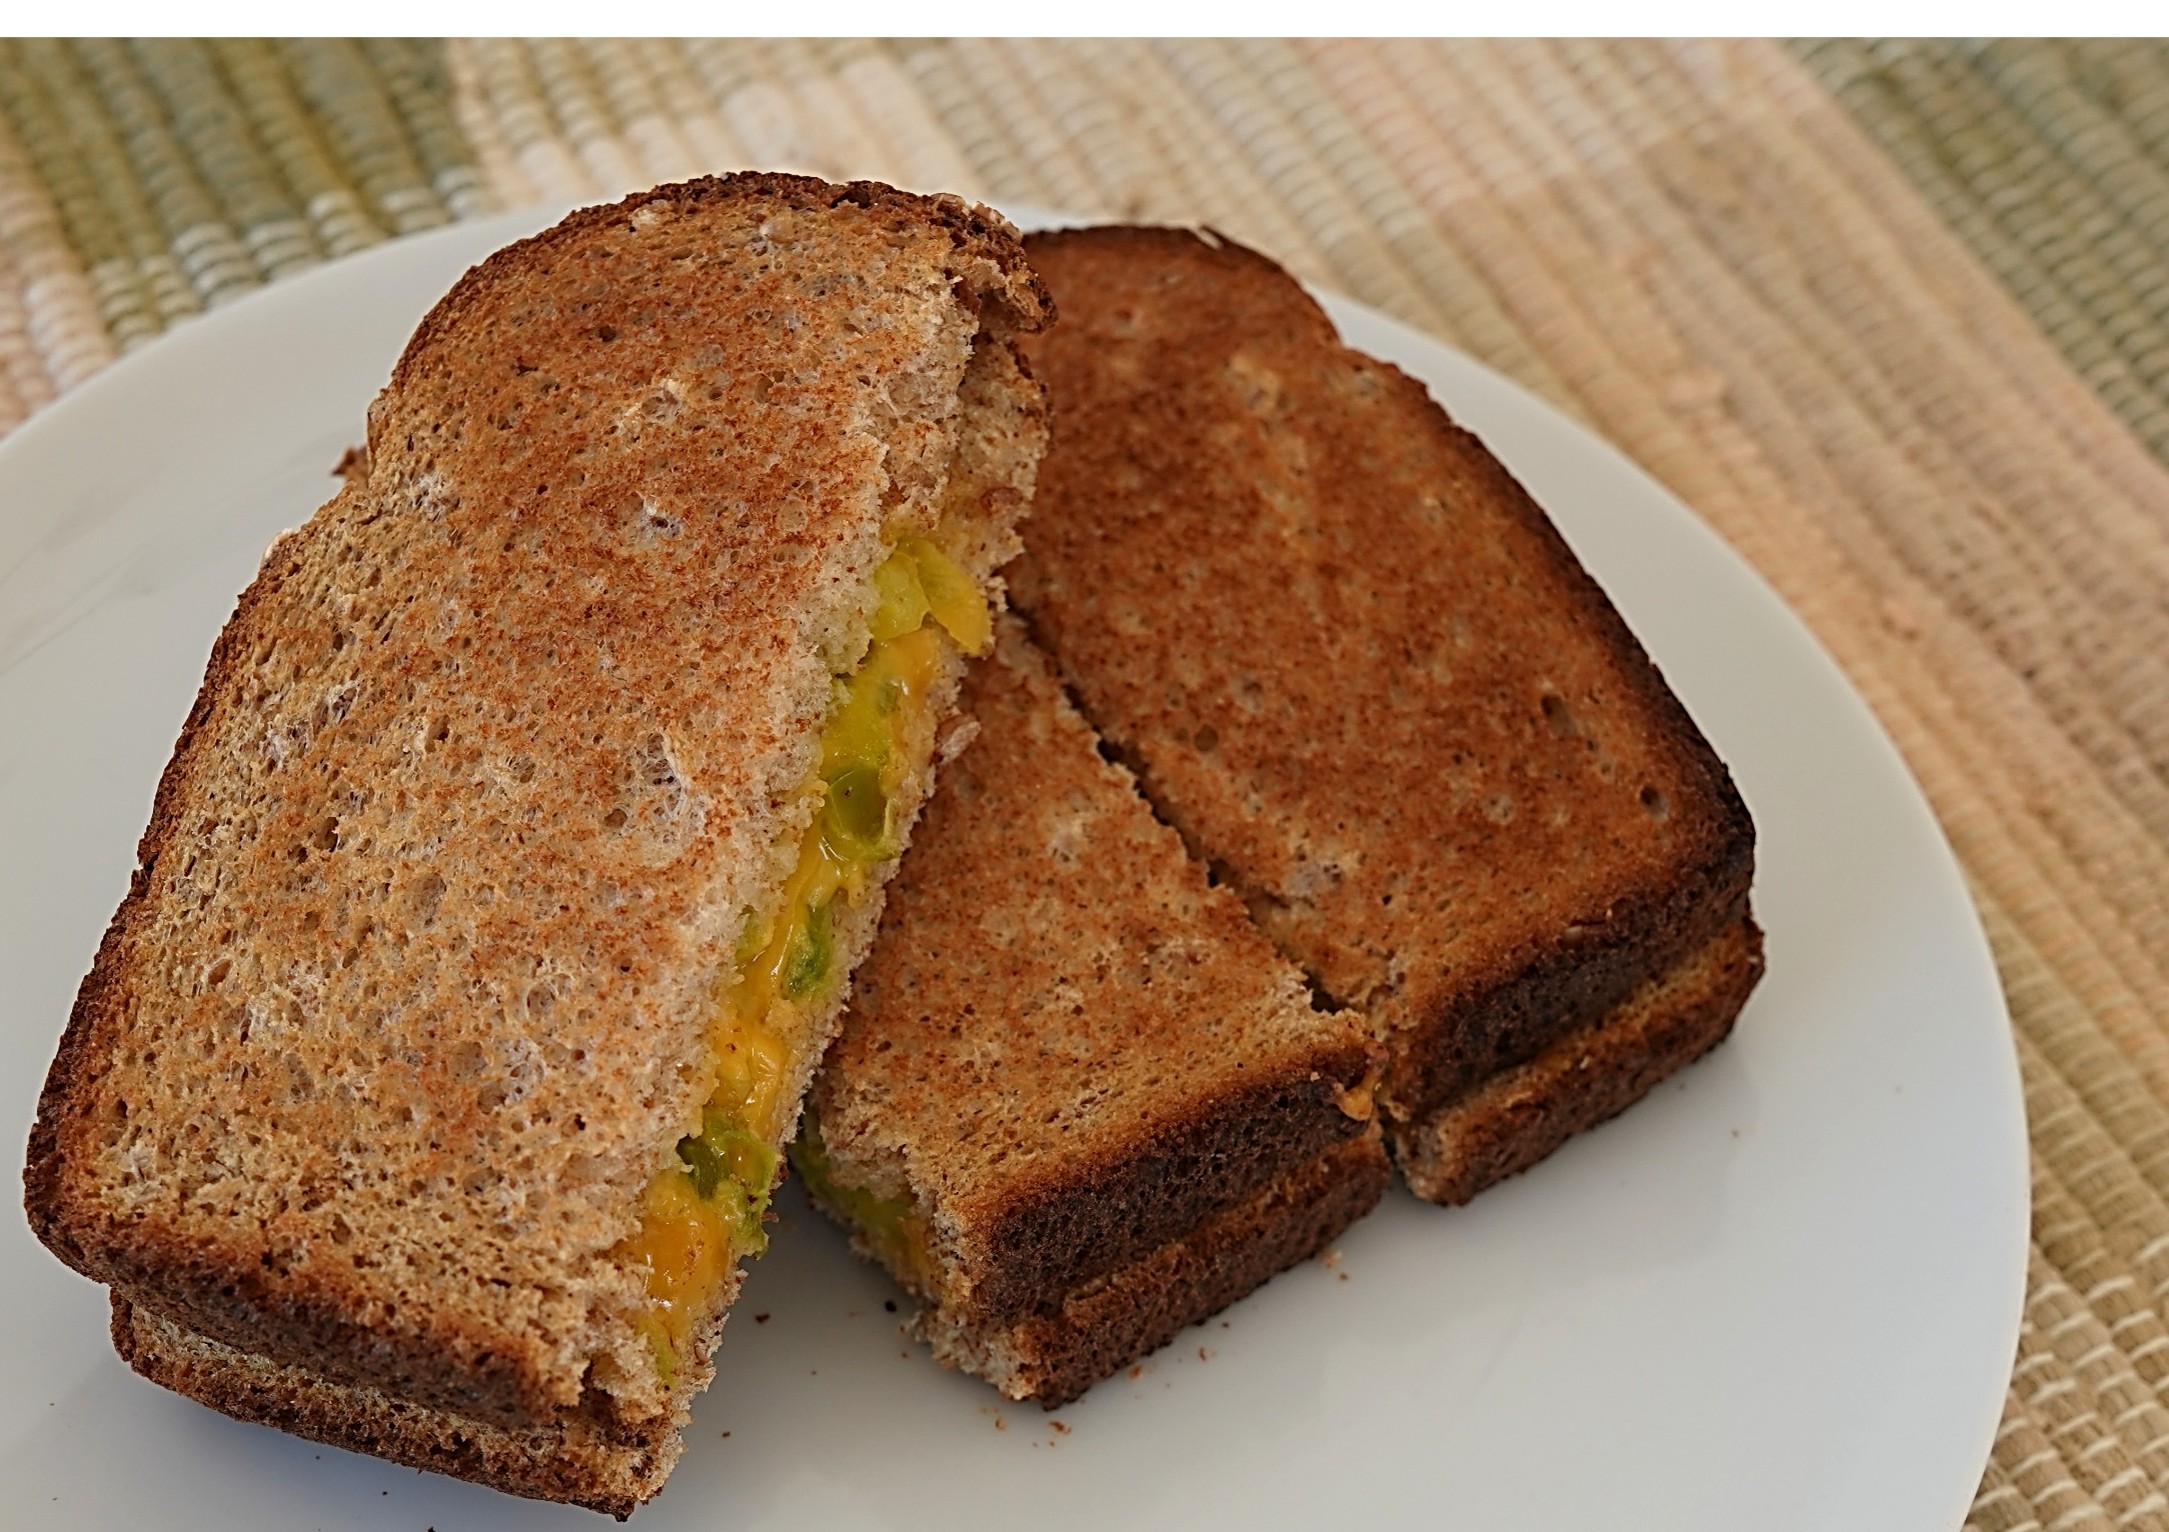
Grilled cheese sandwiches can get a little boring, so when I saw a recipe in a hundred-year-old cookbook for Cheese and Green Pepper Sandwiches that were toasted, I decided to give it a try.
The sandwiches were delightful. The crunchiness, slight sweetness, and subtle tanginess of the green peppers co-mingled nicely with the melted cheese.
The old recipe said to cut the toasted sandwiches into strips. I have never previously cut a sandwich into strips, but I decided to give it a try and it made a nice presentation.
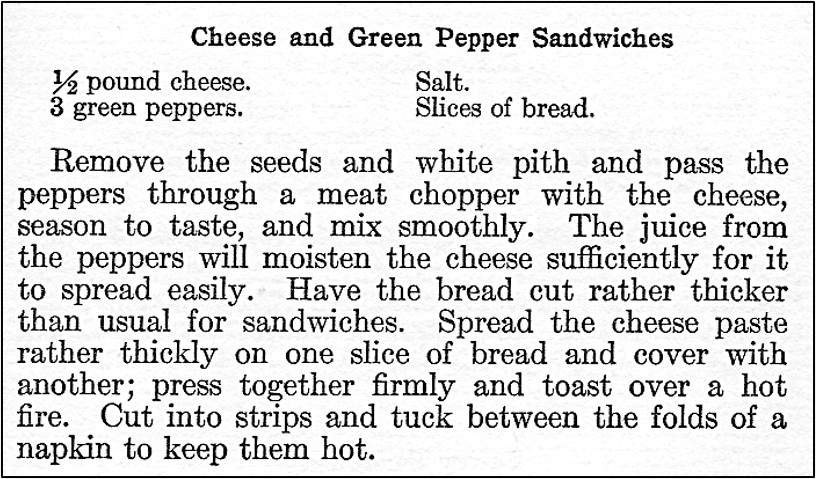
Here’s the original recipe:
Source: Rumford Complete Cook Book (1925)
The ingredient list indicates that salt is an ingredient in this recipe, but it is not mentioned in the cooking instructions. Since cheese already contains salt, and it was not mentioned in the instructions, I did not add any salt when making this recipe.
Maybe most people had meat choppers a hundred years ago, but today I don’t think that many cooks have one. I know that I don’t. Instead, I decided to use my grater to grate the green pepper. That worked fine and there was some green pepper juice similar to what was described in the old recipe. It would also work to finely chop the green pepper, though there might be less juice, but I think that it would still work since the cheese will melt and hold everything together when the sandwich is heated.
This recipe is very specific regarding the amounts for the cheese and green papers, but very vague about the number of slices of bread to use. I decided to make three sandwiches, and adjusted the amount of green pepper and cheese to make an appropriate amount of filling. Three green peppers sound like a lot of green pepper. I think that green peppers often were much smaller a hundred years ago than what they typically are today, so I decided to use 1/2 cup of shredded or grated green pepper. I also thought that 8 ounces of cheese was more than was needed to make 3 sandwiches, so I used 4 ounces of cheese.
The original recipe says to “toast over a hot fire,” so I toasted the sandwiches using the broiler in my oven; but, it would also work well to put butter on the bread slices and grill in a skillet.
I didn’t think that there was any need to tuck the toasted sandwich strips in the folds of a napkin to keep them warm. I just served the hot sandwiches immediately.
4 ounces cheese, grated or shredded (I used cheddar cheese)
1/2 cup green pepper, grated or finely chopped
6 slices bread
Put the cheese and the green pepper in a bowl; stir until the cheese and green pepper pieces are evenly distributed. Put half of the bread slices on a baking sheet, then spread with the cheese mixture. Top with the remaining slices of bread.
Set the rack 7-8 inches under the broiler. Put the baking sheet with the sandwiches under the broiler. Broil until the top slice of bread is lightly browned; gently flip the sandwiches, continue broiling until the other side is lightly browned. (Another option for browning the bread would be to lightly butter the bread slices, then grill in a skillet.) Remove from heat. If desired, cut each sandwich into three strips. Serve immediately.
I was flipping through a hundred-year-old issue of American Cookery magazine and near the back was a page showing free premiums that new subscribers to the magazine could select. I almost fell over when I saw a set of card suit sandwich cutters. I have a similar (but not identical) set that I use as cookie cutters.
My cookie cutters were once my mother’s, and she had them for as long as I can remember. The metal on my cutters is a little worn and some parts are shinier than other parts, but I really like them. They are a nice size and nicely cut the cookie dough. I’m now wondering if my cutters were originally intended to be sandwich cutters – though I tend to think that they probably are cookie cutters since they have metal on the top and it might be difficult to cut a thick sandwich with them.
I never really thought about it before, but assumed mine were mid-20th century cookie cutters. Now I am wondering if they are older than that and something that my mother originally got from her mother.


 When caring for a sick child it is important to keep them hydrated and well-nourished. Often a child will eat little while complaining that nothing tastes good. An article on serving food to sick children in the January, 1925 issue of American Cookery began: