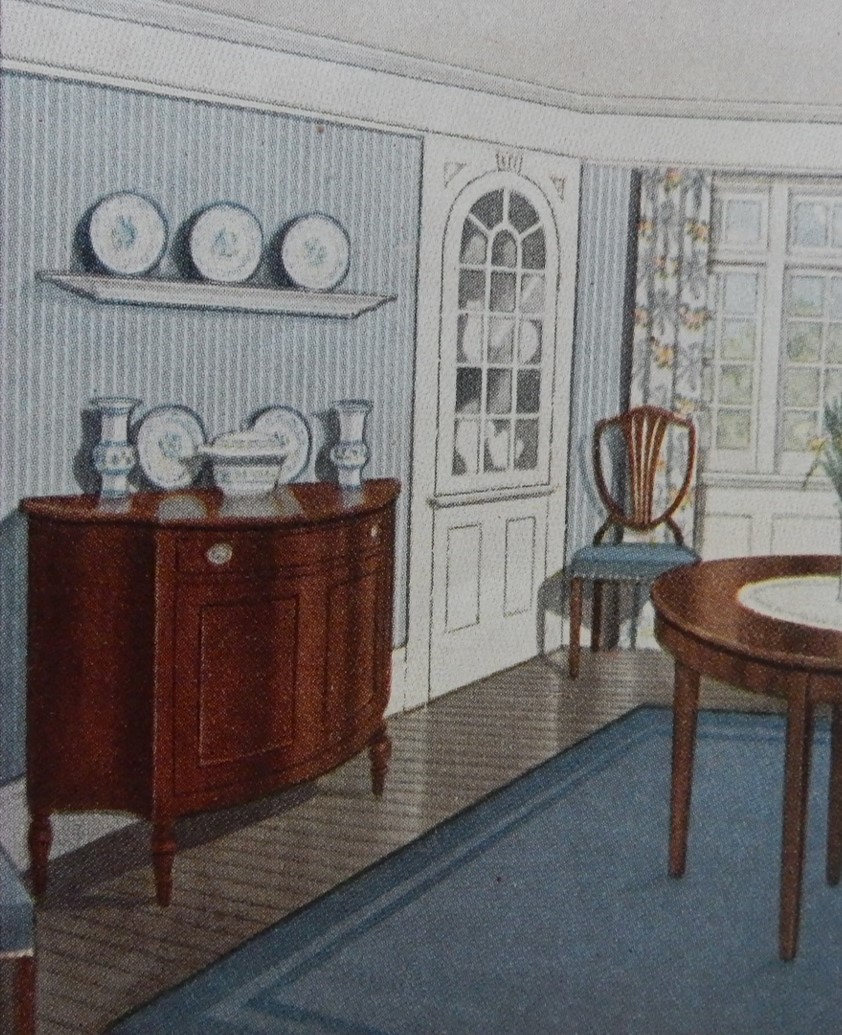
Wallpaper was very popular a hundred years ago – and there were lots of lovely papers that worked perfectly in dining rooms. Here’s some advice for using striped wallpapers:
French-striped papers come under the head of plain papers. They look well and are particularly appropriate in Colonial homes. They may be used in the bedroom, dining room, hall or reception room, and look equally well with either plain or figured hangings. They look better, however, with white woodwork than any other kind.
Over the next couple weeks I have several picnics on my calendar. Potato Salad is the quintessential picnic food, so I was pleased to find a hundred-year-old Potato Salad recipe.
Source: Lycoming Valley Cook Book, compiled by the Ladies of Trout Run M.E. Church, Trout Run, PA (1907)
At first I wasn’t quite sure about the recipe. It didn’t contain the usual Potato Salad ingredients like celery and mayonnaise, but rather was a vinaigrette dressing. Yet, the recipe was so easy that I decided to give it a try.
The Potato Salad was lovely, and the vinaigrette dressing with a hint of pepper was just right. It added a delightful flavor to the potatoes, but didn’t overwhelm them. This recipe is a keeper.
The old recipe made a lot of dressing relative to the potatoes, so I divided it by three when I revised it. Here’s the updated recipe for modern cooks:
Peel and dice potatoes into 3/4 inch chunks. Put into a sauce pan, cover with water and bring to a boil. Reduce heat and cook until the potatoes are just barely tender (about 5-7 minutes). Remove from heat and drain. Chill in refrigerator for several hours, then add onions.
In a small bowl, combine the olive oil, vinegar, salt and pepper. Pour this dressing over the potatoes and onions. Gently toss to coat the potatoes with the dressing. Put in serving bowl; and, if desired, garnish with parsley sprigs.
Source: Milton (PA) Evening Standard (August 23, 1911)
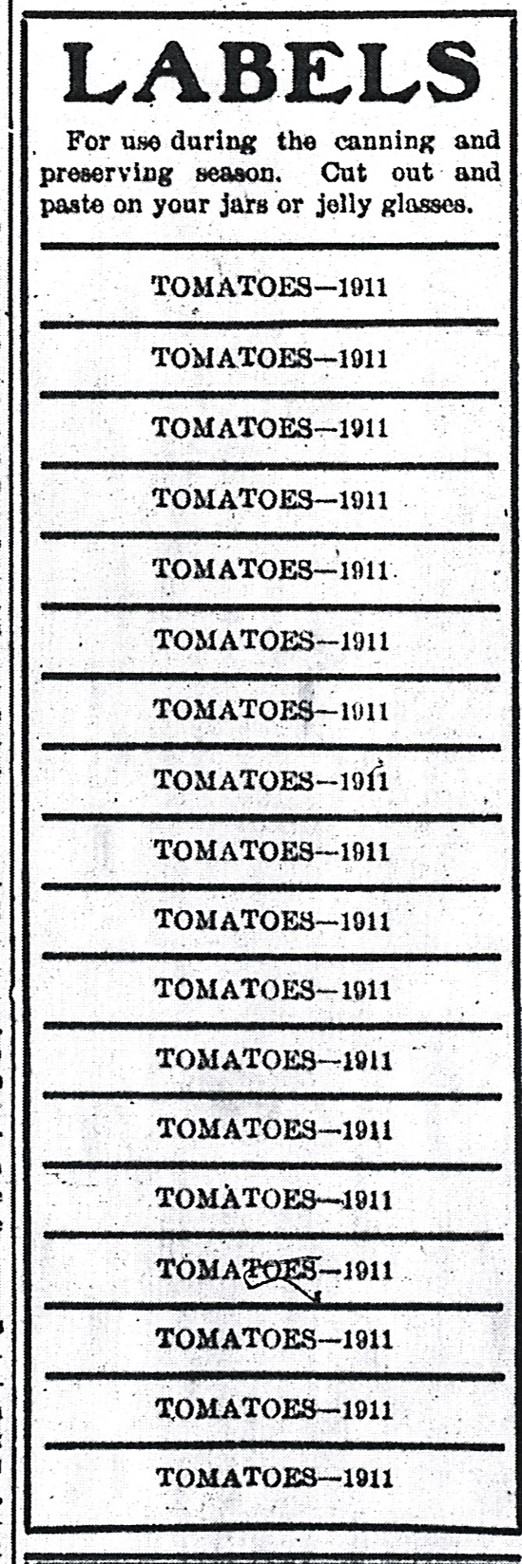
A hundred years ago people didn’t have markers that could be used to write labels on canning jar lids. They also didn’t have printers to print labels or even clear tape that could be used to attach labels to the jars. Back then newspapers often printed labels that could be cut out and pasted on jars of freshly canned food.
I generally prepare posts for this blog fairly quickly – but today’s post is an exception. It’s taken me over five years from the time that I first thought about doing this post to actually posting it.
I recently was browsing through a hundred-year-old magazine and saw this tip:
Sometimes the women folks can’t remember when they put up certain cans of fruit. Paste a dated slip of paper on the side.
Farm Journal (August, 1915)
The old tip reminded me that back in 2011, which was the first year I was doing this blog, that I’d scrolled though some old microfilms of hundred-year-old issues of the Milton (PA) Evening Standard, and had been surprised how the newspaper regularly printed labels for commonly canned foods – cherries in July, tomatoes in August, grape juice in September . . .
I copied a page with labels for tomatoes from the newspaper and planned to do a post on it – but somehow I never actually got around to writing that post and quickly forgot about it until I saw the Farm Journal tip. So here is the post – better late than never.
Eggs and tomatoes make a nice pairing, so I was excited when I saw a new way to make eggs and tomatoes in a hundred-year-old cookbook – Poached Egg in Tomato.
Preparing the tomato shell for the egg reminded me of scooping a pumpkin but on a much smaller scale. And, it was fun to slide the egg into the tomato shell, and cover it with a circle of parchment paper that I’d cut out.
The Poached Egg in Tomato was delightful with toast. The one downside – it took longer to bake than I anticipated. I had to delay breakfast because it took about 45 minutes for the egg white to fully set.
Preheat oven to 350° F. Cut the top of the tomato and gently scoop out the pulp, then set the tomato in a ramekin or custard cup. Break the egg into a small bowl, then slide the egg into the tomato shell, and sprinkle with salt and pepper. Cut circles from a piece of parchment paper that is the same size as the ramekin; then cover the filled tomato with the parchment paper circle.
Place the ramekin into a small cake pan or other oven-proof dish or pan. Gently pour hot water (approximately 125° F.) into the pan until it is about 1 inch deep. (I use the hottest water that comes out of my tap.). Place into the oven and cook until the egg is desired firmness (approximately 45 minutes).
I recently came across a glossary in a hundred-year-old cookbook that defined 62 words. I was surprised that several words that are commonly used now (for example, mayonnaise) needed to be defined in the early 1900s; that the meaning of several other words had shifted across the years (for example, hors d’oeurves); and that noir was an important food-related word back then.
Even since then I’ve been pondering the following question: If I wrote a cookbook in 2016 and decided to include a glossary, which 62 words would be the most important words to define?
Have you ever eaten a Plum Pie? Until I saw a hundred-year-old for Plum Pie, and decided to give it a try, I’d never had one.
The Plum Pie was awesome. It was tart, but not too tart; and it was sweet, but not too sweet. In other words, it was just right. The pie was beautiful with a lovely reddish-purple filling.
Now that I’ve eaten Plum Pie, I can say with certainty that it is one of my favorite pies.
But now I’m confused. Plum Pies apparently were more popular a hundred-years-ago than what they are now. Why have they gone out of style?
2 cups sliced purple plums (plums that are still somewhat firm work best)
2 tablespoons lemon juice
1/2 cup sugar
1/2 cup flour
1 tablespoon butter
Pastry for 8 inch (small) 2-crust pie
milk
sugar
Heat oven to 425° F. In a bowl combine the plum slices and the lemon juice. Add the sugar and flour, stir gently to combine . Turn into pastry-lined pie pan, and dot with butter. Cover with top crust and flute edges. Brush crust with a small amount of milk; sprinkle with sugar. Bake in oven for 10 minutes; then reduce heat to 350° F. Bake an additional 20 to 30 minutes or until crust is lightly browned and juice just begins to bubble.
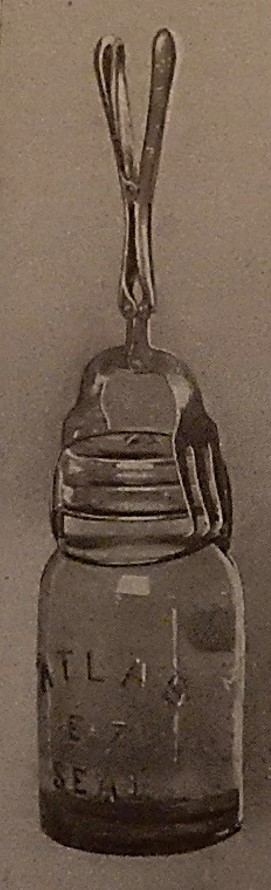
With its long vise-like fingers this device reaches down into the boiling water and lifts out the jars with safety.
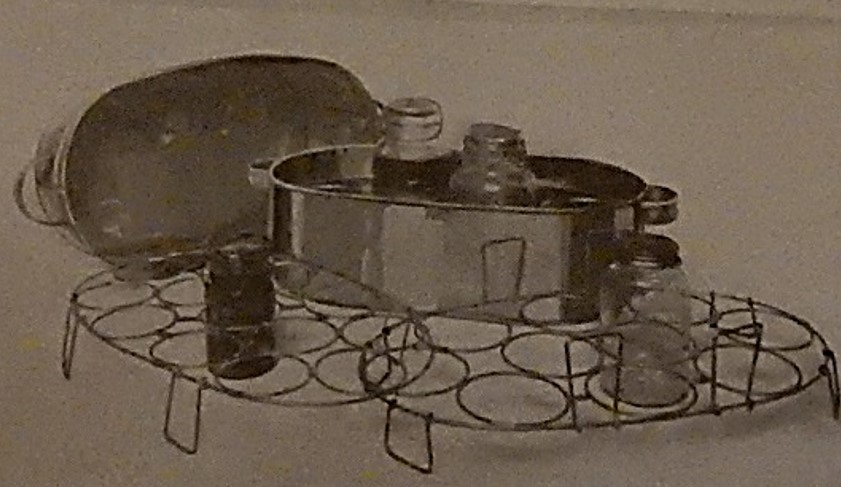
The July, 1916 issue of Good Housekeeping had several photos of canning equipment. Some of the pictures make me think about how much has changed over the past hundred years in how we can; others make me think that it hasn’t changed all that much.
An excellent improvised canner is a wash boiler with a wire frames which may be purchased separately in sizes to hold gallon, quart, or pint jars. Any other receptacle with a tight-fitting lid may be used or an outfit may be purchased complete.
This water-seal canner has a thermometer, a safety valve, and a pet-cock. It confines steam under pressure, and in it vegetables are canned with one cooking.