

A 1925 recipe supplement in a Sioux Falls, South Dakota newspaper contained a recipe for Mock Nut Bread. Intrigued, I decided to give it a try. The “mock nuts” were Grape Nut cereal nuggets.
Grape Nuts is fiber rich, has a crunchy texture, and contains whole wheat and malted barley flour. It has been around for more than 125 years. Originally developed as a health food, Grape Nuts has a long-fascinating history. In 1933, Grape Nuts sponsored Admiral Byrd’s expedition to Antarctica. During World War II, the rations of some troops included Grape Nuts. And, the first individuals to reach the summit of Mount Everest, Sir Edmund Hillary and Sherpa Tenzing Norgay, brought Grape Nuts with them when they climbed the mountain.
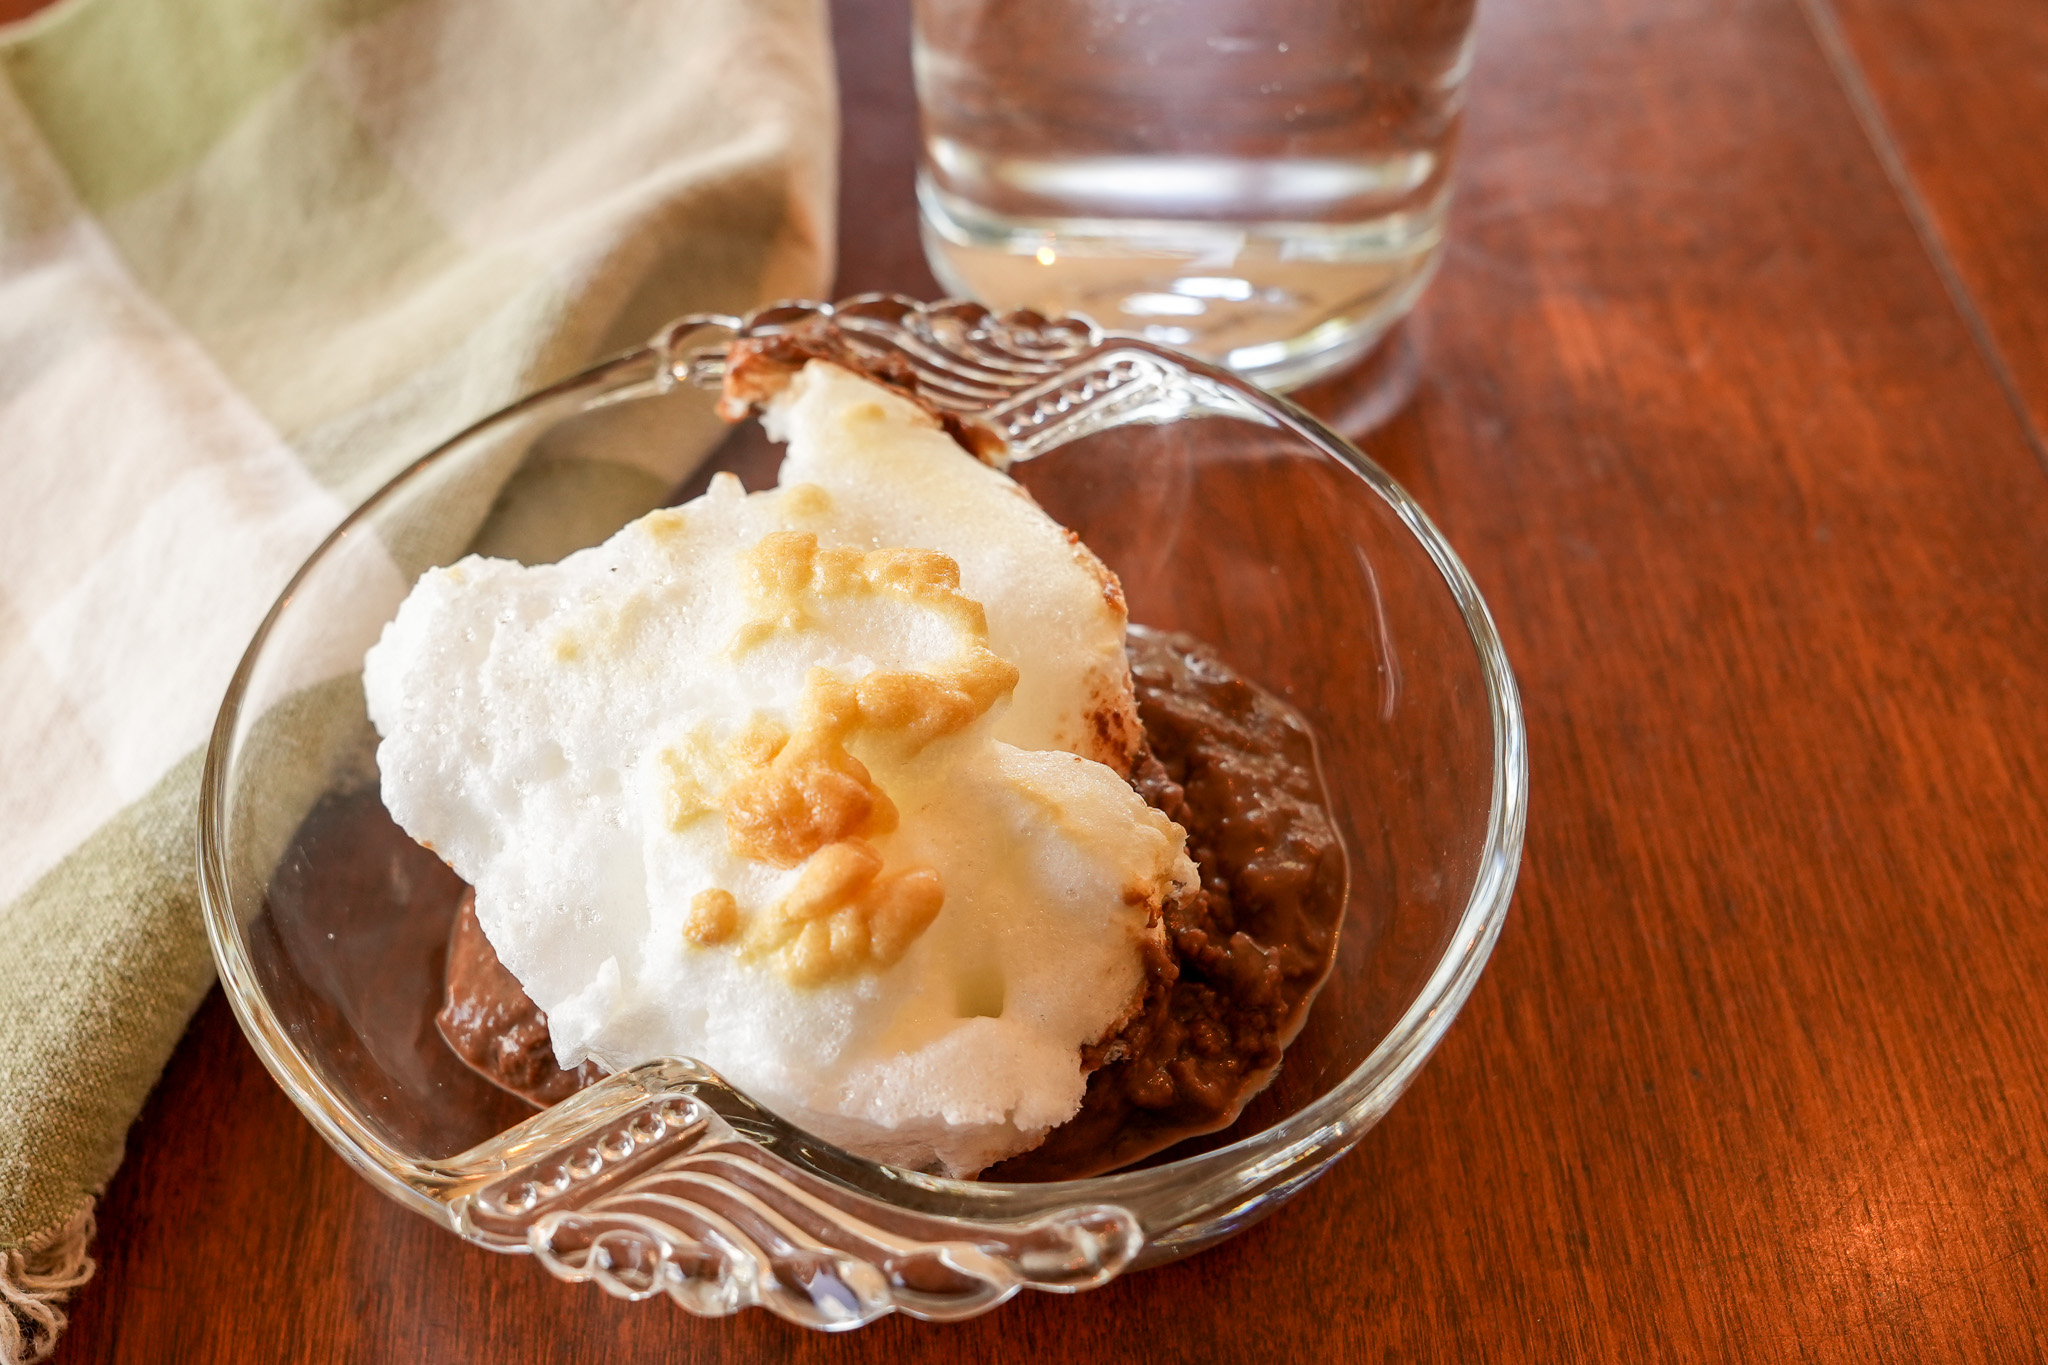
This recipe made a lovely, hearty quick bread. I especially enjoyed eating warm Mock Nut Bread when topped with some of the Pear Honey I recently made.
I liked Mock Nut Bread, but was disappointed that it did not have a nut bread texture or taste. The Grape Nut nuggets soften during baking, and the bread is not crunchy. I also was a little disappointed that the bread was not especially attractive. The Grape Nut nuggets make the top of the bread loaves look lumpy, but maybe that is part of its rustic appeal.
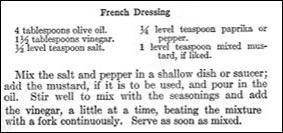
Here’s the original recipe:

The recipe says to mold into loaves. This recipe did not make a dough thick enough to mold; instead it makes a thick batter that can be poured into the pans.
The original recipe called for adding the flour and baking powder prior to adding the Grape Nuts. I reversed the order when I updated the recipe. It is difficult to fully incorporate the flour and baking powder into the batter after the Grape Nut cereal has been added.
The recipe also says to bake the bread in two “small” bread pans. This does not refer to the small personal-sized bread pans that are available today, but rather to what I call “regular-sized” bread pans (8 1/2 ” X 4 1/2″ X 2 1/2 inches).
Here’s the recipe updated for modern cooks:
Mock Nut Bread (Grape Nuts Bread)

1 egg
2 tablespoons brown sugar
1 teaspoon salt
2 cups milk
4 teaspoons baking powder
4 cups flour
1 cup Grape Nuts cereal
Preheat oven to 350° F. Put the egg, brown sugar, salt, and milk in a mixing bowl; beat until combined. Add baking powder and flour; beat until thoroughly mixed. (The batter will be very thick.) Add the Grape Nuts; stir until they are evenly distributed throughout the batter. Pour into 2 prepared regular (not large) bread pans (8 1/2″ X 4 1/2″ X 2 1/2″). Bake for 40 minutes or until a wooden pick inserted in the center comes out clean. Partially cool, then remove from pans.


 When scraping new potatoes, the potatoes should first be washed. The potatoes are then scraped by holding a paring knife at angle where the blade is dragging slightly against potato. The blade is then pulled across the potato to remove the skin. After the potatoes have been scraped, they should be rinsed to remove loose skin fragments. If desired, the potato eyes can be removed with the tip of the knife. It’s okay if some of the skin remains.

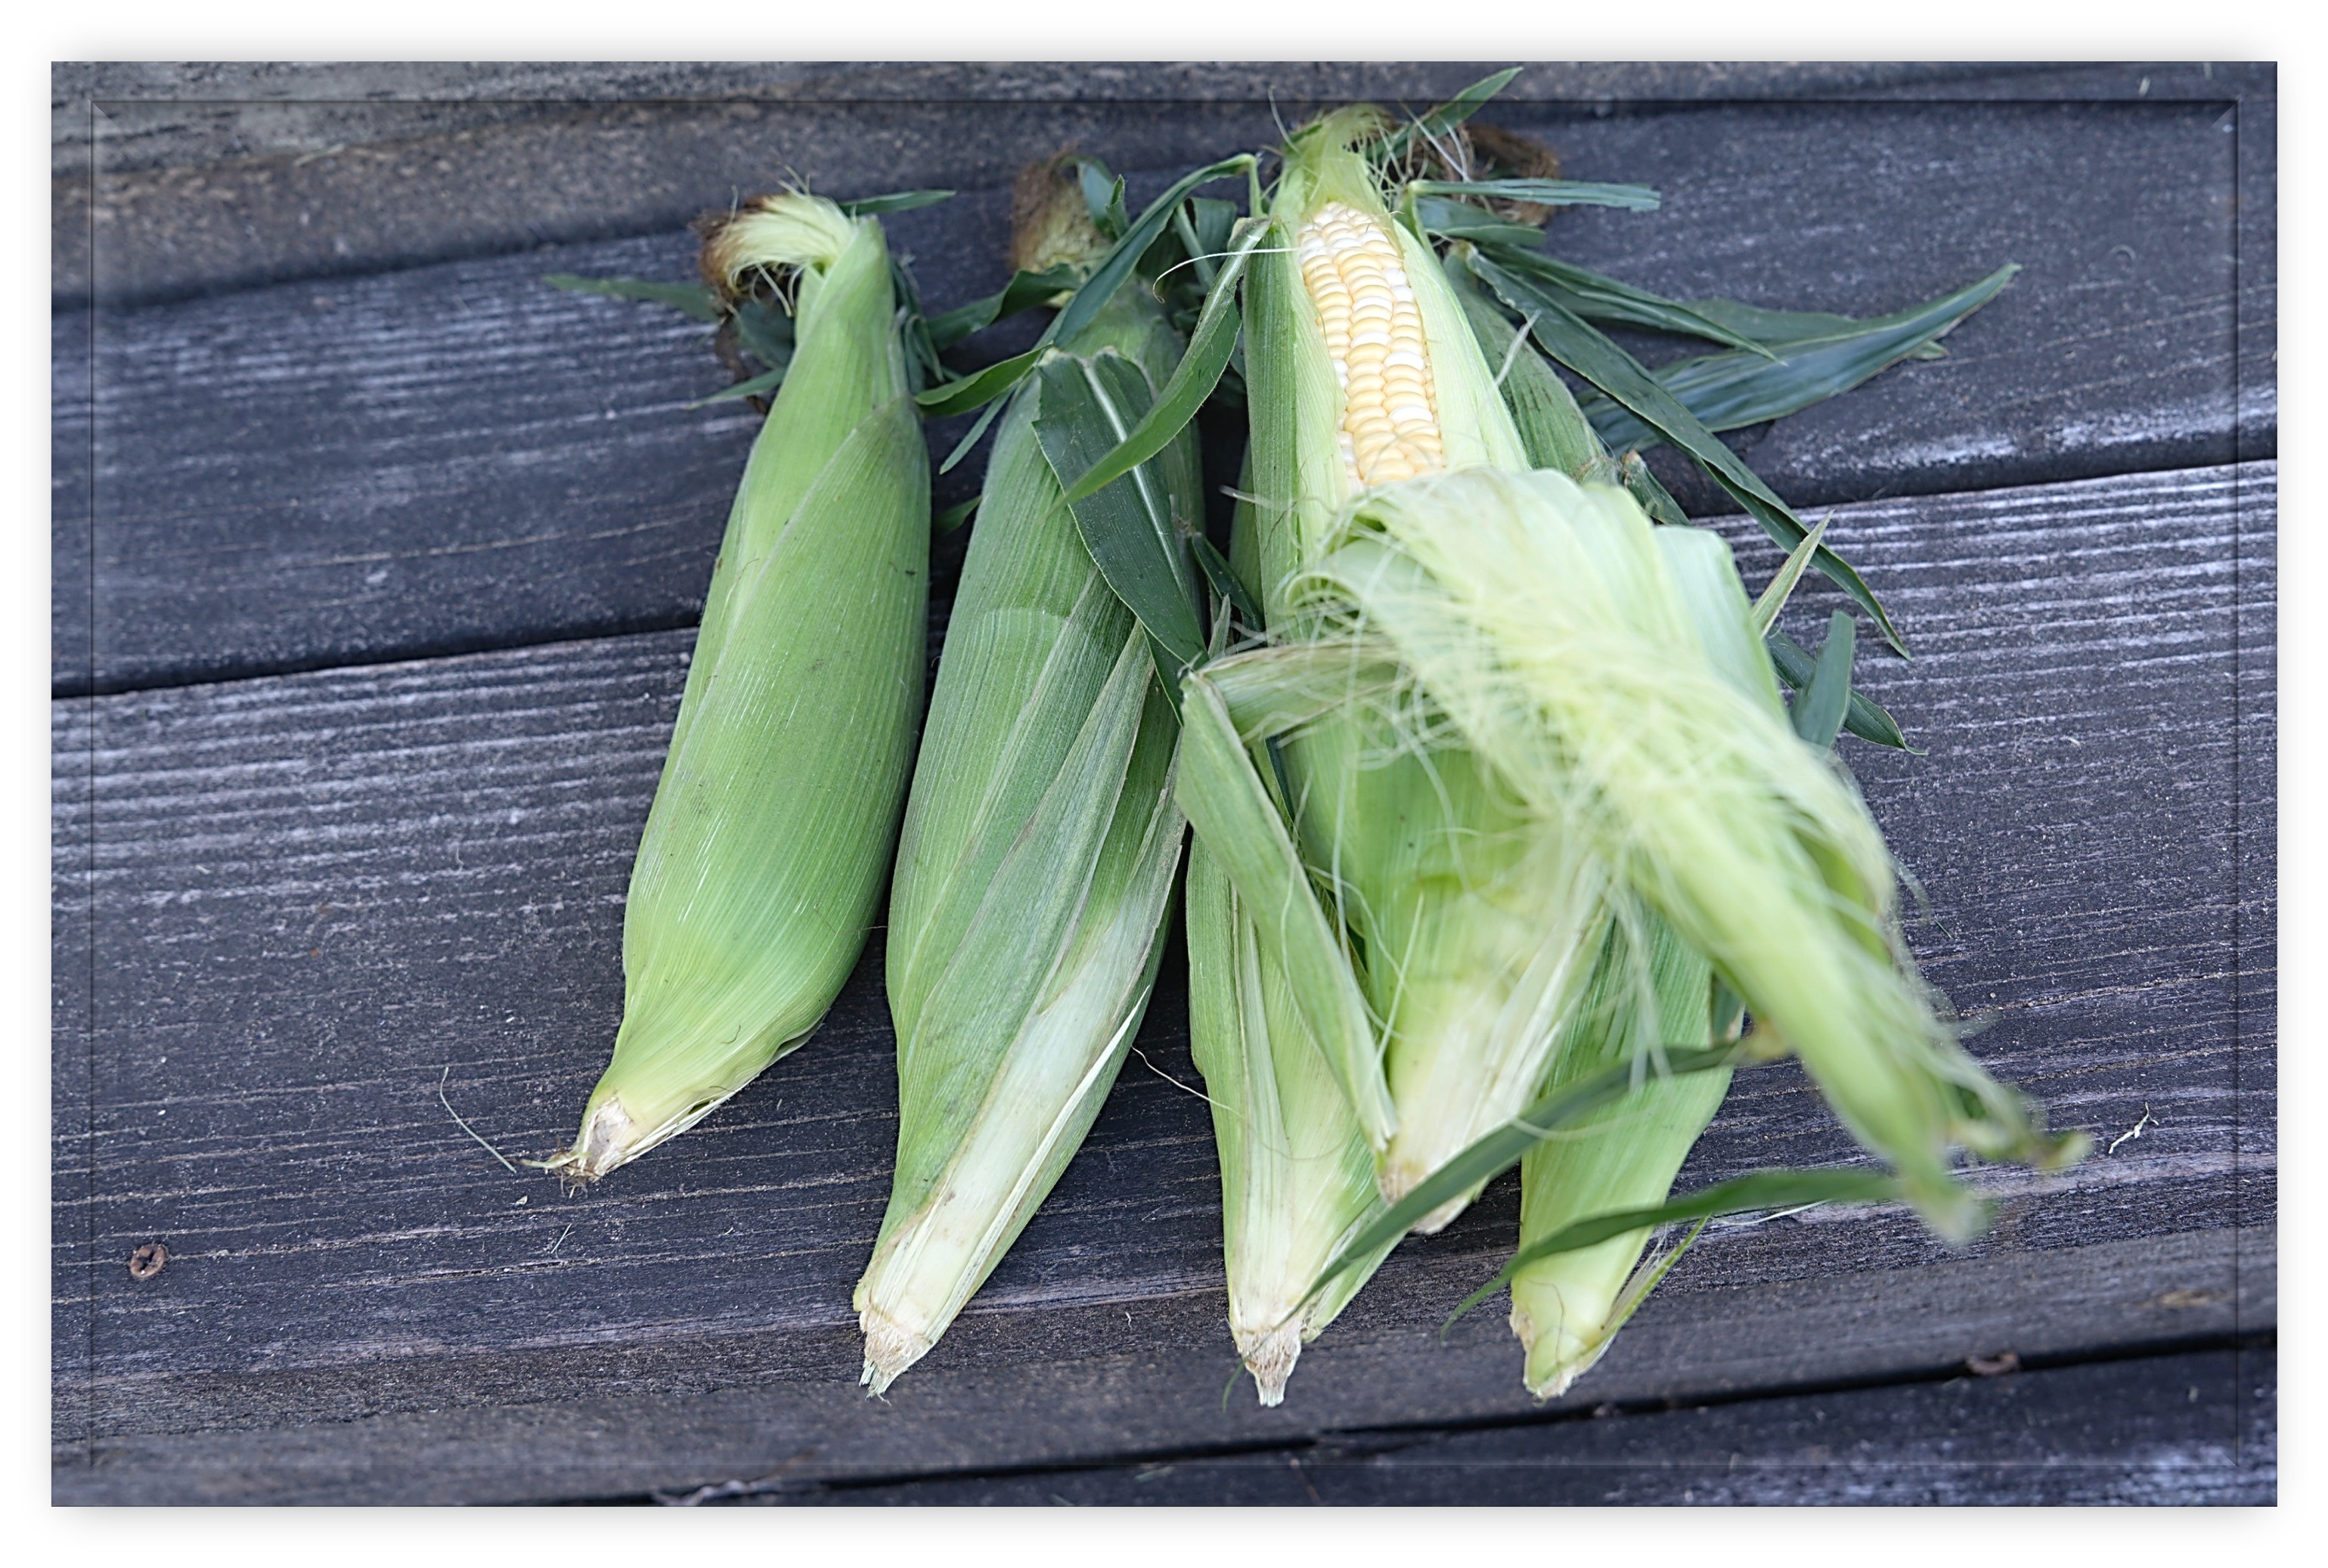 I occasionally see recipes that call for “green corn” in hundred-year-old cookbooks. Over the years, I’ve always skipped over those recipes because I was not sure what green corn was. Well, now I know. It’s corn on the cob (sweet corn). Here’s what it said in a 1925 home economics textbook: