Candy, candy everywhere. I love Halloween, and buy lots of candy for Halloweeners. I eat a little of it (well, maybe a lot, if not many kids come to the door). While browsing through hundred-year-old magazines this fall, I saw this advertisement for Oh Henry! candy. It even included recipes for ice cream sauce and sandwich cookies that called for using Oh Henry! as the main ingredient. I immediately planned to buy a bag of Oh Henry!
A few days later, I was disappointed to discover that Oh Henry! candy is no longer available in the U.S.
I still wanted to make the recipes in the advertisement. Baby Ruth is a similar chocolate nougat candy with peanuts, so I bought a bag of snack-size Baby Ruth, and substituted it for Oh Henry! in the recipes. (Other chocolate nougat candies such as Snickers would also work.)
The ice cream sauce was made by melting the candy and stirring in a little milk. The sauce was delightful when spooned over ice cream. It was chocolaty and contained lots of peanuts.
The sandwich cookies were made by putting thin slices of the candy between two vanilla wafer cookies, and then heating until the candy melted. The old recipe says to serve the cookie sandwiches hot, but they were also tasty after they cooled.
Here are the recipes updated for modern cooks:
Chocolate Nougat Candy Ice Cream Sauce
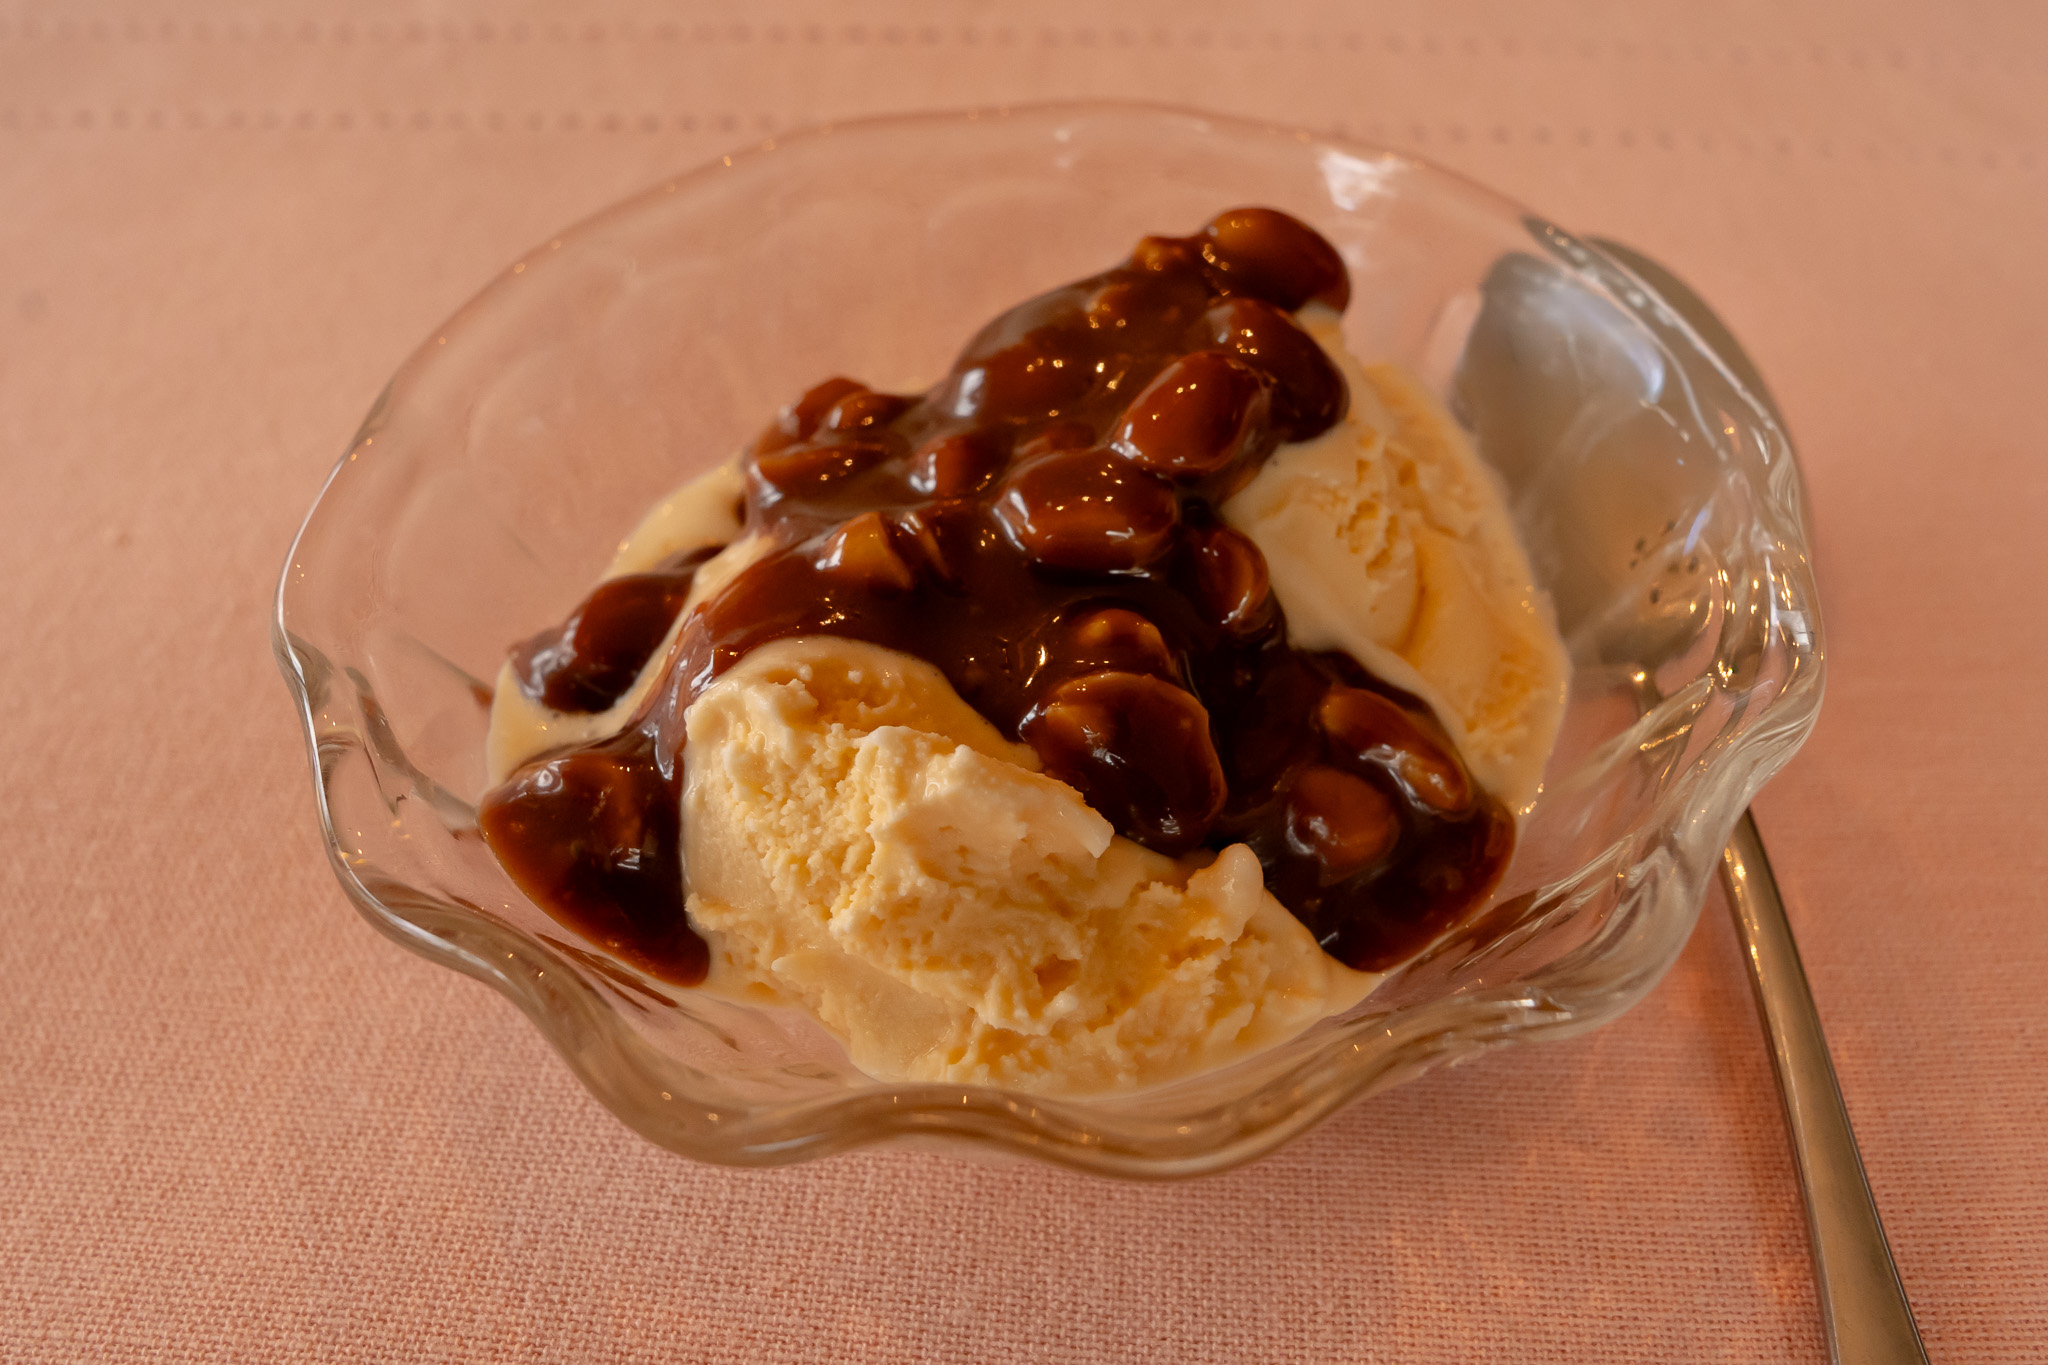
4 snack-size bars of Baby Ruth candy (or other similar chocolate nougat candy)
1 – 3 teaspoons milk
Chop the candy into small pieces. Put chopped candy into a microwaveable bowl, then cover. Microwave for 30 seconds. Stir and add a small amount of milk while continuing to stir. Continue adding small amounts of milk until the sauce is the desired consistency. Reheat in microwave for a few seconds; then, while still warm, spoon over ice cream and serve.
Chocolate Nougat Candy Sandwich Cookies
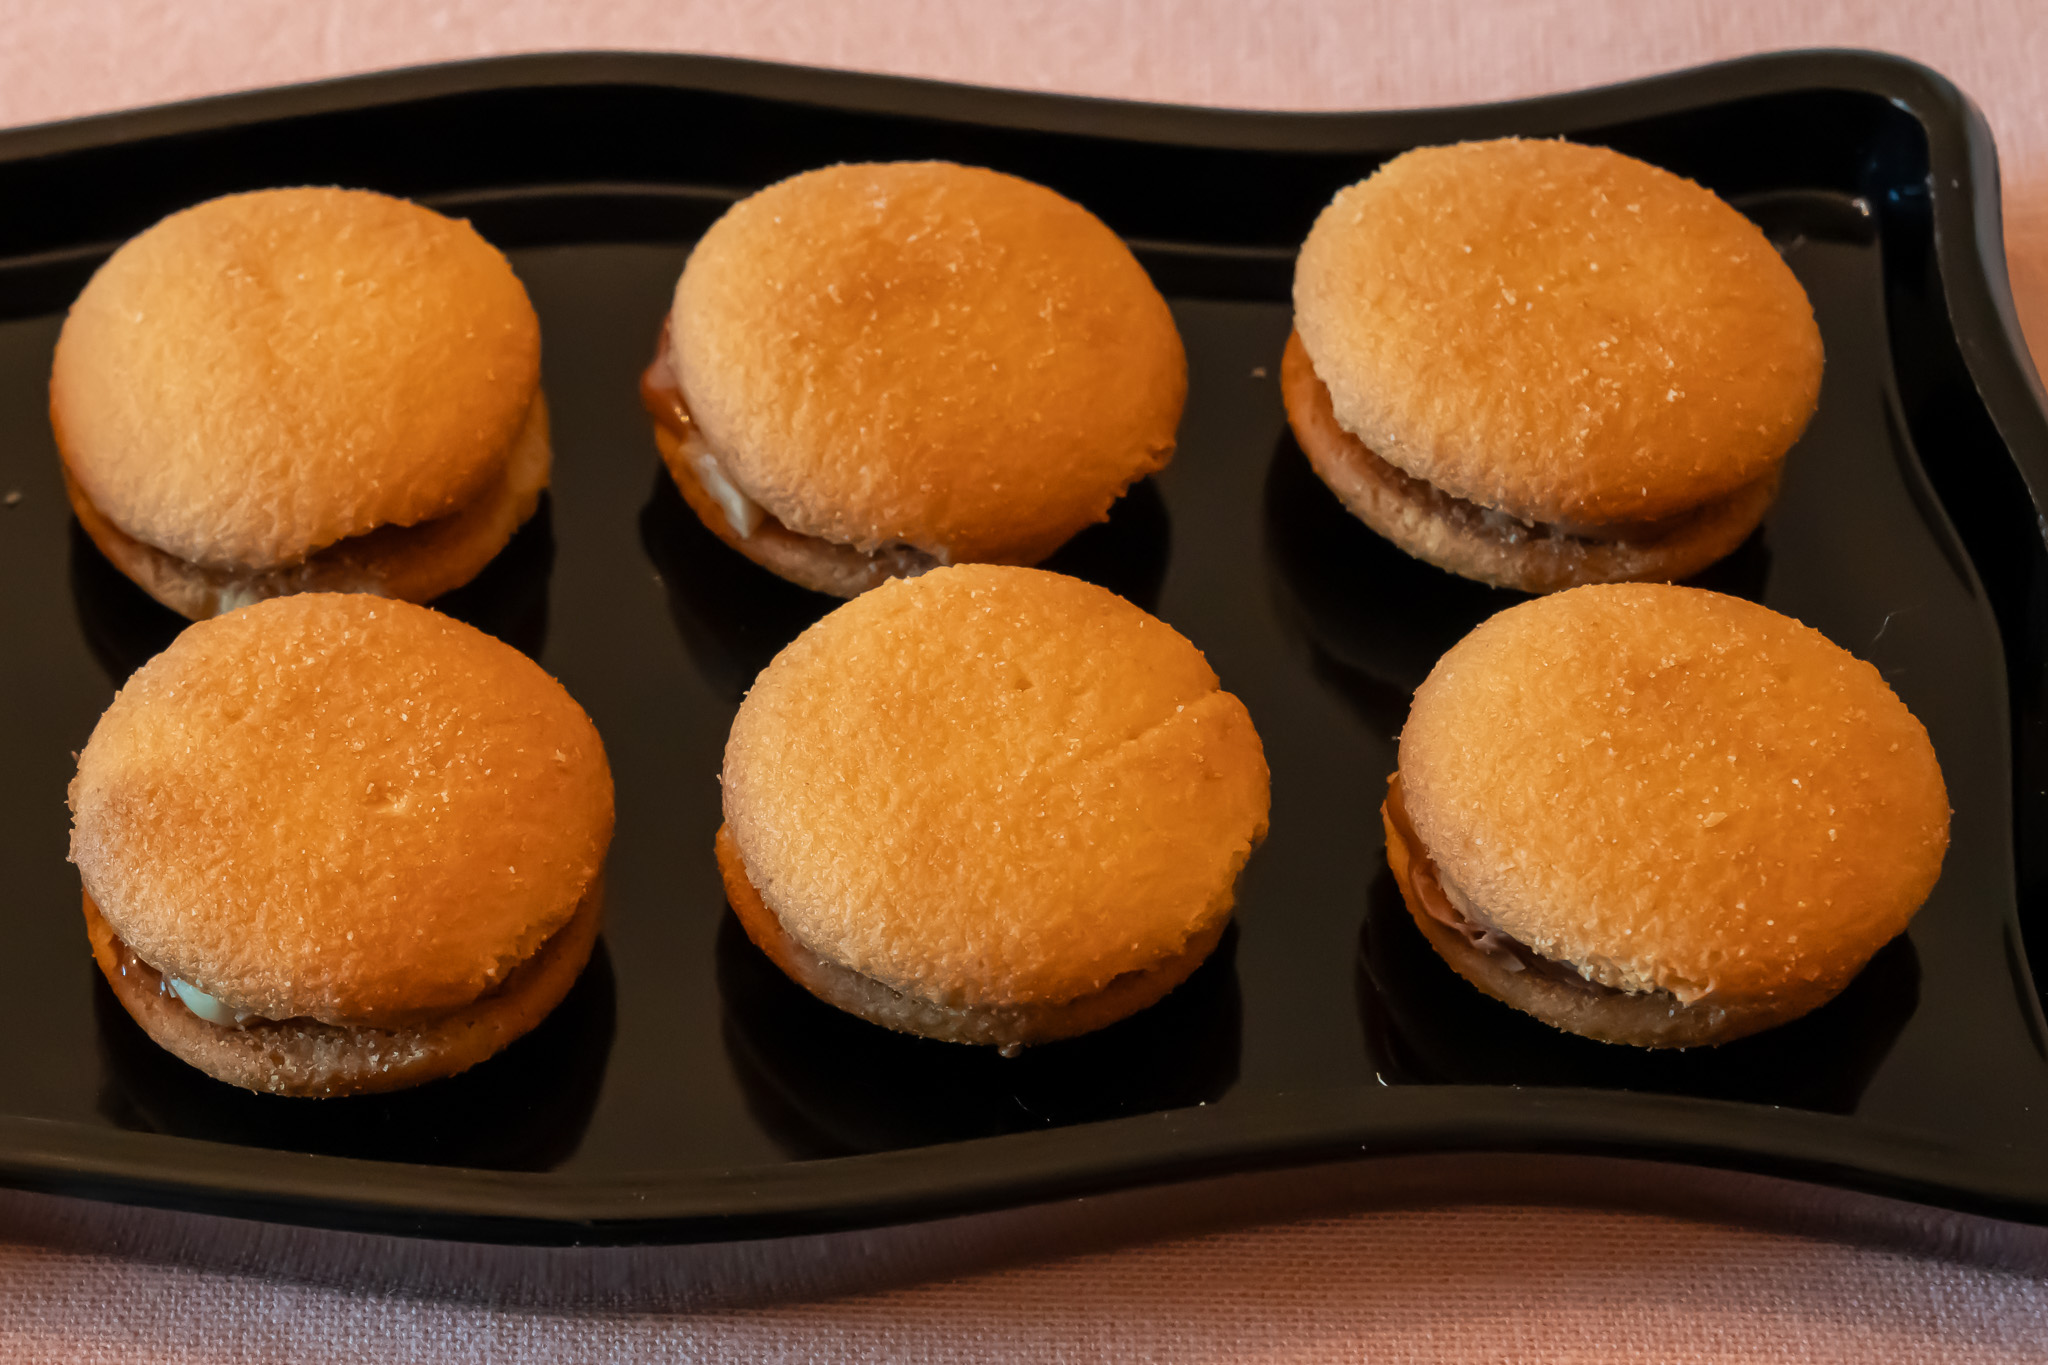
3 snack-size bars of Baby Ruth candy (or other similar chocolate nougat candy)
24 vanilla wafer cookies
Thinly slice the candy. (Each bar can be sliced into 8 pieces.) Put two slices of candy side by side on top of half of the wafer cookies. (If the wafers are very small, use less candy.) Put the remaining wafers on top of the candy. Put the cookie sandwiches on a microwaveable dish; cover and microwave for 30 seconds. If the candy filling is not melted, microwave a few additional seconds.