Old-Fashioned Peach Ice Cream

peach ice cream

When I was a child, Peach Ice Cream was a favorite on hot sunny days. The sweetness of the ice cream combined with the refreshing tartness of the peaches always hit the spot during the dog days of summer. So, when I saw a hundred-year-old recipe for Peach Ice Cream, I decided to give it a try.

This Peach Ice Cream recipe is a winner. The ice cream was easy to make, and it had a lovely peach flavor. It tasted just like I remember, and made a recent hot day seem just a little cooler.

Here is the original recipe:

Recipe for Peach Ice Cream
Source: The New Winston Cook Book of Guaranteed Recipes (1926)

I used a small automatic electric ice cream maker to make this recipe, so I halved the recipe when I updated it. If a large ice cream freezer is used, the amounts in the original recipe should be used.

I was concerned that the peach slices might discolor and begin to turn brownish while they sat after the sugar was added; so, even though the recipe didn’t call for it, I also stirred in a little lemon juice.

Here’s the recipe updated for modern cooks:

Peach Ice Cream

  • Servings: 8 - 10
  • Difficulty: moderate
  • Print

2 cups ripe peaches, peeled and slices

1 cup sugar

1 tablespoon lemon juice

3 cups half and half

Step 1. Put peach slices, sugar, and lemon juice in a bowl; stir to mix ingredients. Let sit for 1/2 hour – 1 hour.

Step 2. Thoroughly mash the peaches. A potato masher can be used to mash the peaches into very small pieces, or the peaches can be briefly pulsed  in a blender or food processor. (There should not be large peach chunks or they will harden like ice cubes in the ice cream; conversely, the peaches should not be totally liquified.)

Step 3. Put the mashed peach mixture and the half and half in a bowl; stir to combine. Thoroughly chill the mixture in the refrigerator.

Step 4. Put  the chilled mixture in ice cream freezer, and freeze following freezer directions.

http://www.ahundredyearsago.com

1926 Motor Car Picnic Menu

Family having a picnic
American Cookery (October, 1926)

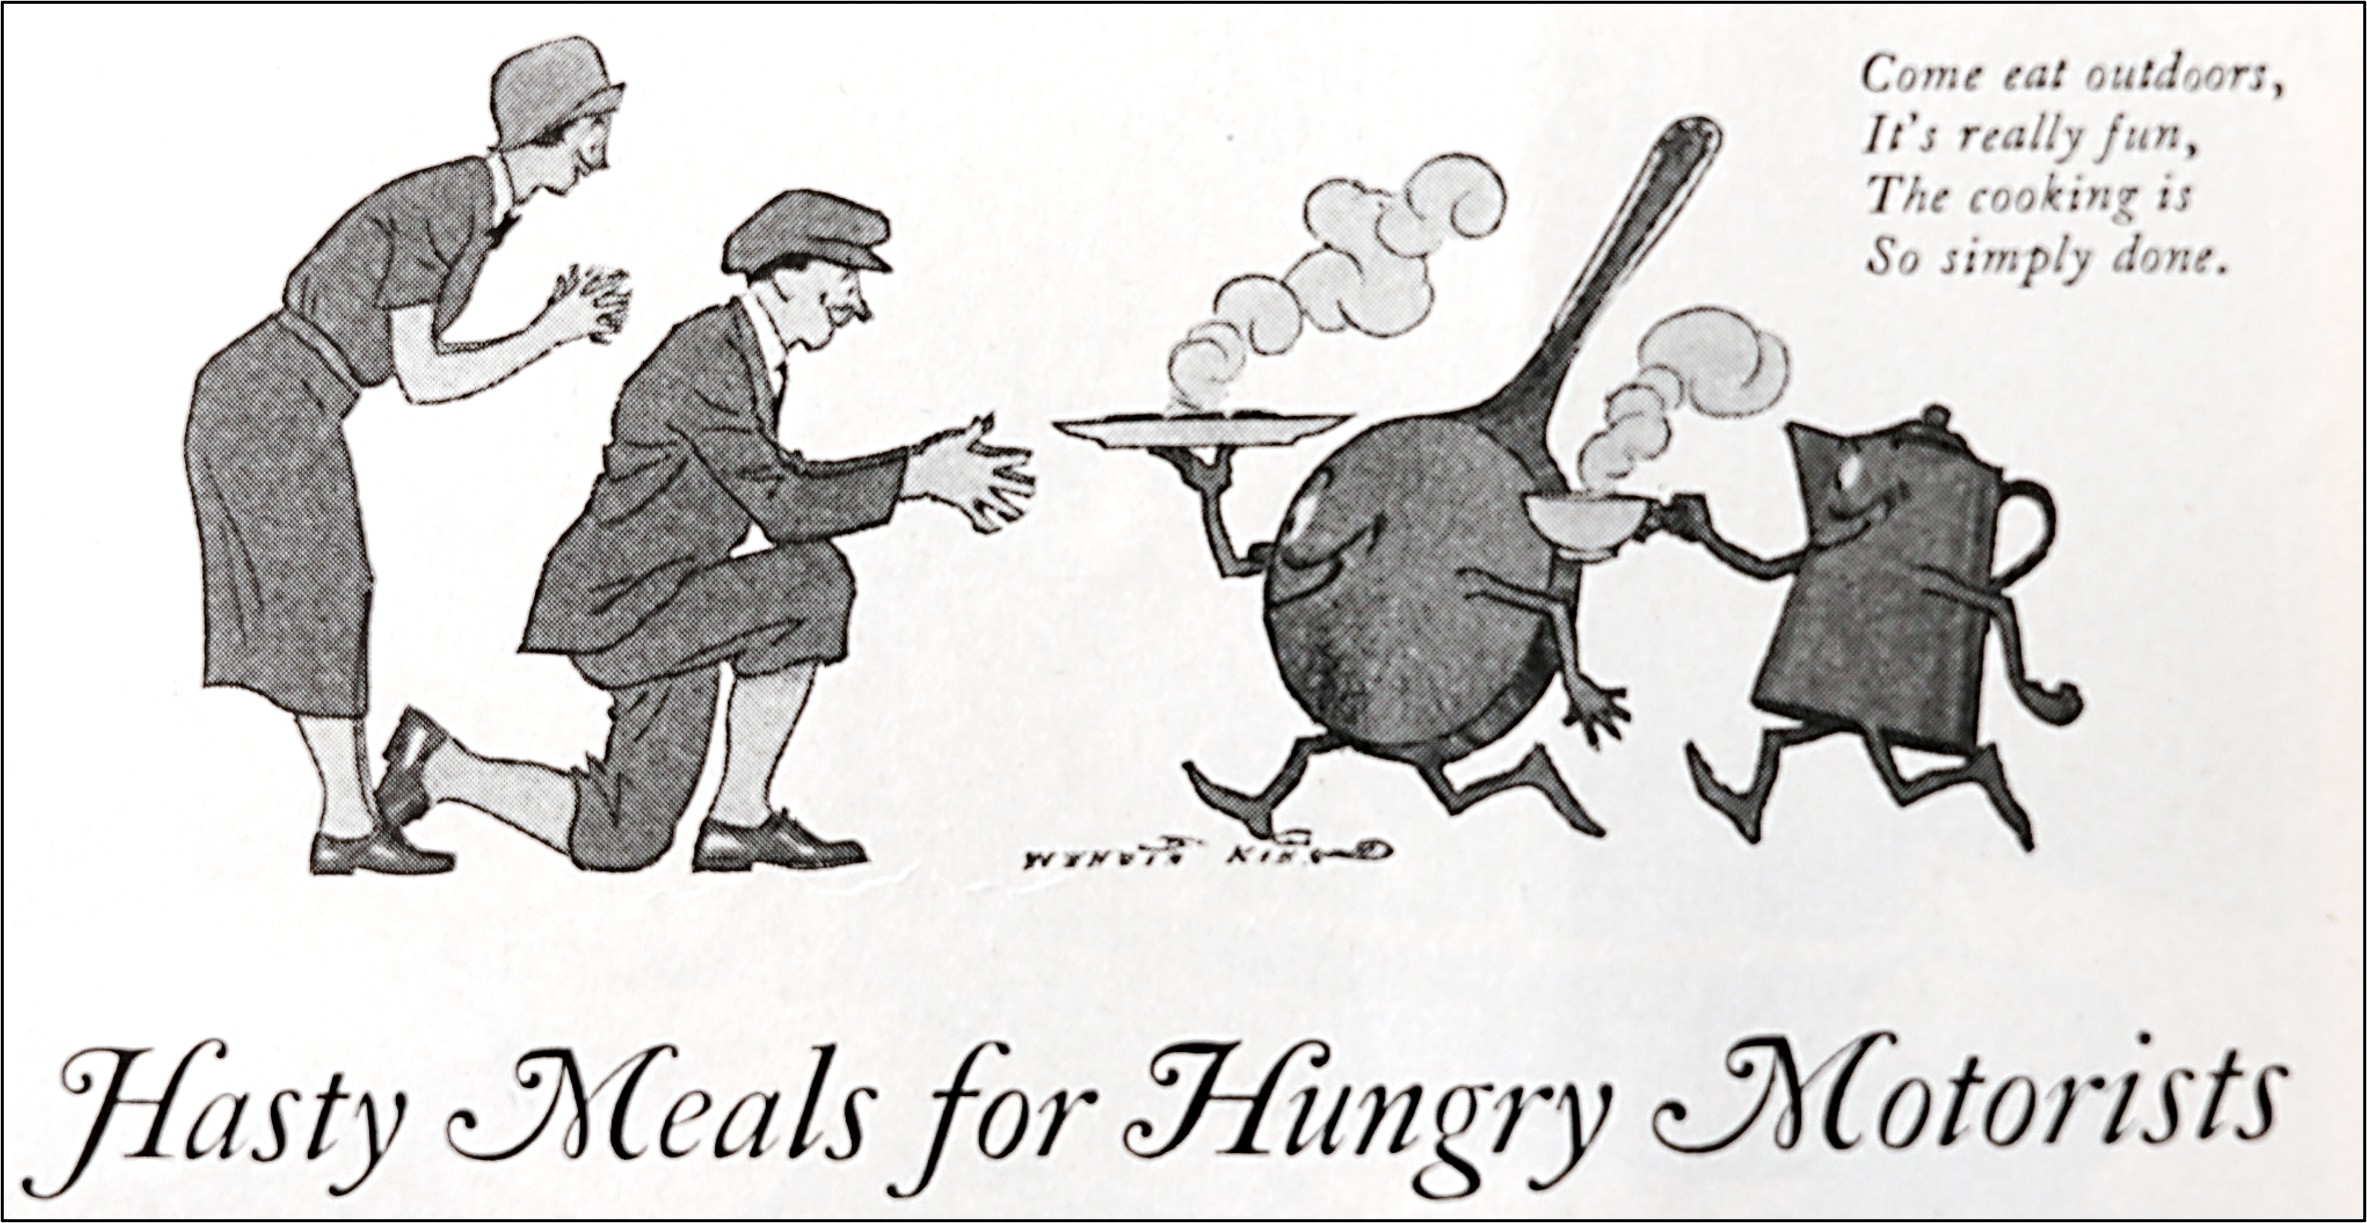
The number of cars in the U.S. rapidly increased during the 1920’s. By 1926, almost half of the households owned a car, and people were enjoying the freedom that it provided. A popular leisure activity was to have a motor car picnic.  People packed elaborate meals into picnic hampers, and then drove to scenic spots for a picnic.

Motor car picnics were the latest fad at the time. I recently was surprised to see information about them in two different 1926 magazines. American Cookery had a menu for a motor car lunch basket, and Good Housekeeping had an article about equipment needed for picnics that contained a photo of a family enjoying a picnic with an auto in the background.

Menu
Source: American Cookery (October, 1926)

When I read the menu for the motor car lunch basket, I felt exhausted. It must have taken a lot of work for the cook to prepare all the food and other items needed for the picnic.

A Cookbook Helped Build a Dorm a Hundred Years Ago

Organizations often compile and then sell cookbooks as a fundraiser. A cookbook with an especially fascinating story is the Pennsylvania State Grange Cook Book. The Grange is an agricultural advocacy and social organization that was founded in 1867. The Grange is organized into four levels: community, county or district, state, and national. There are Grange halls located in many rural areas throughout the U.S. where Grange members hold meetings and events.

There were several editions of the Pennsylvania State Grange Cook Book published during the 1920’s that helped raise funds to build a women’s dormitory at Penn State University. The cookbooks contained recipes submitted by Grange members from across Pennsylvania. I have the 4th edition of the cookbook, which was published in 1926.

Grange members sold 42,000 copies of the cookbooks and donated 30¢ from each sale to Penn State toward the building of Grange Memorial Dormitory which was constructed in 1929-30. The building still exists and is now known as Grange Building. The Division of Undergraduate Studies is now located in it.

Both Penn State and the Pennsylvania Grange are strong advocates for rural areas and agricultural education. In October, 2025, at the 153rd Annual State Session of the Pennsylvania State Grange meeting in Williamsport, the president of the Pennsylvania State Grange,  Matthew Espenshade, presented Penn State President Neeli Bendapudi with one of the hundred-year-old cookbooks as a memento of the long relationship between the two organizations.

I have made several recipes from the Pennsylvania State Grange Cookbook this year. They include:

Blackberry Cake

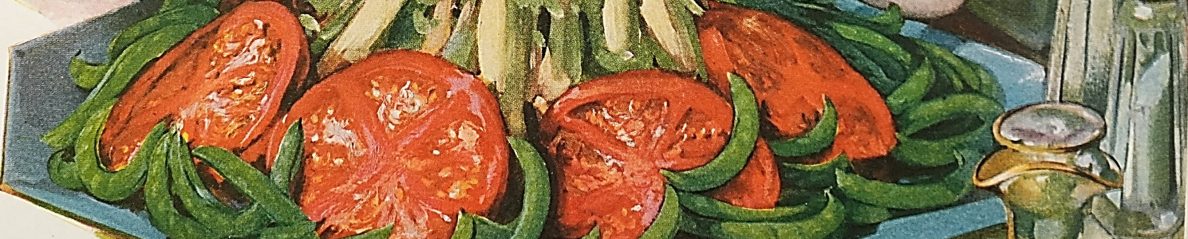
Carrot and Celery Salad

Cherry Custard Pie (with Meringue)

Delmonico Potatoes

Tuna Souffle

Old-Fashioned Raspberry Muffins

Several months ago, I saw a recipe for Raspberry Muffins in a hundred-year-old magazine, and have been anxiously waiting to try it. Finally, the black raspberries in my backyard are ripe, and I dug the recipe out and made it.

The recipe was a winner. The Raspberry Muffins were soft, moist, and tasty. They had just the right amount of sweetness, and a hint of cinnamon which worked perfectly with the sweet tartness of the berries.

I served these muffins with coffee to a group of friends. There was a discussion about whether I used blackberries (that are commonly sold in stores) or black raspberries (which are almost never seen in stores) when making the muffins. At least one person in the coffee group hadn’t even known that there was a fruit called black raspberries until I made the muffins.

The original recipe does not indicate whether red or black raspberries should be used. I used black raspberries, but red ones would also work well.

Here’s the original recipe:

Recipe for Raspberry Muffins
Source: Ladies Home Journal (June, 1926)

A hundred-years-ago many families still lived on farms; and, even in towns, much of the milk that was sold was not pasteurized. Back then, if the non-pasteurized milk was not used quickly, the “good” bacteria in the milk would turn it into a sour milk suitable for use in recipes that used baking soda as the leavening agent. Today’s pasteurized milk can be turned into a sour milk by adding a little vinegar or lemon juice to create a slightly curdled acidic milk that results on bubbles of carbon dioxide gas when combined with the baking soda which causes the baked good to rise.

The raspberries are coated with flour to make them less likely to sink to the bottom of the batter while baking.

Here’s the recipe updated for modern cooks:

Raspberry Muffins

  • Servings: approximately 12
  • Difficulty: moderate
  • Print

1 cup raspberries (either red or black raspberries can be used)

1 1/2 cups flour + 2 tablespoons flour

1 cup milk

1 tablespoon vinegar or lemon juice

3 tablespoons shortening or butter, softened

3/4 cup sugar

1 egg

1/2 teaspoon salt

1 teaspoon cinnamon

1 teaspoon baking soda

Step 1. Preheat oven to 400° F.

Step 2. Put the raspberries in a small bowl and sprinkle with the 2 tablespoons flour; gently stir/roll the berries to lightly coat with flour. Set aside.

Step 3. Put the milk in a small bowl and stir in the vinegar/lemon juice. Set aside.

Step 4. Put shortening/butter and sugar in mixing bowl, then cream them together.

Step 5. Add egg, soured milk, salt, cinnamon, and baking soda; stir to combine.

Step 6. Add 1 1/2 cup flour, and stir until just combined.

Step. 7.  Add flour-coated raspberries; gently stir to distribute evenly throughout batter.

Step 8. Grease muffin tins (or use paper liners), and then fill each muffin cup 3/4th full with batter. Bake for approximately 25 – 30 minutes or until lightly browned.

http://www.ahundredyearsago.com

Old-Fashioned Cherry Custard Pie (with Meringue)

Piece of Cherry Custard Pie on plate

The cherries on the sour cherry tree in my back yard are ripe, so it’s time to make cherry pie. I found a recipe in a hundred-year-old cookbook for Cherry Custard Pie, and decided to give it a try.

I need to say right up front that I’m not sure this pie is actually a custard pie because the recipe didn’t call for any milk. The recipe called for thickening the pie filling using egg yolks (plus a little flour). The resulting cherry pie was richer and maybe a bit more custard-like then most cherry pies.

If I had been the recipe author, I would have called this pie Cherry Meringue Pie because the cherry filling is topped with meringue.

Regardless of the pie name, the pie was delicious, and I would make it again.

Here’s the original recipe:

Recipe for Cherry Custard Pie
Source: Pennsylvania State Grange Cook Book (1926)

This recipe makes a small 8-inch pie.

The recipe says to use the egg whites for “frosting.” I interpreted this to mean that the whites should be used to make a meringue to top the pie. I sweetened the meringue with a little sugar.

Here’s the recipe updated for modern cooks:

Cherry Custard Pie (with Meringue)

  • Servings: 5 - 7
  • Difficulty: moderate
  • Print

2 cups sour cherries, pitted and drained*

1 1/2 cups sugar + 1/4 cup sugar

1 1/2 tablespoons flour

3 eggs, separated

3 tablespoons cherry juice or water

1 8-inch (small) pie shell

Step 1. Preheat oven to 425° F.

Step 2. Put 1 1/2 cups sugar and the flour in a mixing bowl; stir to combine. Add the egg yolks and stir until smooth. Then stir in the cherry juice or water, and finally add the cherries and stir.

Step 3. Place the cherry mixture in the pie shell, and put into the oven.

Step 4. Bake for 10 minutes, then reduce oven temperature to 350° F., and bake until the filling is set and the top of the pie is lightly browned (about an additional 30-35 minutes). Then remove pie from oven.

Step. 5. In the meantime, make the meringue. Place egg whites in a bowl, and beat the egg whites until they form stiff peaks. Then, gradually add  1/4 cup sugar while continuing to beat.

Step 6. Spoon meringue on top of the pie and swirl.

Step 7. Reduce oven temperature to 325° F., and return pie to the oven.

Step. 8.  Cook for an additional 10 – 12 minutes or until the meringue is lightly browned.

* Canned  or frozen (thawed) sour cherries can be substituted for fresh cherries. If they contain sugar, reduce the amount of sugar when making recipe.

http://www.ahundredyearsago.com

1926 Q&A: Are Vitamins Lost When Vegetables Are Boiled?

Decorative Q&A header

Vitamins Question
Source: American Cookery (December, 1926)

A hundred years ago, American Cookery magazine had a Queries and Answers column. I looked at least four or five times at the header, and kept thinking that it should say “Questions and Answers,”  but it actually says, “Queries and Answers.” What a formal way of saying “Q&A.”

One query was about the loss of vitamins when vegetables are cooked. It seems really strange that “vitamins” was spelled, “vitamines” in the query. Maybe that’s an archaic spelling. Here’s the answer in the old magazine:

Loss of Vitamines in Cooking Vegetables

In all cooking of food there is more or less loss of vitamines involved, but the lower the temperature the less will be the loss, so we think your friend probably meant “low temperature” when she said “slow fire.”

Authorities on the subject tell us that the temperatures used in the ordinary methods of home cooking involve no very serious loss of vitamines. but when vegetables or other foods are cooked in water, there is a serious loss of the vitamines that are soluble in water. In our own experience, this rather than the high temperature, is the thing to be dreaded and deplored.

When the water used in cooking is drained off down the sink there is a waste of valuable substances which should be regarded as nothing short of criminal. In some of the classic experiments on these substances, pigeons which had been fed on vitamine-free foods until they were at the point of death were quickly resuscitated and made a complete recovery when the water used in boiling vegetables was administered to them.

We, therefore, pray you, boil your vegetables if you wish (though we’d prefer you to steam them), but save every drop of the water from either process. Use it as a basis for soup, for gravy, for mashing potatoes, for breadmaking – for anything you please, only use it.

American Cookery (December, 1926)

Whew – the author of the answer has a strong opinion! I’m apparently acting in a criminal manner. This answer makes me feel guilty, and I hate to admit it, but when I boil or steam vegetables, I throw the water out. Maybe I should stick with roasting vegetables.

I also am a bit alarmed by the pigeon experiments, but things were different back then. Some things have definitely changed over the years.

Old-Fashioned Cherry and Cantaloupe Fruit Cocktail

Cherry and Cantaloupe Fruit Cocktail in dish

I’m enjoying summer fruits, so when I saw a hundred-year-old recipe for Cherry and Cantaloupe Cocktail, I decided to give it a try. This recipe is actually actually a recipe for a fruit mixture, or a fruit cocktail.

Pre-prohibition fruit cocktails often contained a little alcohol, but during prohibition (and afterwards), fruit juice or sugar syrups were instead used.  In this recipe, pitted sweet cherries are mixed with cantaloupe balls, and then a mixture of orange and lemon juices is poured over it.

The Cherry and Cantaloupe (Fruit) Cocktail was tasty and refreshing. It is a lovely summer fruit salad.

Here’s the original recipe:

recipe for Cherry and Cantaloupe Cocktail
Source: Mrs. Peterson’s Simplified Cooking (1926)

My melon baller scoop has two scoops; one at each end. I used the smaller scoop to make the cantaloupe balls. To make a nice round ball, press the scoop deeply into the cantaloupe before twisting to make the ball.

The old recipe’s implied serving size seems small. In the directions, it says that the cherries and cantaloupe mixture should be served with 1 tablespoon of orange and lemon juice mixed. There is 1 cup of the juice mixture (1/2 cup orange juice + 1/2 cup lemon juice) and there are 16 tablespoons in a cup, which suggests this recipe makes 16 servings. However, 6 cups of cherries and cantaloupe divided by 16 would make each serving only a little over 1/3 cup which seems really small. I think that a serving size of 3/4 cup would be more reasonable, which suggests that 2 tablespoons of juice should be spooned over each serving.

In any case, this recipe makes a lot of servings, so when I updated it, I halved the recipe, and used 3/4 cup as the serving size.

Here’s the recipe updated for modern cooks:

Cherry and Cantaloupe Cocktail

  • Servings: 4
  • Difficulty: moderate
  • Print

1 1/2 cups sweet cherries, pitted

1 1/2 cups cantaloupe balls

1/4 cup orange juice

1/4 cup lemon juice

Step 1. Arrange the pitted cherries and cantaloupe balls to make an attractive fruit mixture in serving cups or bowls

Step. 2. Put the orange juice and lemon juice in a small bowl.

Step 3. Spoon 2 tablespoons of juice over each serving of the fruit mixture.

http://www.ahundredyearsago.com