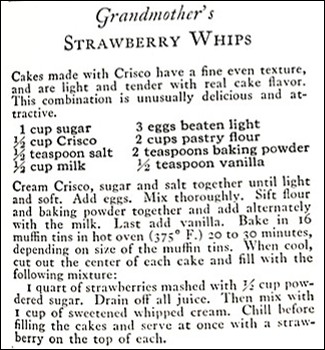
The June, 1926 issue of Good Housekeeping magazine had a Crisco shortening advertisement that contained a recipe for Grandmother’s Strawberry Whips. Apparently Strawberry Whips were considered an old-fashioned dessert a hundred years ago.
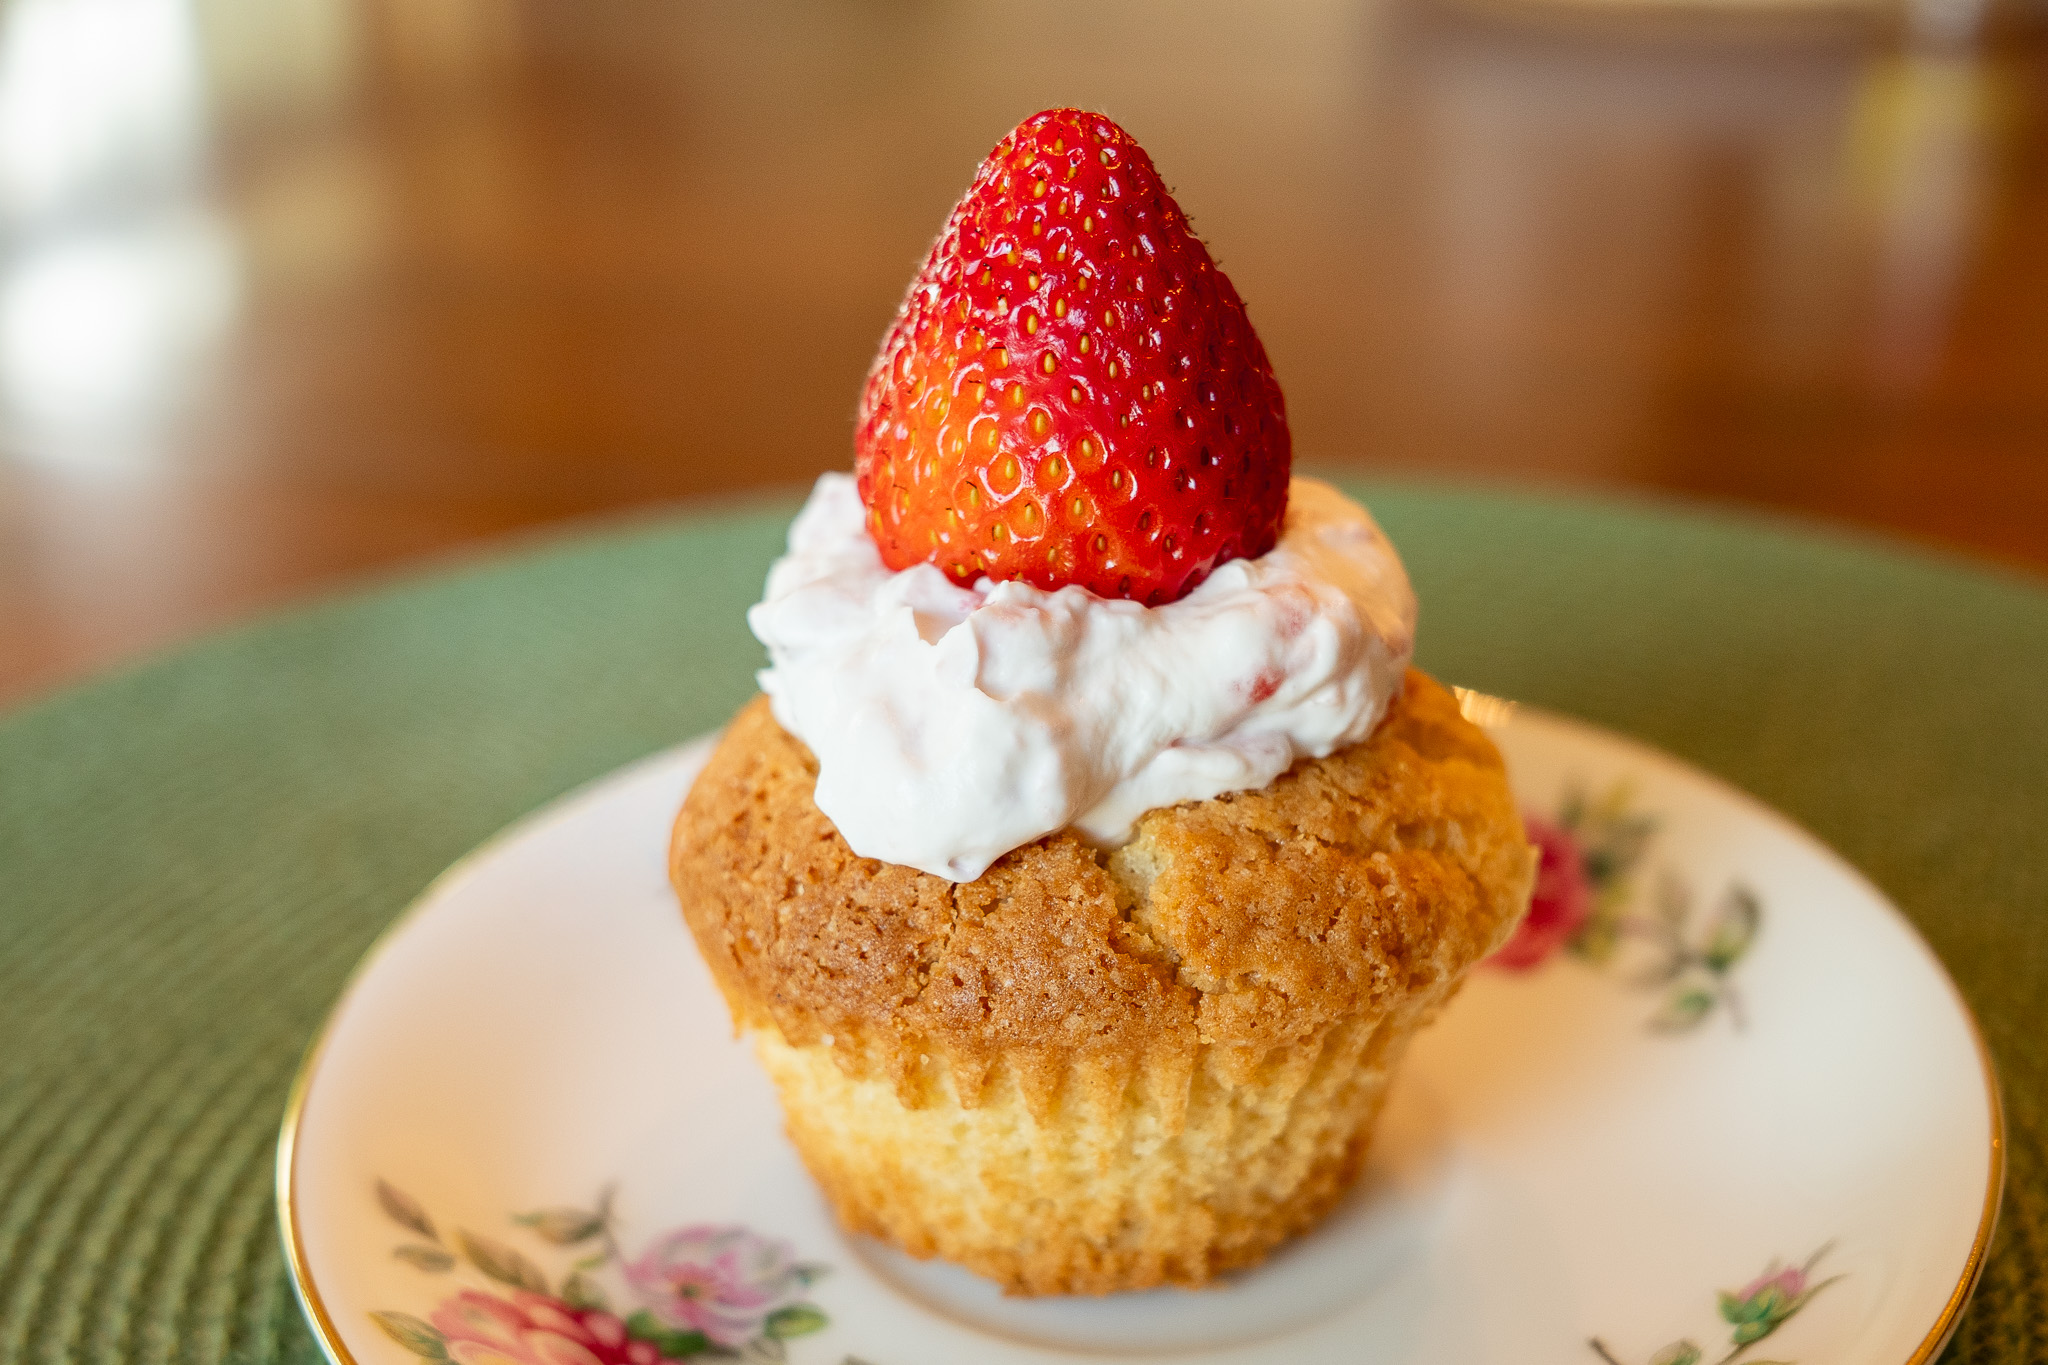
These old-fashioned Strawberry Whips are sweet muffins that are filled with a whipped cream and mashed strawberry mixture, and then topped with a whole strawberry. The muffins are a cross between shortcake and cupcakes.
This recipe differs from modern Strawberry Whip recipes. (Usually, modern recipes do not include the “s” at the end of “whip.”) Today Strawberry Whip recipes generally make a creamy whipped dessert that does not contain a muffin or cake.
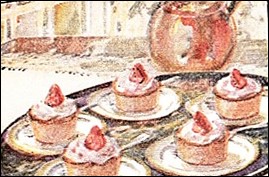
This recipe is a winner. The old-fashioned Strawberry Whips were fun to make, tasty, and made a lovely presentation.
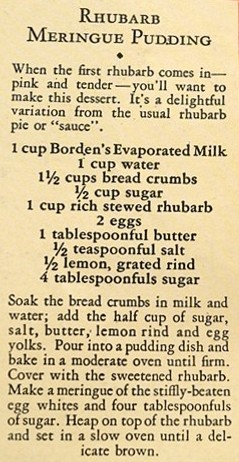
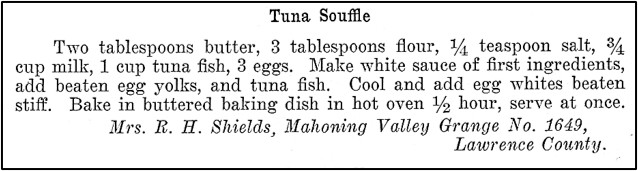
Here’s the original recipe:
The old recipes says it makes 16 muffins. I only got 12 muffins. The muffin cups the recipe author used must have been smaller than the ones in my muffin tin.
It’s often difficult to find pastry flour, so I used all-purpose flour when I made this recipe. It worked fine.
Butter can be substituted for the shortening.
I used a 1-pound box of strawberries when I made this recipe, plus a few extra strawberries to garnish the Whips.
The recipe called for 1 cup whipped cream, which does not seem like enough to fill 12 muffins, so I assumed that the recipe meant 1 cup of whipping cream (which would make 2 cups of whipped cream).
I put paper liners in the muffin cups. After baking, I removed the paper liners prior to filling the muffins.
Here’s the recipe updated for modern cooks:
Strawberry Whips
1 cup sugar
1/2 cup shortening or butter (softened)
1/2 teaspoon salt
1/2 cup milk
3 eggs, slightly beaten
2 teaspoons baking powder
2 cups all-purpose flour
1/2 teaspoon vanilla
1-pound strawberries + additional whole medium-sized strawberries to top the Strawberry Whips
1/2 cup confectioners’ sugar + 3 tablespoons confectioners’ sugar
1 cup heavy whipping cream
Step 1. Preheat oven to 375° F.
Step 2. Cream shortening or butter, sugar, and salt together until light and smooth.
Step 3. Add eggs, milk, and baking powder; mix until smooth. Then add flour; stir until combined. Add vanilla, and stir until evenly distributed.
Step 4. Put the batter in a prepared muffin tin. If desired, line the muffin cups with paper liners. (After baking, remove the paper liners prior to assembling the Strawberry Whips.) Fill each muffin cup 3/4th full.
Step 5. Bake for 25-30 minutes or until a wooden pick comes out clean. Remove from oven, and allow the muffins to cool.
Step 6. In the meantime, coarsely chop most of the 1-pound of strawberries. (A few medium ones can be reserved for topping the Strawberry Whips. Additional medium strawberries will be needed to get enough strawberries to garnish all the muffins.) Put the chopped strawberries in a bowl and stir in 1/2 cup confectioners’ sugar. Allow to sit for 15-30 minutes, so that the juice is drawn out of the strawberries, then slightly mash using a fork. Then, drain the strawberries using a strainer.
Step 7. Also, in the meantime, put the heavy cream in a bowl, and beat until stiff peaks form; then sprinkle the 3 tablespoons confectioners’ sugar on top of the whipped cream and beat a little more to combine the sugar with the whipped cream.
Step 8. To serve, remove the center of the muffins by cutting about 1/2-inch from the edge of each muffin. (Cut about 1/2-inch deep.) Remove the top, then scoop the center out of the muffins. Use care when removing the center, so that the muffin’s shell is not torn.
Step 9. Stir the drained strawberries into the whipped cream.
Step 10. Fill the hollowed-out muffins with the strawberry whipped cream mixture. Heap it up a little so that it nicely tops the muffins. Remove stem and leaves from the medium-sized strawberries, and then press them upside down in the strawberry whipped cream.
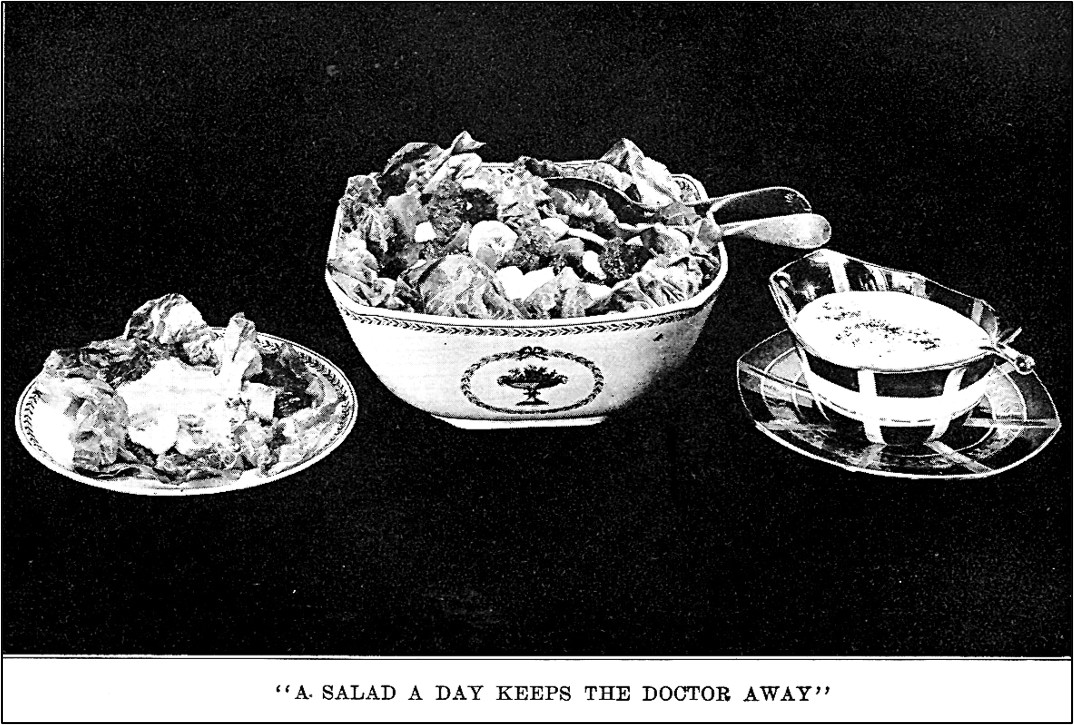
 People often ask me which hundred-year-old recipes are my personal favorites. Well, one of my favorites is

 Here’s the recipe updated for modern cooks: