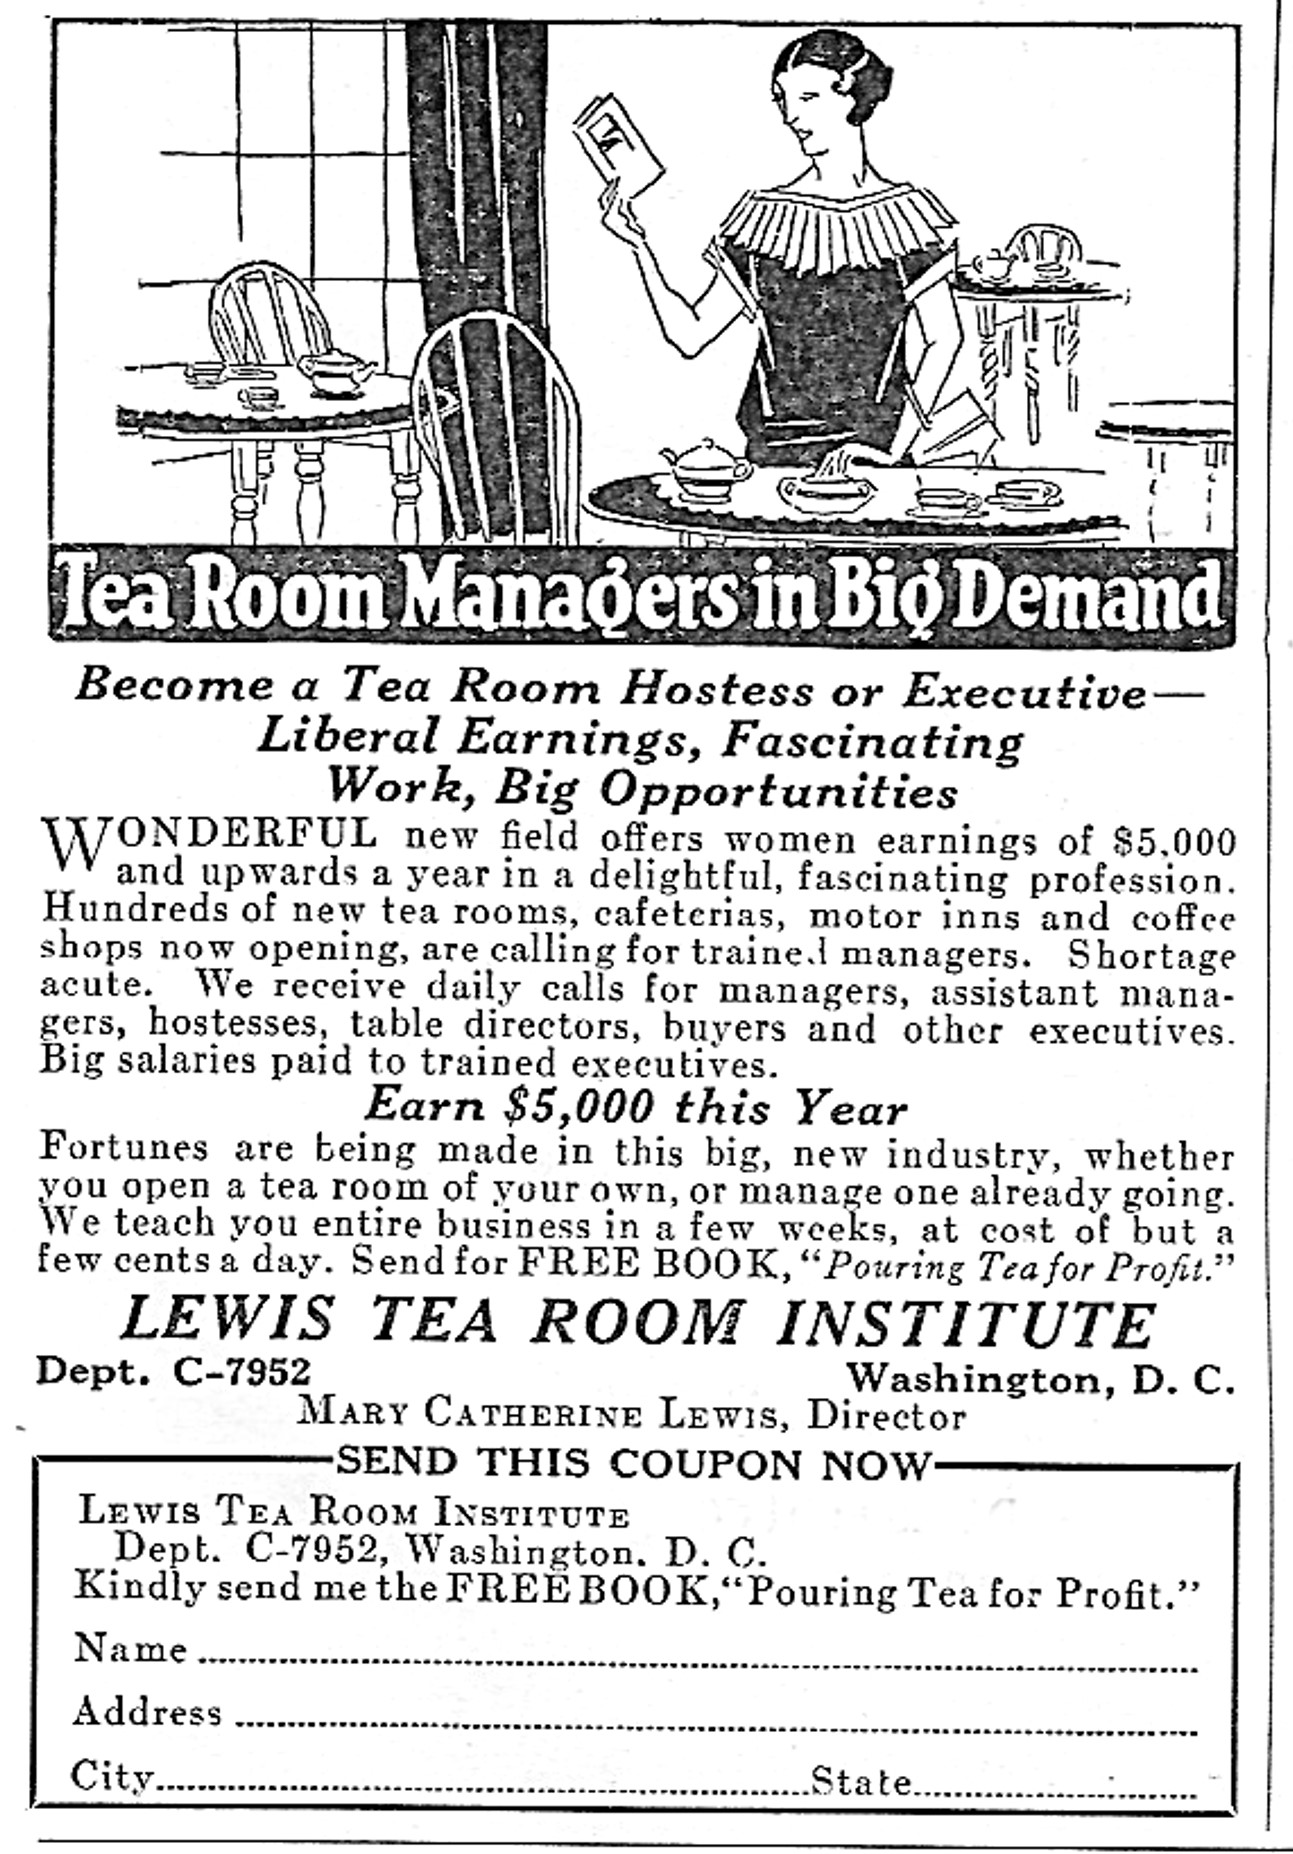
Careers for women were very limited a hundred years ago. One option was to become a tea room manager, and the Lewis Tea Room Institute was ready to teach women how to become one.

Careers for women were very limited a hundred years ago. One option was to become a tea room manager, and the Lewis Tea Room Institute was ready to teach women how to become one.
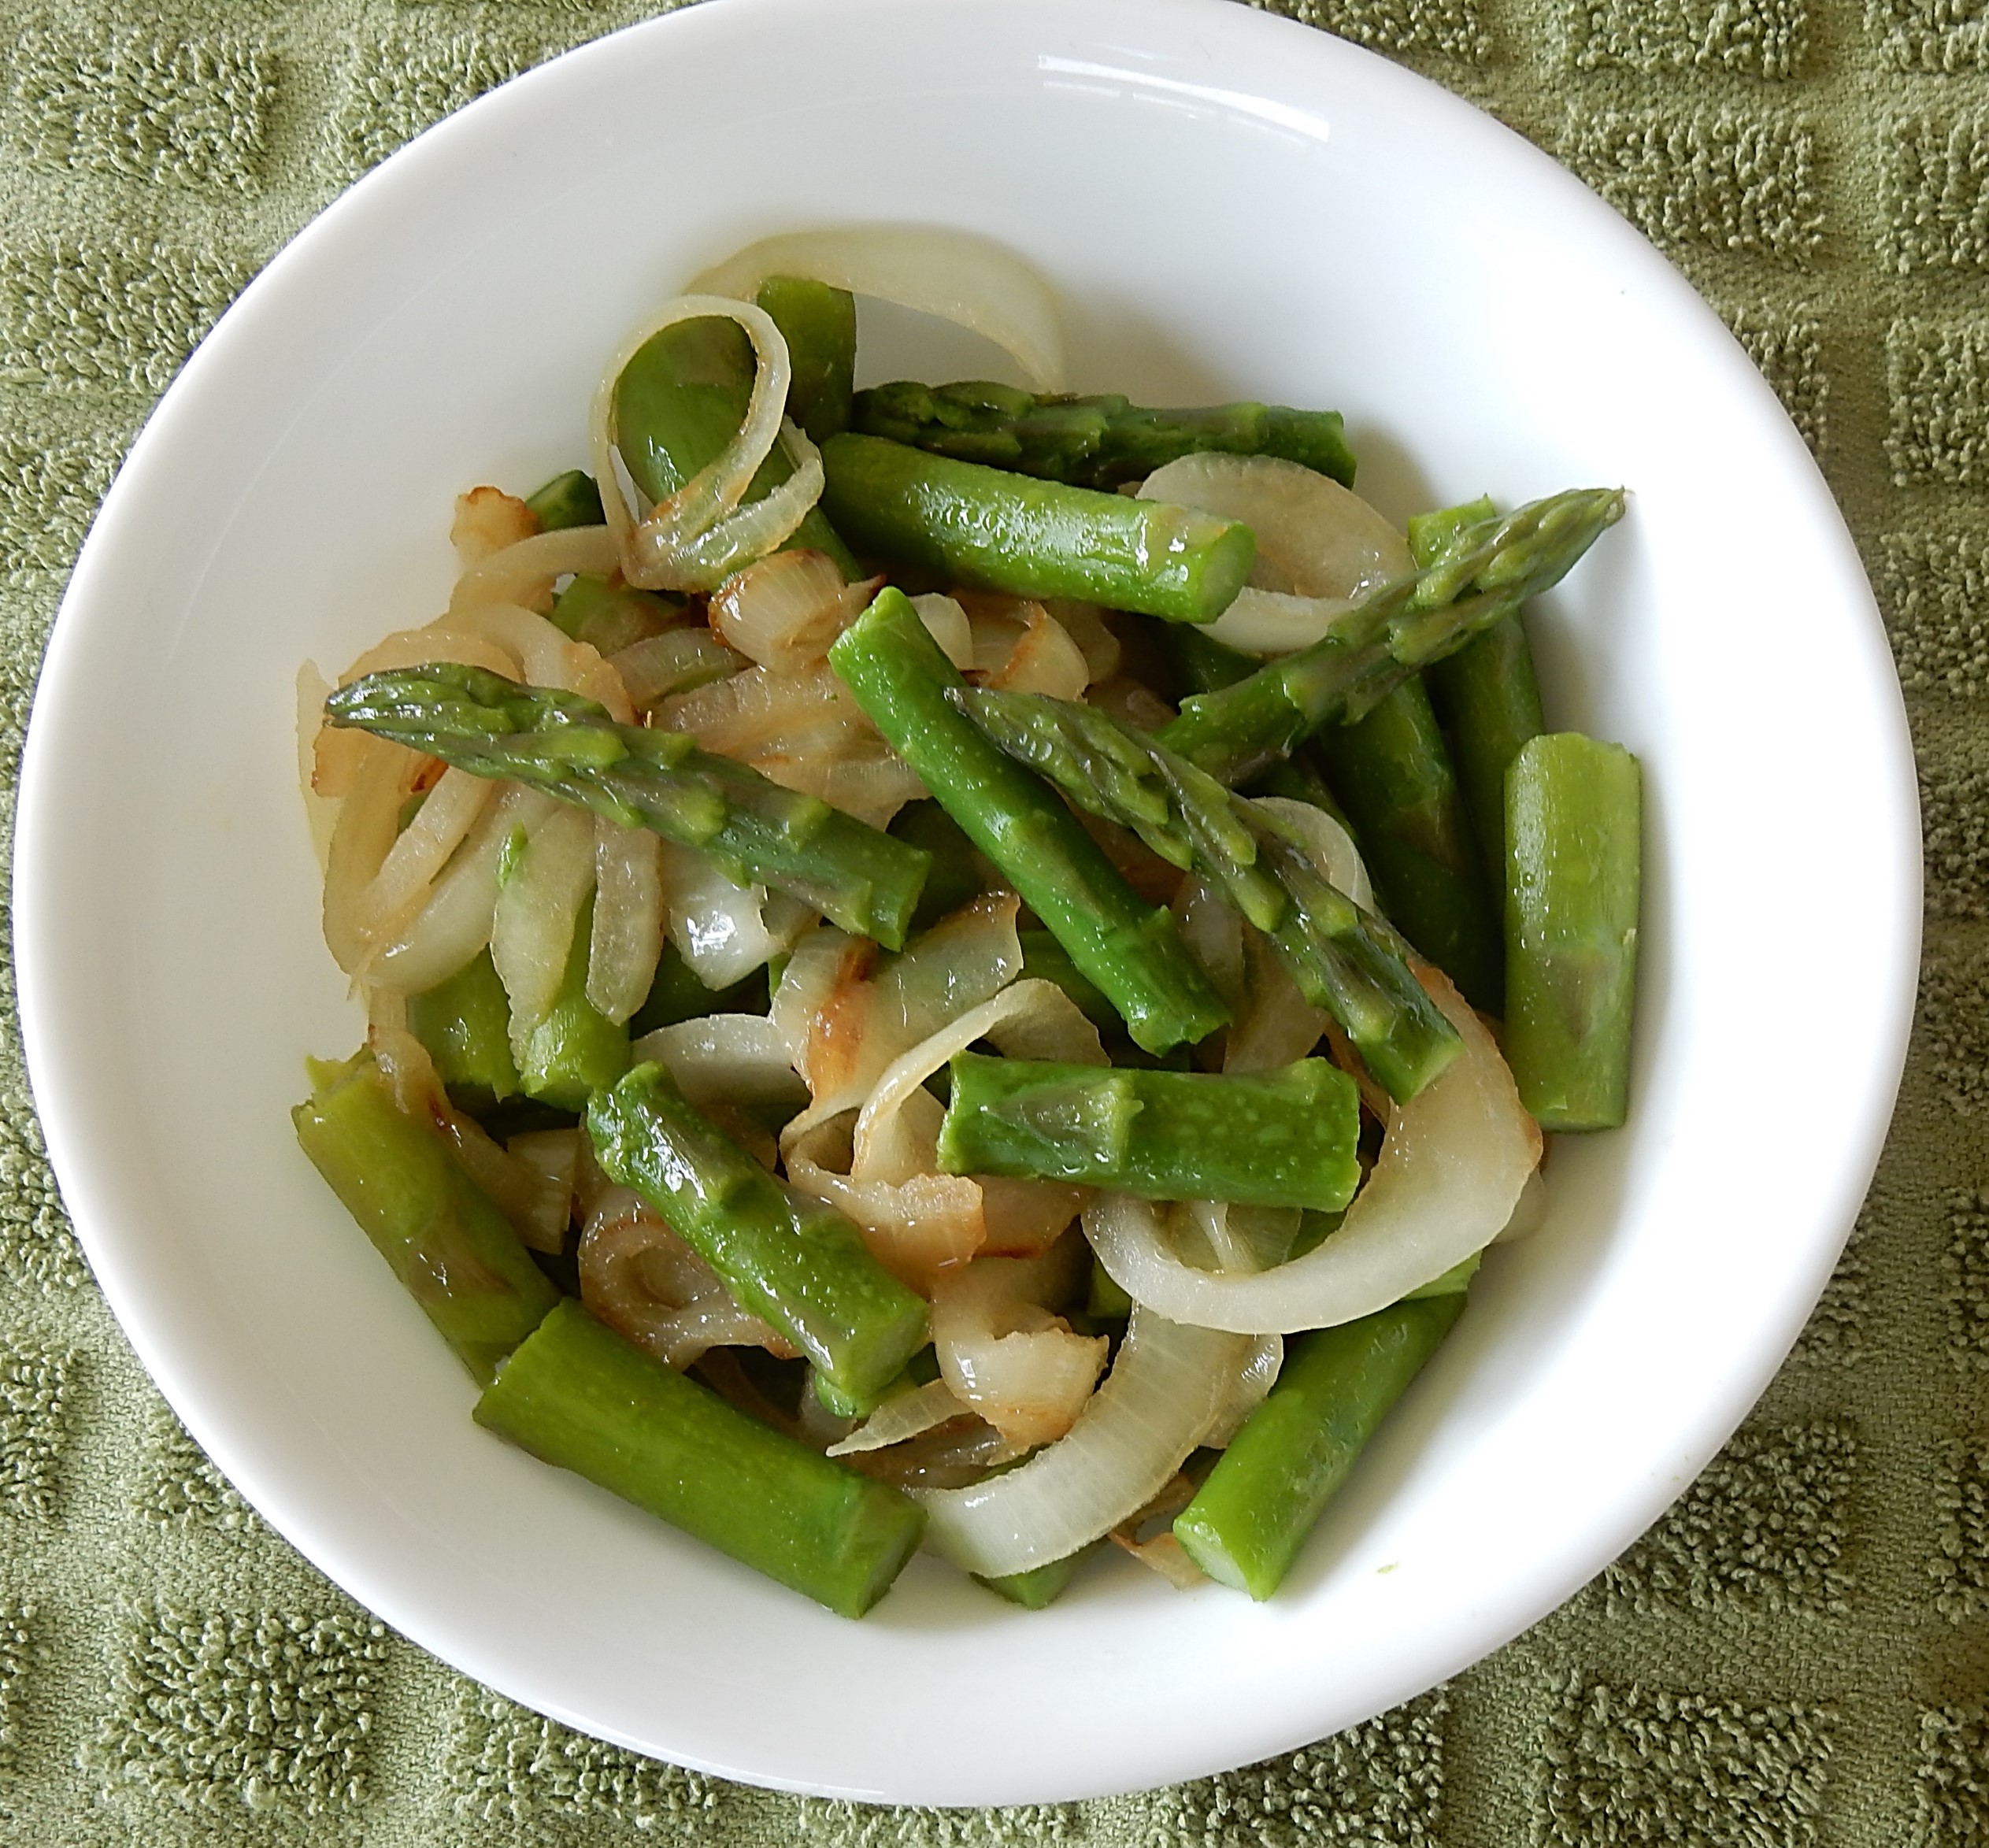 Some recipes in old cookbooks have the strangest titles. For example, I recently came across a hundred-year-old recipe for Tasty Asparagus. In one way the title was very descriptive – it clearly says that the asparagus is tasty. However, in another way, the description is very inadequate. How is the asparagus prepared? What are the main ingredients? I tend to skip over recipes with titles like this, but was intrigued when I saw that this was a recipe for asparagus and onions, and decided to give it a try.
I agree with the recipe author. Tasty Asparagus is tasty. Asparagus and onions make a really nice combination. And, it was quick and easy to make. This recipe is a keeper.
Here’s the original recipe:
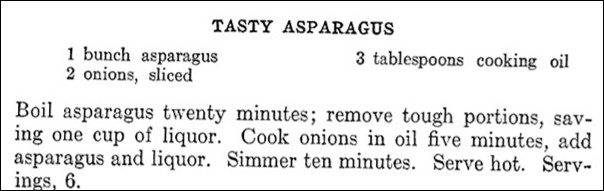
By today’s standards, cooking asparagus for half an hour is excessive, so when I updated the recipe I reduced the cooking time substantively. For the cooking oil, I used olive oil. I’m not sure why the old recipe calls for adding the water used to cook the asparagus to the asparagus and onion mixture. I drained some of the excess liquid off before serving.
Here’s the recipe updated for modern cooks:
1 bunch asparagus
2 medium onions, sliced
3 tablespoons olive oil
Trim off the woody ends of the asparagus, and then cut into 1-inch pieces. Put in saucepan, and add about an inch of water. Bring to a boil using high heat, then reduce heat and simmer for 4 minutes. Remove from heat. Drain, but save 1 cup of the water used to cook the asparagus.
In the meantime, put the olive oil in a skillet. Heat oil using medium heat, then add the sliced onions. Cook until the onions are transparent, then add the cooked asparagus pieces and 1-cup of the water in which the asparagus was cooked. Bring to a boil using medium heat, then reduce heat and simmer for 3 minutes. Remove from heat and serve.

The household hints section of a hundred-year-old cookbook had the following suggestions for getting more juice from a lemon:
A lemon will yield nearly double the quantity of juice otherwise obtainable if it is heated thoroughly before squeezing.
Lemons held in hot water yield more juice than otherwise.
The New Home Cook Book, 1924 Edition (Published by the Illinois State Register, Springfield, IL)
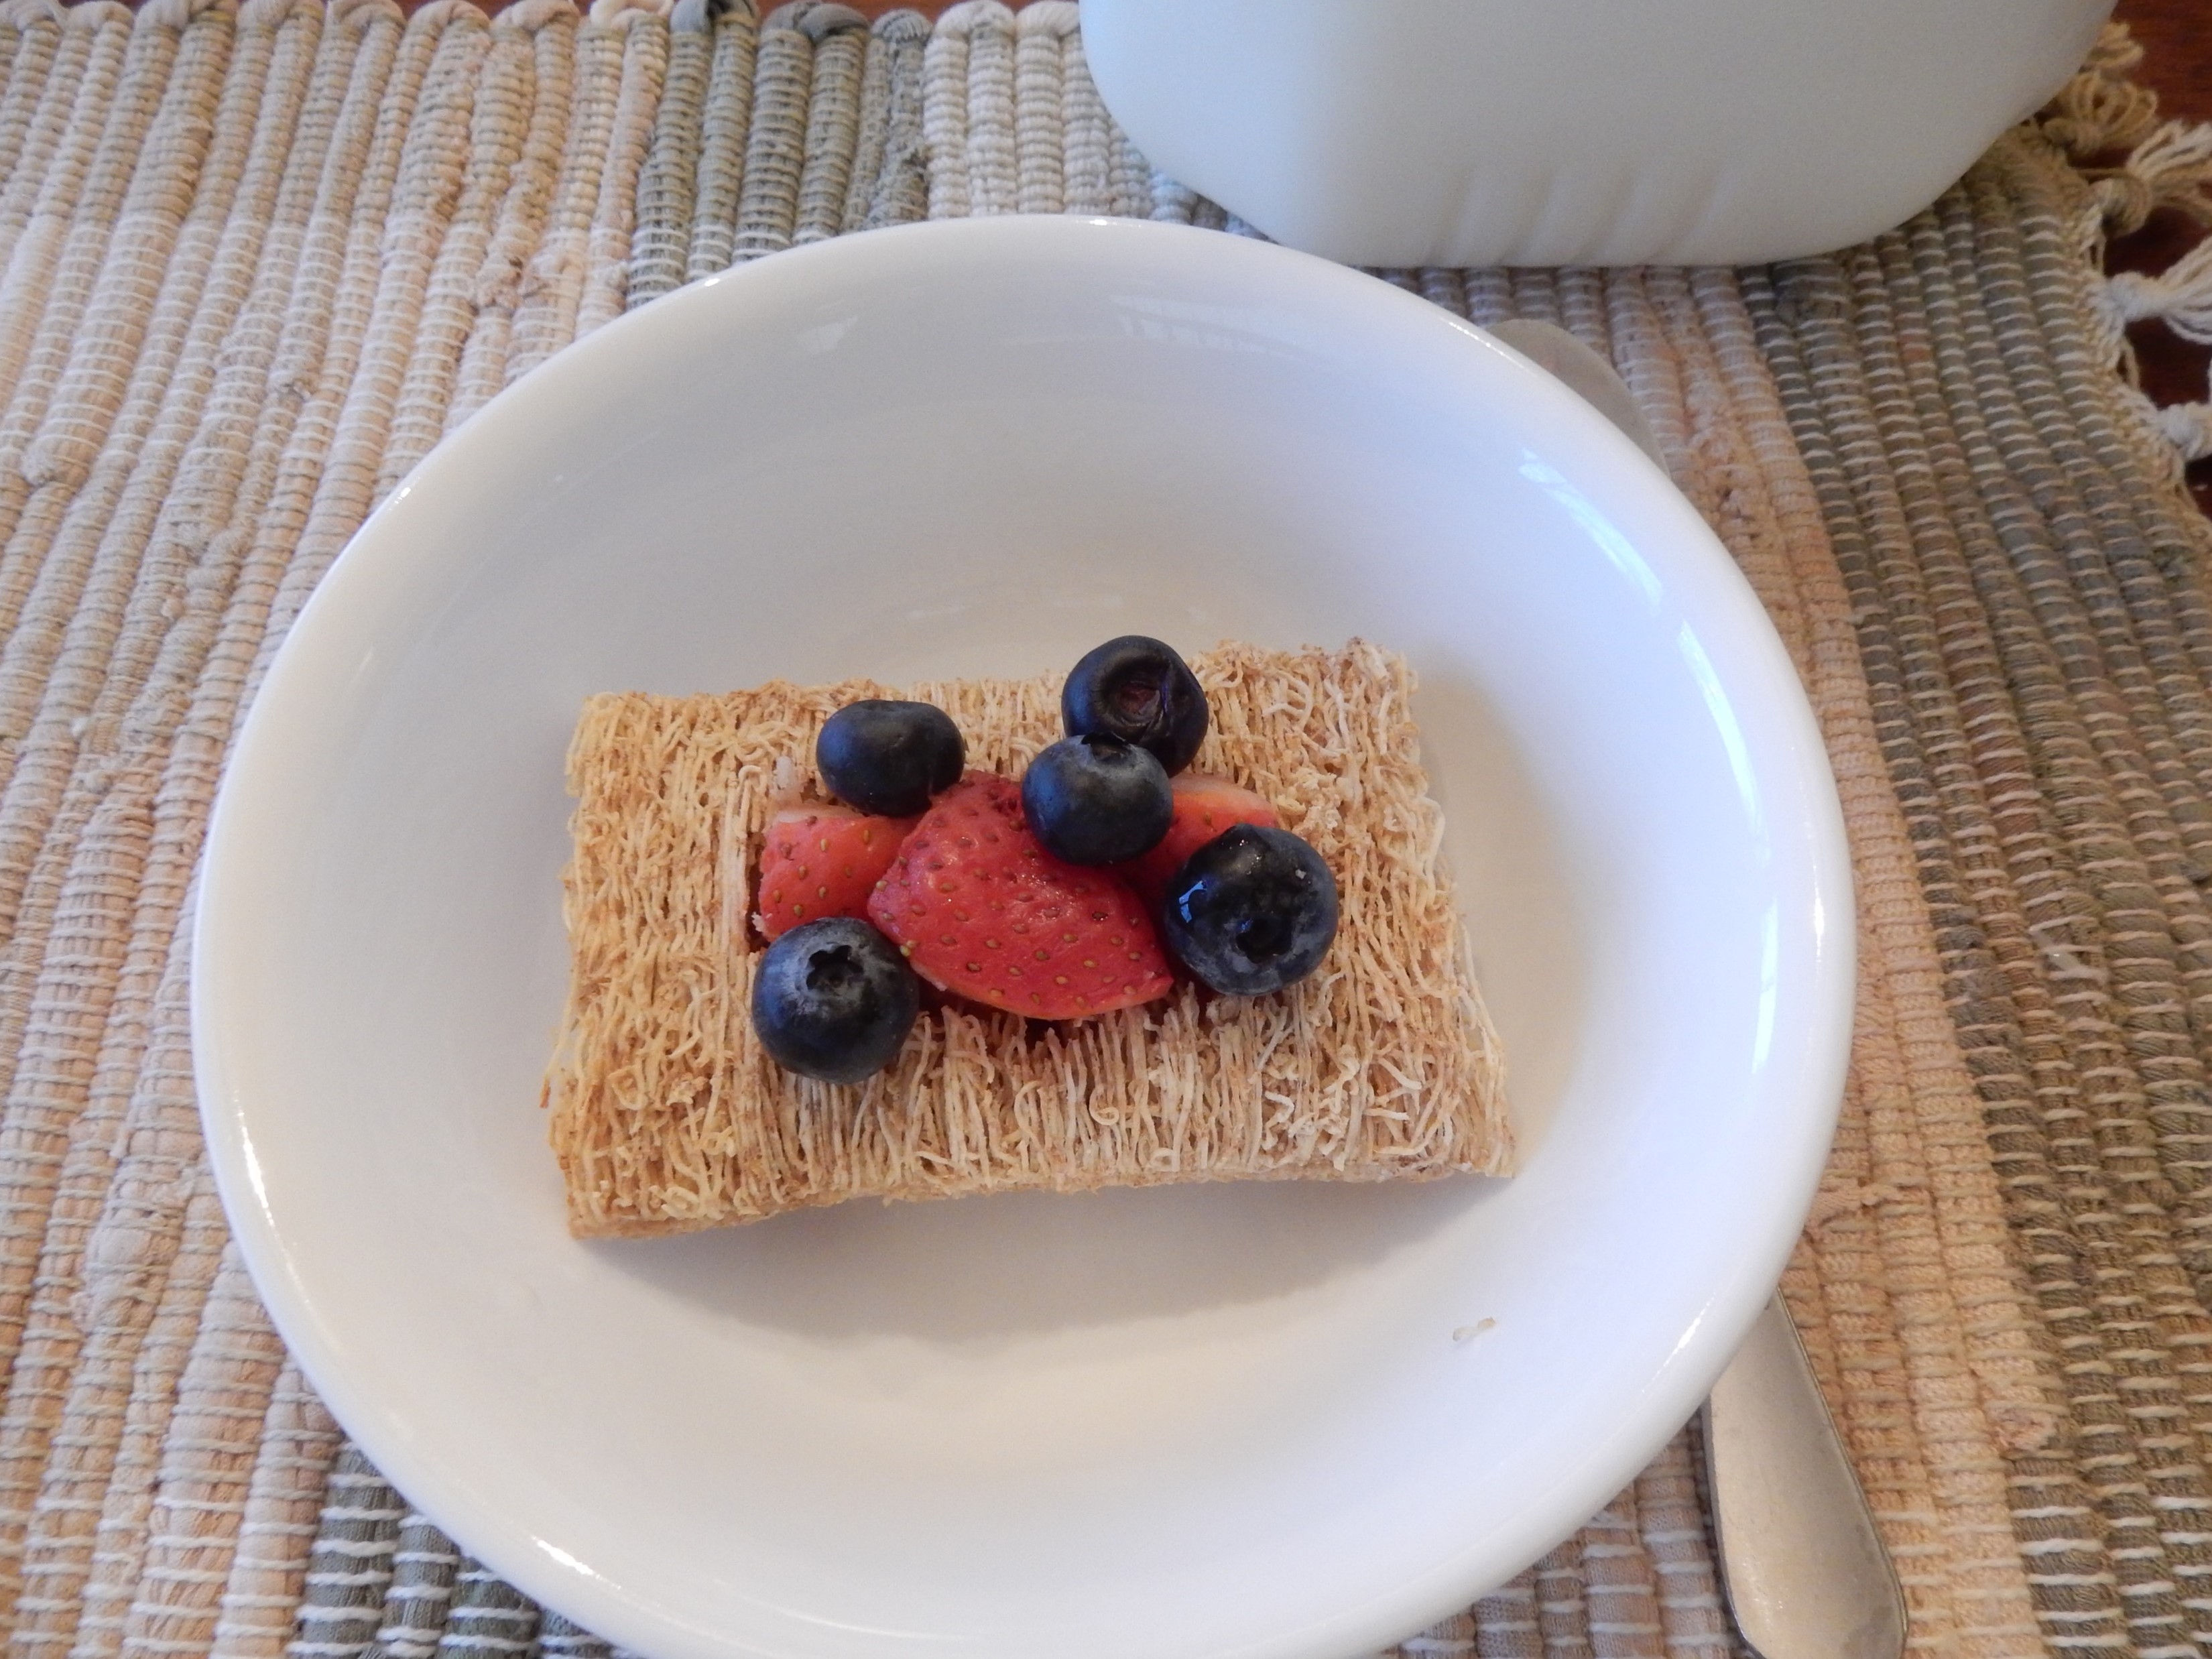
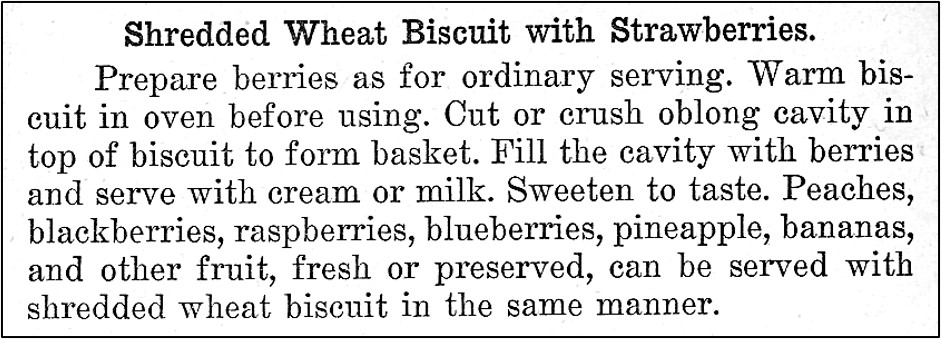
I enjoy shredded wheat, but it always seems like a basic breakfast food, so I was surprised to see a recipe in a hundred-year-old cookbook for Shredded Wheat Biscuit with Strawberries (and an option for making it using other berries or fruits). A hole is made in the top of the biscuit to create a basket, which is then filled with the berries.
Here’s the original recipe:
Since the old recipe gave the option of using a variety of different berries or other fruit, when I made this recipe I decided to use a mixture of strawberries and blueberries. When I updated the recipe I changed the name of it from Shredded Wheat Biscuit with Strawberries to Shredded Wheat Biscuit with Berries since it better describes some of the options.
The shredded wheat was lovely with berries.
I didn’t warm the shredded wheat biscuit in the oven. There didn’t seem to be a need. Perhaps the biscuits were more likely to be stale a hundred years ago, and heating in the oven may have made them crispier.
Here’s the recipe updated for modern cooks:
1 shredded wheat biscuit
strawberries (quarter if large), blueberries, raspberries, blackberries, etc.
sugar, if desired
milk or cream
Cut or crush an oblong hole in the shredded wheat biscuit to create a basket. Fill the hole with berries or other fruit. Serve with milk or cream, and sugar (if desired).
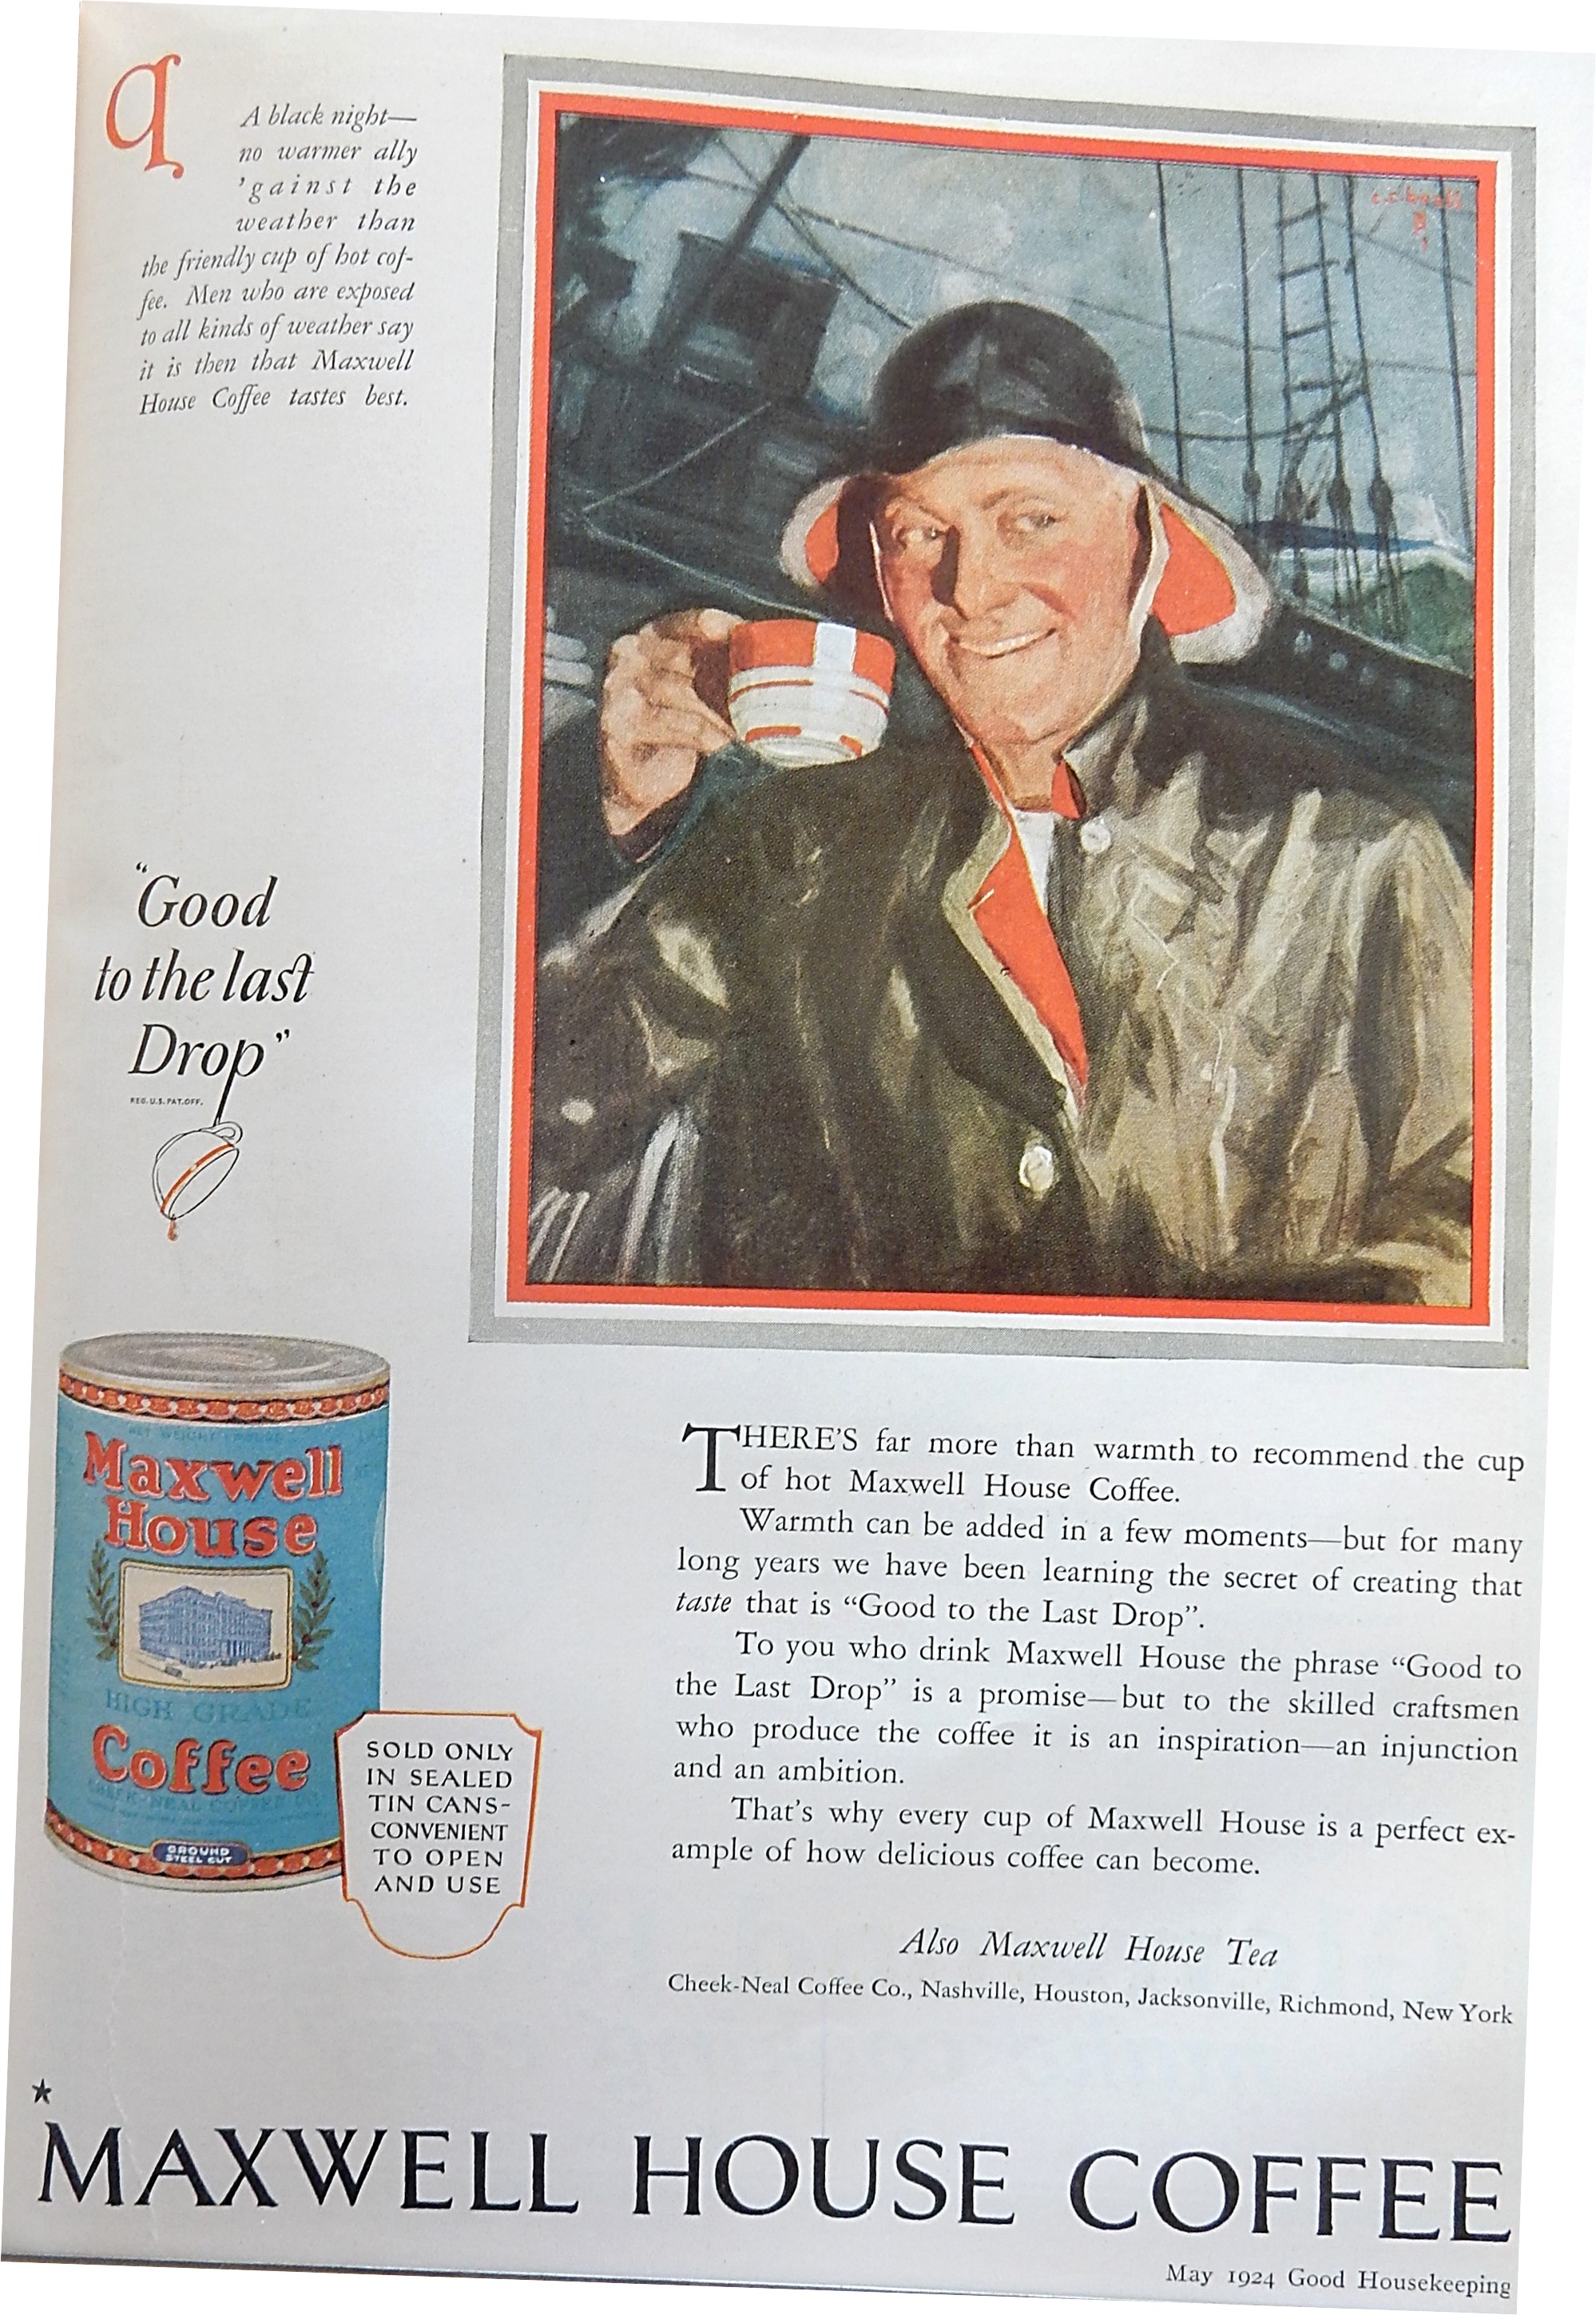
Most companies are constantly changing advertising campaigns and taglines. Maxwell House Coffee is the exception. It has used the slogan “good to the last drop” for at least a hundred years.
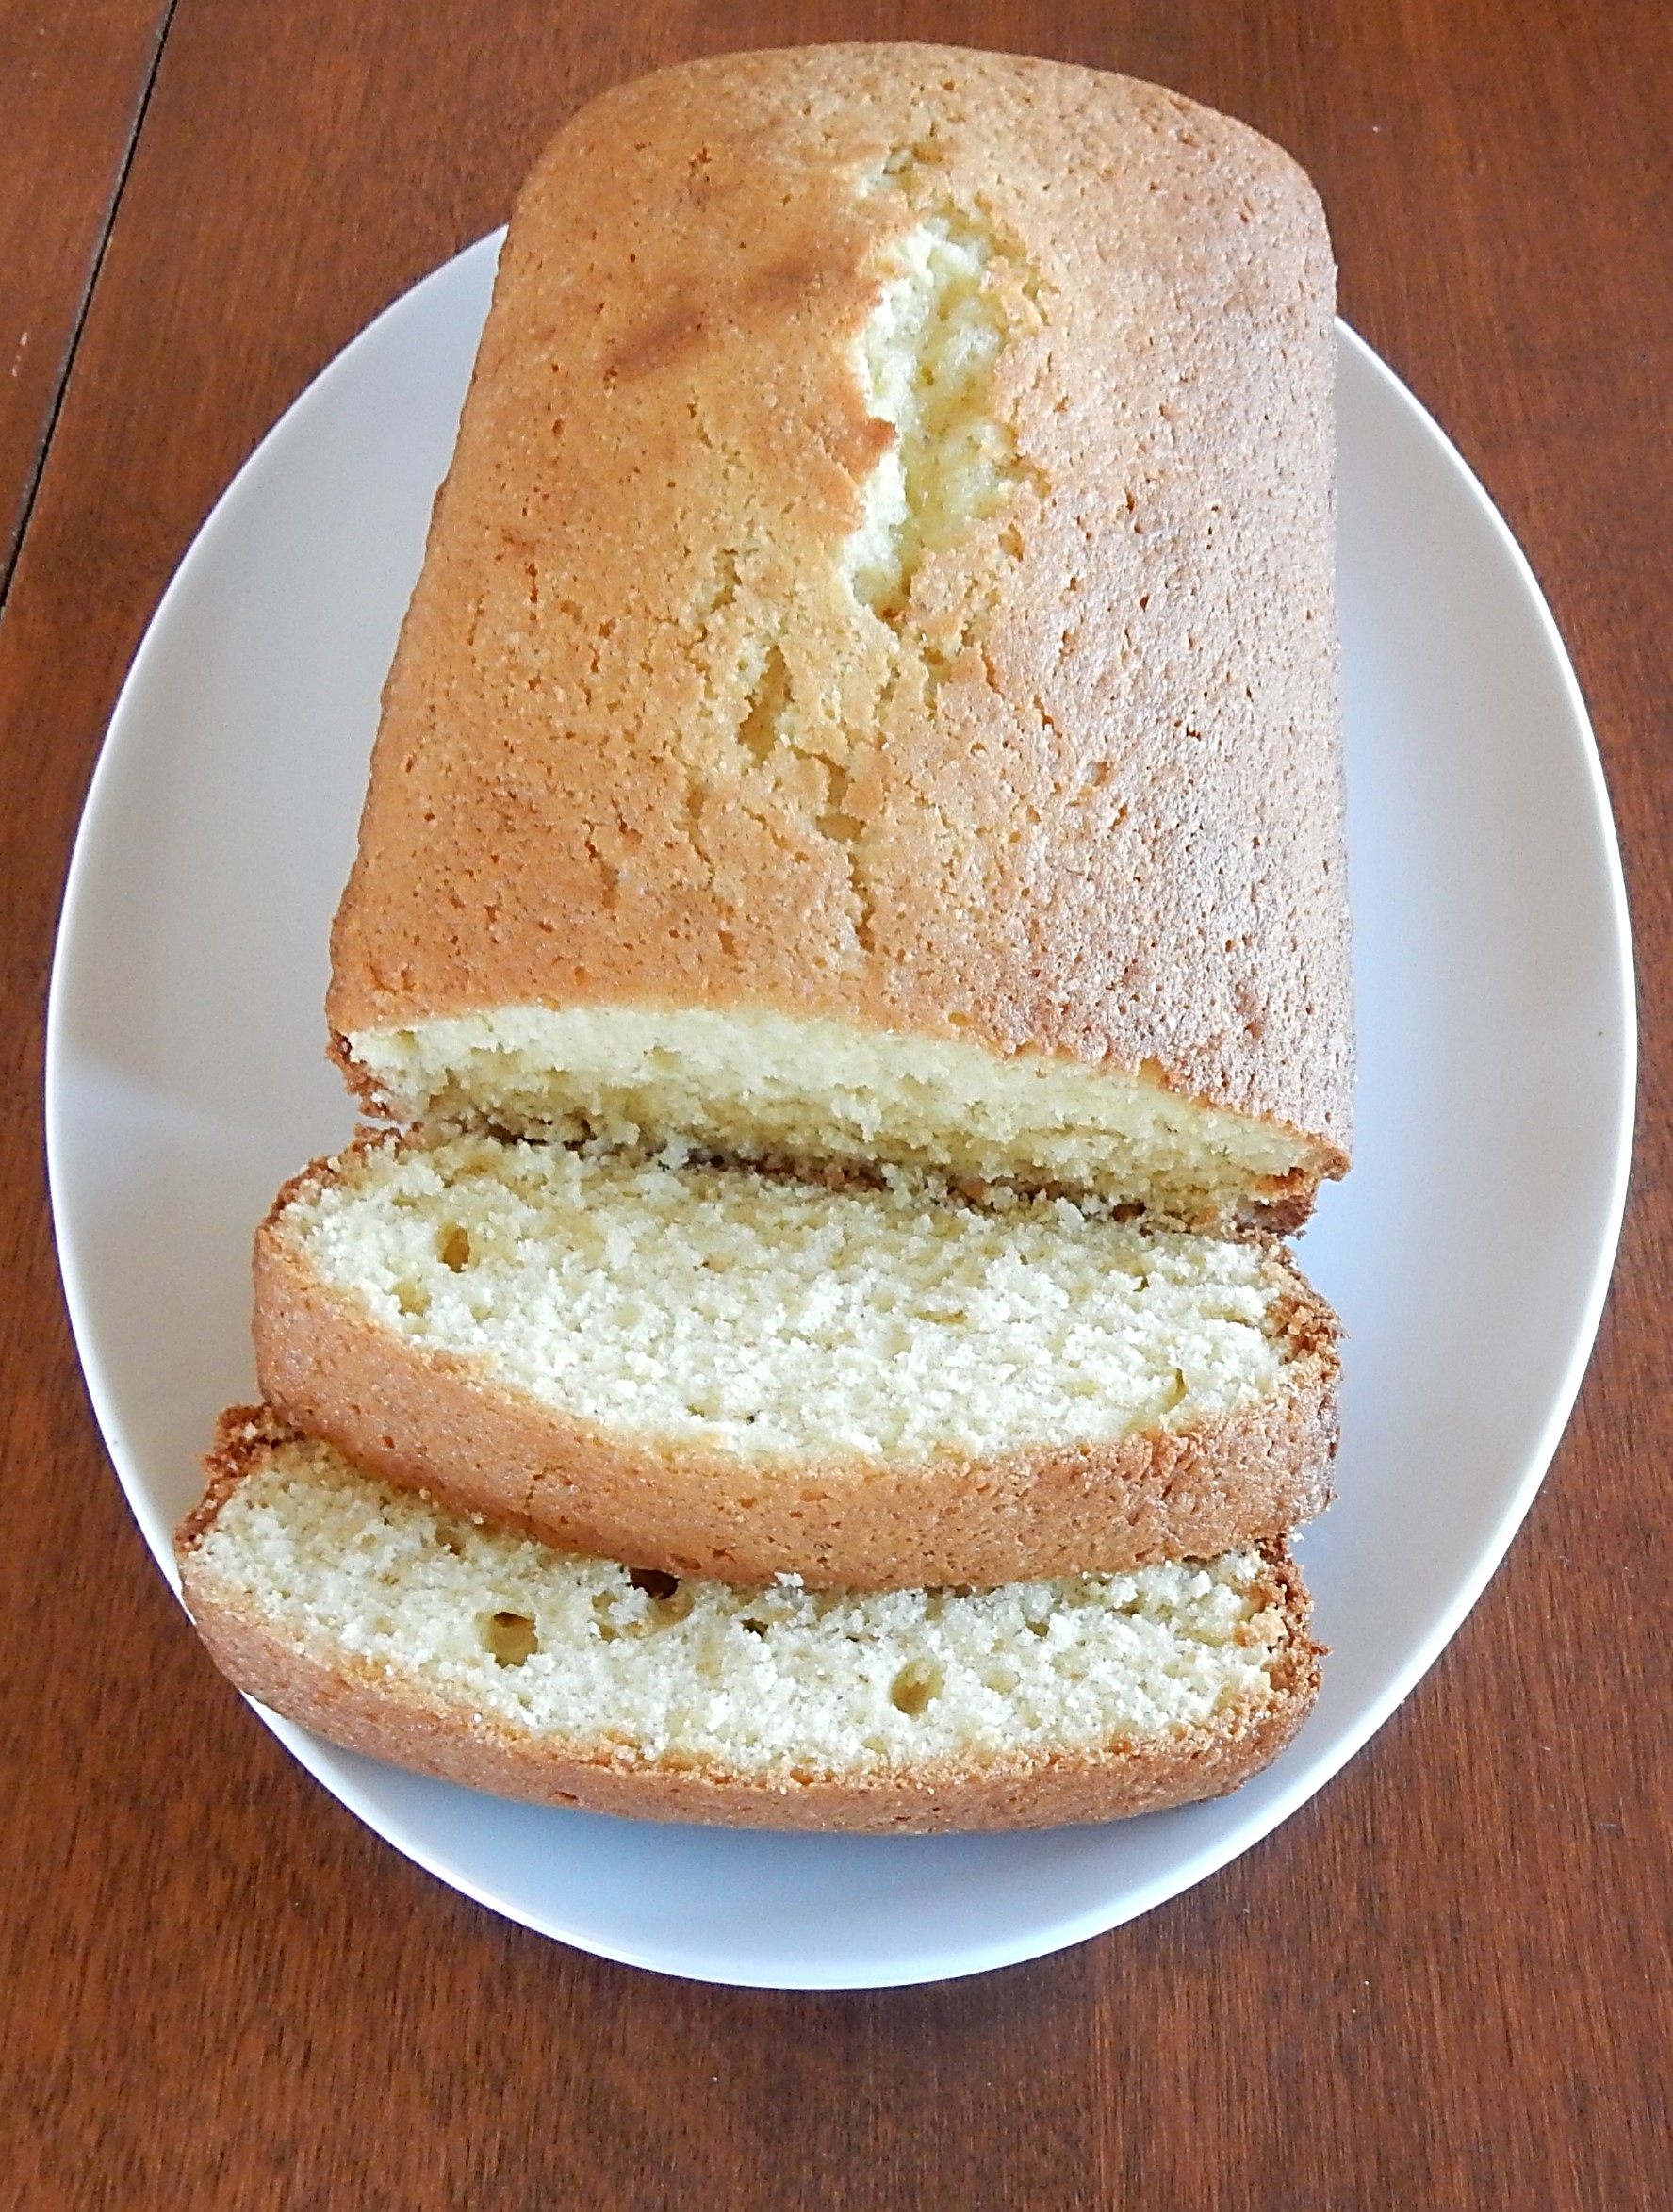
I got a request for a “healthy cake” that was low fat and low sodium, so looked through my hundred-year-old cookbooks and magazines for something that might work. I found a recipe for Orange Loaf Cake that I think fits the bill.
The recipe only calls for 1/3 cup of butter, and just 1/2 teaspoon of baking soda and no salt. So this loaf cake is both low fat and low sodium. The cake was very easy to make, had a nice texture, and a delightful sunny, orange flavor.
Here’s the original recipe:

Here’s the recipe updated for modern cooks:
1/3 cup butter, softened
1 cup sugar
2 eggs
1 3/4 cups flour
1/2 teaspoon baking soda
1/2 cup orange juice
1 tablespoon lemon juice
grated rind of 1 orange
Preheat oven to 375° F. Grease and flour a loaf pan. Put butter and sugar in a mixing bowl; beat until combined. Then beat in the eggs. Add the flour, baking soda, orange juice, and lemon juice; beat until combined. Stir in the grated orange rind. Pour into prepared pan.
Bake 35 to 40 minutes, or until wooden pick inserted in center comes out clean.
It always is complicated to travel with a baby. Here’s some tips that were in a 1924 magazine.
Planning for Baby’s Vacation: Hints for the Journey
The following are good rules for the baby’s vacation, as indeed they are for the proper conduct of his life no matter where he may be:
- Keep the baby quiet, clean and contented.
- See that his feeding comes at regular hours.
- Have his naps come at the same time and last for the same duration each day.
- See that his milk supply is pure and safe. Keep the milk clean, covered and cold. It should never be allowed to be warmer than fifty degrees Fahrenheit, until it is finally heated for use.
- Dress the baby lightly and in the simplest possible clothing.
- Protect the baby from flies, mosquitoes and other insects.
- Do not let anyone outside of the family handle the baby.
- Keep the baby out-of-doors as much as possible. Let him learn to sleep out-of-doors if it can be arranged.
- Remember that no matter where you may take your baby his health and comfort will depend upon what you do for him rather than upon the way in which he travels or the kind of place in which you spend your holiday.
- While you are traveling have everything that you will need for the baby easily accessible and where you can get at it at a moment’s notice.
- And finally remember that, generally speaking, babies do not need vacations, but if it seems necessary or wise to take them on one there need be no fear of any bad consequences as long as the simple methods of baby care are followed.
Ladies Home Journal (May, 1924)
