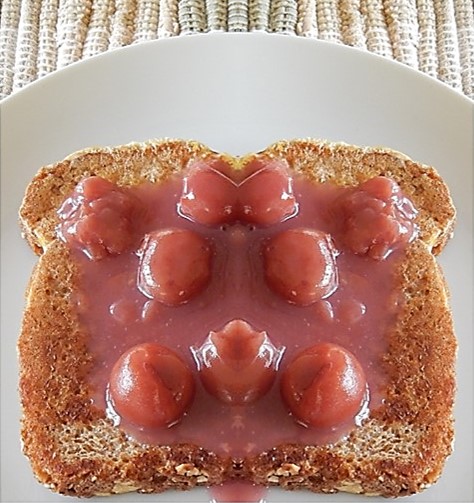
I’m always looking for interesting breakfast foods, so was intrigued by a hundred-year-old recipe for Cherry Toast. This is basically is French Toast topped with a cherry sauce. The recipe turned out well – though the sauce seemed different from modern French Toast toppings. The sauce soaks into the toast for old-fashioned goodness and texture.
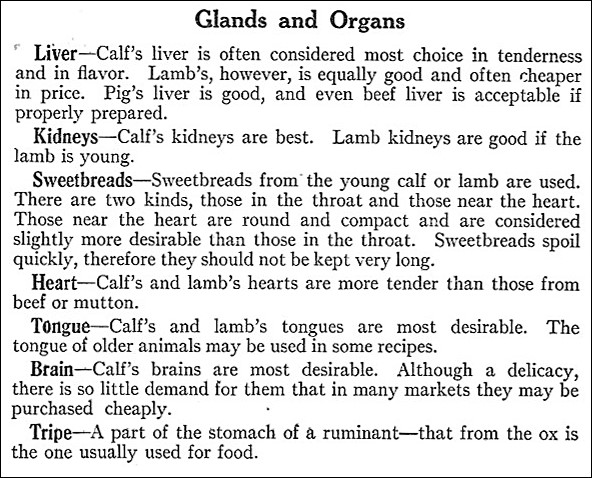
Here’s the original recipe:

Something is off with the number of slices of bread in this recipe. It calls for 16 slices of bread, but 1 egg plus 1/2 cup of milk is not nearly enough liquid to dip that many slices of bread into. When I made this recipe, it was enough liquid for 4 slices of bread. The recipe as written makes an appropriate amount of sauce for 4 slices.
I decided to use tart canned cherries (like the ones I use to make a pie) rather than sweet ones. The can I bought contained cherries canned in water, so I added 1/4 cup sugar to the sauce to make it a little sweeter.
When I made the sauce, I approached the process similarly to how I make white sauce, which is a slightly different process than described in the original recipe. I melted the butter in a saucepan, then stirred in the flour. I gradually added the cherry juice while stirring constantly, then stirred in the cherries.
Here’s the recipe updated for modern cooks:
Cherry Toast
1 egg
1/2 cup milk
4 slices bread
1 can (approximately 14.5 ounce) tart cherries including both cherries and juice
1 tablespoon butter
2 tablespoons flour
approximately 1/4 cup sugar (optional)
Beat the egg, then add the milk; beat until mixed together. Dip the slices of bread in the egg and milk mixture, then brown both sides on a hot griddle.
In the meantime, melt the butter in a saucepan. Stir in the flour, then gradually add the cherry juice while stirring constantly. Stir in the cherries. Continue heating and stirring until the mixture boils. If the cherries were canned in water (rather than a sugar syrup), add sugar to taste. Remove from heat.
To serve, spoon the cherry sauce over the browned bread slices.