Christmas has come and gone. As the holidays wind down, I’ve been reflecting on the various tasks required to prepare for Christmas, and the differences between 1924 and today. Some tasks that were necessary years ago may not be required today. A hundred years ago silverware needed to be polished in preparation for the big meal. Some hostesses used Magic Bright to remove tarnish. I shifted to using stainless steel years ago, and can’t remember the last time I polished silver.
I’m a little confused about exactly what Magic Bright was. It says that it was used to polish silver, but also notes that it cleans “without polish.” I think that Magic Bright was mixed with water and then flatware was dipped into it to remove tarnish rather than the more traditional way of rubbing polish on the flatware.
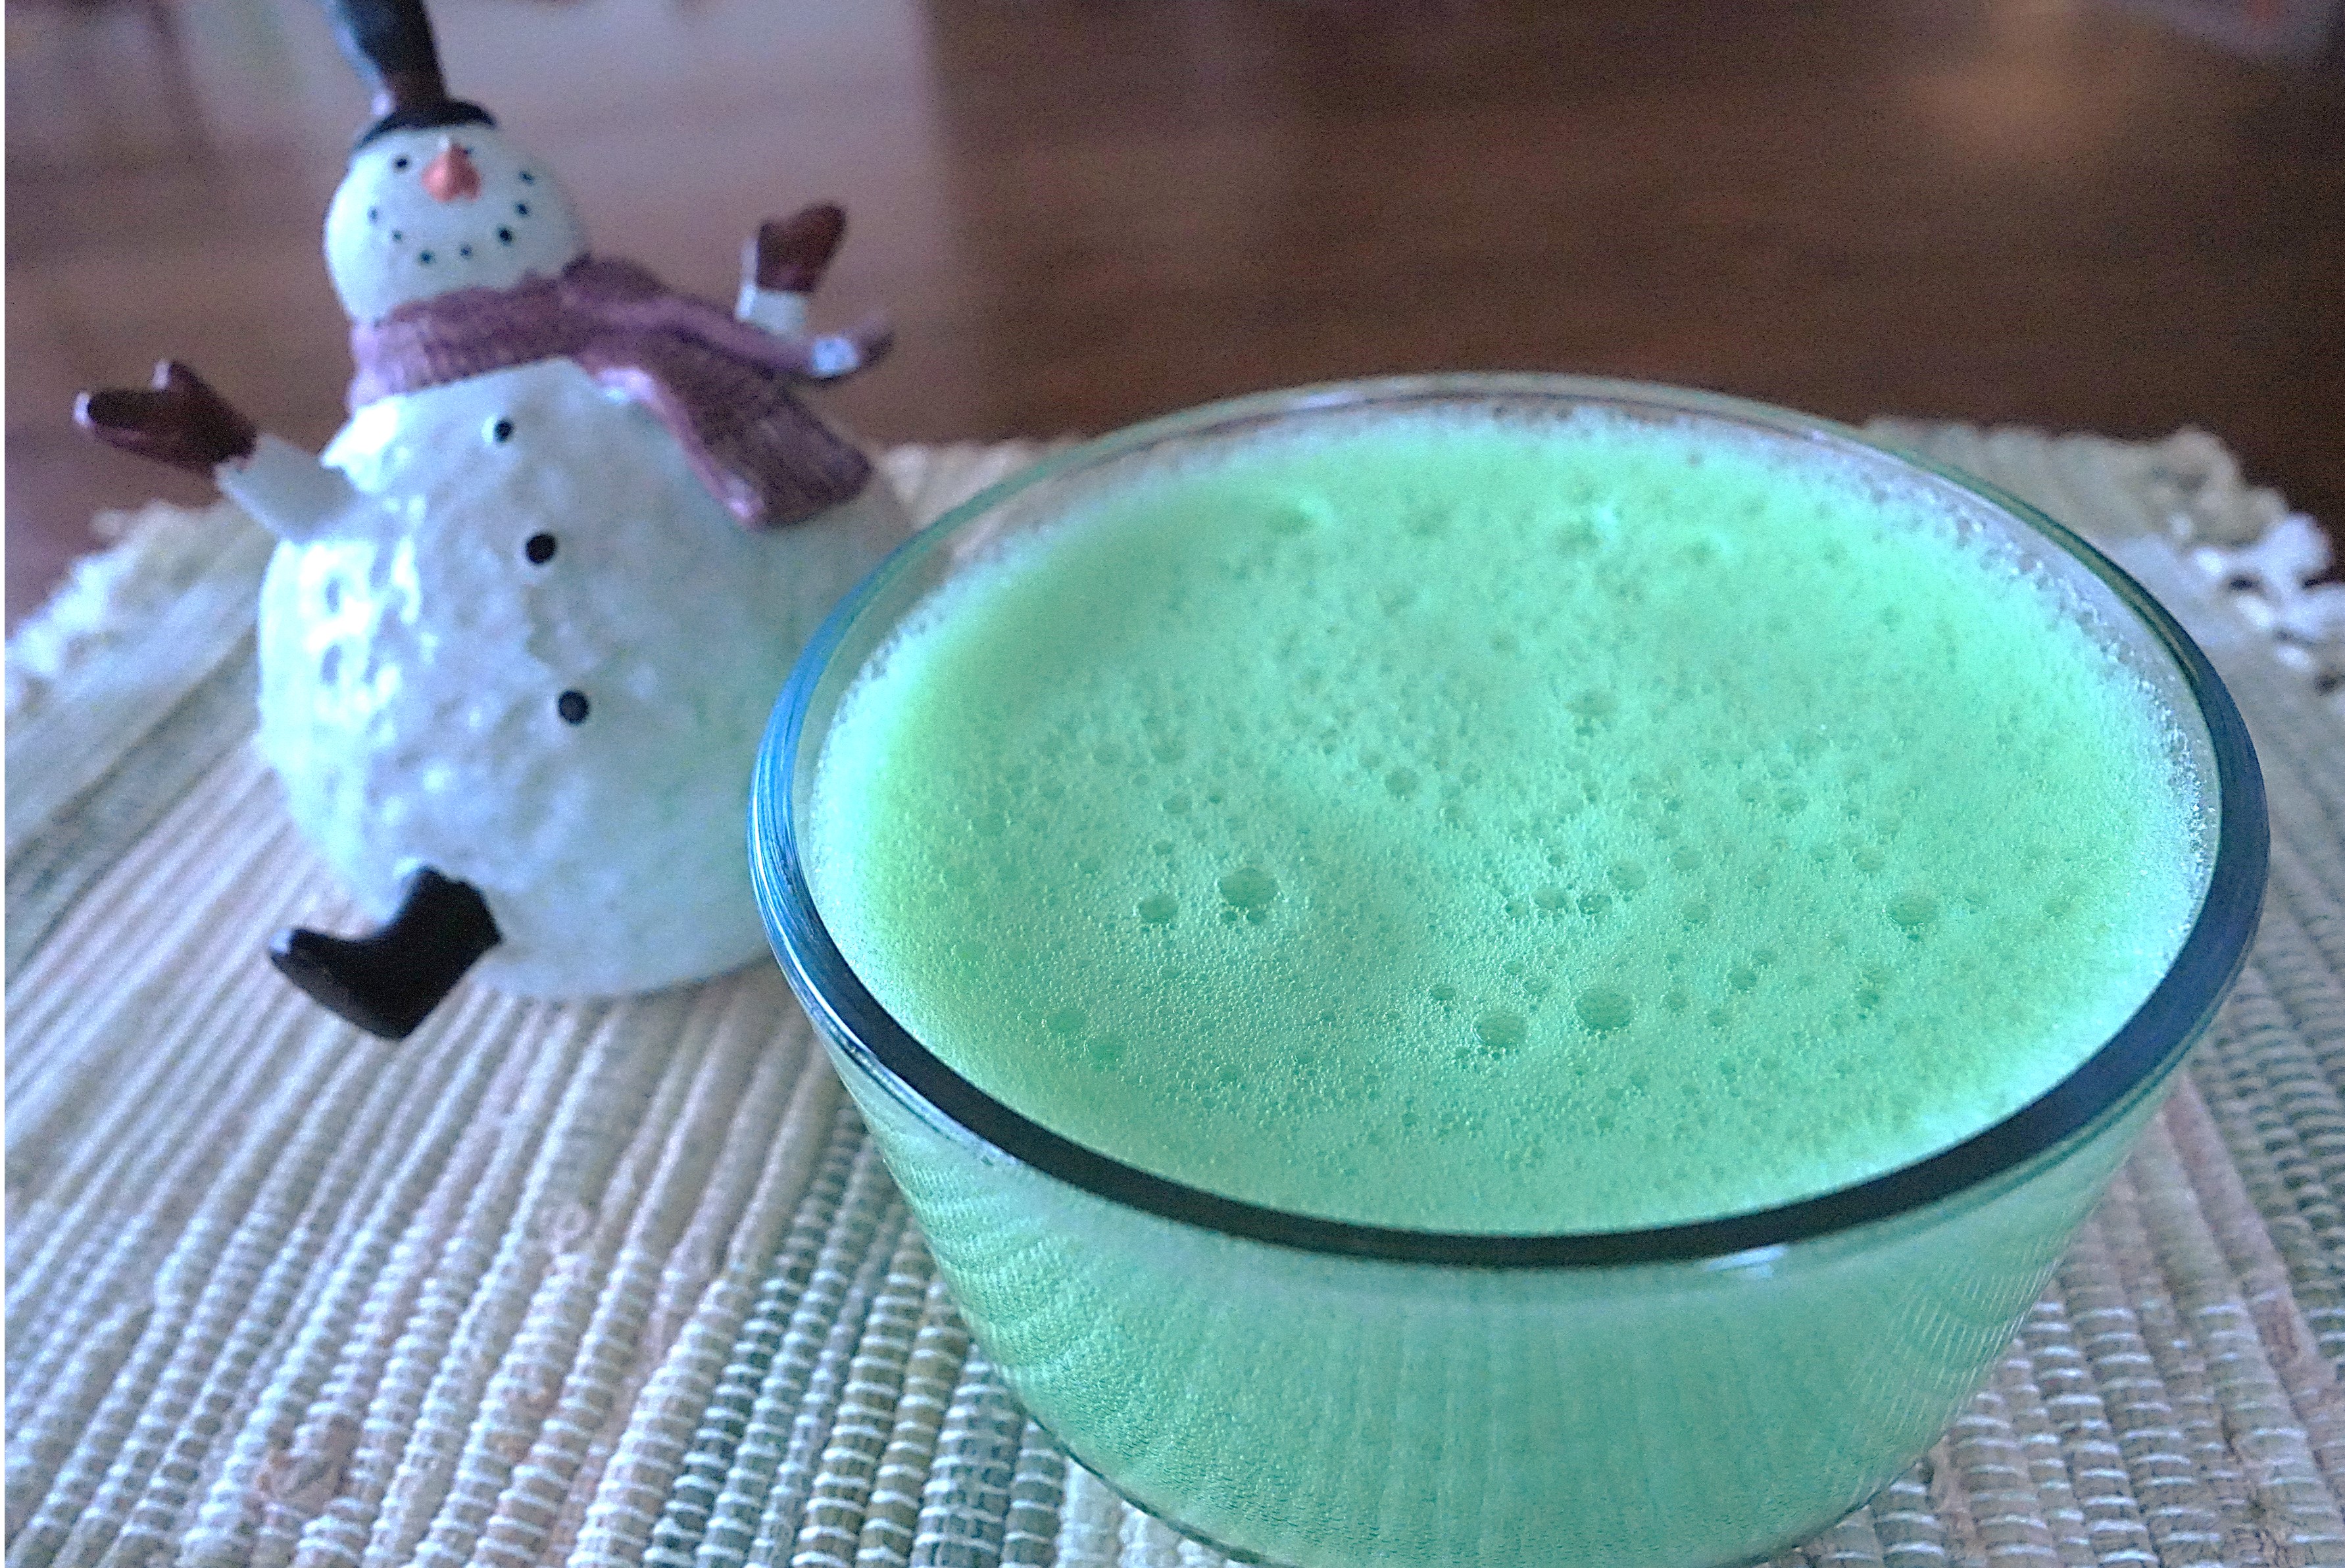
When my mother hosted family Christmas gatherings when I was a child, she always made two bowls of “Fluffy Jello;” one made using red gelatin and the other green. She said that “the kids like Fluffy Jello.” She made it by using electric beaters to add lots of air and foam to cooled gelatin that was almost ready to set. I hadn’t had Fluffy Jello in years and had forgotten all about it until I saw directions for making whipped gelatin in a hundred-year-old cookbook.
Source: The New Home Cook Book, published by the Illinois State Register, Springfield, IL (1924)
I decided to whip some gelatin. It was airy and light – and brought back lots of warm memories of day and people from long ago. It’s not just kids who like “Fluffy Jello.”
The 1924 directions called for using a Dover mixer, which is a hand-turned rotary mixer, to whip the gelatin but otherwise it is very similar to how I remember my mother doing it. The old directions also called for using a metal mixing bowl and setting it in ice water to keep everything very cold. This worked well and the gelatin whipped very nicely. I used a box of gelatin that called for using 2 cups water, and said that it made 4 servings. The gelatin did double in volume, and in my opinion it would make 6 to 8 servings, not the 12 mentioned in the directions. This suggests that the author of the directions used a larger package of gelatin than what I used.
Prepare gelatin in a mixing bowl according to package instructions. Put the mixing bowl with the gelatin in the refrigerator. Refrigerate until the gelatin just begins to thicken, then set in a pan of ice, and beat with electric beaters until the gelatin is very foamy. Pour into serving dish (a 1-quart bowl works well) and refrigerate until set (at least 2 hours).
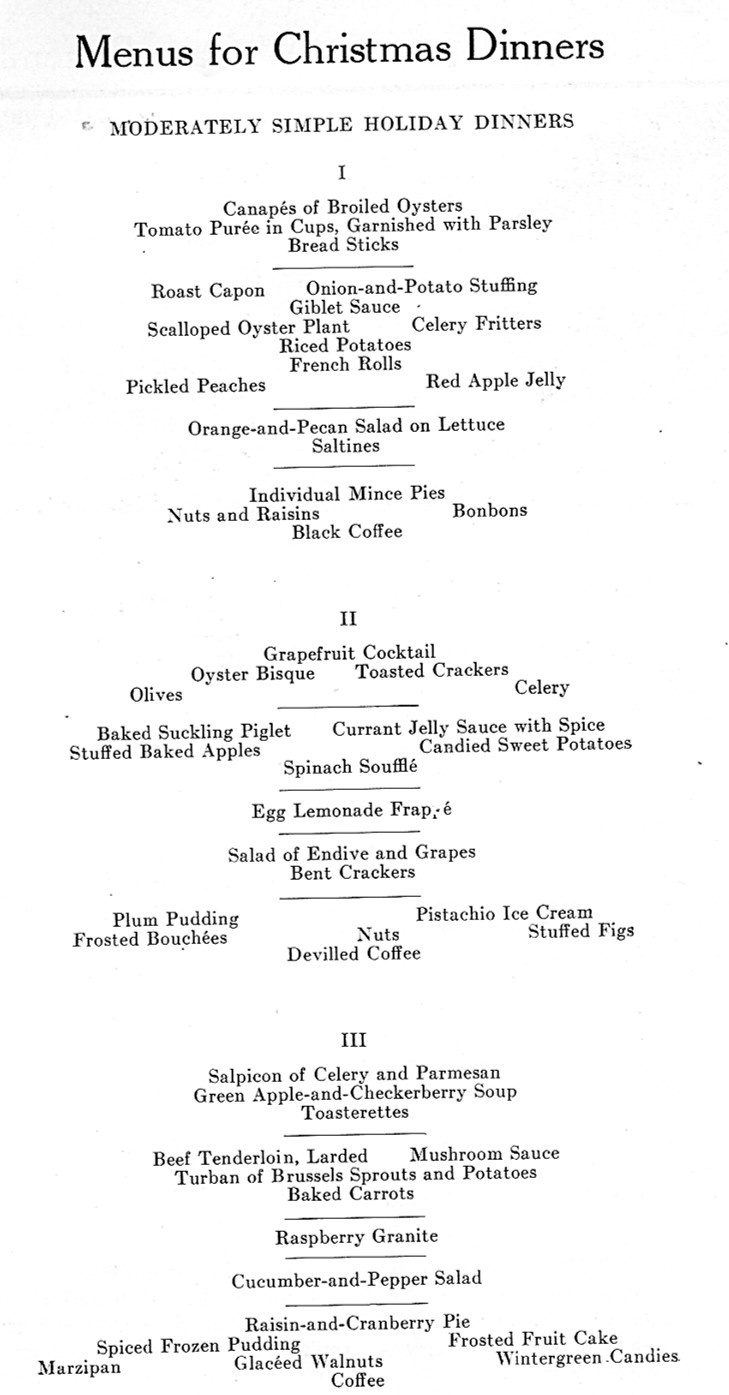
Maybe I plan Christmas menus that are too complicated. A hundred years ago American Cookery magazine provided several “moderately simple” menu options.
Brrr. . . It’s snowy outside and time for a hot chocolate drink. I started searching in my 1924 cookbooks for an old recipe that would fit the bill. When I saw a recipe for Mexican Chocolate (Hot Chocolate), I immediately knew that was the one I wanted to try.
I’ve always liked Abuelita Mexican Hot Chocolate with its wonderful spicy hints of cinnamon, and wondered if Mexican Chocolate would have a similar taste.
The verdict: The Mexican Chocolate was delightful with a lovely combination of chocolate, cinnamon, and expresso flavors. It is similar in taste to Abuelita Mexican Hot Chocolate, but not sweet. If desired, sweetened whipped cream can be added to sweeten it.
Here’s the original recipe:
Source: Modern Priscilla Cook Book (1924)
When I found this recipe, I thought that it would be quick and easy to make. I was surprised that it required more interpretation than I thought it would, and I ended up googling hot chocolate recipes to get a better understanding of the process required to end up with a smooth and creamy drink. When I make hot chocolate I generally use cocoa, but I interpreted “chocolate” in this recipe to mean unsweetened baking chocolate and I needed help in figuring out how to proceed when using baking chocolate. To get a smooth and frothy drink, I learned that the melted chocolate and boiling water should be combined in a saucepan, heated, and stirred until smooth; then the hot milk mixture should be gradually added while whisking constantly.
A hundred years ago, baking chocolate often came in one-ounce squares. Today, the squares are often 1/2-ounce. I used two 1/2-ounce squares.
I substituted instant coffee for the ground coffee to eliminate the need to strain the hot chocolate.
The old recipe says that it makes 3 servings, yet only calls for two cups of milk (and 1/4 cup of water). Given the size of modern mugs, this recipe actually only makes enough for two relatively small mugs.
In a saucepan combine the milk and instant coffee; add the cinnamon stick and heat the mixture until hot and steamy using medium heat while stirring constantly. Remove from heat and remove the cinnamon stick.
In another saucepan combine melted chocolate and boiling water; stir until smooth. Turn heat to medium, and gradually add the hot milk mixture while whisking constantly. Continue heating until steamy and frothy. If desired, serve with sweetened whipped cream.
Source: Cook Book of the Susquehanna Valley Country Club, Sunbury, PA (1924)
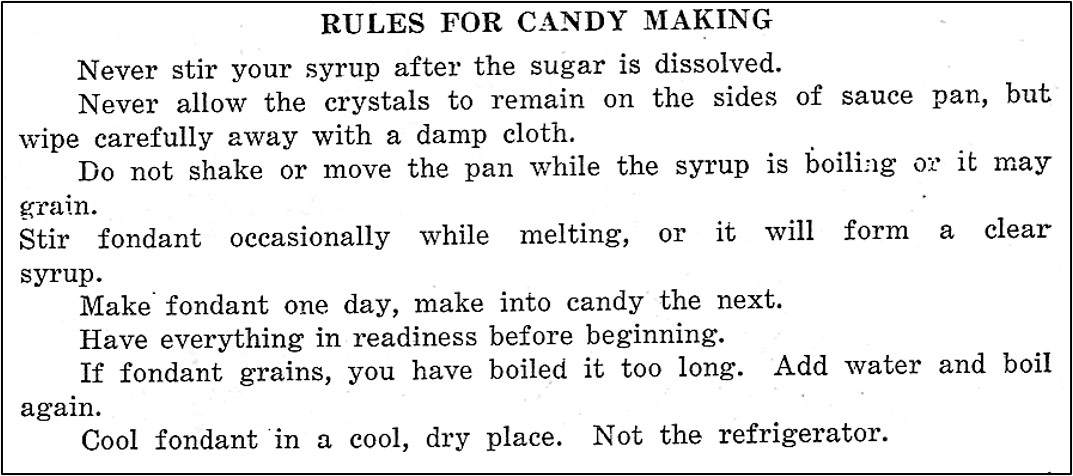
I cook a lot and often the lack of detail in old cookbooks is not a problem. I just intuitively can figure out the how to make the recipe. However, when I make candy, it tends to be hit or miss whether it turns out exactly right. These 1924 tips are helpful, but not very detailed. I also find some more recent tips very useful:
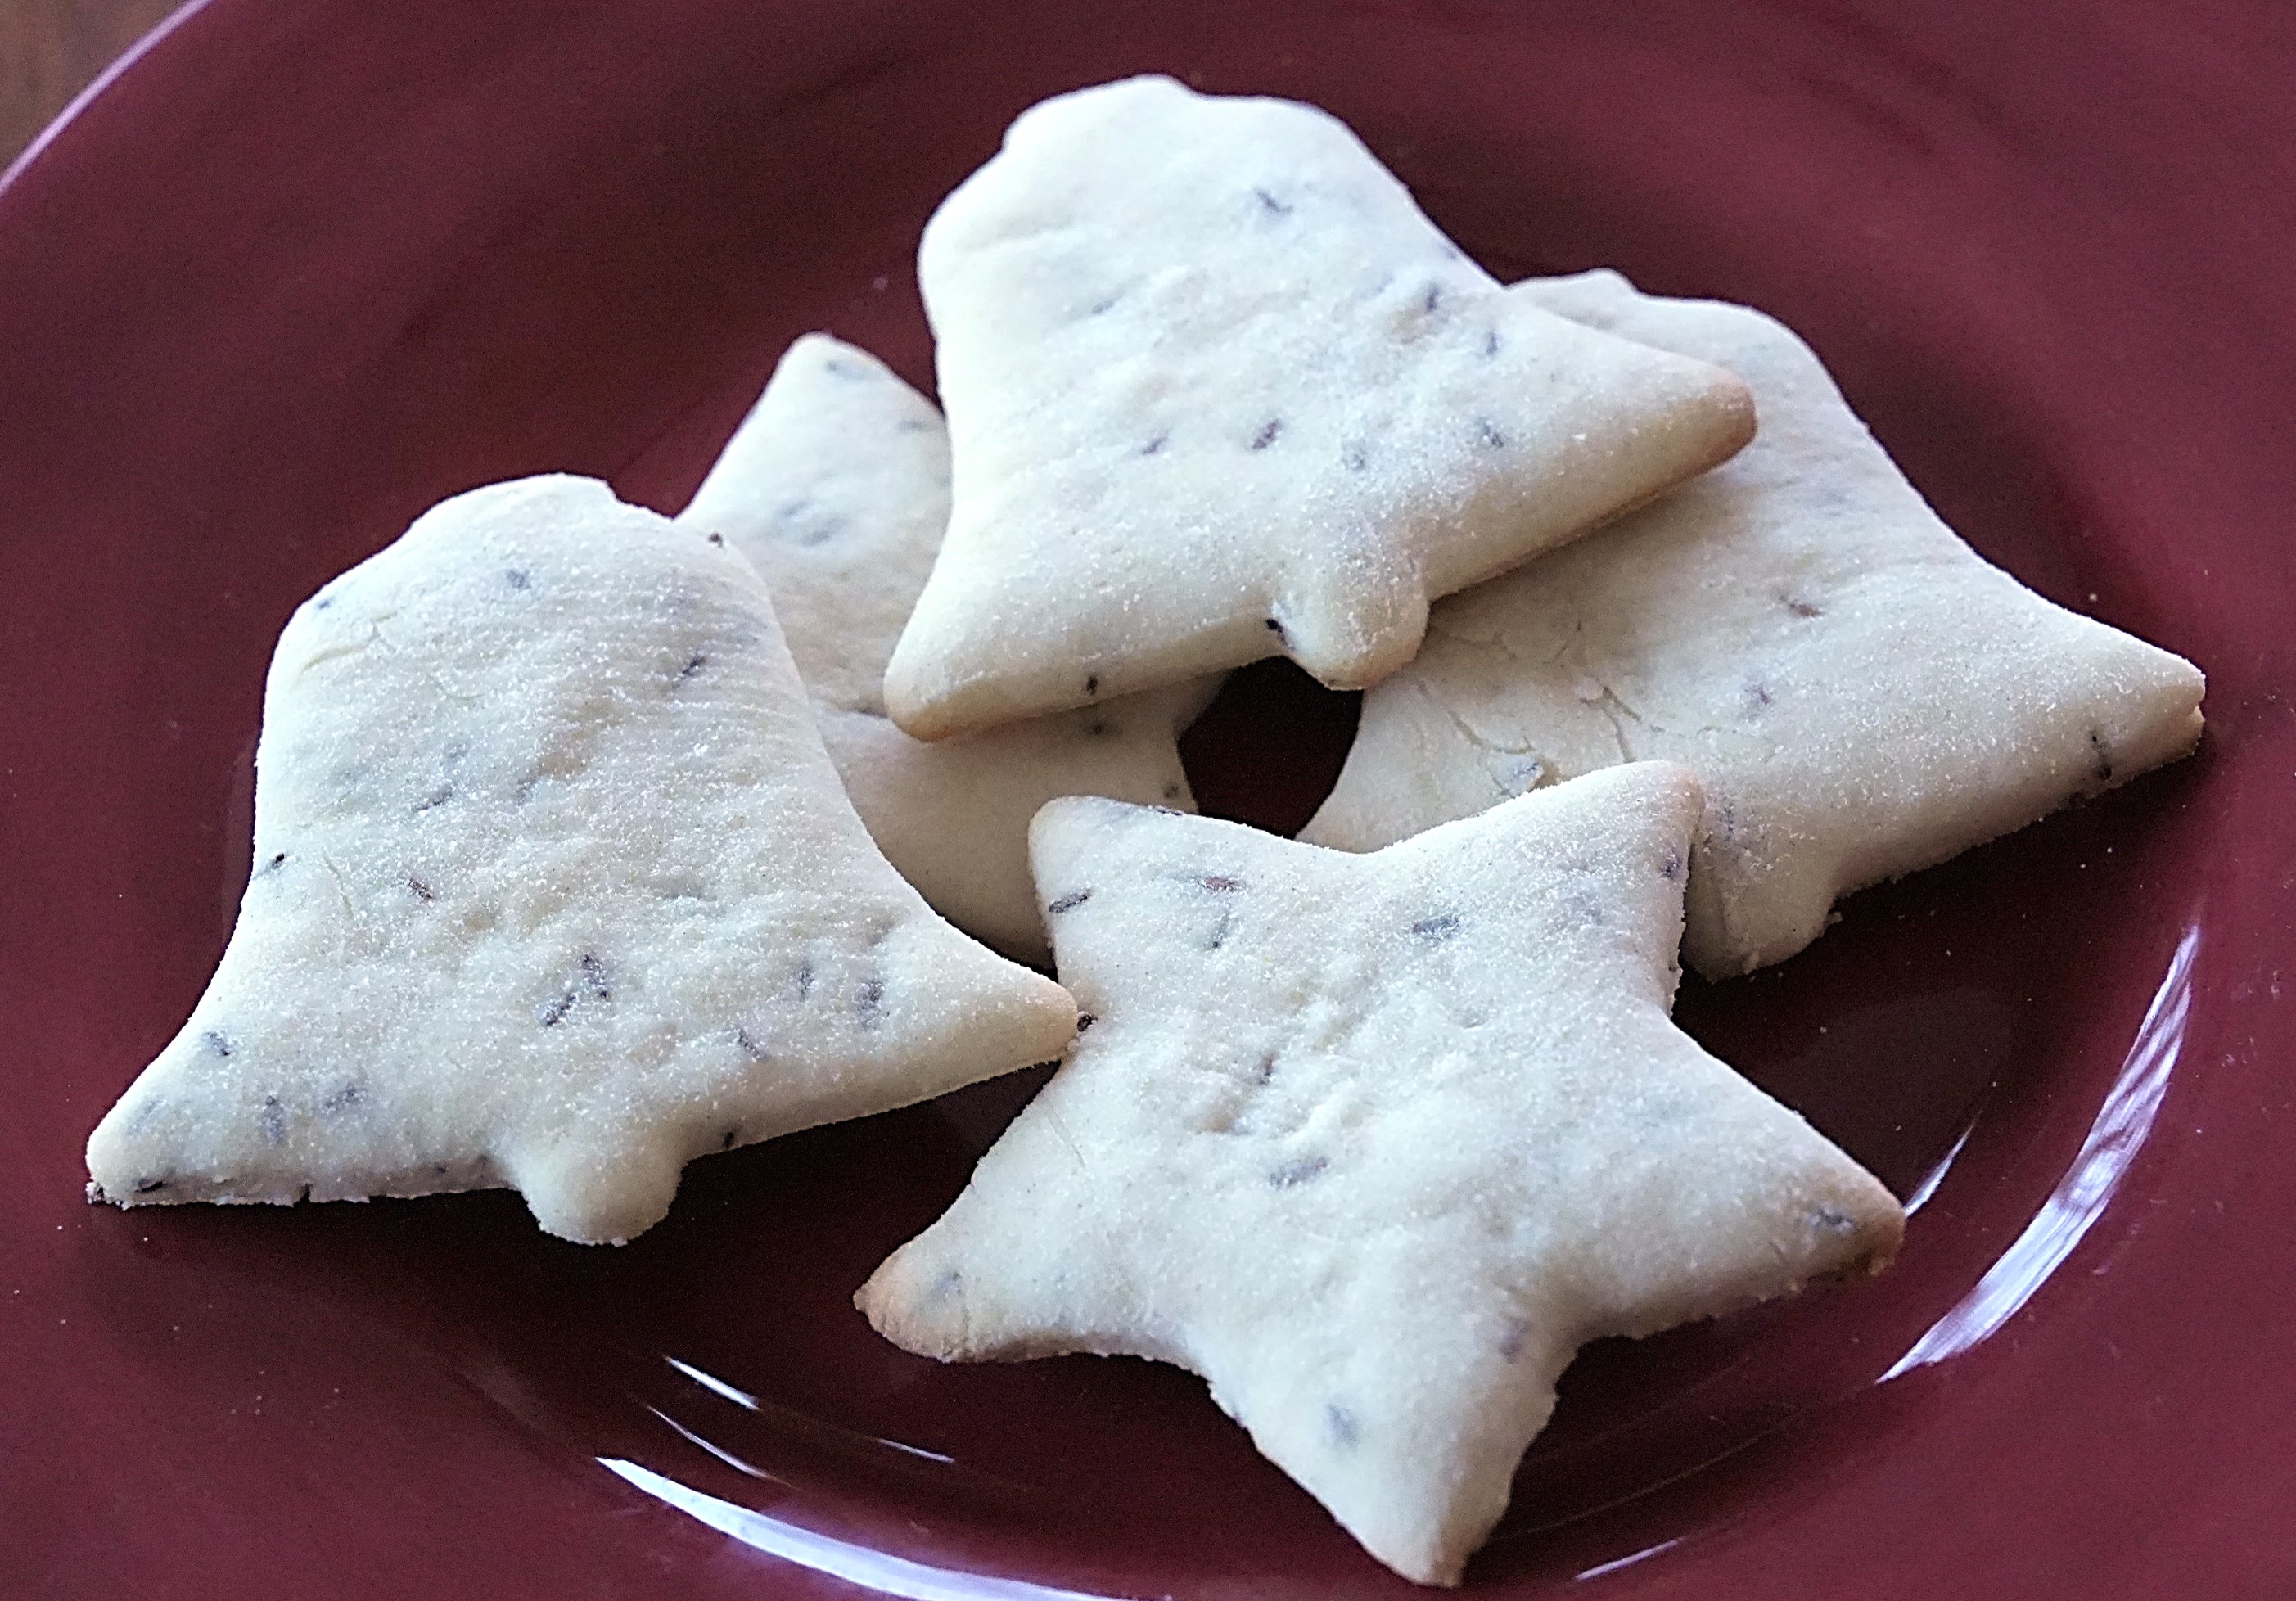
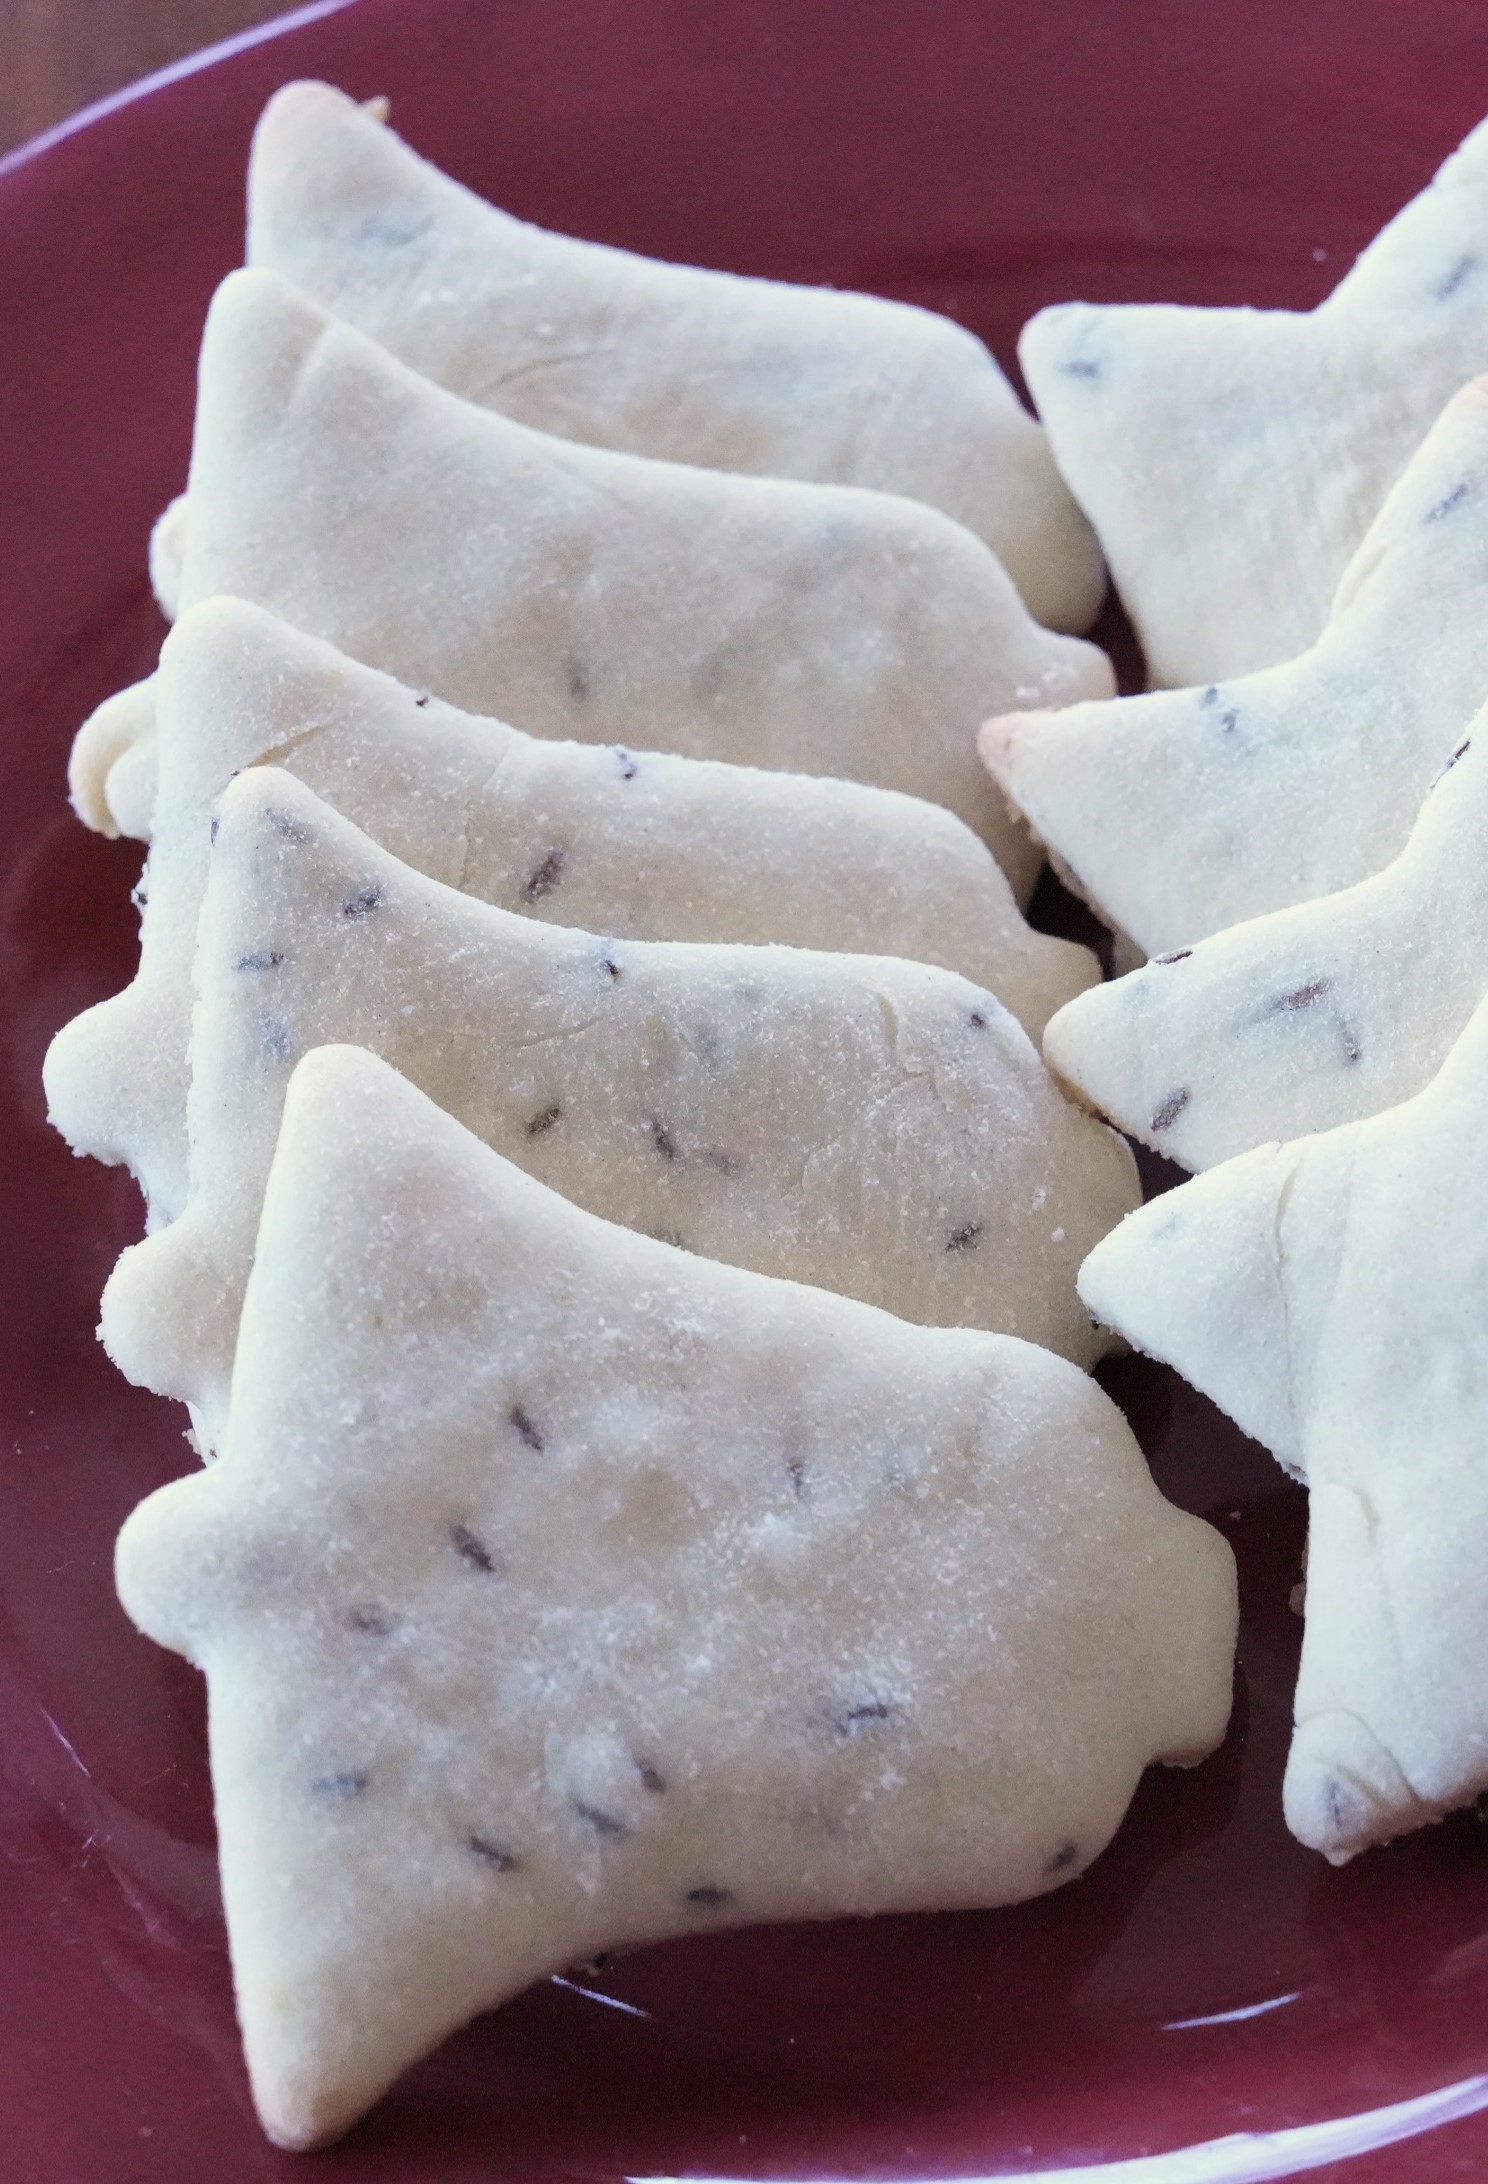
When I was a child, I remember making Caraway Cookies to put on holiday cookie trays, but I had not had any in years; so when I came across a recipe for them in a hundred-year-old cookbook I decided to give it a try.
The Caraway Cookies were simple to make, and they turned out well. They have an old-fashioned goodness, and the warm, earthy flavor of the caraway seeds was delightful. They are not nearly as sweet as many modern cookies, and can nicely balance some of the other sweets on a cookie tray. They are also very nice with coffee, tea, or milk.
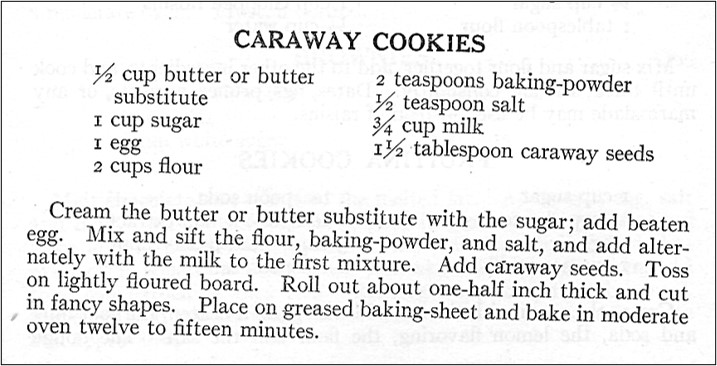
Here’s the original recipe:
Source: The New Butterick Cook Book (1924)
When I made this recipe, the dough was very sticky, so I added additional flour to make the dough a better consistency for rolling. I used butter rather than a butter substitute.
Preheat oven to 400° F. Cream butter and sugar; then stir in egg and milk. Add the baking powder and salt; stir until combined. Add the flour and stir until well mixed. If the dough is not the right consistency to roll; add additional flour. Roll out to 1/4 inch thick; then cut into shapes. Place on greased baking sheets. Bake 9-12 minutes or until lightly browned.
Canapes and peek-a-boo sandwiches were popular a hundred years ago. Recipes for them, some of which seem very unusual today, are often found in old cookbooks.
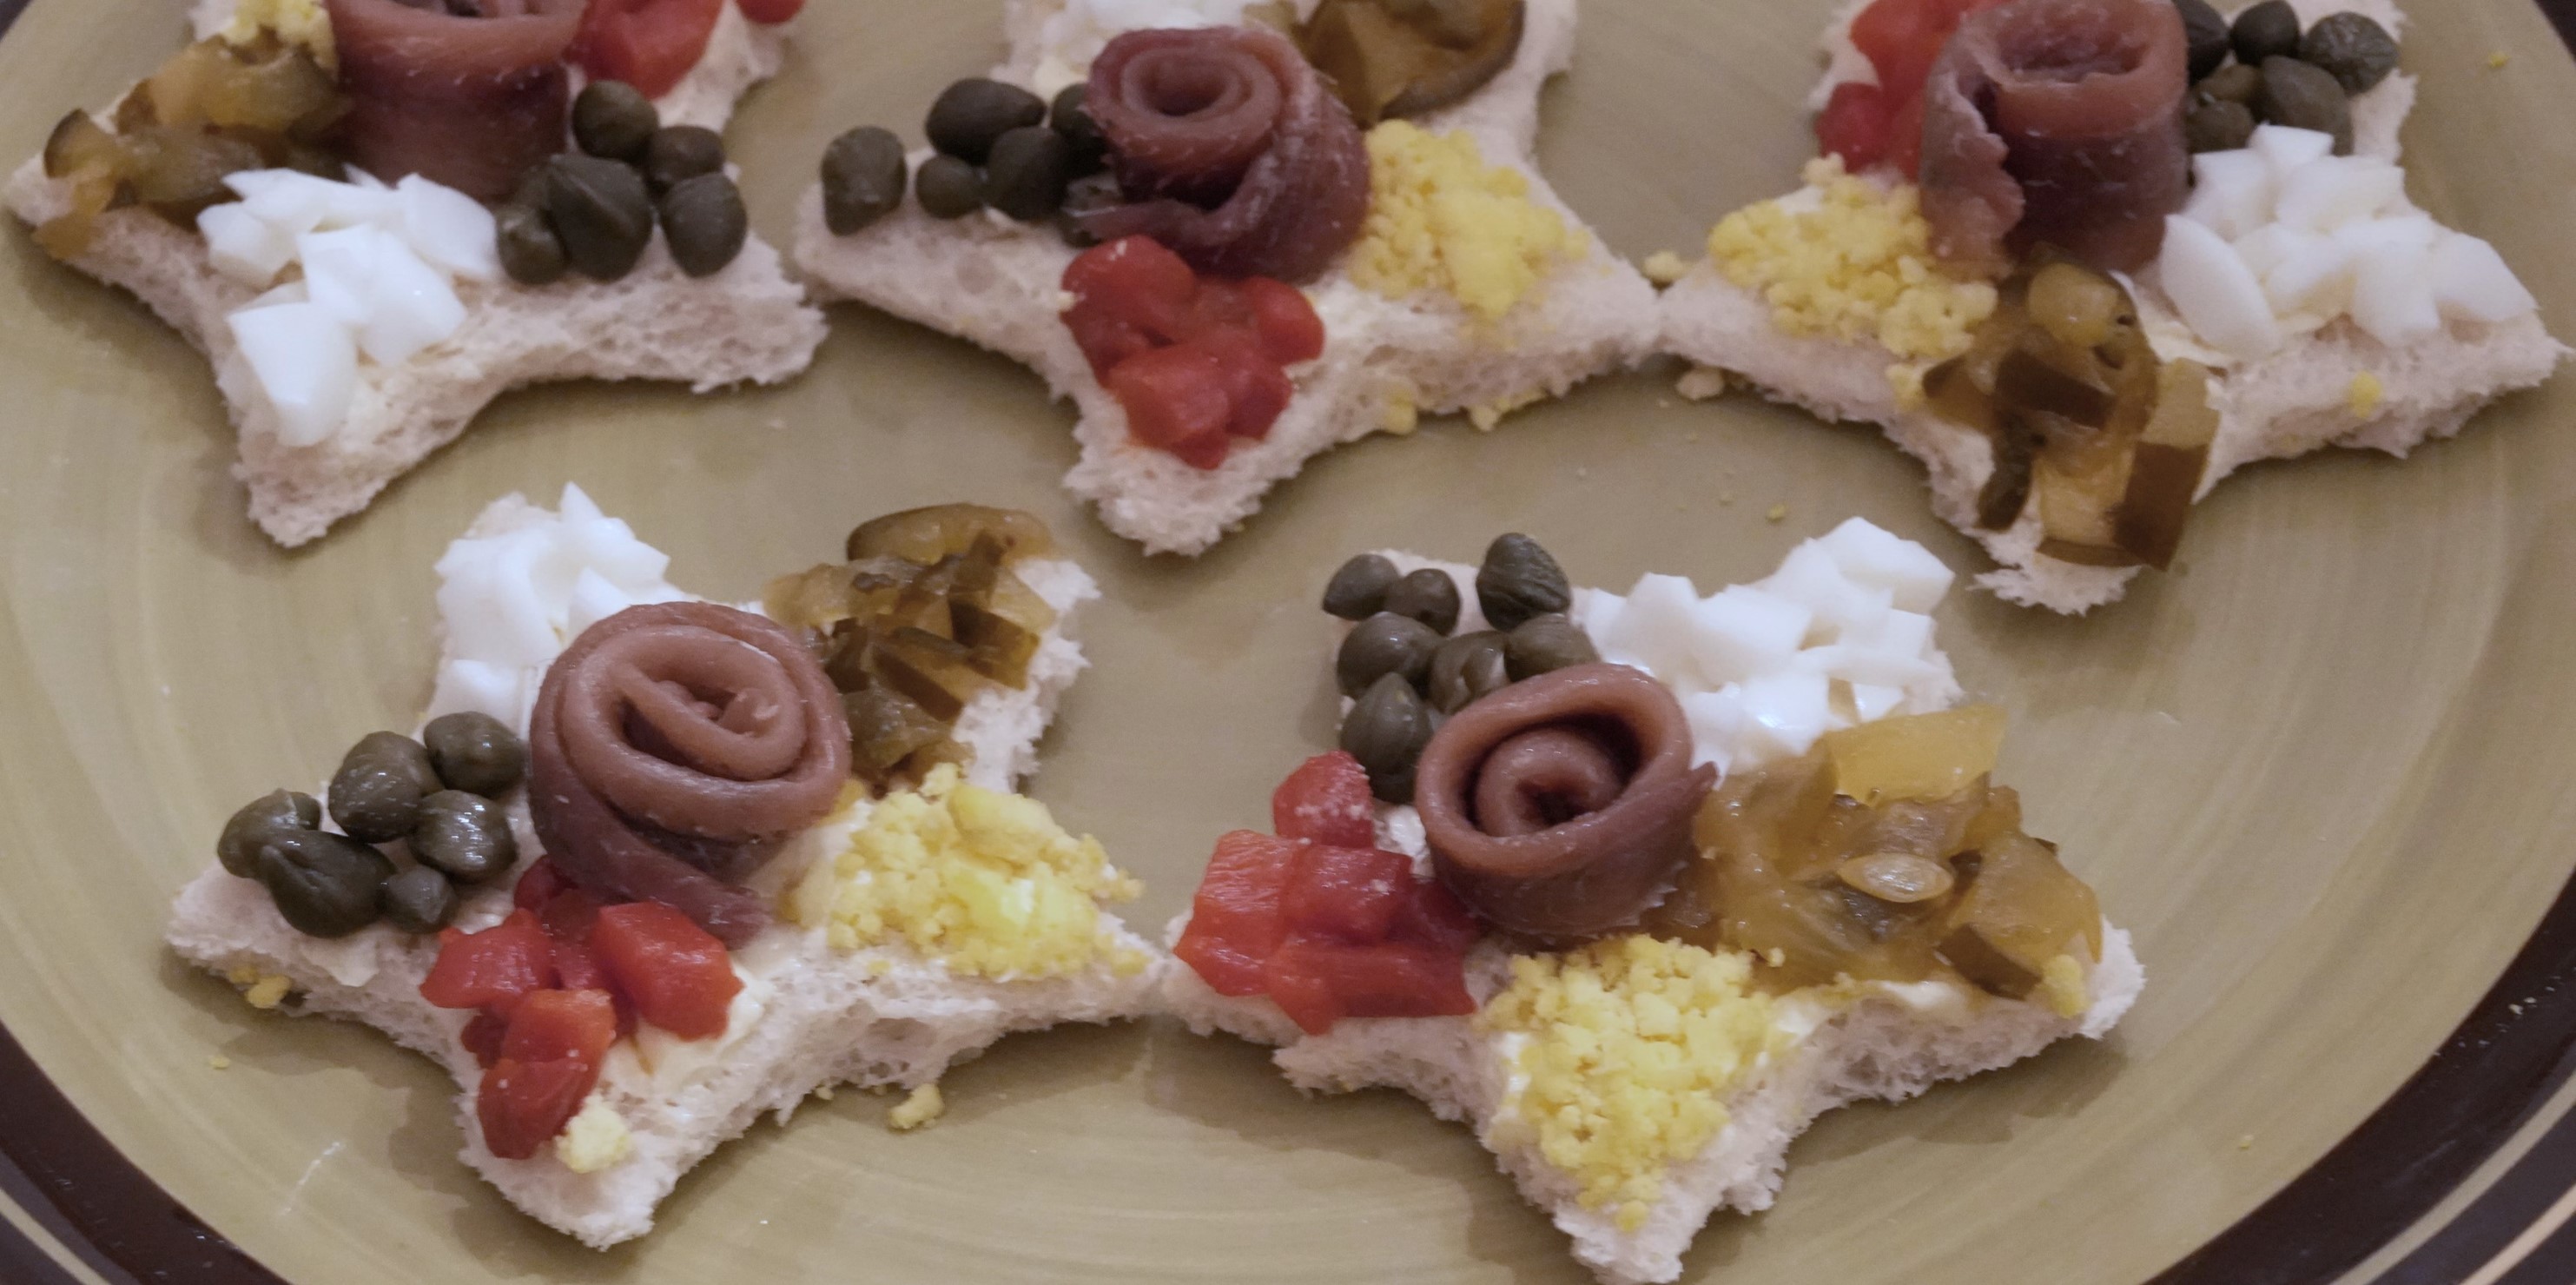
A few weeks ago I posted a recipe for Mrs. Sigmund Weis’ Star Canapes which contained capers, hard-boiled egg yolk and white, chopped pickles and pimento, and anchovies on star shaped pieces of bread. Shortly after I did that post I was at a party and friends had lots of comments and questions. “That recipe you posted was strange.” “How do you pronounce “canape”? Did I say it right?” “Why was she called Mrs. Sigmund Weis? Didn’t she have a first name?”
This blog is always slightly quirky, but I came to the conclusion that the Star Canape post was quirkier than usual. Then I recently started working on my December posts and flipped through the December, 1924 issue of Ladies Home Journal. Amazingly, there was an entire article on canapes and peek-a-boo sandwiches. Apparently canapes and peek-a-boo sandwiches were the trendy food to serve at holiday parties a hundred years ago.
In case you wondered, canapes are a small piece of bread (sometimes toasted) or a cracker with a topping. They are a type of hors d’oeuvre. According to the Oxford Learner’s Dictionary, canape is pronounced “kænəˌpeɪ”, and if you struggle with that you can hear someone actually say the word on the Oxford site.
According to the 1924 Ladies Home Journal article, peek-a-boo sandwiches are a little larger than canapes and the bread is not toasted. Two slices of bread (which often is in a round shape) are used to make each sandwich. The bread slices are buttered. A filling is put on the bottom slice. Then a peephole is cut out of the top slice using a small cookie cutter. A garnish, which the old magazine article calls a “tempting morsal,” is put in the hole.
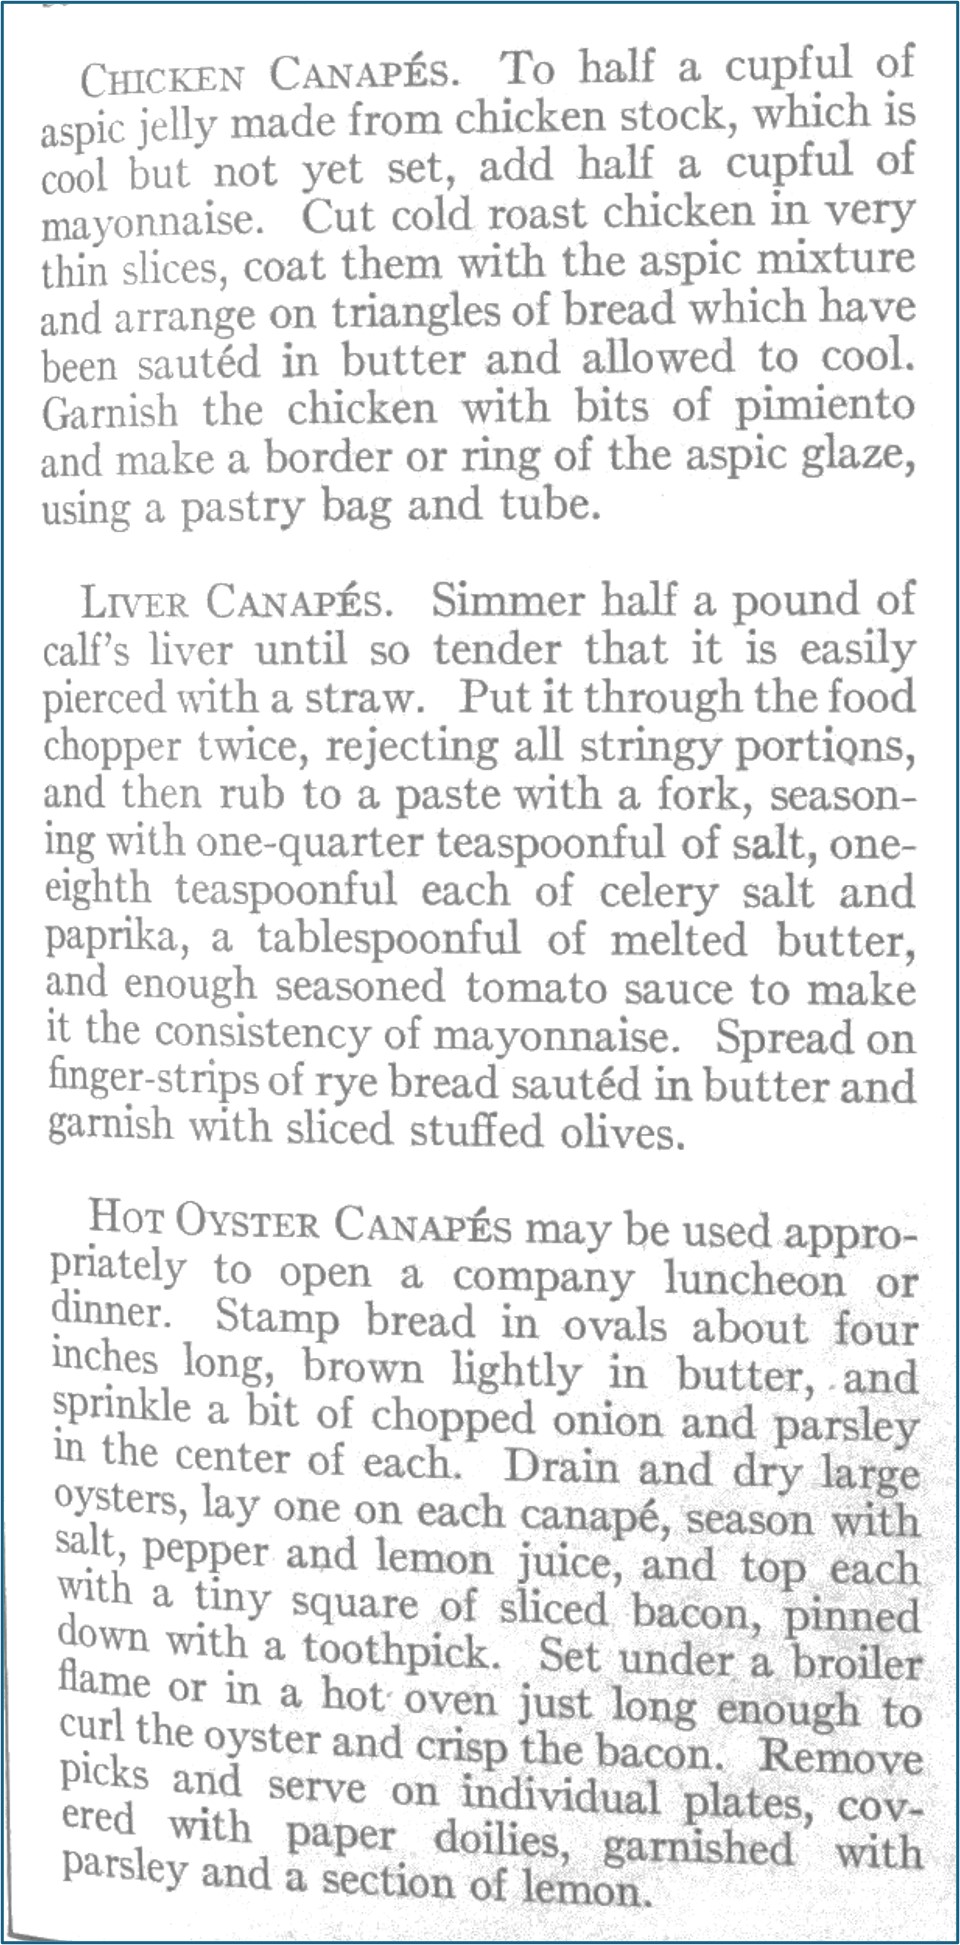
Here are some recipes for canapes and peek-a-boo sandwiches in the hundred-year-old issue of Ladies Home Journal:
Canapes
Source: Ladies Home Journal (December, 1924)
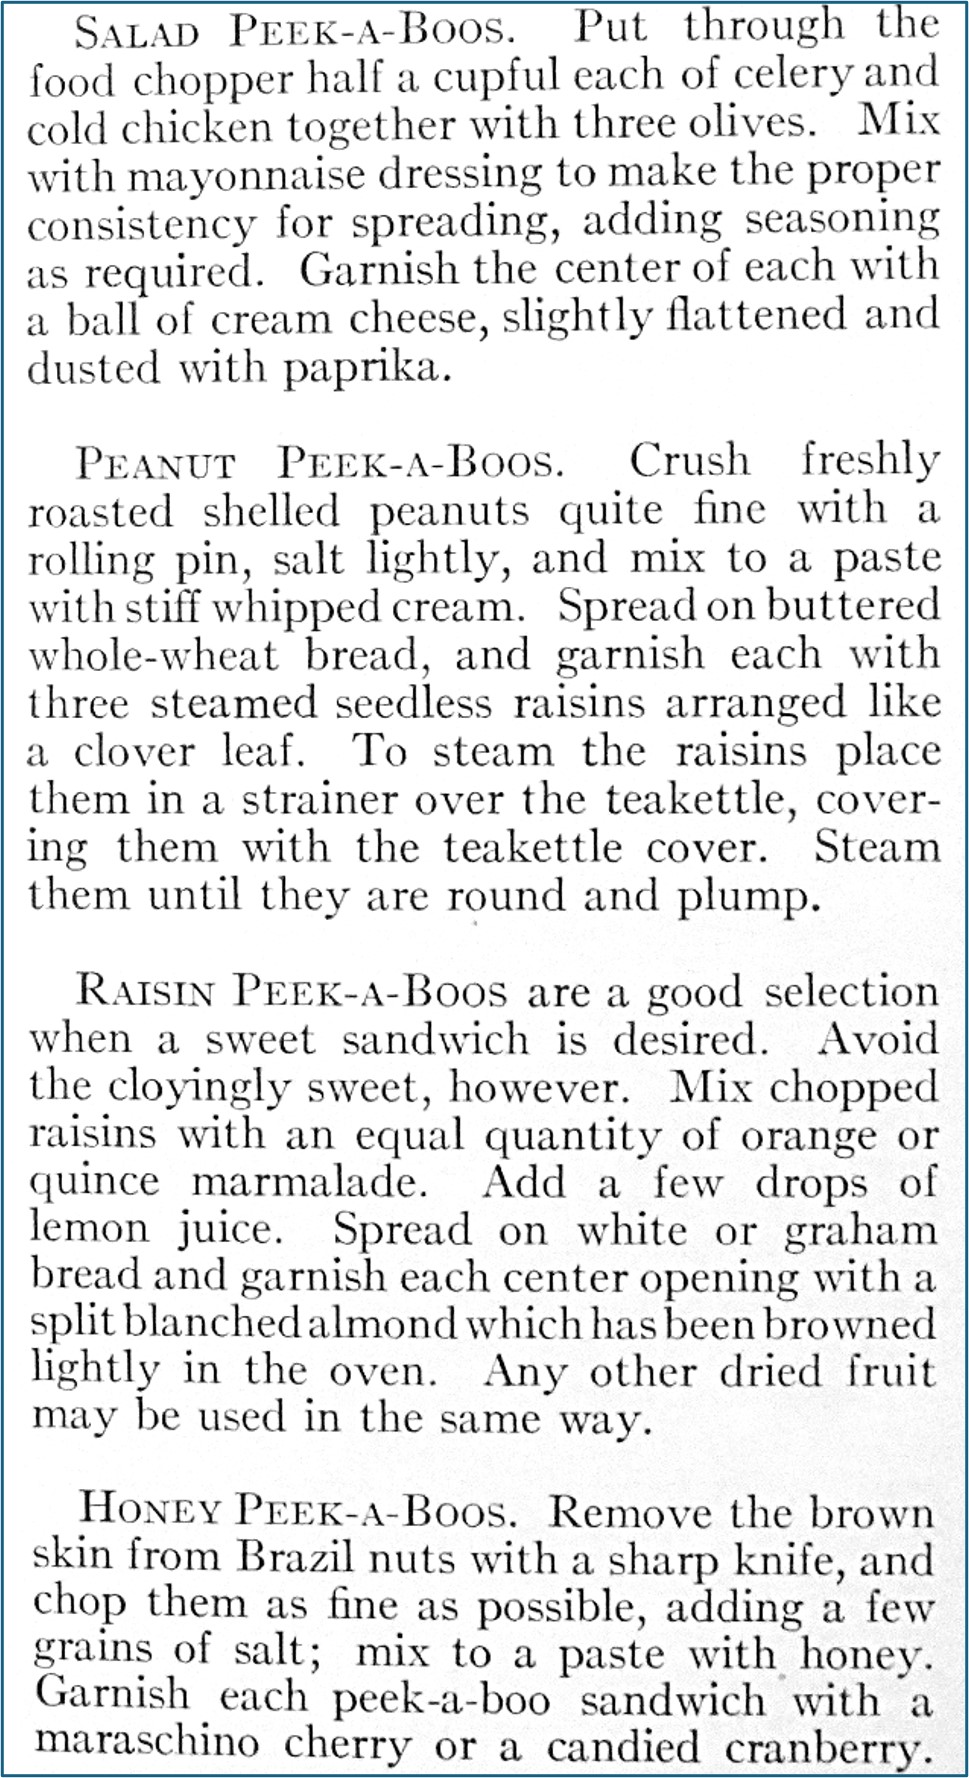
Peek-a-Boo Sandwiches
Source: Ladies Home Journal (December, 1924)
(The photo at the top of the post is my interpretation of the Salad Peek-a-Boo recipe.)


 When my mother hosted family Christmas gatherings when I was a child, she always made two bowls of “Fluffy Jello;” one made using red gelatin and the other green. She said that “the kids like Fluffy Jello.” She made it by using electric beaters to add lots of air and foam to cooled gelatin that was almost ready to set. I hadn’t had Fluffy Jello in years and had forgotten all about it until I saw directions for making whipped gelatin in a hundred-year-old cookbook.


 Canapes and peek-a-boo sandwiches were popular a hundred years ago. Recipes for them, some of which seem very unusual today, are often found in old cookbooks.