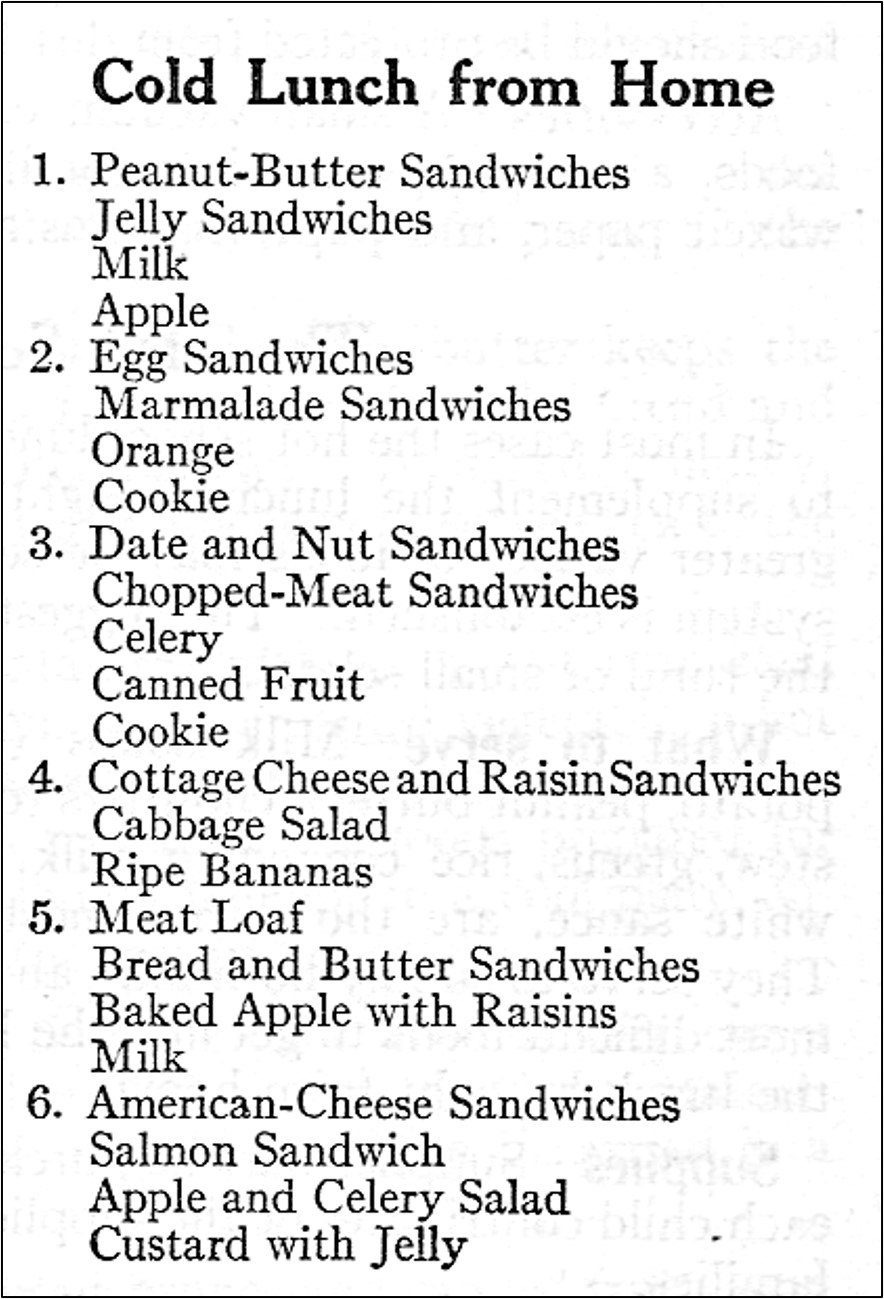
As students return to school, it’s time to think about how to make packed lunches that are fun and healthy. Families have been packing school lunches for a long time. Here are some menus for cold packed lunches in a hundred-year-old cookbook:
Source: The New Butterick Cook Book (1924)
A hundred years ago many children went to one-room school houses, and had to always take their lunch to school. These schools were typically for students in grades 1- 8. Children in larger towns attended larger elementary schools and may have had the option of getting a hot lunch. Those students who continued their education by attending a high school may have been able to get a school lunch made by students in home economics classes. Back then it was considered good training for students to plan, prepare, and serve school lunches.
I recently came across a hundred-year-old recipe for Broiled Tomatoes, and decided to give it a try. But I then wondered . . . What type of tomatoes should I use in the recipe? Should I use purple, chocolate, yellow, or orange heirloom tomatoes? . . . or should I use red tomatoes. . . . beefsteak? . . . plum?
What did tomatoes look like a hundred years ago? When I search on “tomato” and “history” I get articles about wild tomatoes that were small and yellow or orange. The Aztecs and Mayans raised tomatoes, and tomato seeds went from Latin America to Europe in the 1500s. They became very popular, though some people thought that they weren’t safe to eat. The number of tomato varieties increased and they were bred for various characteristics. Tomatoes were then brought back to North American during the colonial era. But, I’m not finding information about what tomatoes were like in 1924. I think that they generally were red, so I decided to use red, medium-sized tomatoes.
The Broiled Tomatoes were easy to make and tasty. They are topped with just salt, pepper, and a little butter, which allows the naturally balanced flavors to shine.
Cut tomatoes into slices 1/2 inch thick. Put on a foil-lined baking sheet. Sprinkle with salt and pepper. Top with small dabs of butter. Place under the broiler and broil until hot (about 3-4 minutes).
There’s an old saying that when a hog is butchered you can “eat everything but the squeal.” An image in a hundred-year-old cookbook suggests that this is an accurate statement. According to the cookbook, even the tail can be eaten. It says that the tail is an economical cut that can be boiled or sautéed. . . . Who knew?
Here’s some more pork facts that were in the old cookbook:
Facts to Remember about Pork
When pork is in proper condition the skin and fat are white and clear, except the kidney or leaf lard which is slightly pinkish in hue. The flesh is composed of fine-grained tissues and is pink in color.
The thicker the skin of pork the older the animal from which it was cut.
Pork contains a larger proportion of fat than any other meat. Consequently its food value is higher and special care should be taken in selecting other foods to combine with it.
Pork should always be thoroughly cooked. It is not only distasteful but even dangerous to health when underdone.
Ham that is very salty should be freshened before cooking. A slice is freshened by being covered with cold water and brought slowly to the simmering point. A whole ham should stand in cold water over night or at least for several hours.
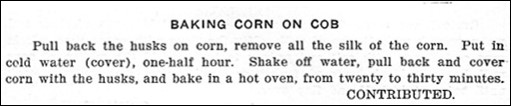
I love corn on the cob, and make it several times a week during the peak season. I’ve always boiled the corn, but was intrigued by a hundred-year-old recipe for Baking Corn on Cob, and decided to give it a try.
The recipe called for pulling the husk back and removing the corn silk, then soaking in water. After the corn has soaked for half an hour, the husk is pulled back into place, and the corn is baked.
The verdict: The corn was tasty, and the cooked corn was attractive in the husk. Baking the corn on the cob is a nice variation.
Here’s the original recipe:
Source: Cook Book of the Susquehanna Valley Country Club, Sunbury, PA (1924)
Pull back the husks on the corn, and remove all the silk. Put the corn (with the pulled-back husks) in a large pan of cold water; let soak for 1/2 hour.
Preheat oven to 400° F. Remove the corn from the pan, and shake off the water. Pull the husks back into place and cover the corn with the husks. Put directly on the wire rack in the oven; bake 30 minutes.
The husk can either be removed before serving or it can be served with the husk still on.
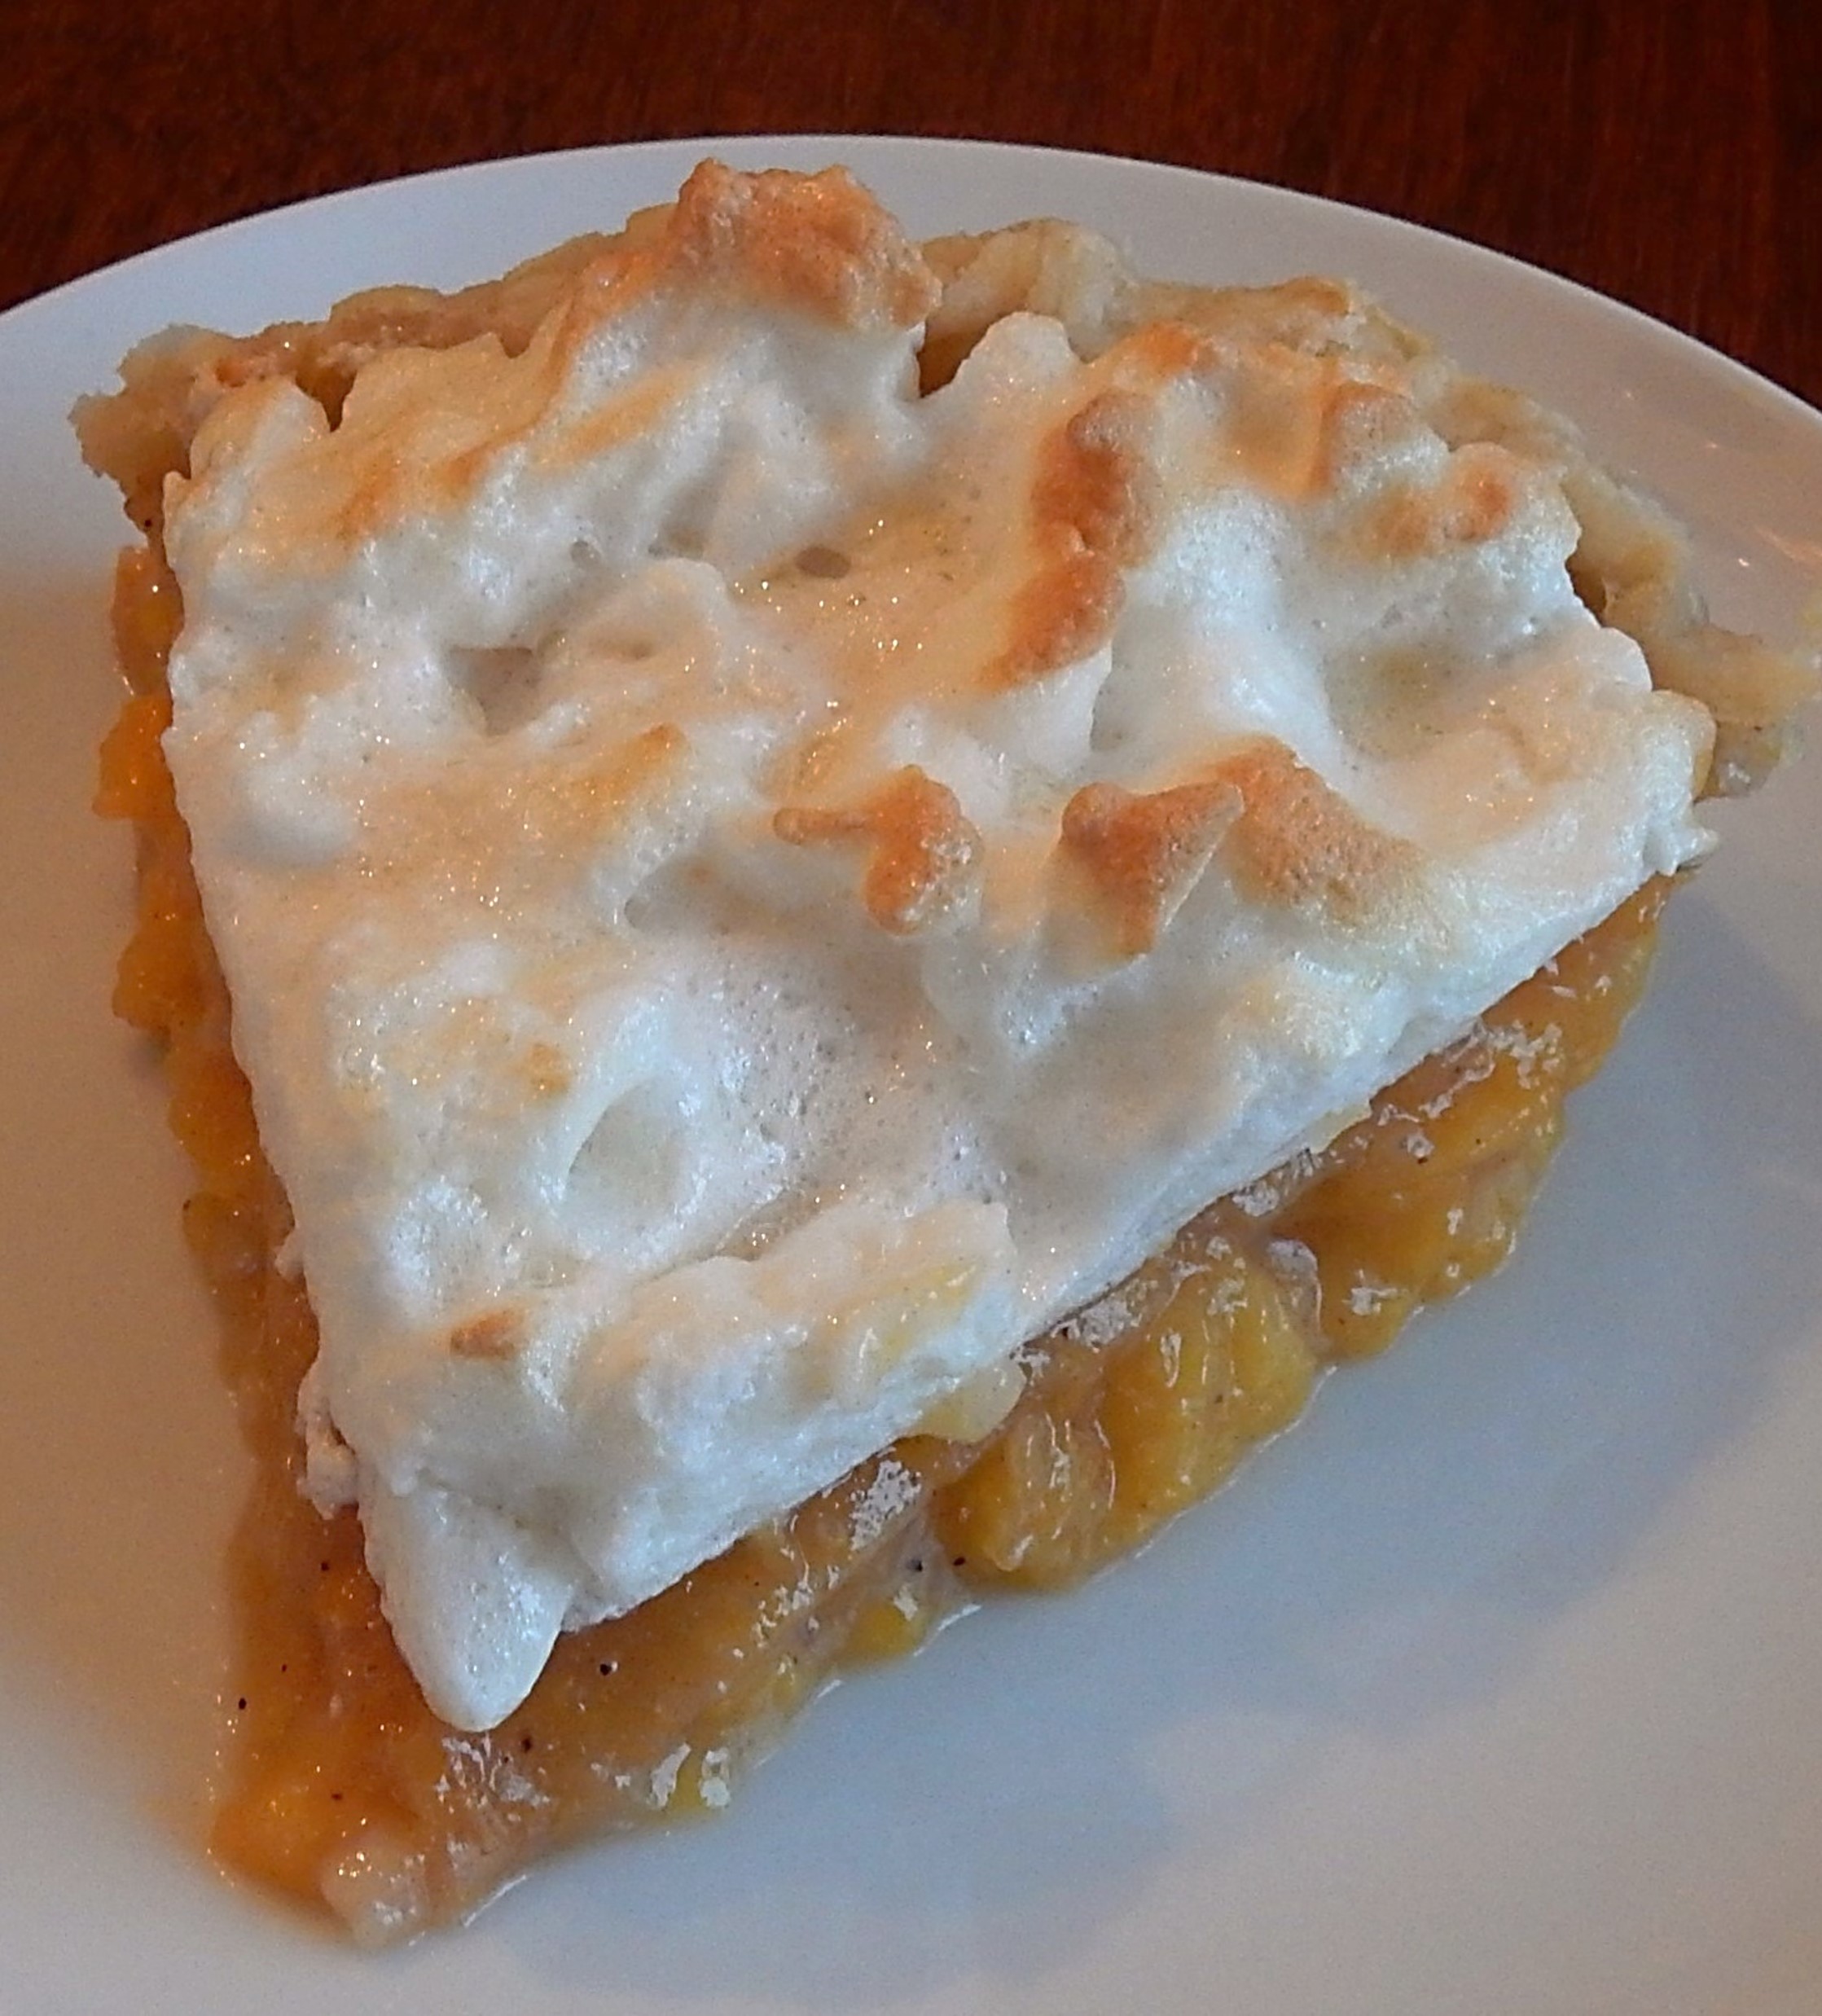
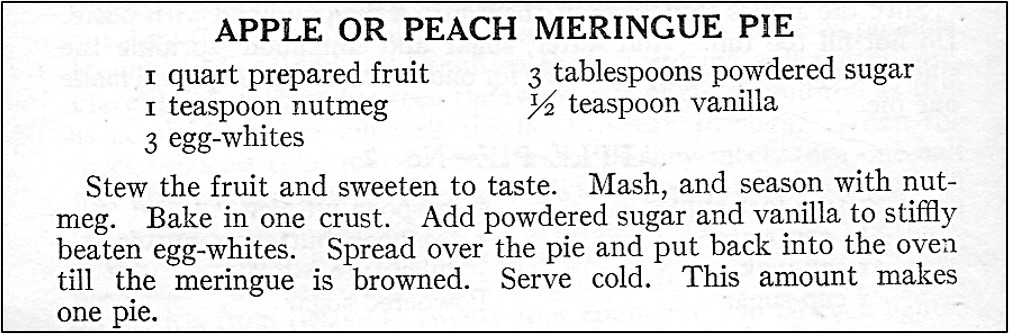
We’re getting to the peak of peach season. Succulent peaches are wonderful fresh, and are also wonderful when baked into various delectable desserts. I recently came across a recipe for Peach Meringue Pie in a hundred-year-old cookbook, and decided to give it a try.
The pie was a winner. The peach filling was sweet with a hint of tartness, and the meringue topping was refreshingly light with a nuanced vanilla flavor which nicely balanced the peaches.
Here’s the original recipe:
Source: Butterick Cook Book (1924)
I’m not sure why the recipe called for cooking and mashing the peaches prior to putting them in the pie shell, but I followed the directions. Maybe the recipe author did not want distinct slices of peach in the baked pie.
I sweetened the peaches with 1/2 cup sugar. When I made this recipe the cooked peaches were very juicy -and I knew that they would not hold their shape in a pie, so I added 1/4 cup of flour. This worked well, and the cooked peach pie filling was an appropriate consistency when the pie was baked.
It’s intriguing that the old recipe indicated that the recipe was for either apple or peach meringue pie. I would think that the spices that are used in an apple pie would be somewhat different than the spices in a peach pie. Similarly, I would think that more flour would be needed to thicken the filling of a peach pie than an apple one (though, of course, no flour or other thickener was called for in the old recipe).
Preheat oven to 400° F. Put the sliced peaches and the sugar in a saucepan; stir together. Using medium heat bring to a boil while stirring occasionally; simmer, until the peaches are soft, while continuing to stir occasionally (about 5 minutes). Remove from heat and mash the cooked peaches. (I used a potato masher). It is okay if the mashed peaches are chunky. Stir in the flour and nutmeg. Put the peach mixture into the pie shell and bake in oven until the filling begins to bubble, and the crust is lightly browned.
In the meantime, make the meringue. Place egg whites in a bowl, and beat the egg whites until they form stiff peaks. Gradually add powdered sugar and vanilla while continuing to beat. Then spoon on top of the pie and swirl. Reduce oven temperature to 350° F. Return pie to oven and cook for an additional 8-10 minutes or until the meringue is lightly browned.
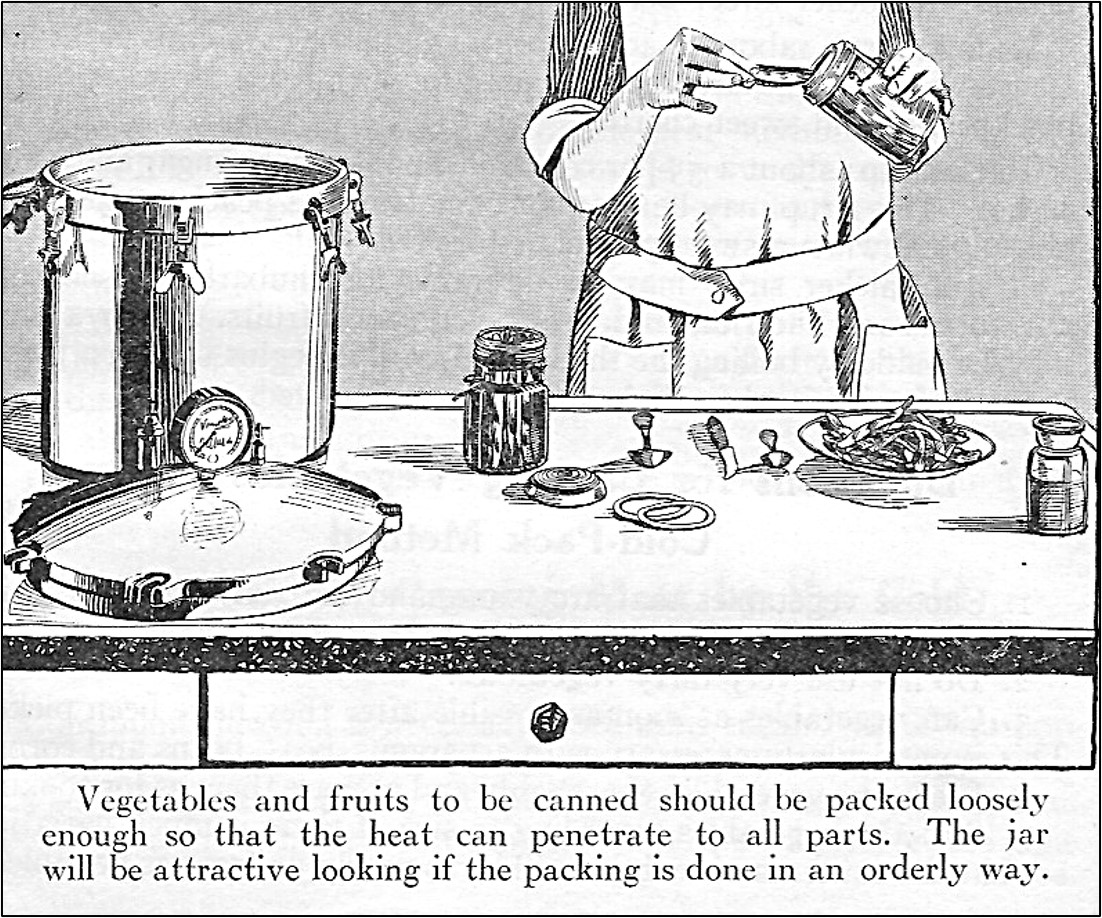
Venders at the farmers market often have bushel baskets filled with fruits and vegetables, but I’m never sure how many quarts of canned goods they’ll yield, so I was pleased to find a canning guide in a hundred-year-old cookbook. Many things change over time, but I assume that yield ratios stay the same.