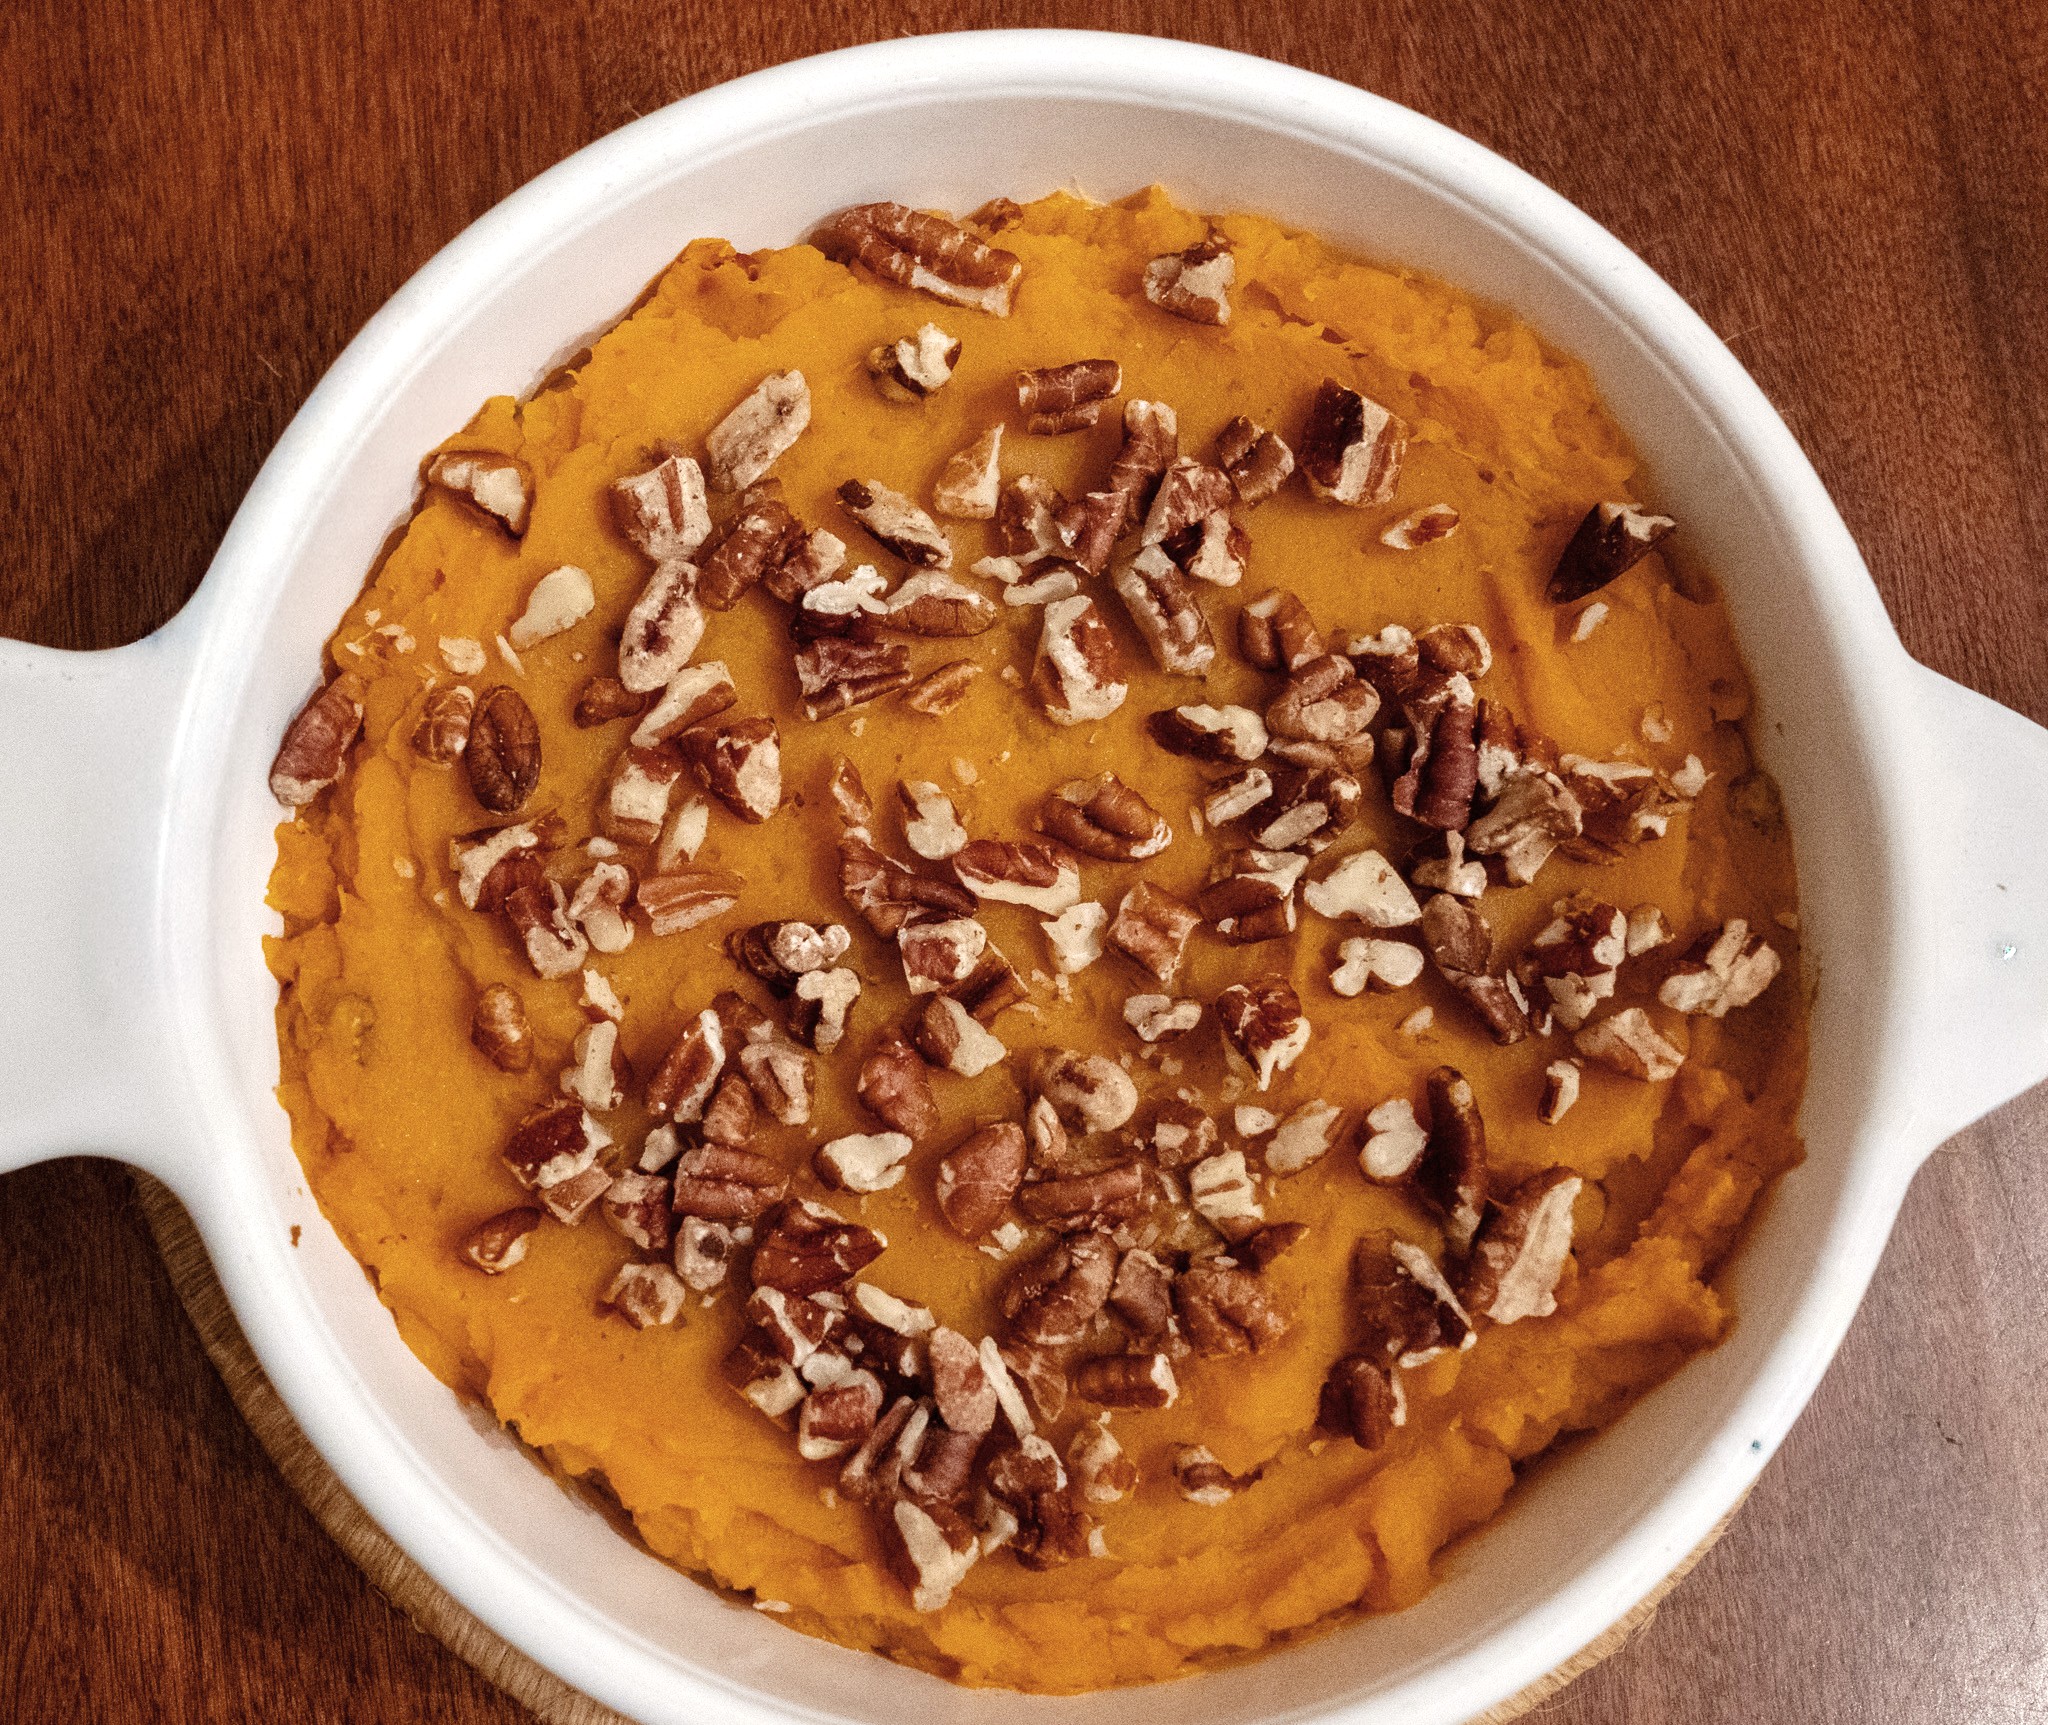
Sweet potatoes are a delightful, but often under-utilized vegetable. Often, they are served on Thanksgiving and then forgotten until the following November. That’s unfortunate. They are a seasonal, widely available vegetable in January, and they are very nutritious.
A cup of sweet potatoes contains more than 100% of the daily value (DV) for Vitamin A and almost half of the daily value for Vitamin C. They also contain substantive amounts of manganese (43% of DV), copper (36% of DV), pantothenic acid (35% of DV), Vitamin B6 (34% of DV, potassium (20% of DV), and niacin (19% of DV). Additionally, they contain 6.6 grams of fiber. So when I saw a recipe for Sweet Potatoes a la Pecan while browsing through a hundred-year-old cookbook, I decided to give it a try.
The recipe for Sweet Potatoes a la Pecan did not call for any added sweeteners, so the natural, rich, almost caramelly taste of the sweet potatoes had the opportunity to shine. The creamy mashed sweet potatoes combined with crunchy chopped pecan resulted in a lovely texture. This dish is perfect for these cold winter days.
Here’s the original recipe:
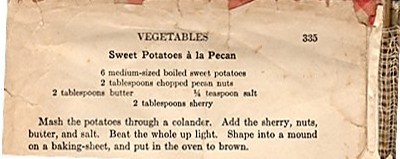
I’m uncertain about the origins of this recipe. It is from a cookbook page that was neatly pasted onto the inside front cover of a 1926 cookbook compiled by the Domestic Science Class of the Peoria, Illinois Women’s Club. At first, I thought that the page had fallen out of the cookbook, and had then been pasted by the cookbook’s owner onto the inside cover to keep it from getting lost. But the page number is more than a hundred pages higher than the last page of the cookbook, so it originated from another book.
Six sweet potatoes would make a lot of Sweet Potatoes a la Pecan, so I halved the recipe (except for the pecans). It seemed like a recipe that had pecans in the title should contain a substantive amount of chopped pecans, so I stirred two tablespoons of chopped pecans into the mashed sweet potato mixture, and also sprinkled some additional chopped pecans on top of the dish.
I’m surprised that the recipe called for sherry. The cookbook was published a hundred years ago, which was during prohibition, and I seldom see recipes calling for alcohol in cookbooks published during those years. However, since the recipe was pasted into the book, perhaps it is from a book published either prior to or after prohibition. I didn’t have any sherry, but Spruce Eats indicates that wine or apple cider vinegar can be substituted for sherry, so I used white wine.
I could not figure out how to make a mound of the sweet potato mixture on a baking sheet that could be successfully transferred in one piece to a serving plate after it was baked, so I just put the sweet potato mixture in a casserole dish.
Here’s the recipe updated for modern cooks:
Sweet Potatoes a la Pecan
3 medium sweet potatoes
1 tablespoon butter
1/8 teaspoon salt
1 tablespoon sherry, wine, or apple cider vinegar (I used white wine.)
2 tablespoons chopped pecans + additional chopped pecans for garnish (if desired)
Step 1. Preheat oven to 425° F.
Step 2. Peel the sweet potatoes, then cut into 1-inch cubes. Put in a large saucepan and cover with water. Bring to a boil using high heat, then reduce heat and simmer until the sweet potatoes are tender (about 20 minutes).
Step 3. Remove the sweet potatoes from the heat and drain, then mash the sweet potatoes. (An electric beater can be used to mash them.)
Step 4. Add the butter, salt, and sherry/wine/vinegar to the mashed sweet potatoes, and beat until well mixed. Stir in the 2 tablespoons of chopped pecans.
Step 5. Put the sweet potato mixture in a baking dish; and, if desired, top with additional chopped pecans.
Step 6. Put the baking dish in the oven to bake until the mixture is hot and lightly browned. (About 20 minutes if the sweet potatoes were hot when mashed; longer if they had partially cooled.). Remove from oven and serve.
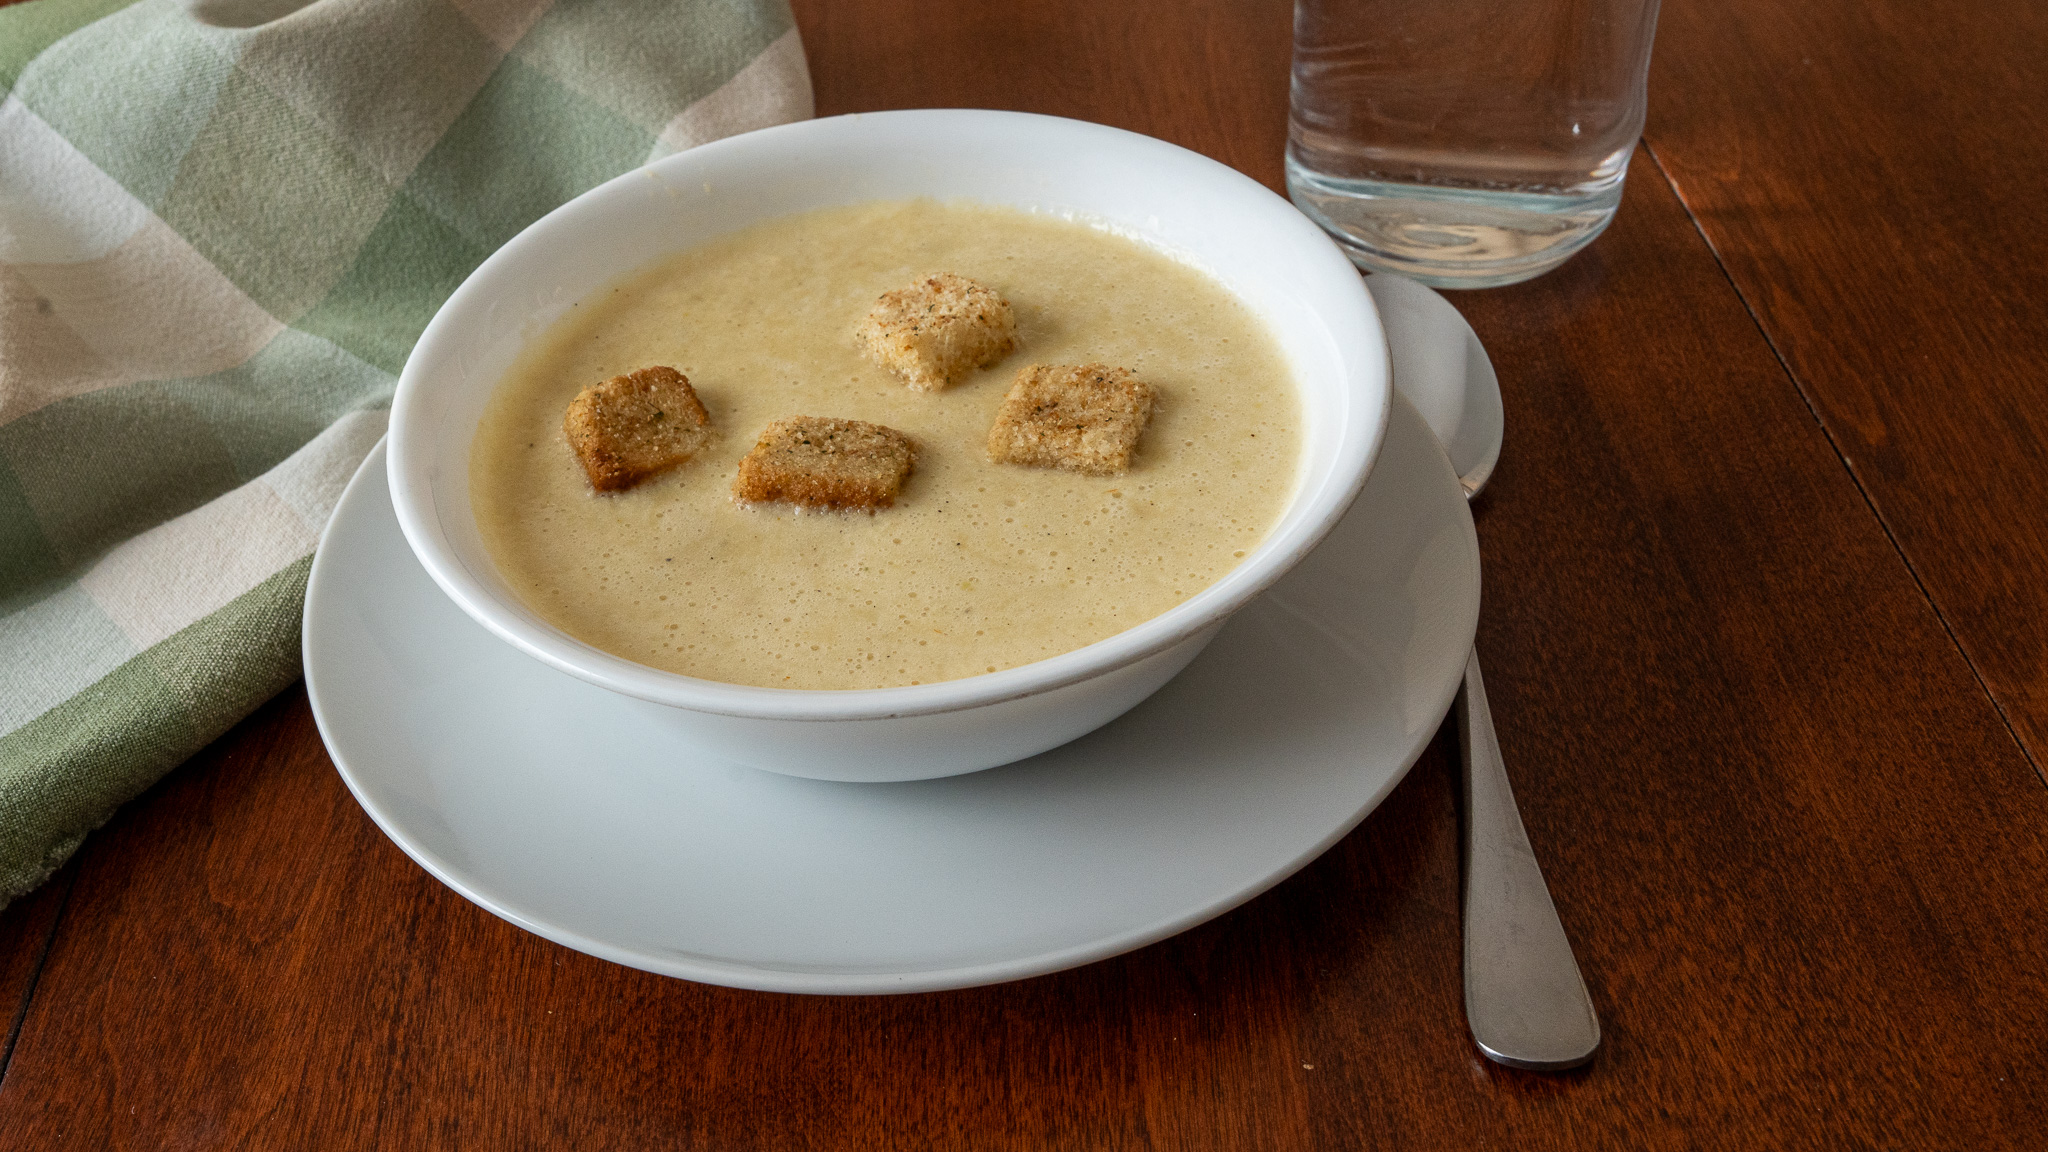 Brrr . . . it’s cold outside. I’ve also made a new year’s resolution not to waste food. The winter weather, plus my resolution, led me to search for hundred-year-old soup recipes that used left-over vegetables. I found an old general description of how to make soup using left-over vegetables as well as a recipe for Standard Cream of Vegetable Soup. I combined the directions from the two sources to make a lovely Cream of Vegetable Soup.
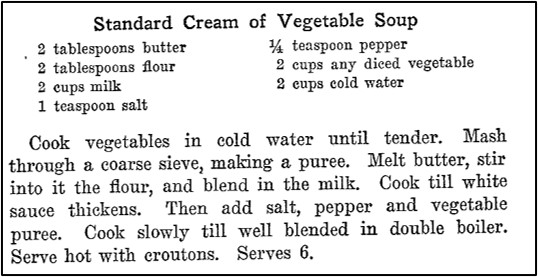
 Helena Muffly
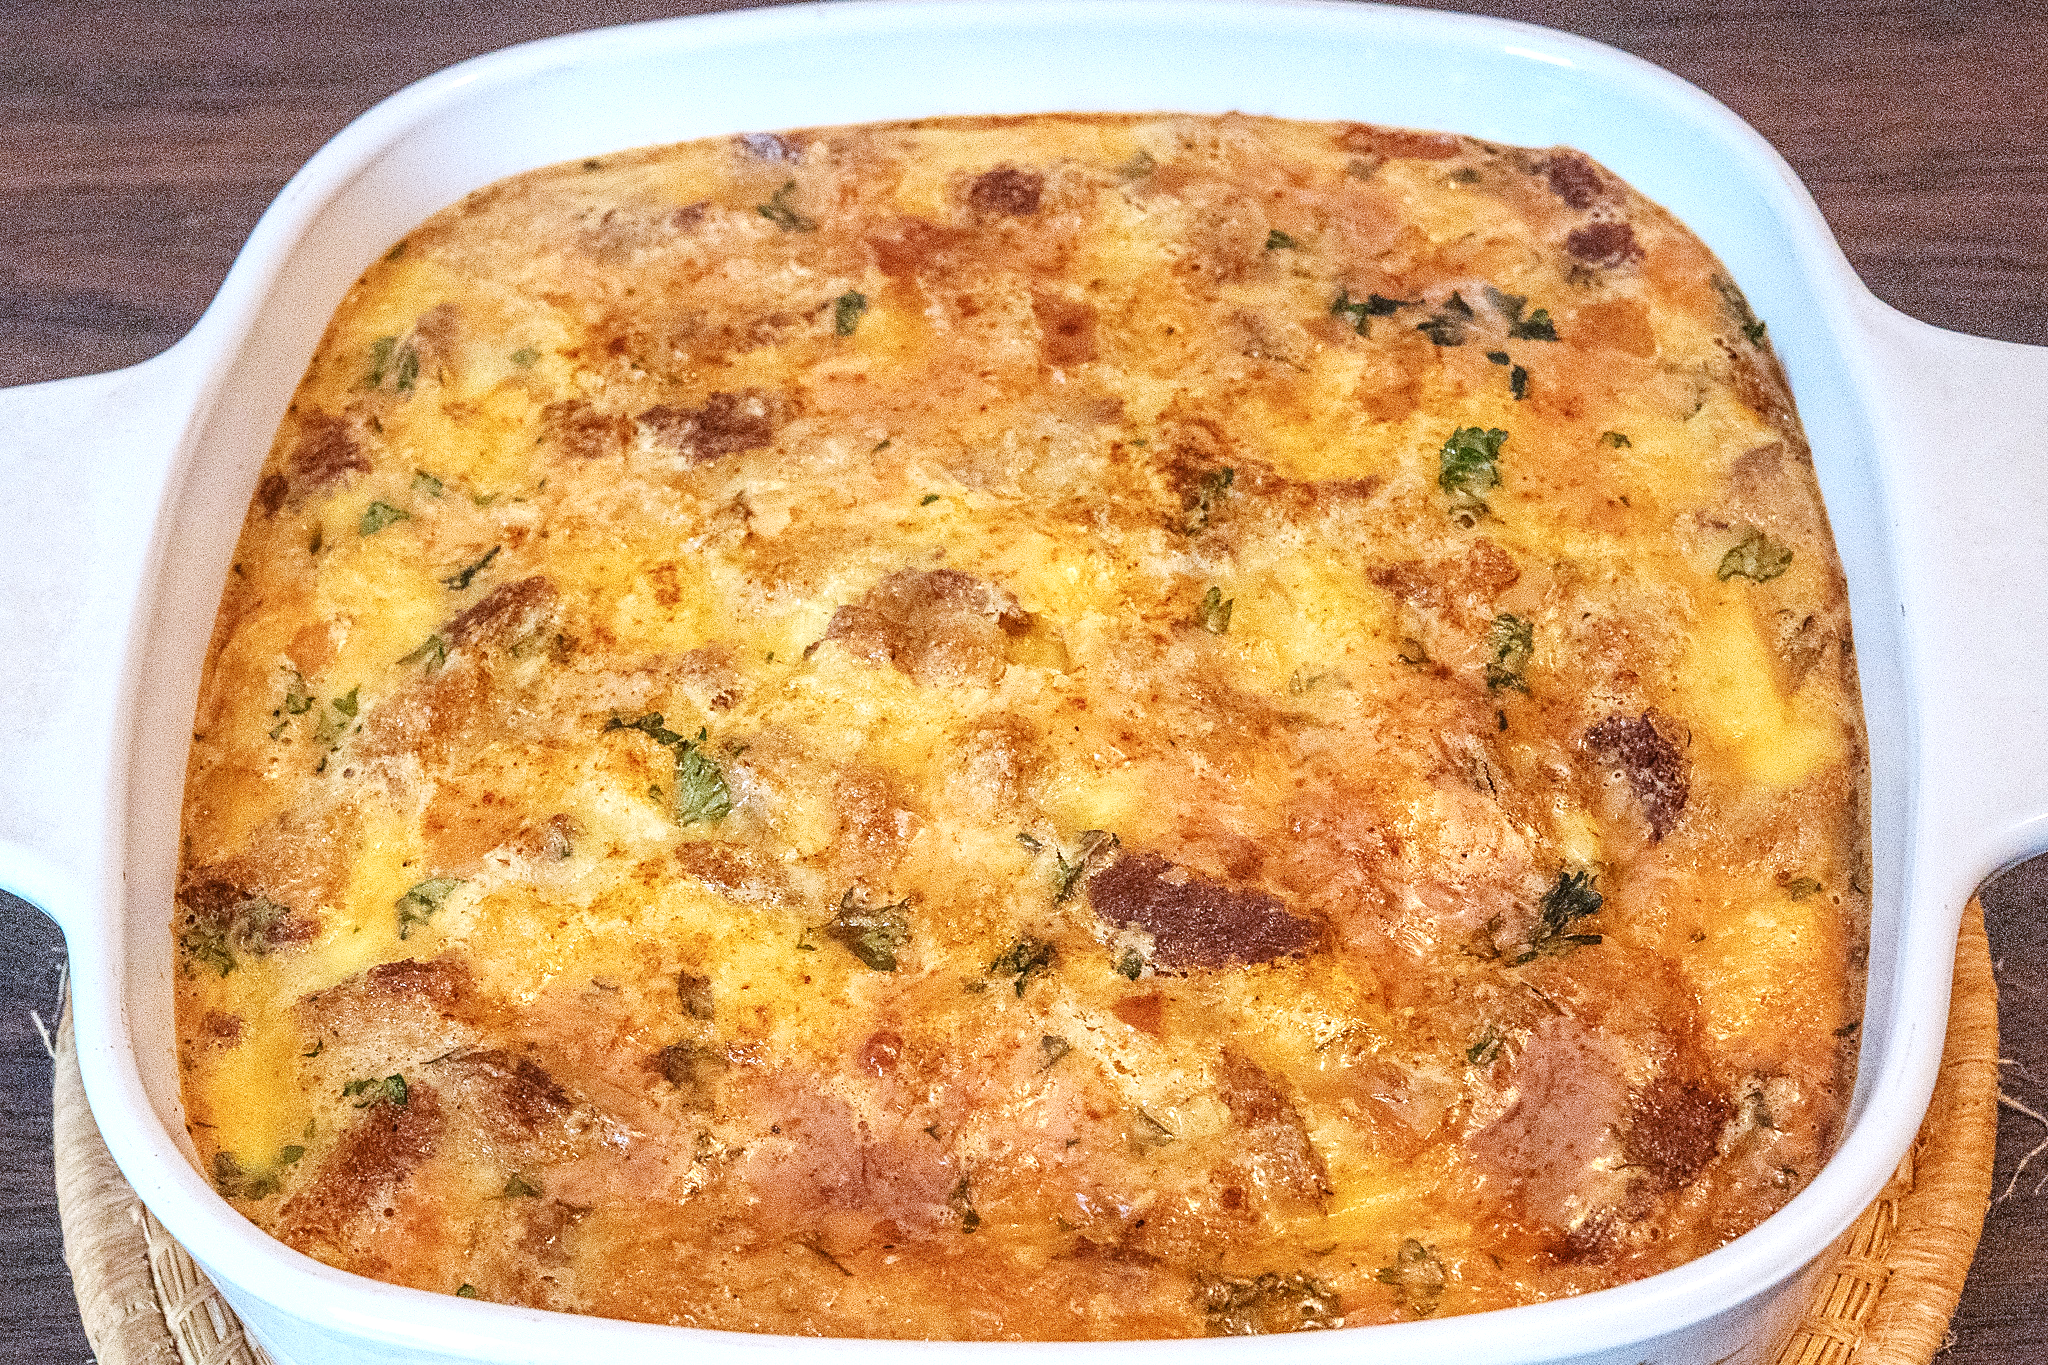 As the holidays are beginning to wind down, I’m in the mood for comfort food. So, when I came across a hundred-year-old recipe for Cheese Delight, I was intrigued and decided to give it a try.
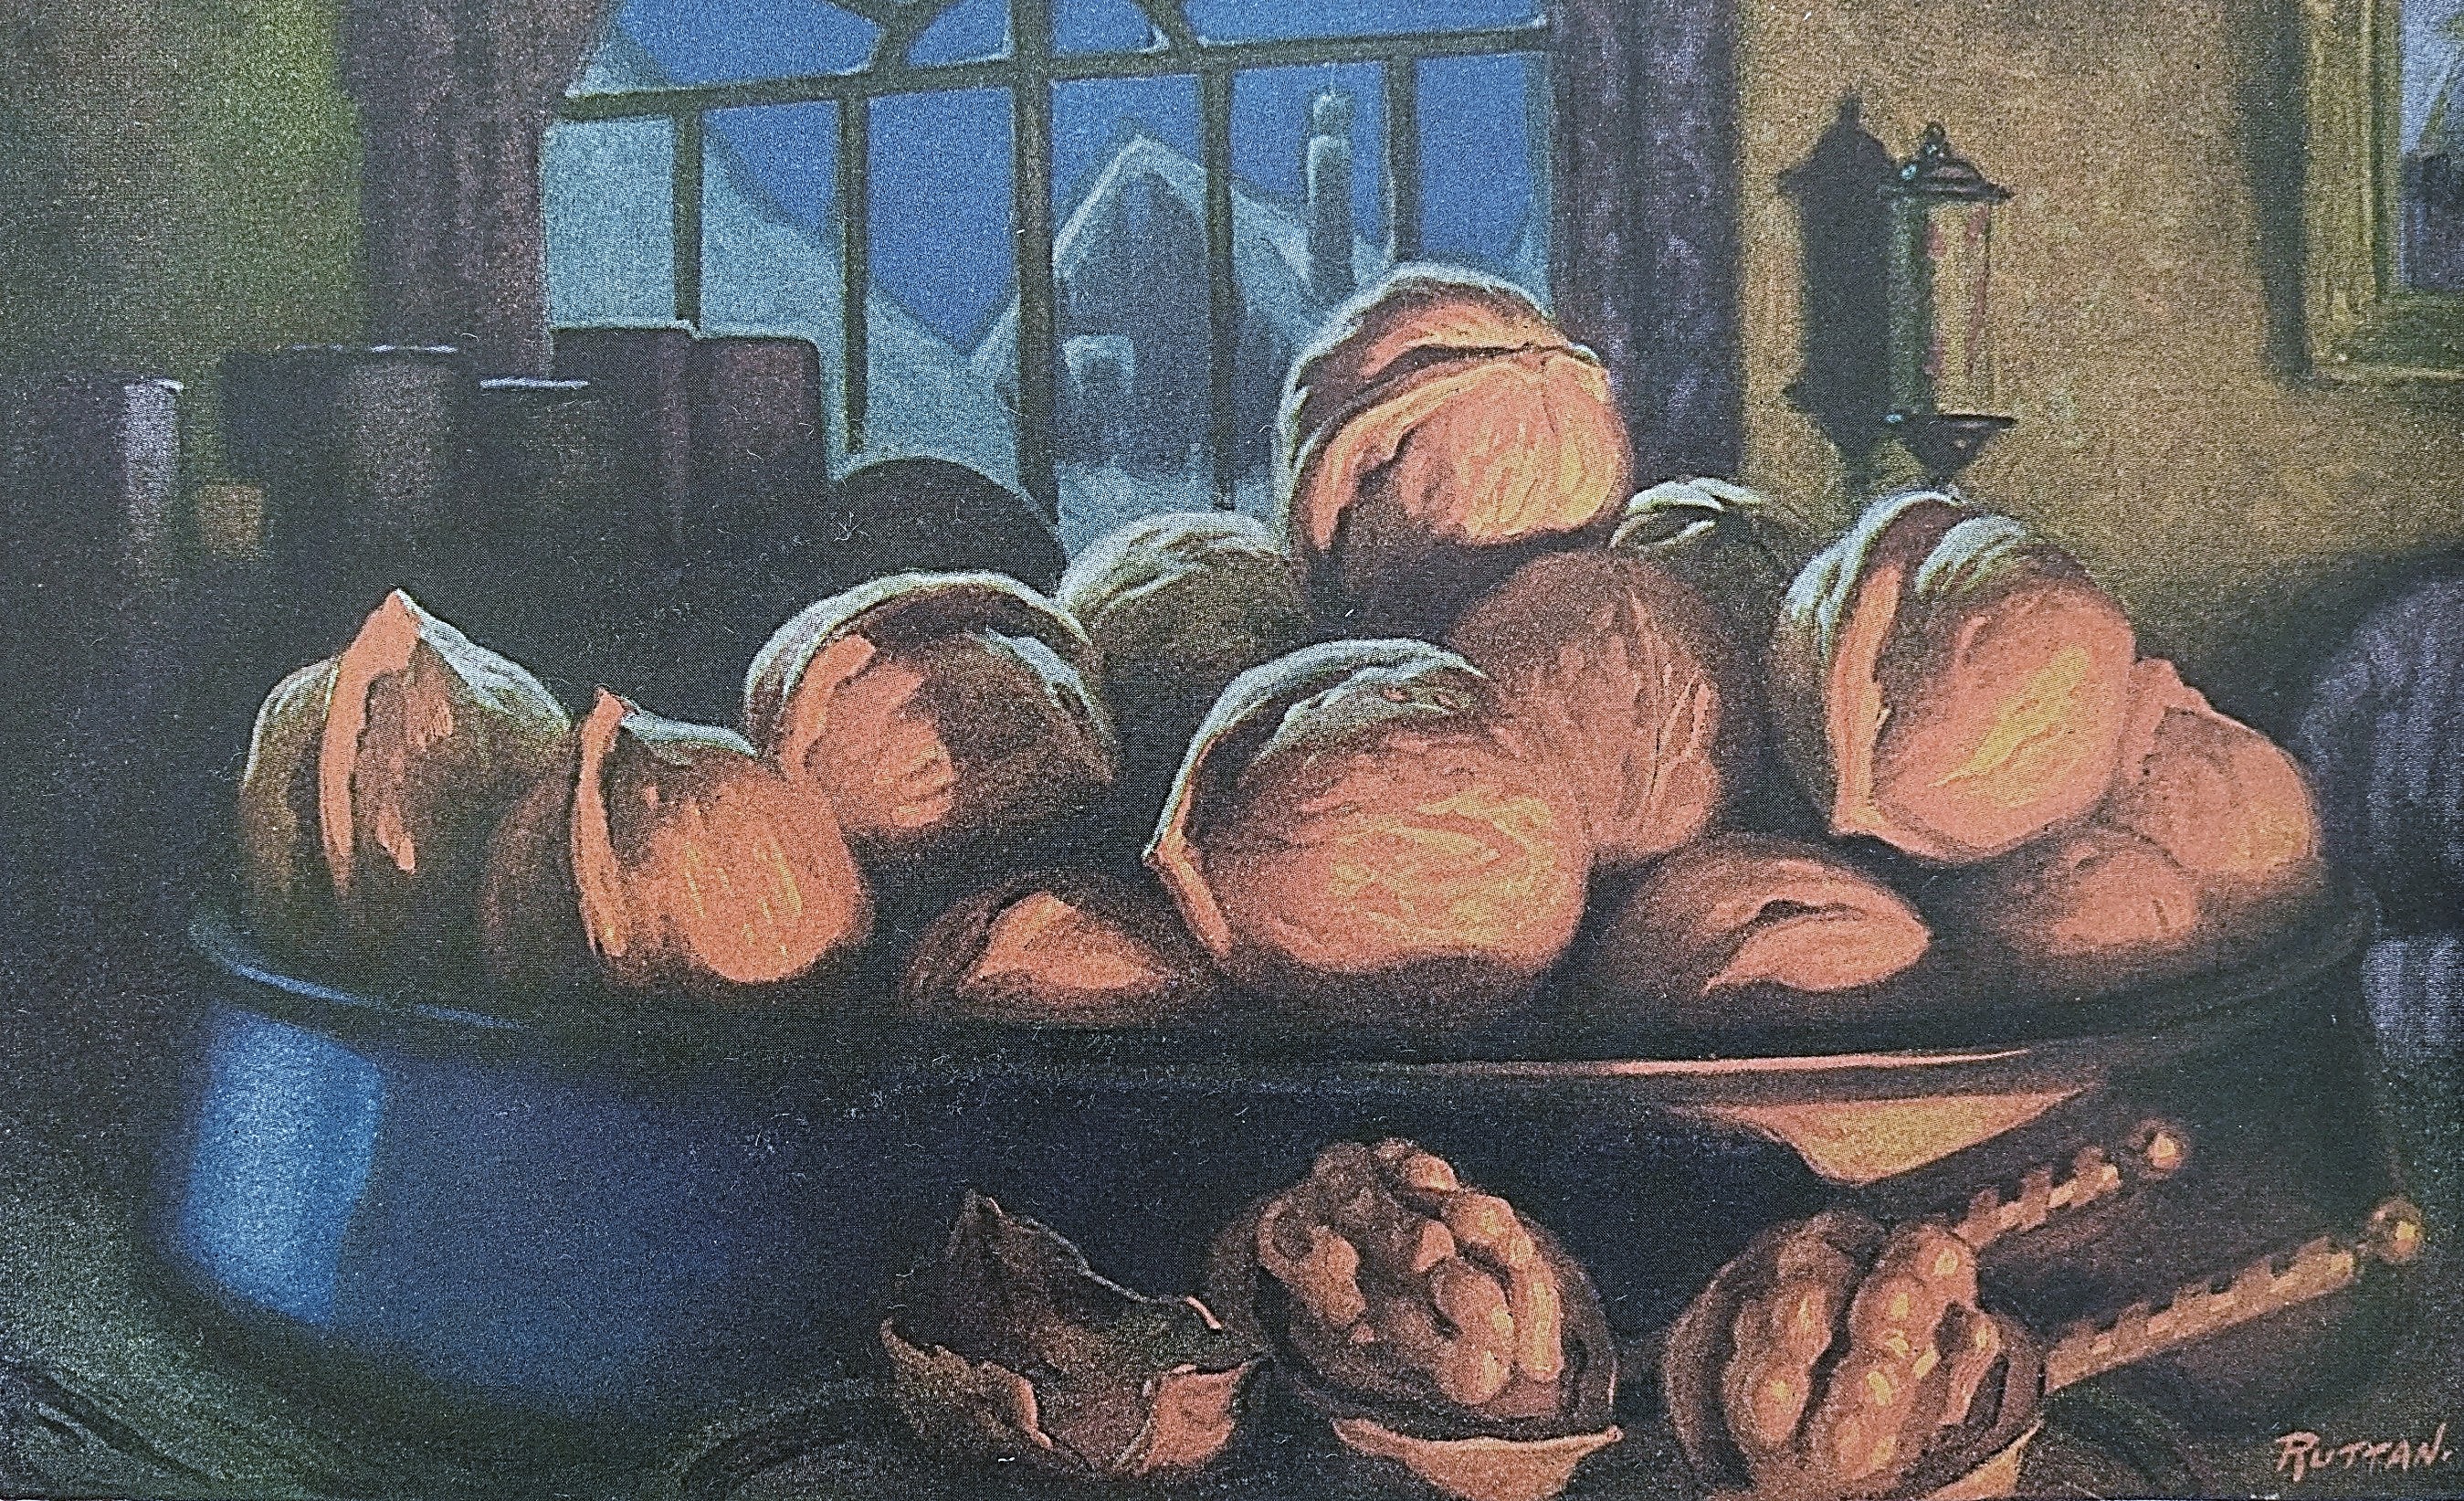
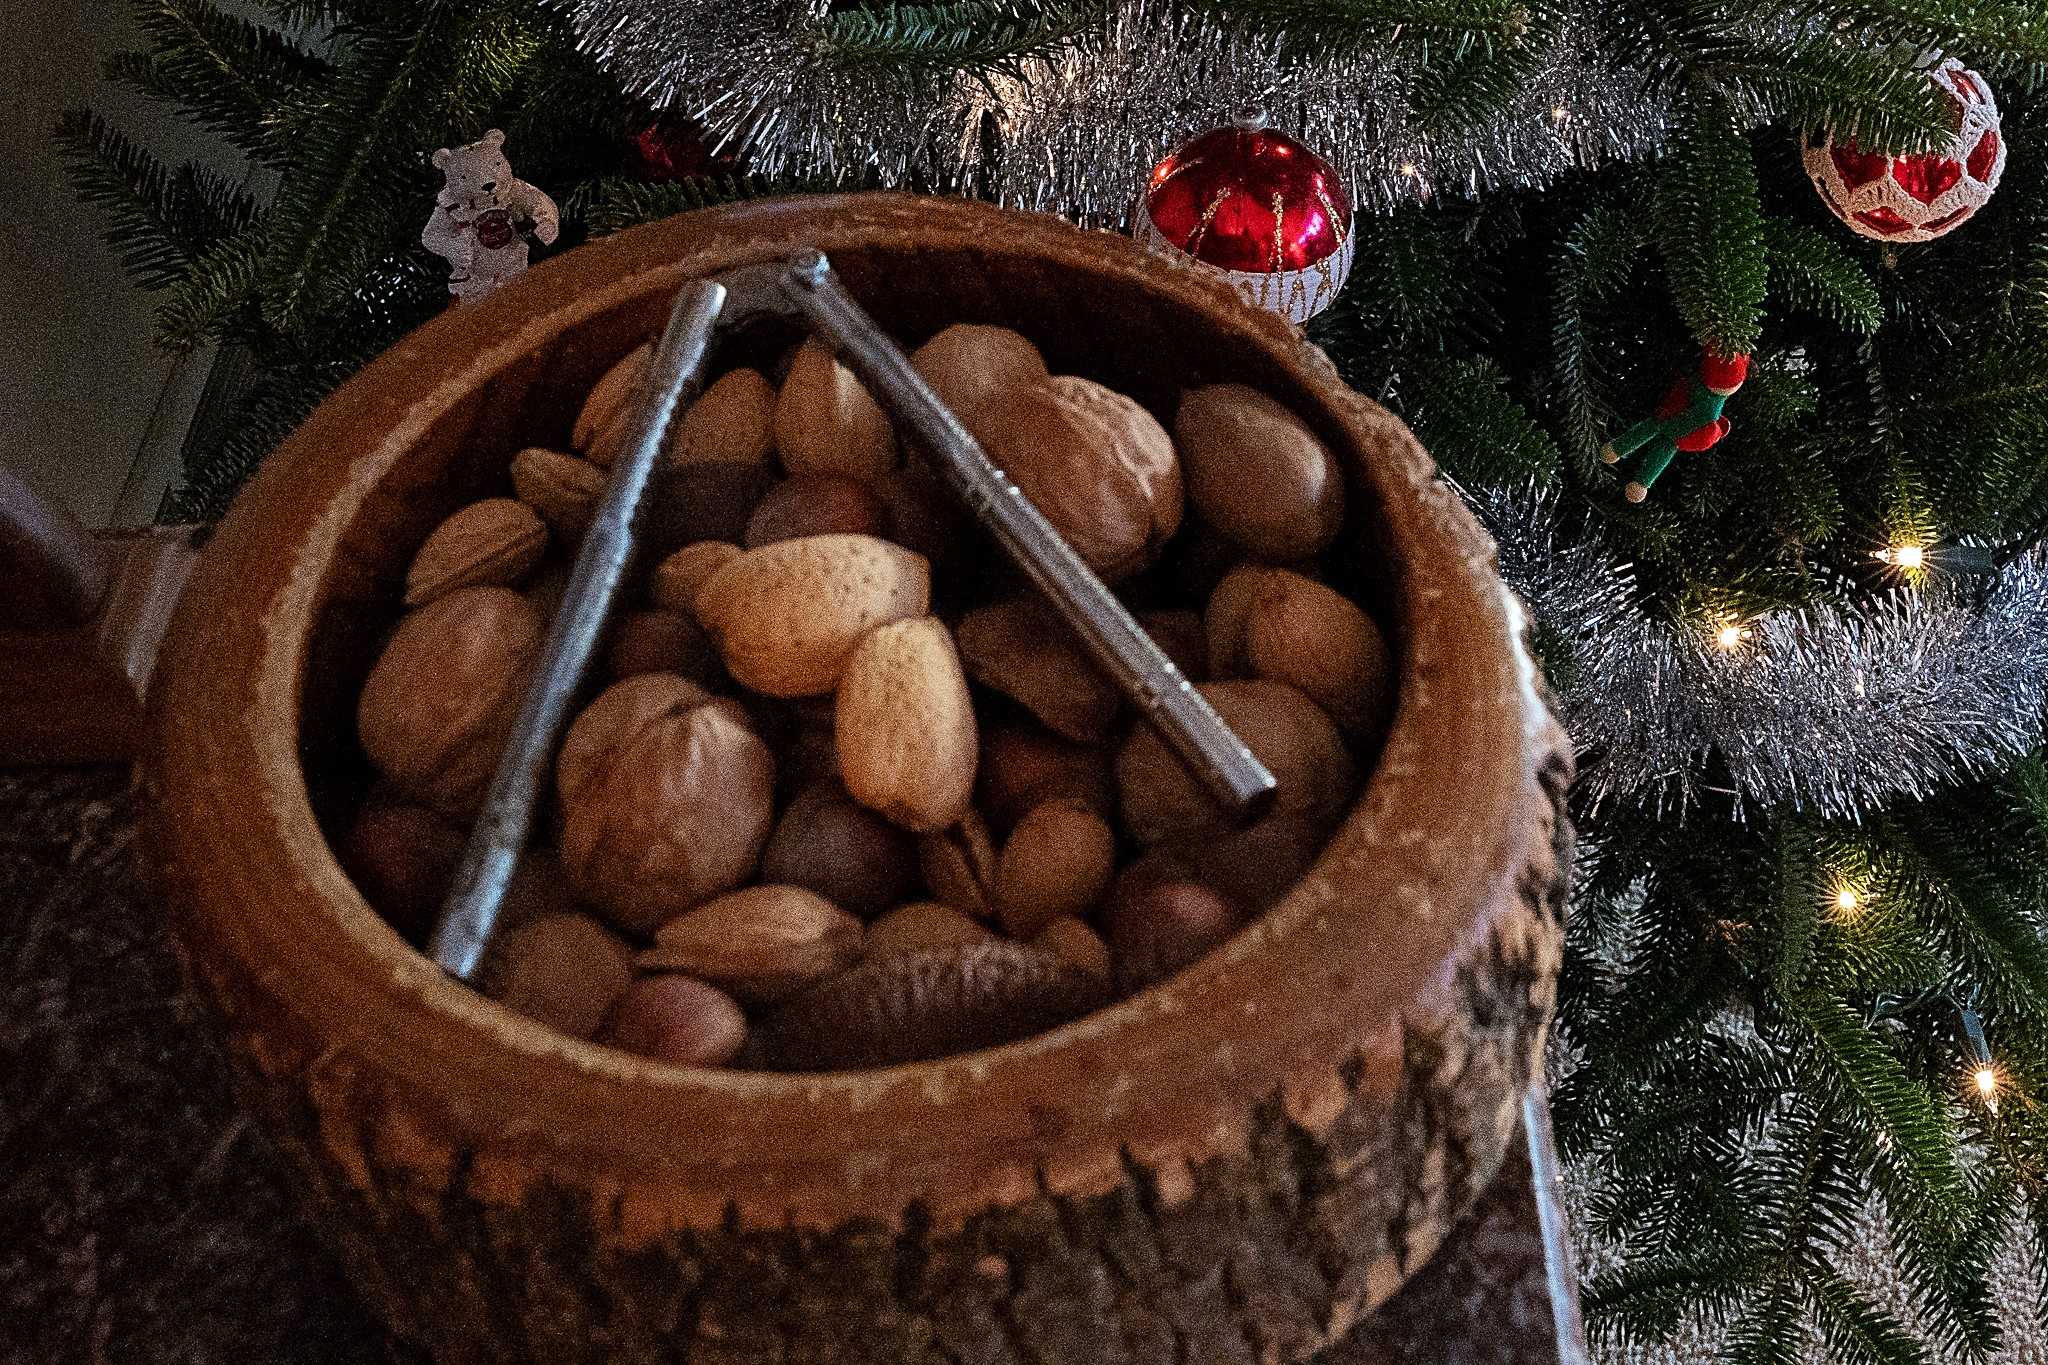
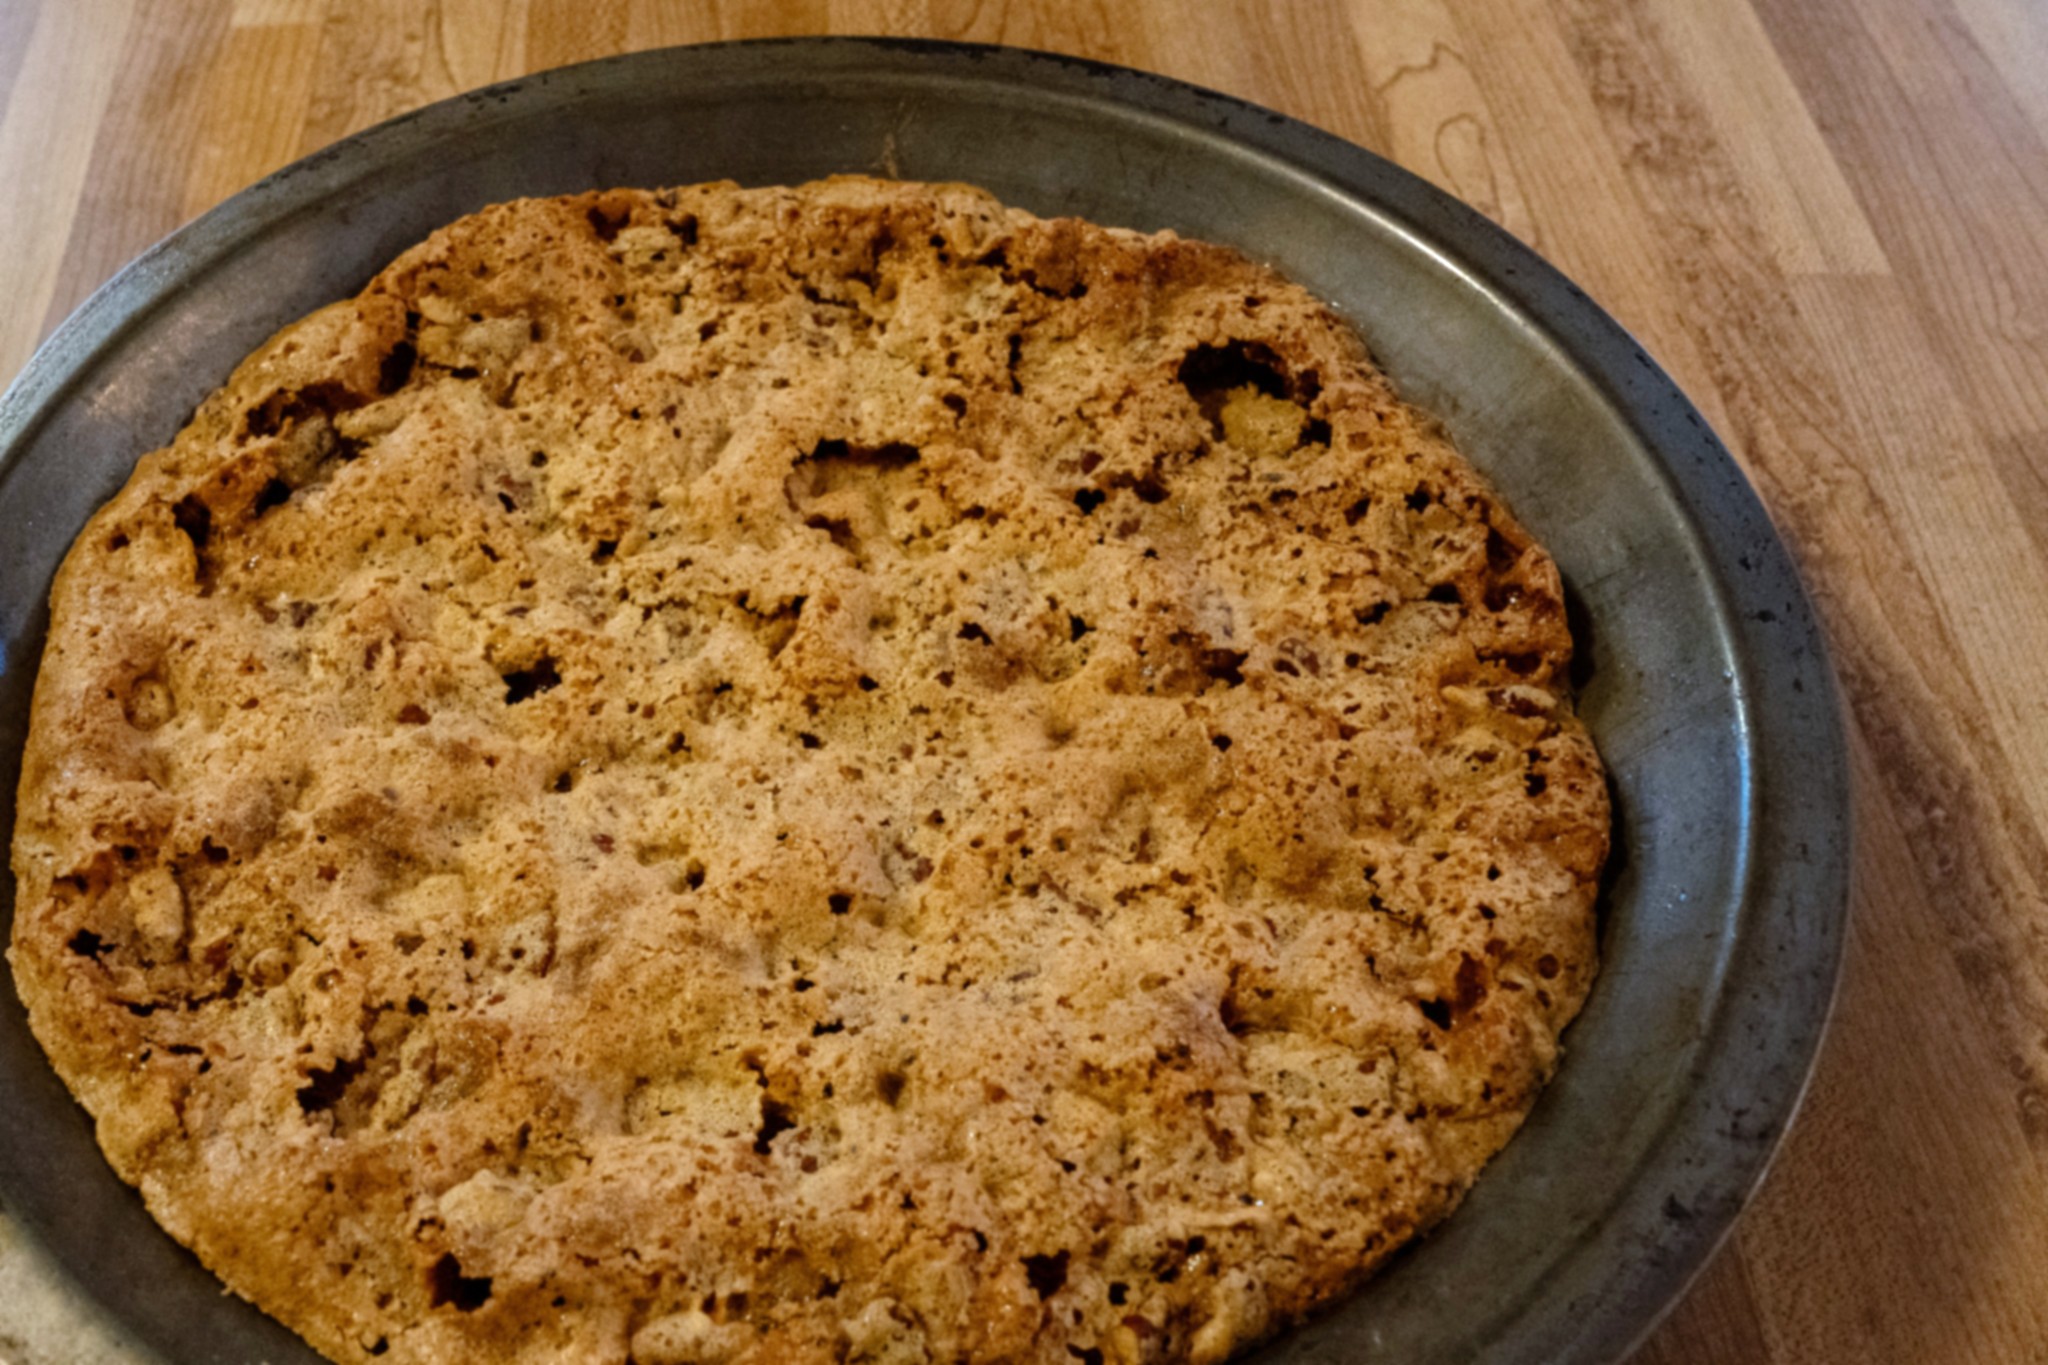
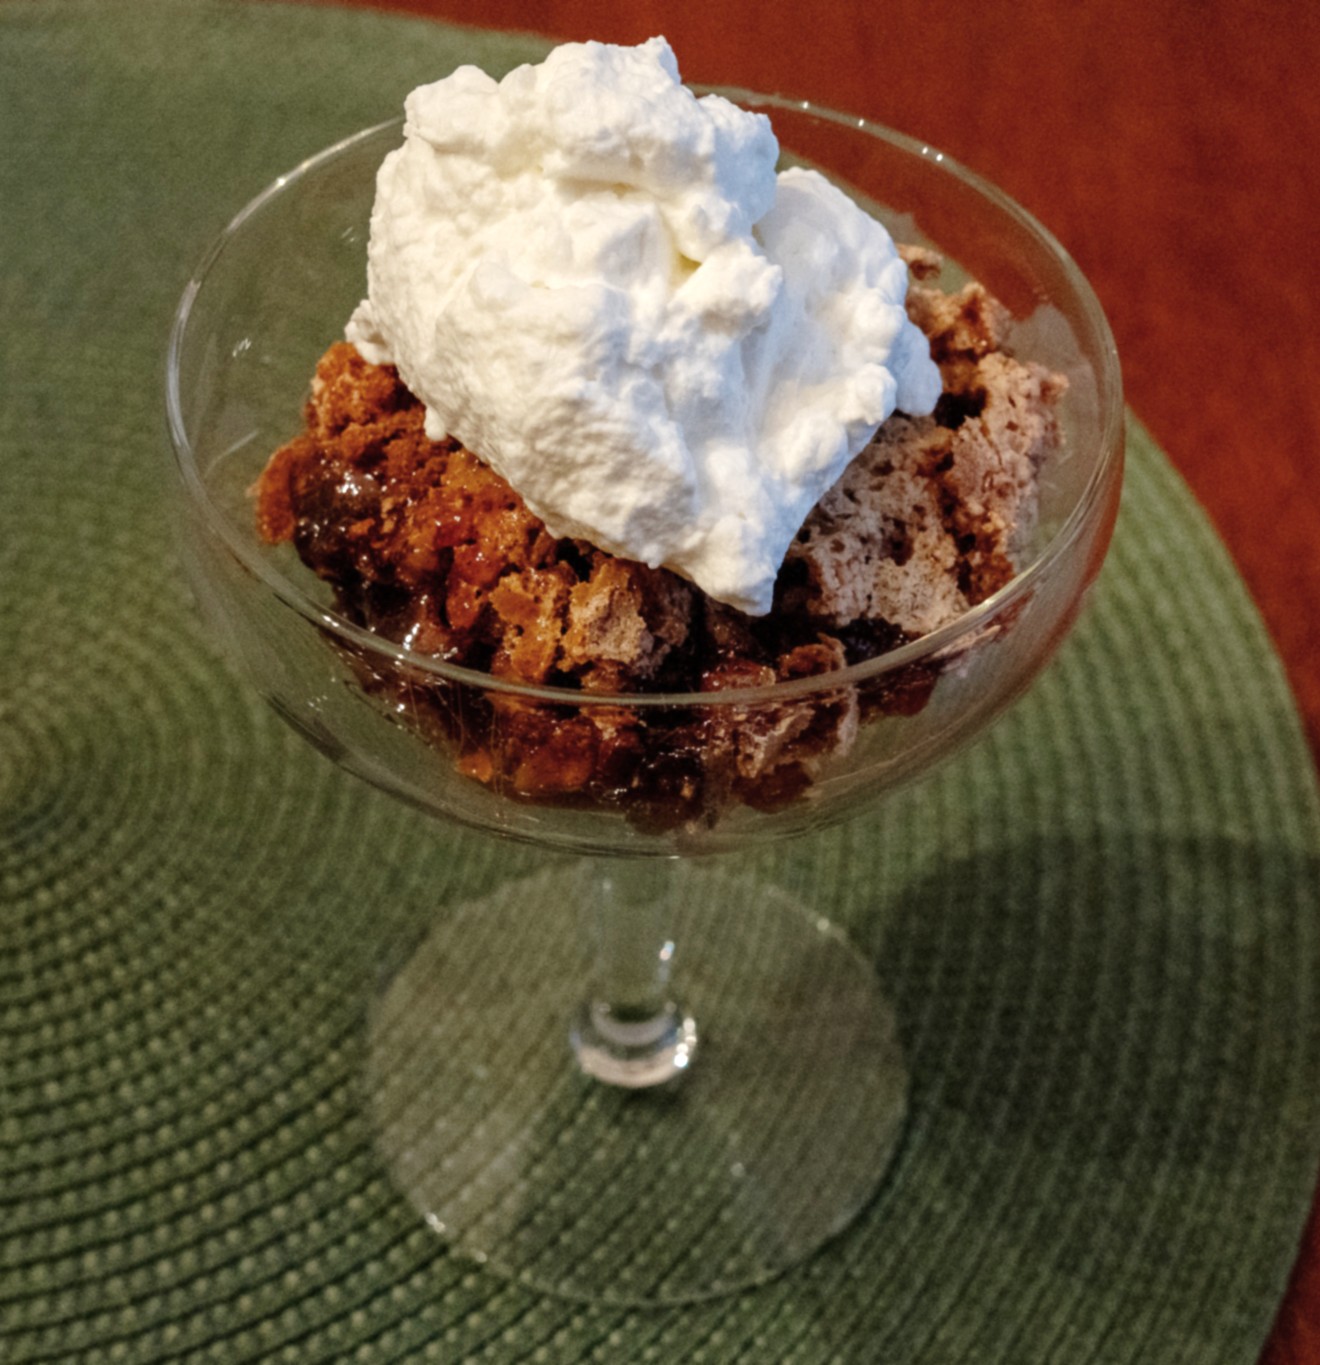 I recently came across an intriguing recipe in a 1925 issue of Farm Journal. The recipe was labeled “food for the gods or date crumbles.” What a bold assertion! Could this recipe possibly be that good? I had to find out, so next thing I knew I was making the recipe.