Cake
4 eggs, separated
1 1/3 cups butter, softened
2 ounces unsweetened baking chocolate, melted (4 1/2-ounce squares)
3/4 cup sugar
2 1/2 cups all purpose or pastry flour
1/2 teaspoon salt
1 teaspoon cinnamon
2/3 cup milk
small red candies (can use wintergreen candies or sugar pearls)
Preheat oven to 350° F. Grease two 9-inch round cake pans; line with waxed paper or parchment paper, then grease again and lightly flour.
Put egg whites into a mixing bowl, and beat until peaks form. Set aside.
Cream 1/3 cup butter, then add the remaining 1 cup butter and the melted chocolate; beat until smooth. Stir in egg yolks and sugar. Sift together flour, salt, and cinnamon, then stir into the chocolate mixture alternately with the milk; continue stirring until thoroughly combined. Fold in the beaten egg whites. Pour the 1/2 of the batter into each of the cake pans.
Bake the layers for 30 to 35 minutes or until a toothpick inserted in center comes out clean. Cool 5 minutes. Remove from pans. Cool 1 hour or until completely cooled.
Make frosting (see below).
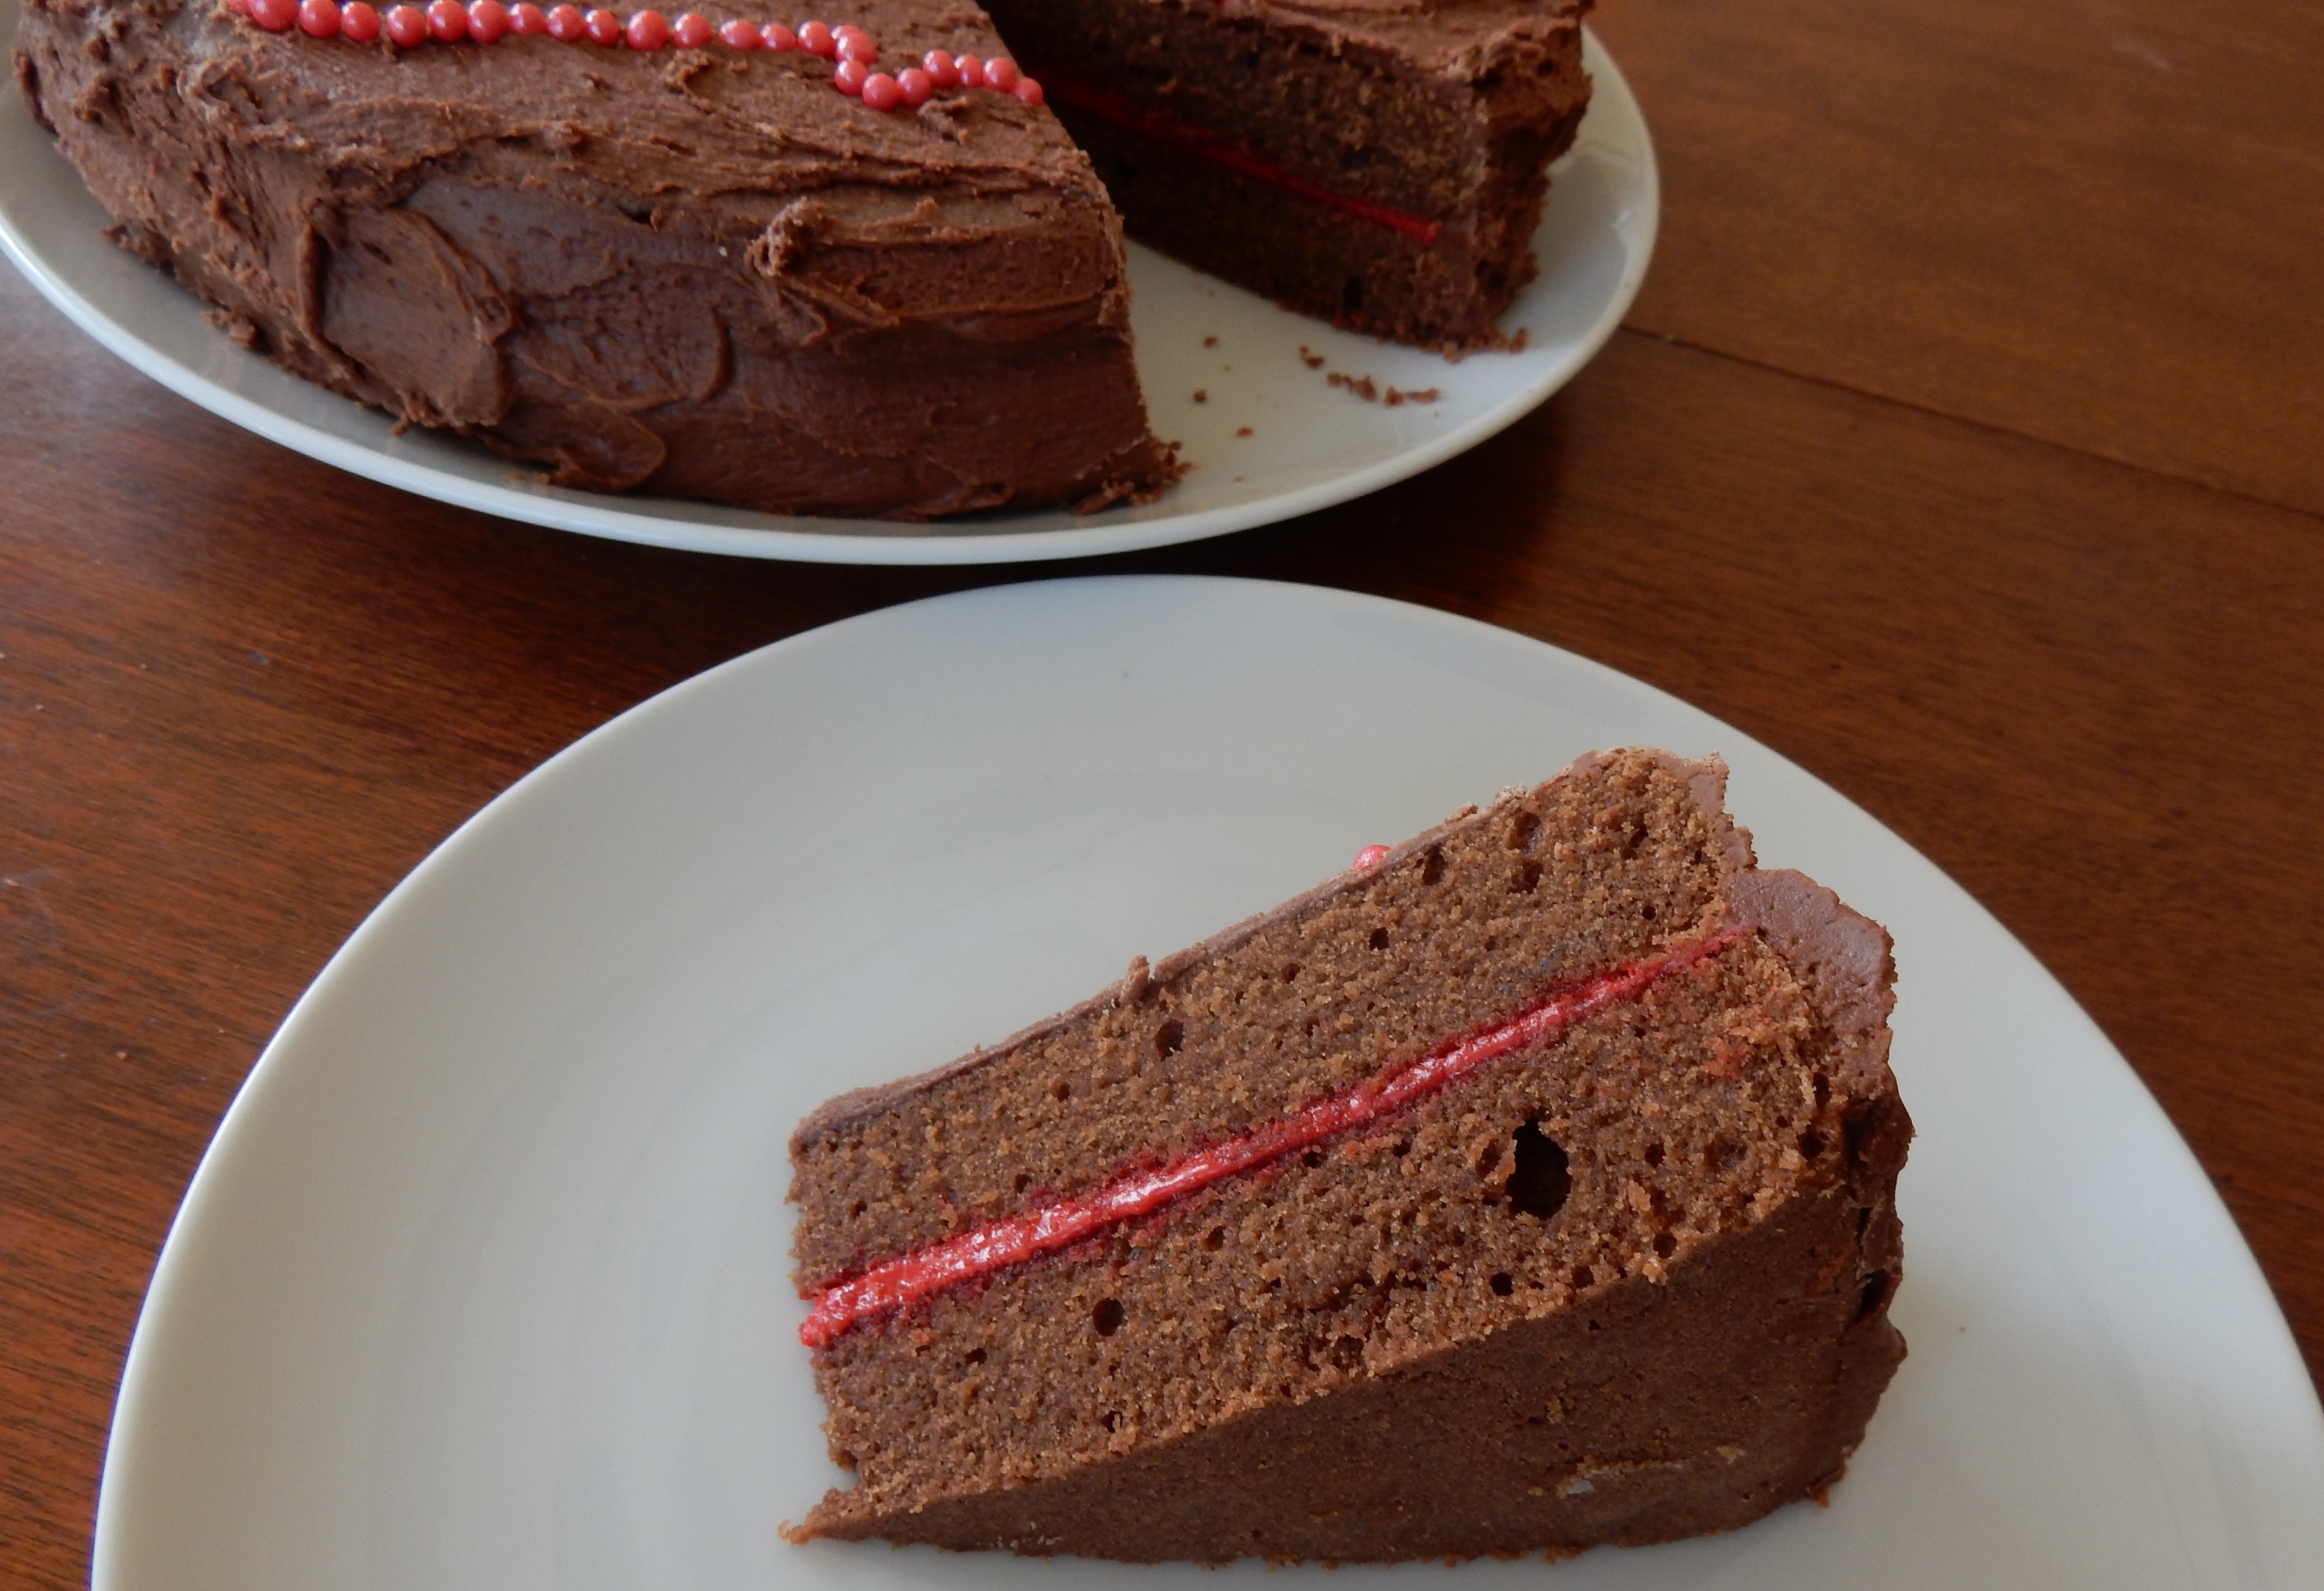
To assemble cake, trim cake layers if needed to make even, then put a layer on a plate. Spread with red frosting, and then put the other layer on top of it. Ice with the chocolate frosting, then decorate with red candies. I used a template of a witch as a guide when arranging the candies to make an outline of the witch.
Frosting
4 cups flour confectioners’ sugar
1/3 – 1/2 cup milk
2 teaspoons vanilla
red food coloring (I used “dark red” food coloring)
2 ounces unsweetened chocolate (4 1/2-ounce squares)
Combine confectioners’ sugar and 1/3 cup milk in a mixing bowl; beat until smooth. Add vanilla, and beat until combined. If the mixture to too thick add additional milk.
Red Filling: Put about 3/4 cup of the frosting into a small bowl. Add enough red food coloring to make the filling a bright red. Stir to combine.
Chocolate Frosting; Stir the melted chocolate into the remaining frosting.
http://www.ahundredyearsago.com


 Today it’s generally considered impolite to show up at a friend or relative’s home without texting first. And, I’m often uncertain about whether friends prefer me to make a home-cooked meal or for us to go out for dinner. I’ve always assumed that it was very different a hundred years ago, and that people just dropped by with no advance notice and that home-cooked meals were the norm when it came to entertaining, so I was surprised to learn that it was much more nuanced back then. Here are few excerpts from an articletitled “When We Entertain Our Friends” that was in a 1924 issue of American Cookery