1 pound apricots (about 7 medium apricots)
water for peeling apricots
1/4 cup water + 1/4 cup water
1/4 cup sugar
1 envelope (0.25 ounce) unflavored gelatin
2 egg whites (pasteurized)
whipped cream (see below)
First, peel apricots. To do this, fill a saucepan two-thirds full with water. Using high heat bring to a boil. Drop apricots into the boiling water for 30 seconds. Remove from water with a spoon. Pinch a piece of the loosened apricot skin, then peel by slipping the skin off.
Cut the peeled apricots in half and remove stones. Place the apricots halves in a saucepan; add 1/4 cup of water. Using medium heat, heat until the apricots are softened, while stirring occasionally (about 5 minutes). Remove from heat, then push the cooked apricots through a sieve. (I used a Foley mill). Measure the apricot pulp. There should be approximately 1 cup. Return to pan and reheat.
In the meantime, put 1/4 cup cold water in a small bowl; sprinkle the gelatin on the water. Let sit for about 3 minutes. Then stir the softened gelatin and the sugar into the hot apricot pulp.
Remove from heat, put into refrigerator and chill at least 3 hours.
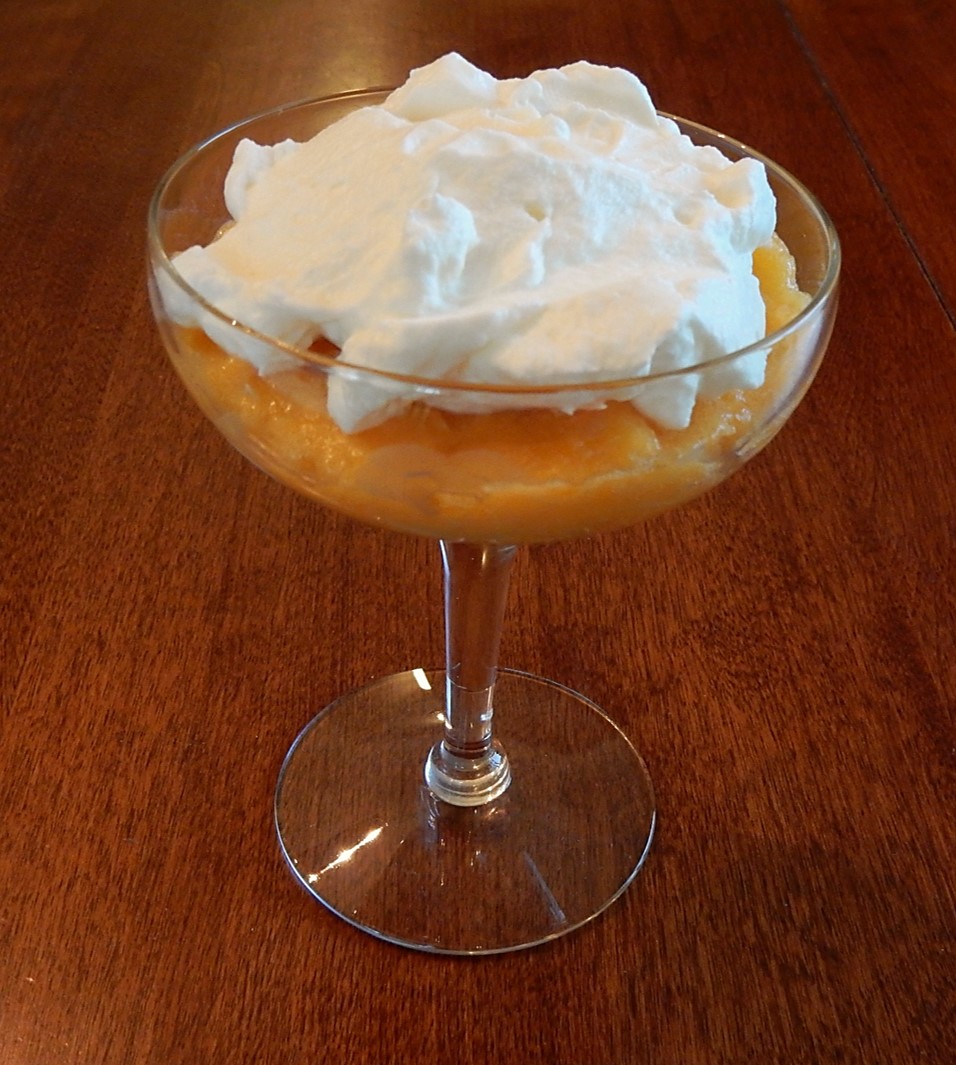
After the mixture has chilled, beat the egg whites until stiff peaks form. Then, beat the chilled apricot mixture until smooth. Gently fold the beaten apricot mixture into the beaten egg whites. Spoon into serving bowls or cups. Serve with whipped cream.
Whipped Cream
1/2 cup heavy whipping cream
2 tablespoons confectioners’ sugar
Put cream in a bowl; beat until stiff peaks form. Add confectioners’ sugar; beat until combined.