Some old rules of thumb and beliefs about nutrition are true. For example, my mother always told me to eat carrots so that I could see better at night. She was right. It’s true that carrots contain lots of Vitamin A which may make it easier to see in the dark.
Carrots are also a good source of Vitamin C and Vitamin K; and, they are high in fiber, and low in calories.
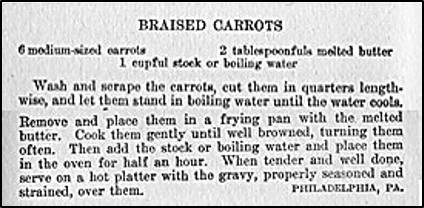
The bottom line is that carrots are a very nutritious vegetable. But, except for nibbling on the occasional raw carrot, I seldom eat them. So when I came across a hundred-year-old recipe for Braised Carrots, I decided that it was time to try a carrot recipe.
The Braised Carrots, when made using beef broth, taste and have a texture similar to carrots in a beef stew. It makes a nice vegetable side dish. The carrots are cut lengthwise into long strips which makes for a nice, somewhat unique, presentation.
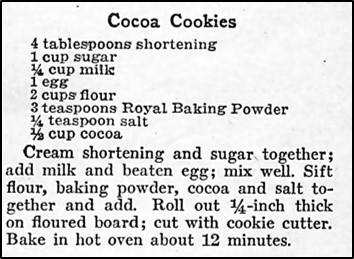
Here’s the original recipe:
Here’s the recipe updated for modern cooks:
Braised Carrots
water
6 carrots
2 tablespoons butter
1 cup stock or water (I used beef broth.)
Fill a Dutch oven half full with water. Put on stove and bring to a boil using high heat.
In the meantime, wash and peel (or scrape) the carrots; then quarter lengthwise. Put carrots in the boiling water and cover. Remove from heat. Let sit until the water has cooled (about 45 minutes). Drain.
Preheat oven to 375° F. In the meantime, on the top of the stove, melt butter in an oven-proof skillet using medium heat. Gently put carrots in the skillet and cook for about 10 minutes. May be gently turned once or twice. (The carrots were difficult to turn without breaking, and they didn’t really seem to need to be turned, so I did not turn most of them. They did not brown, but became more tender). Add stock or water, and put in oven for a half hour. Remove from oven, and put in serving dish. Spoon some of the liquid over the carrots.