
 Brrr . . . it’s cold outside. I’ve also made a new year’s resolution not to waste food. The winter weather, plus my resolution, led me to search for hundred-year-old soup recipes that used left-over vegetables. I found an old general description of how to make soup using left-over vegetables as well as a recipe for Standard Cream of Vegetable Soup. I combined the directions from the two sources to make a lovely Cream of Vegetable Soup.
Similarly to now, soup was a popular winter comfort food a hundred years ago. According to an article titled “Soups – Economical and Delicious” – in the January, 1926 issue of Farm Journal:
With plenty of good soup, good bread and butter, some fruit or a simple dessert, a good, hearty meal can be prepared in a short time. Cold weather is just the time for a hearty soup, too.
The article identifies three “classes” of soup: (1) soups made using a single vegetable; (2) soups using meat stock as the foundation; and (3) soups made using left-over vegetables. Here’s what it says about using left-over vegetables to make soup:
Soups of the third class are perhaps the simplest and most economical. Such soups can be made entirely of left-over vegetables or can include both left-over and new cooked vegetables. Perhaps there are some cooked potatoes (cooked any way) on hand, a little gravy, a few spoonfuls of peas or shelled beans, and a little turnip. Put in a kettle enough boiling water to make the required amount of soup for your family. Into the kettle slice one or two onions, two or three carrots and a few more raw potatoes if needed. Cook until tender the left-over vegetables, gravy, and some salt (pepper if liked) and boil up. Now use a wire potato-masher to reduce the vegetables to a smooth, delightfully blended mixture. A most pleasing variety of soups can be had by varying the ingredients. Ripe tomatoes in any form can be used, even the rinsings of the catsup bottle. Boiled beans, baked beans, squash, corn, a little cabbage, a bit of parsnip, celery, macaroni, rice, oatmeal, the left-over meat pie (crust and all) can all be utilized in this way. Celery makes a most delicious soup. The celery itself can be used or crushed dried leaves or celery salt can be used for flavoring. When a straight vegetable soup is made, add fresh or evaporated milk or a little cream to give the desired richness. Lacking these, butter or a good cooking oil can be used.
Farm Journal (January, 1926)
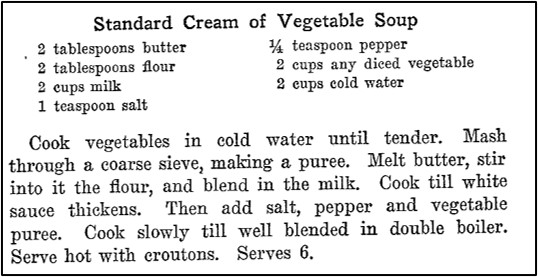
A recipe in a 1926 cookbook contained a “standard” recipe for this type of soup:
My research was complete. I now was ready to make the soup. I used the Standard Cream of Vegetable Soup recipe as the basis for the soup, but pulled in some of the suggestions from the Farm Journal article. I had some left-over mashed potatoes, and cooked carrots that I used. I thought that onions and celery would be a nice addition. so I chopped up about half a cup of each. These items didn’t make the 2 cups of vegetables called for in the “standard” recipe, so I added small amounts of frozen green peas, corn, and lima beans that had languished in my freezer in almost empty bags.
And, I was intrigued by the suggestion in the Farm Journal article to add the “rinsings of the catsup bottle” to the soup. It’s difficult to get the lid off many modern catsup bottles, so I just added 2 tablespoons of catsup to the vegetable mixture.
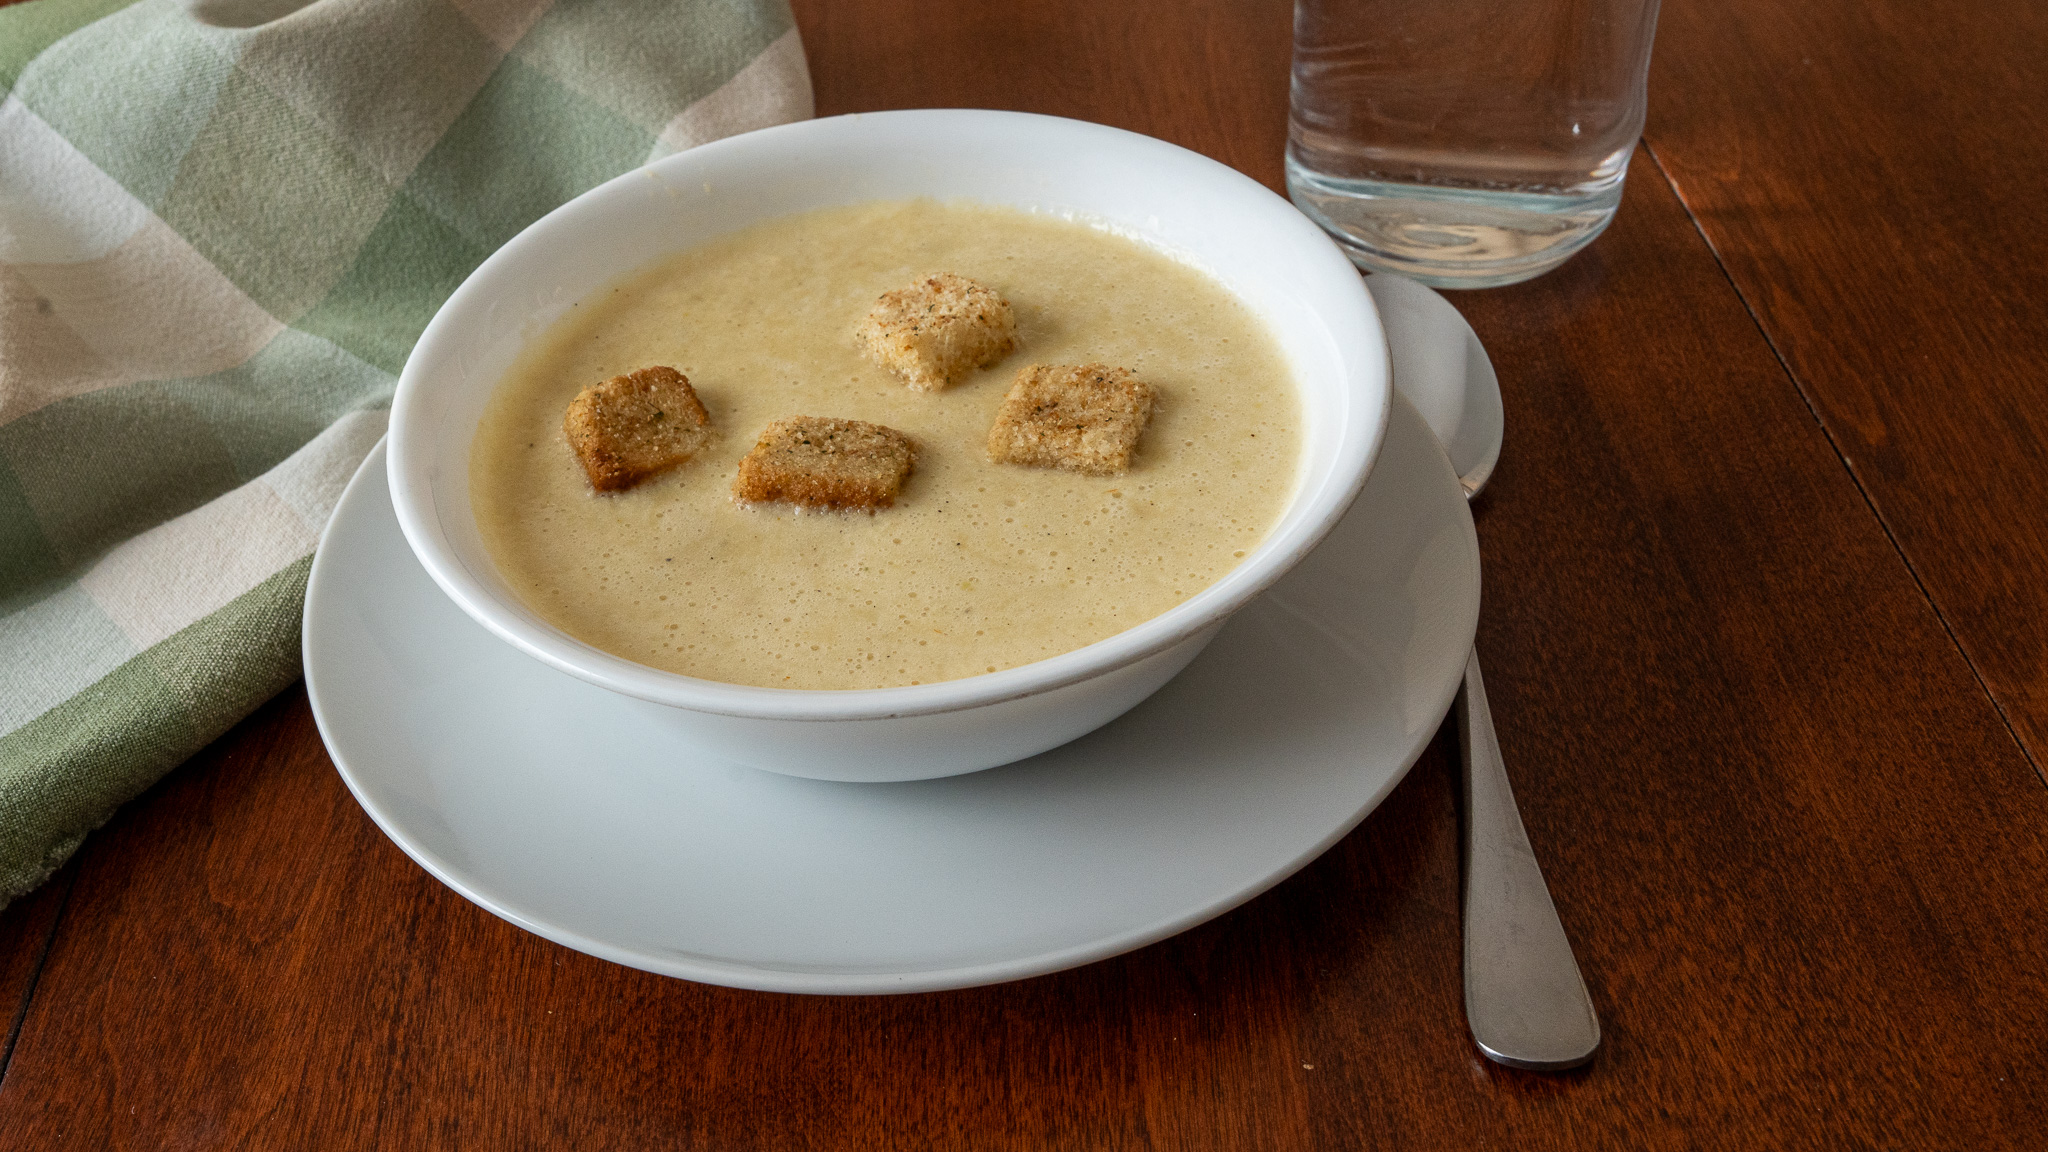
The vegetables (including the water they are cooked in) are pureed after they are cooked, and added to milk that has been thickened with butter and flour. The soup is then heated until it is hot and steamy. The resulting soup had a lovely, delicate flavor. The seasonings should be adjusted if a bolder flavor is desired. The soup is garnished with croutons.
The old recipe said that it made enough soup to serve six. In my opinion, six servings is a stretch. This recipe makes 4-5 generous servings.
The bottom line is that this recipe is extremely flexible and cooks should adjust the recipe based on the left-overs and other vegetables they have in their kitchen. My daughter-in-law often says that she cooks “free style.” This is a recipe for free style cooks. Here’s my combined and updated recipe for Standard Cream of Vegetable Soup.
Standard Cream of Vegetable Soup
2 cups vegetables (Any combination of left-over vegetables work well in this recipe. I used left-over mashed potatoes and cooked carrots. I also added about ½ cup chopped onions and 1 stalk celery. I then added a few frozen green peas, lima beans, and corn to get a total of 2 cups of vegetables.)
2 tablespoons catsup (optional)
2 cups water
2 tablespoons butter
2 tablespoons flour
2 cups milk
1 teaspoon salt
¼ teaspoon pepper
croutons
Step 1. Put water and all the vegetables in a sauce pan. If desired, stir in the catsup. Bring to boil using high heat, then reduce heat and simmer until the vegetables are tender (about 10 – 15 minutes). Remove from heat and cool slightly. (Do not drain.)
Step 2. Puree the cooked vegetables and the water they were cooked in. (A blender or food processor works well.)
Step 3. In the meantime, melt the butter in a large saucepan. Stir in the flour. Gradually add the milk, while stirring constantly; cook using medium heat until the mixture begins to thicken.
Step 4. Add salt, pepper, and vegetable puree to the milk mixture. Cook, while stirring constantly, until hot and steamy. If a bolder flavor is desired, add additional seasonings.
Step 5. Put in soup bowls. Garnish with croutons.
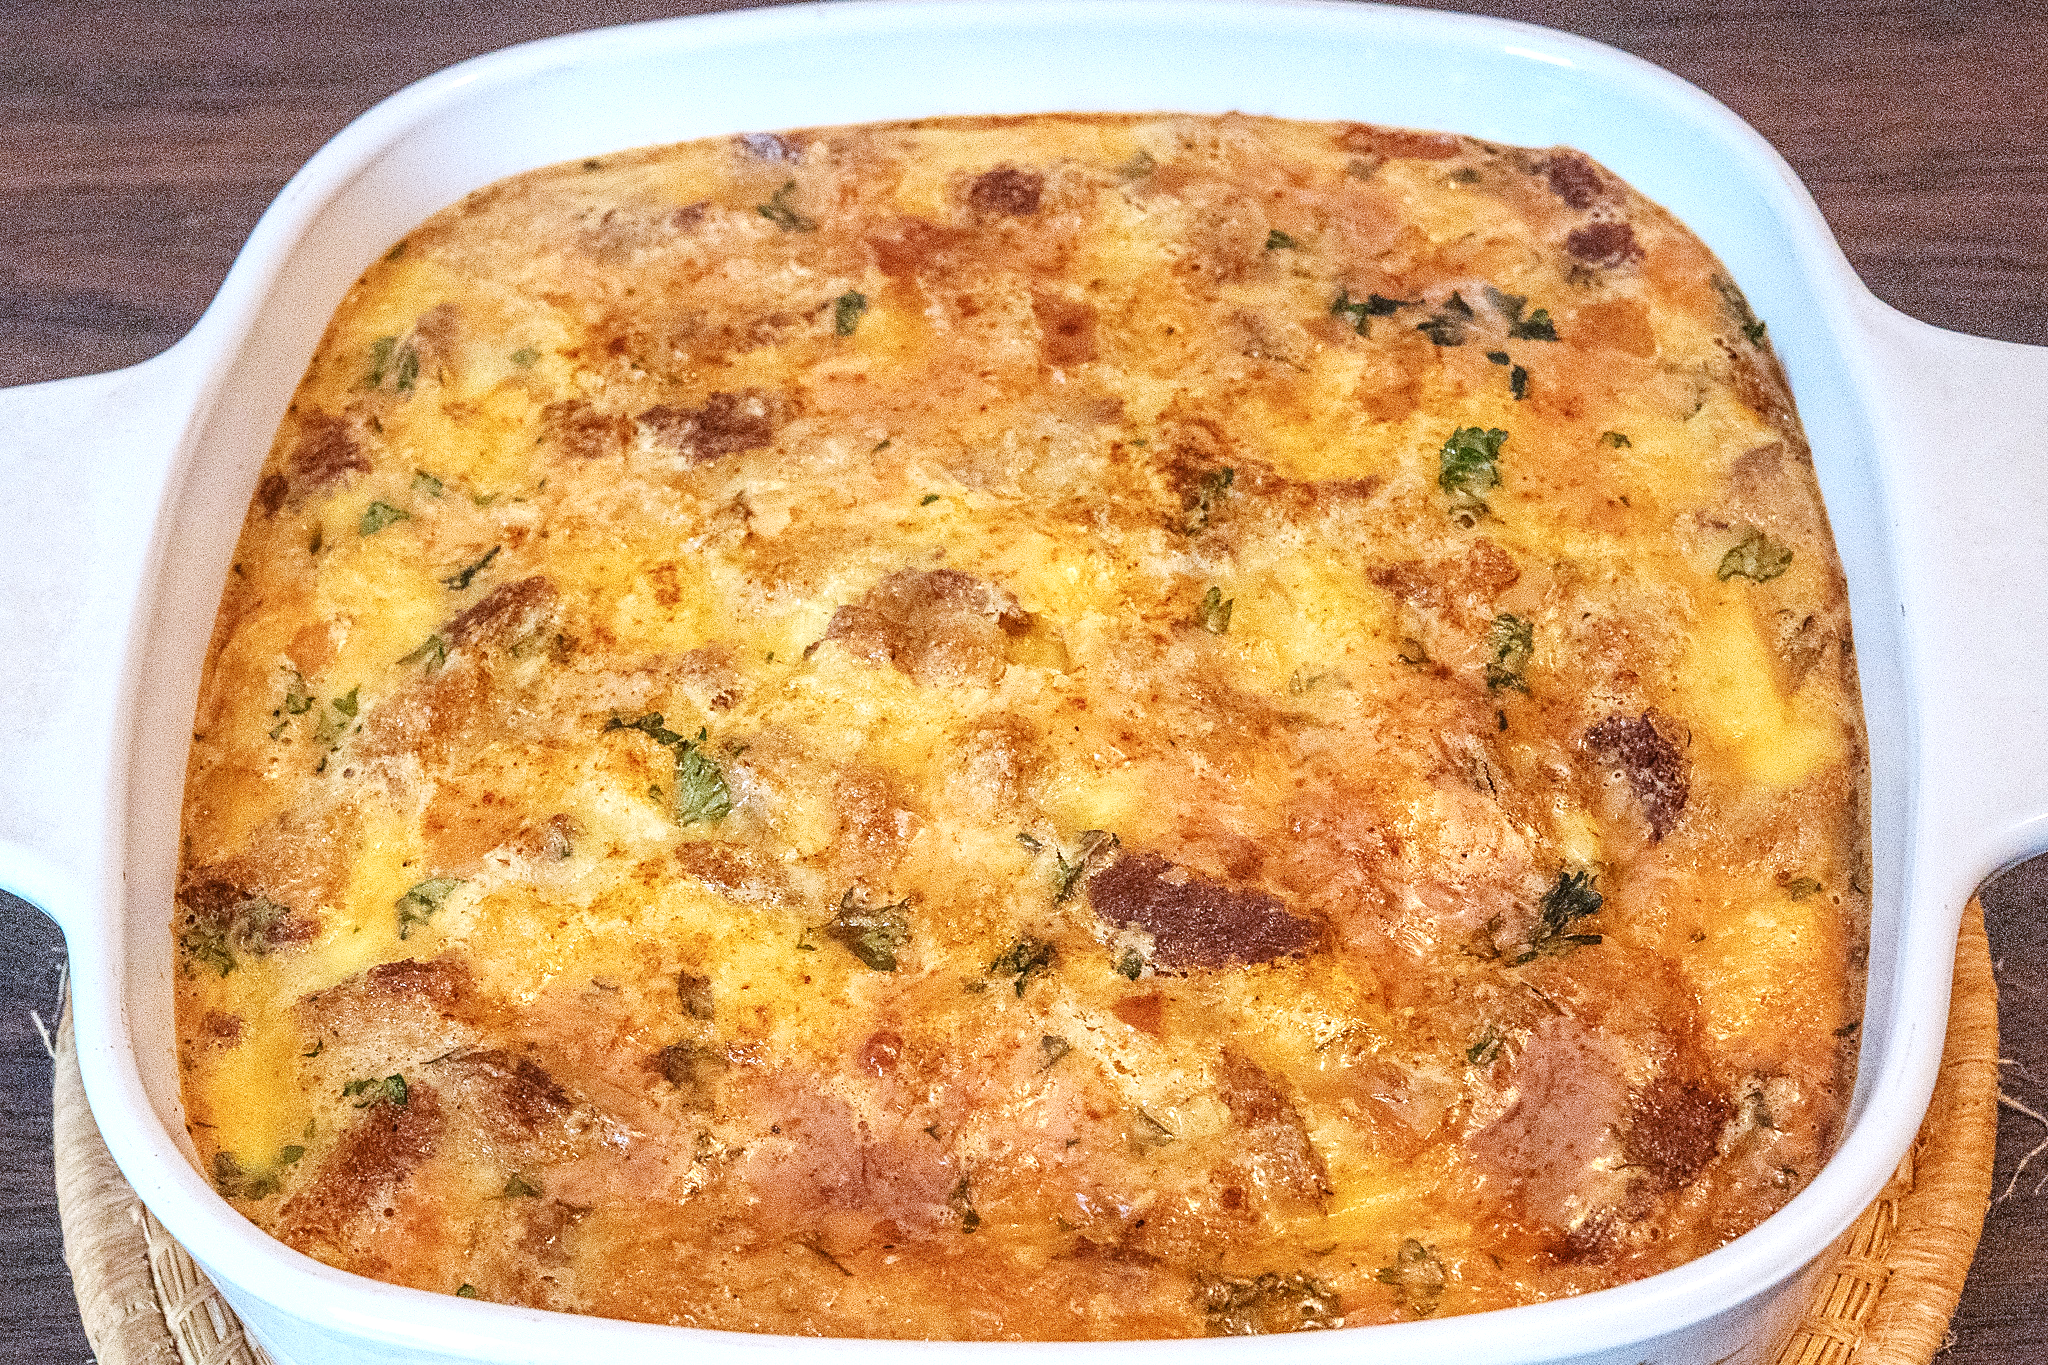 As the holidays are beginning to wind down, I’m in the mood for comfort food. So, when I came across a hundred-year-old recipe for Cheese Delight, I was intrigued and decided to give it a try.
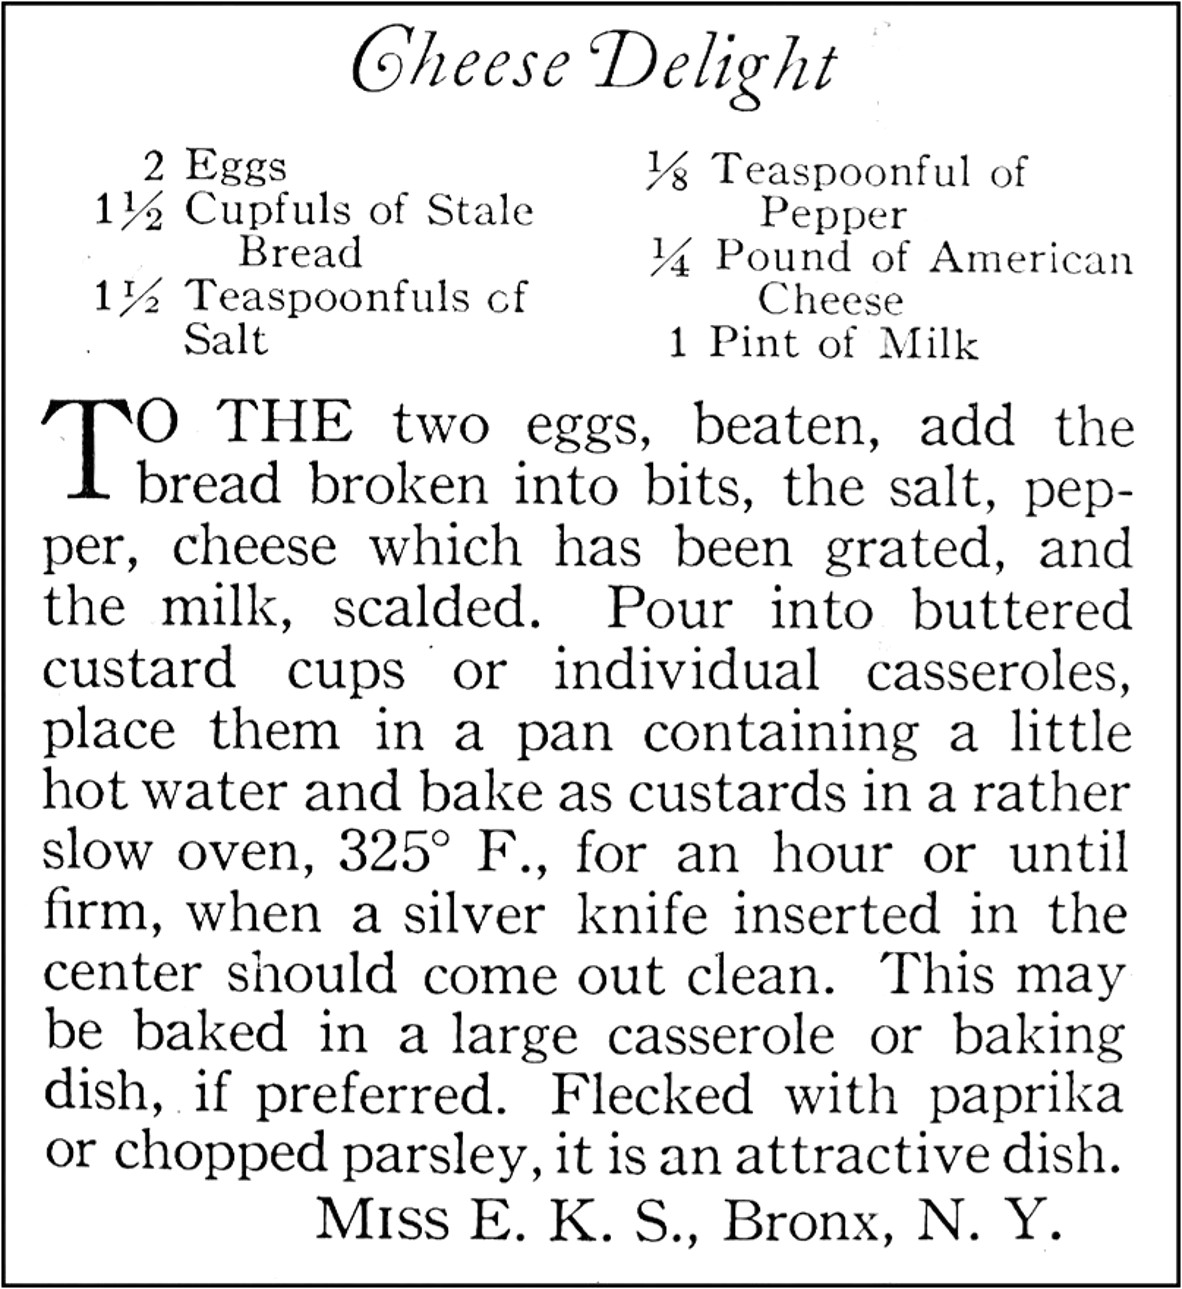
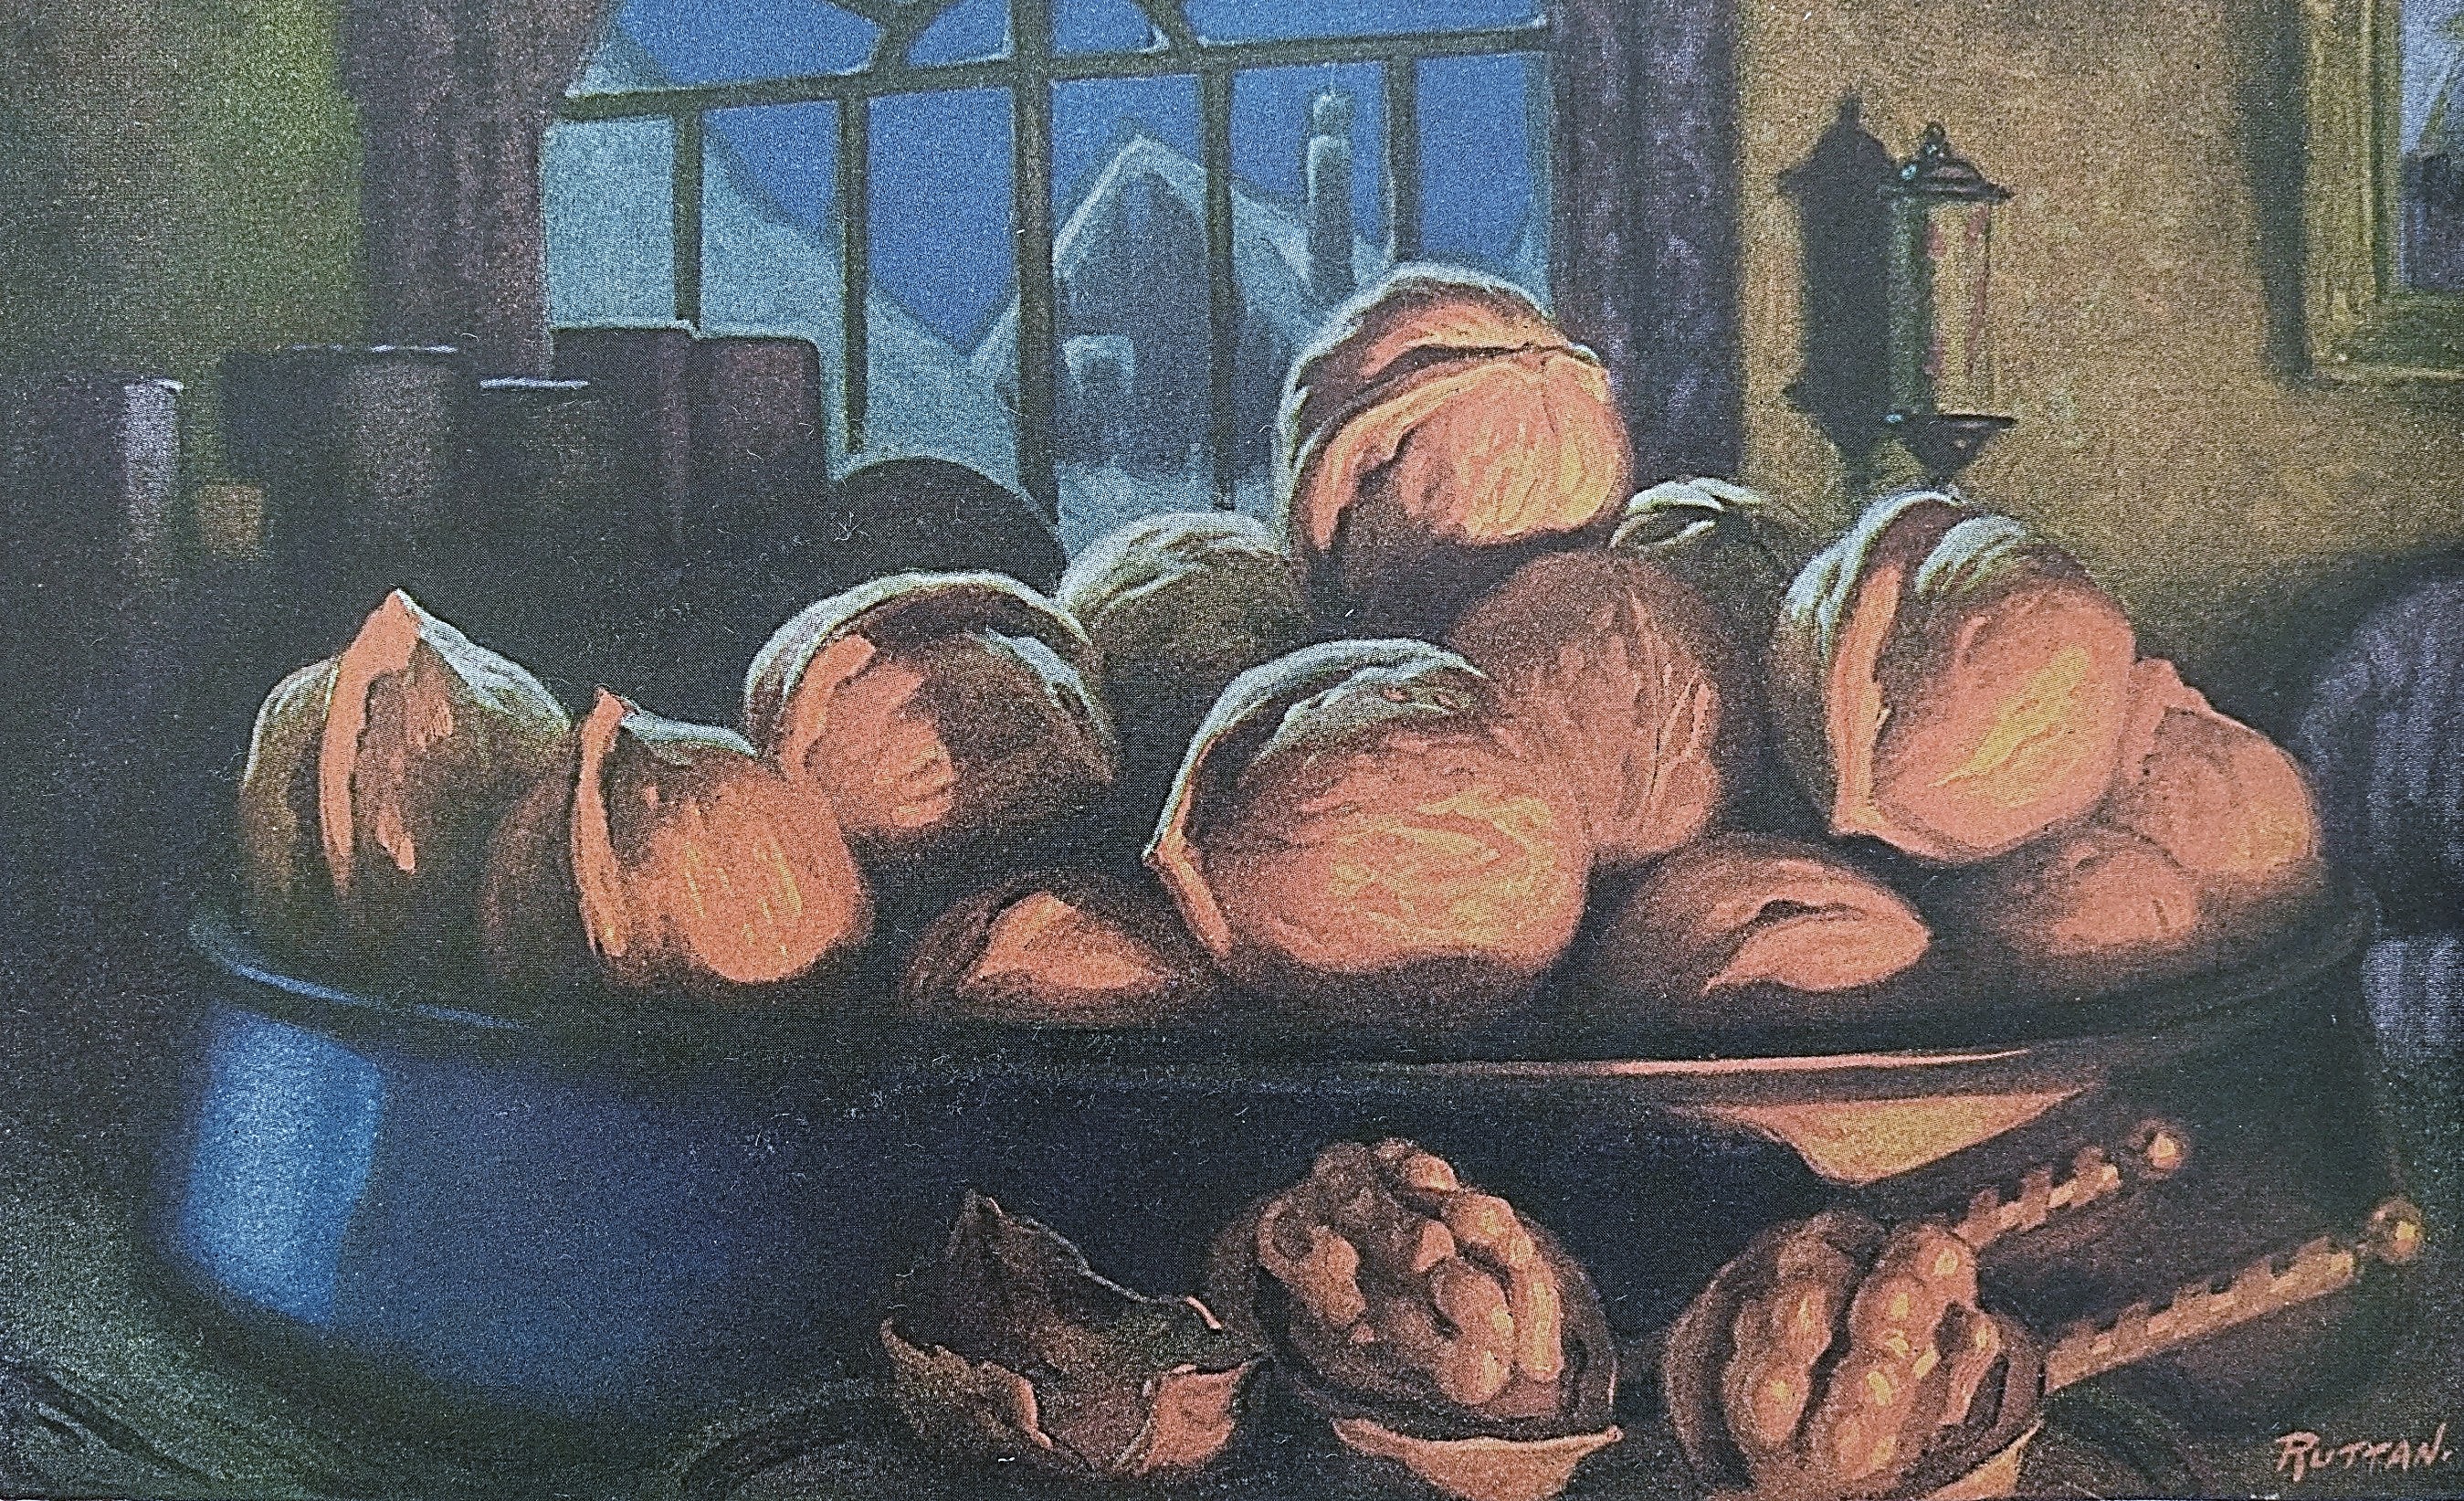
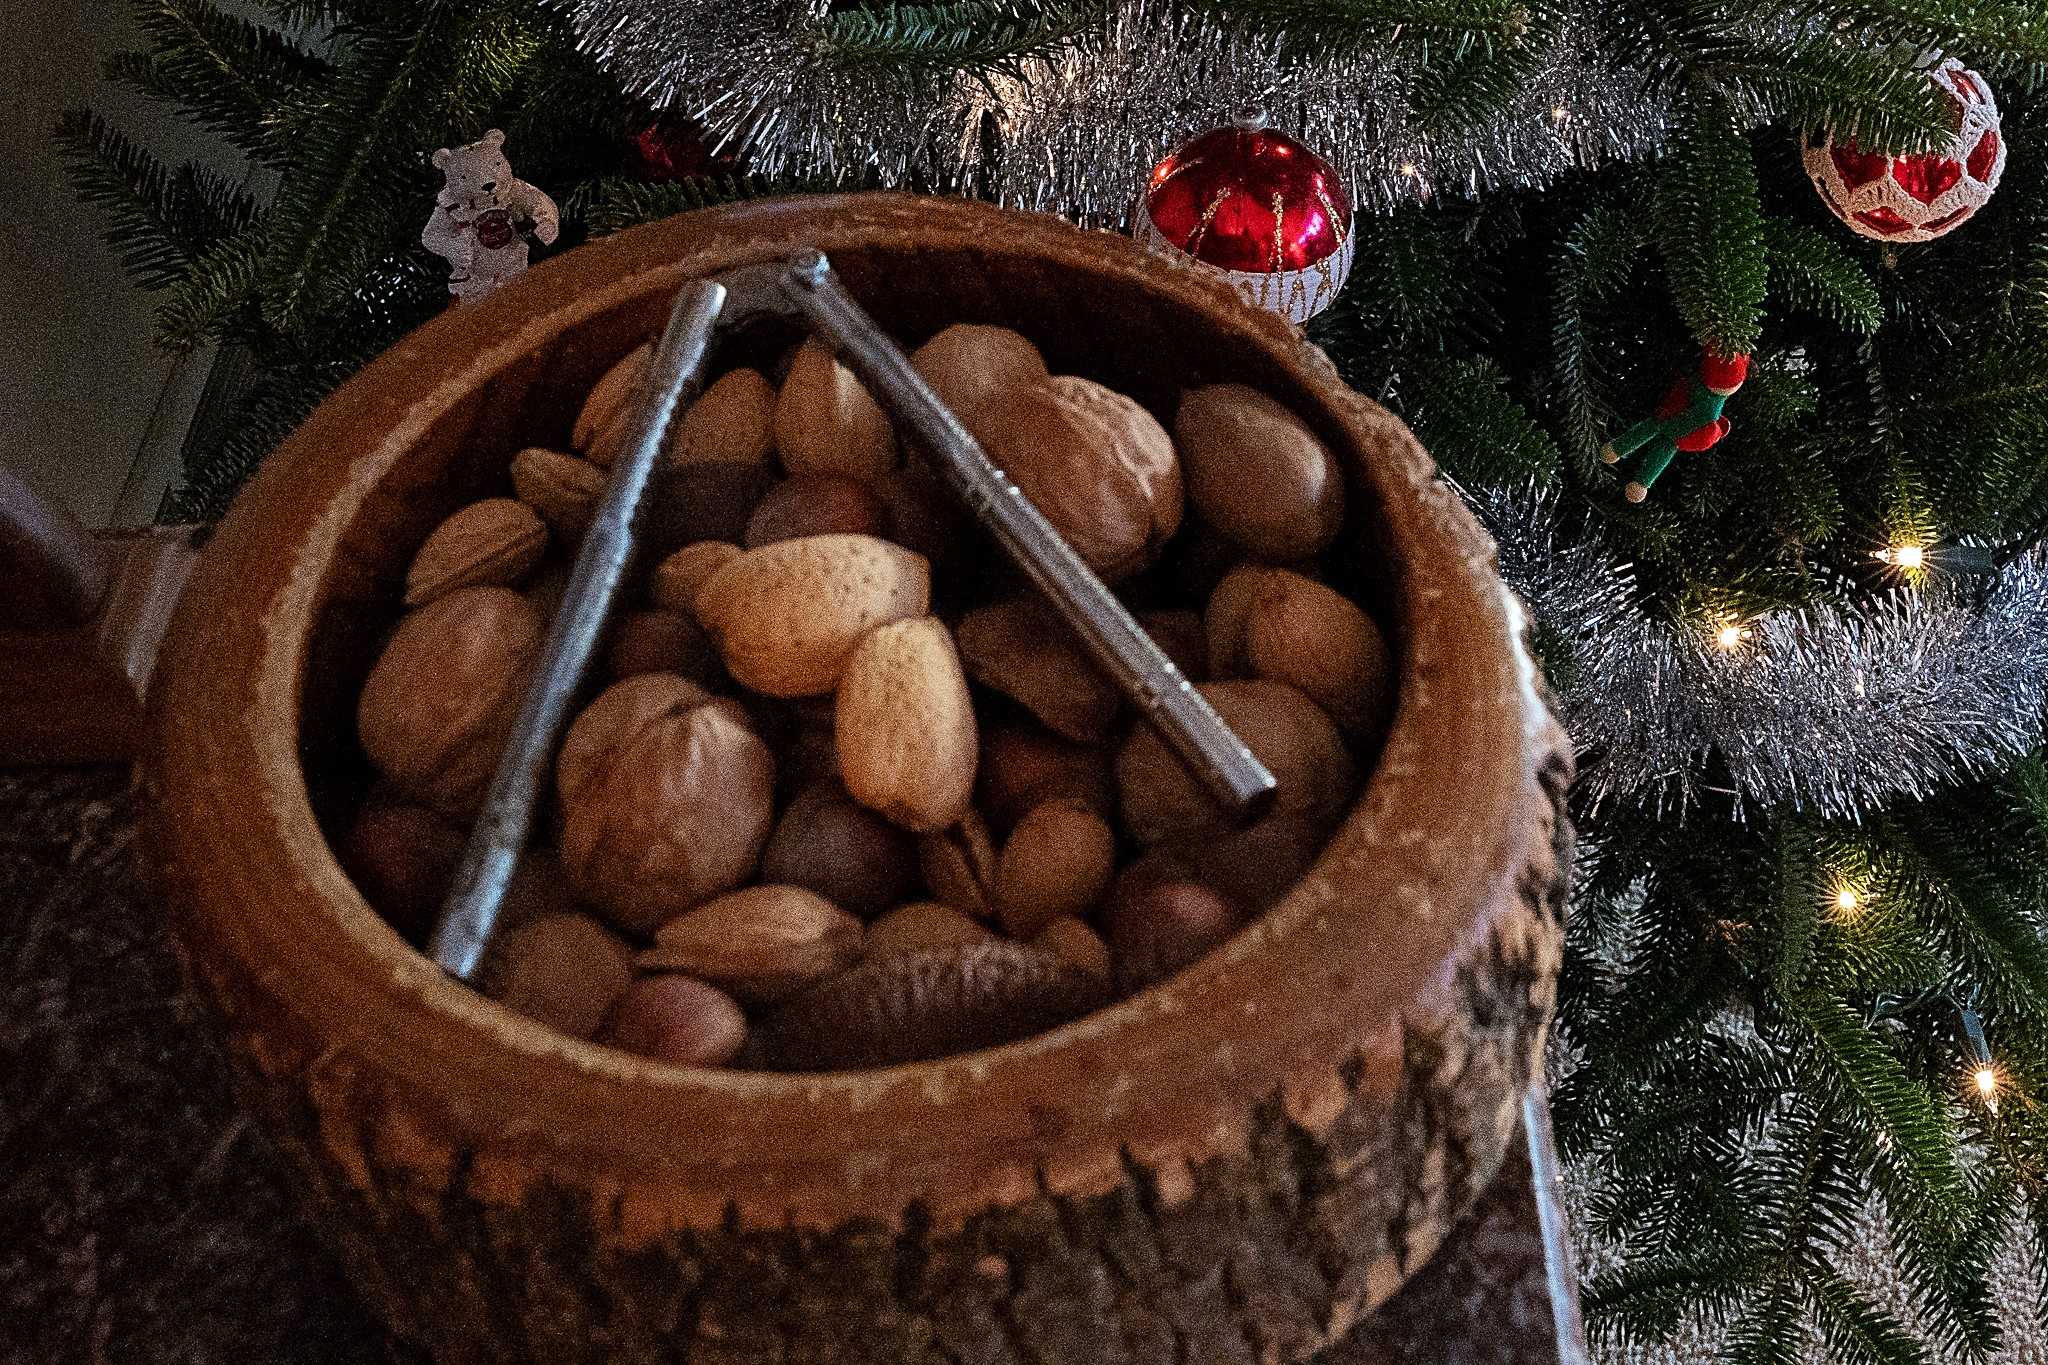
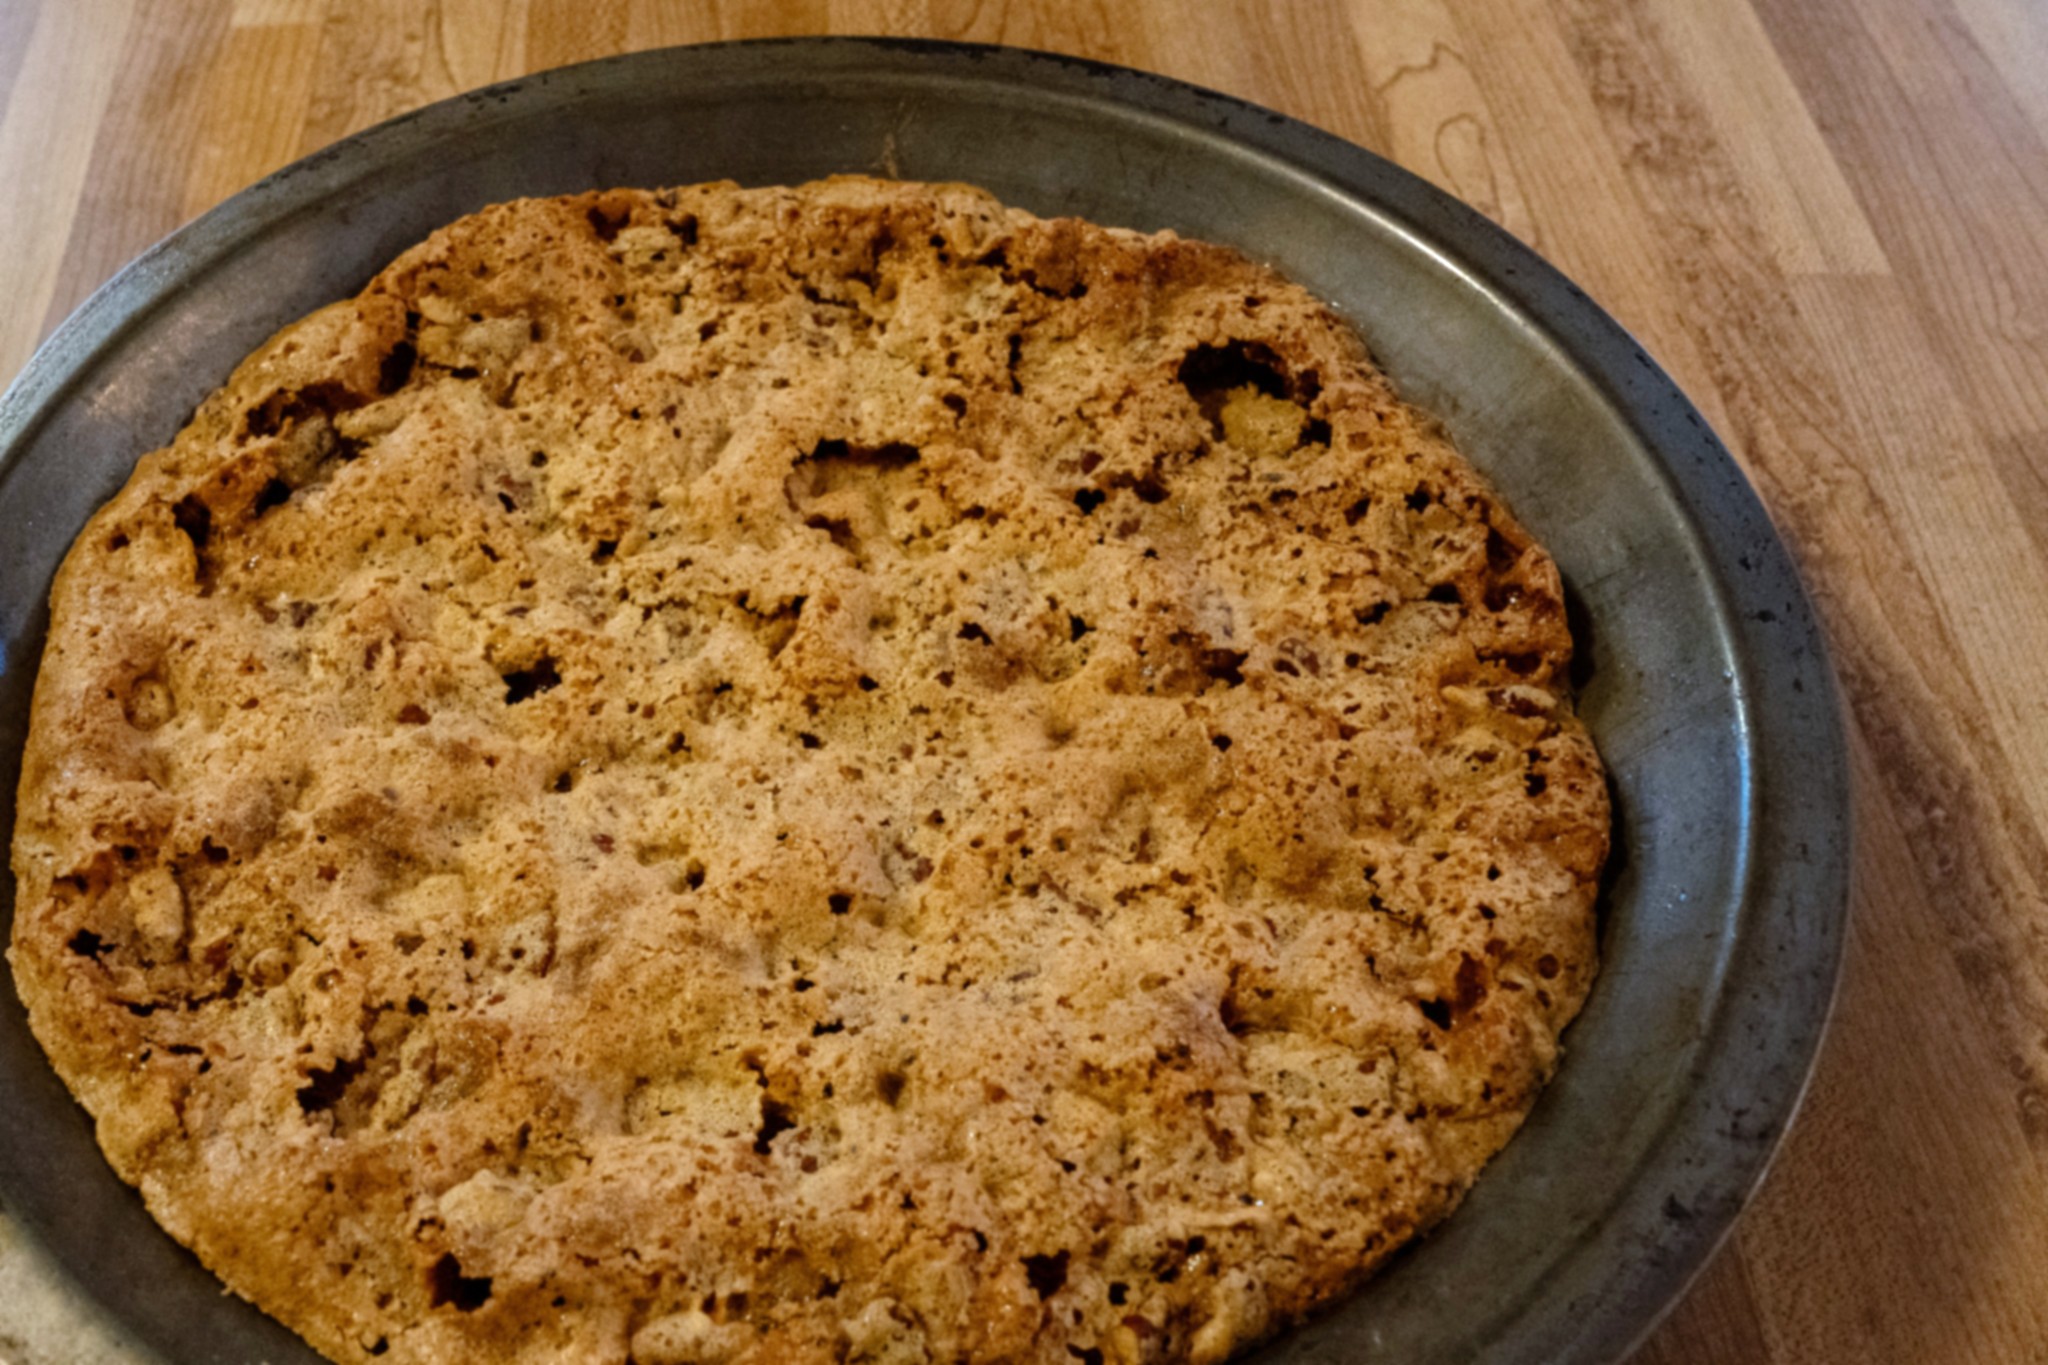
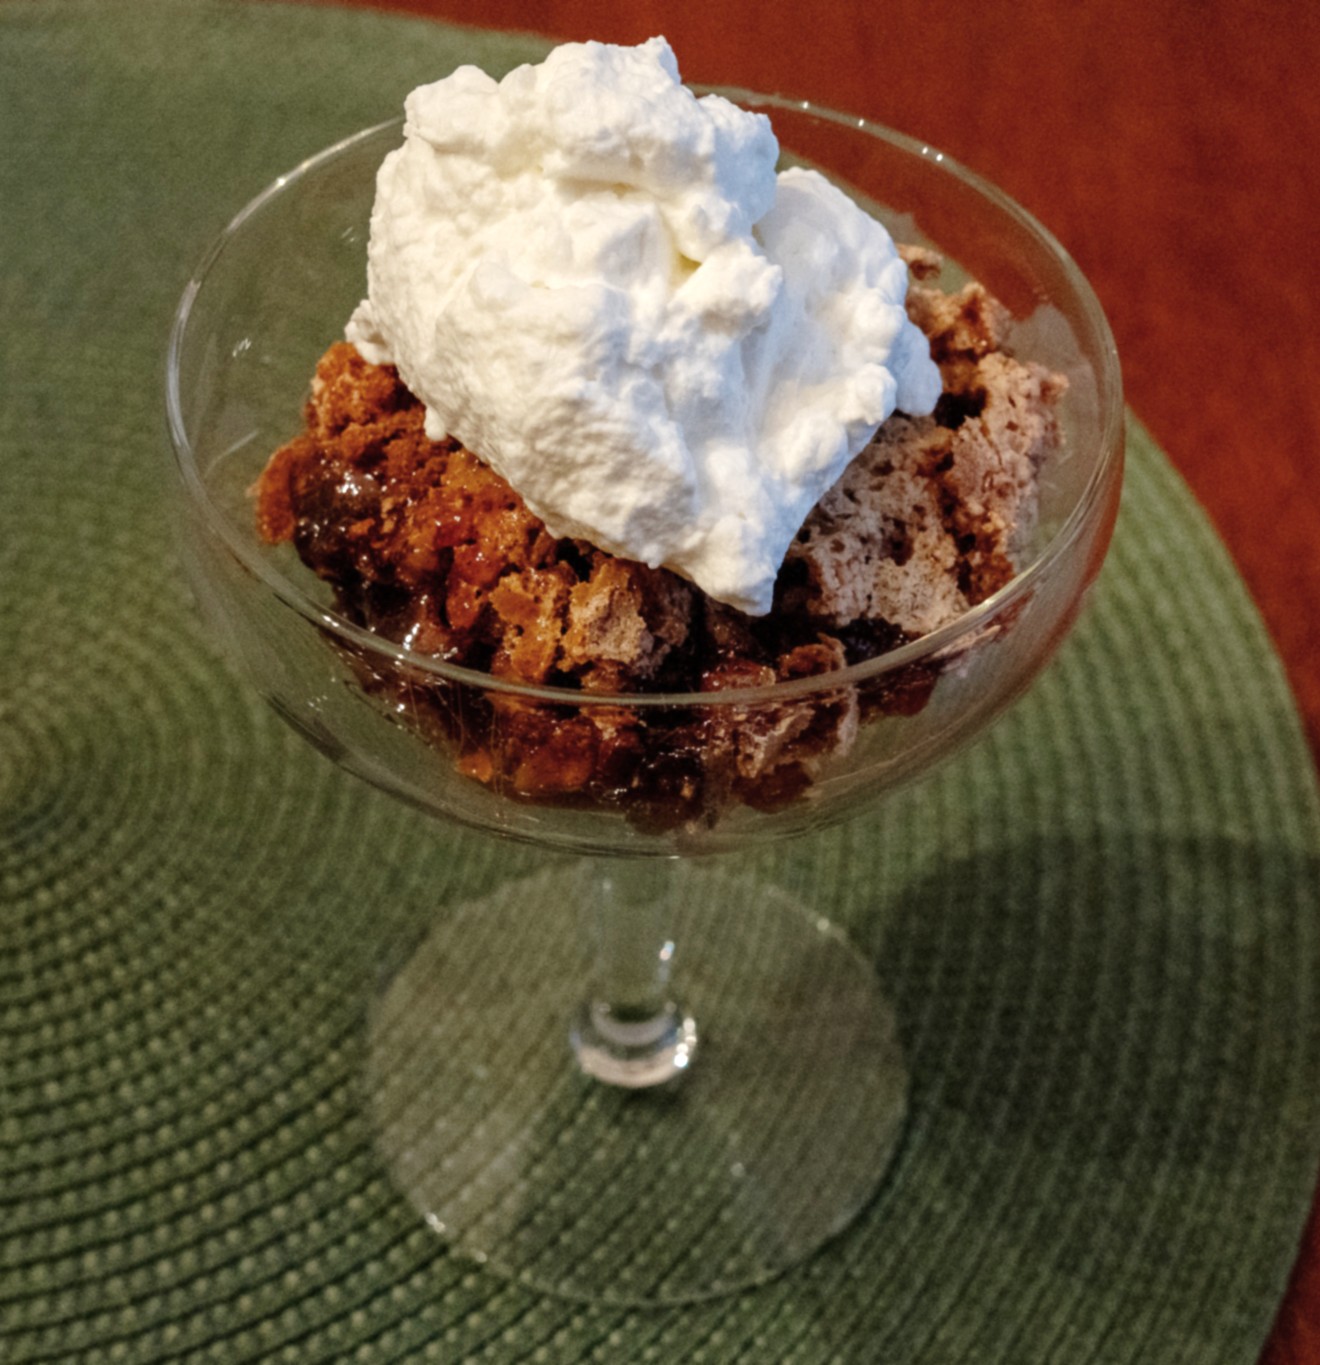 I recently came across an intriguing recipe in a 1925 issue of Farm Journal. The recipe was labeled “food for the gods or date crumbles.” What a bold assertion! Could this recipe possibly be that good? I had to find out, so next thing I knew I was making the recipe.
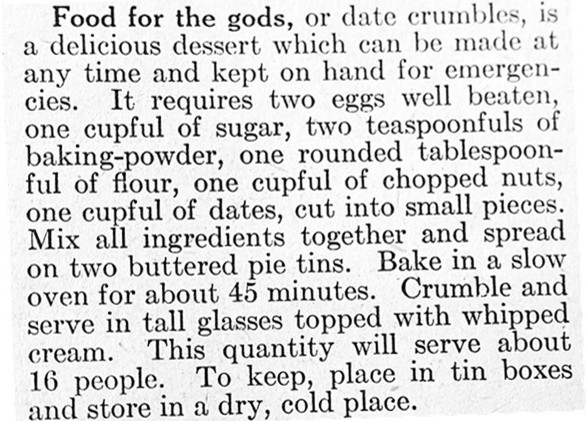


 The name of these cookies seemed a bit confusing to me. I wasn’t sure what “mignon” meant, but kept thinking of Filet Mignon, so looked up the definition of “mignon.” According to
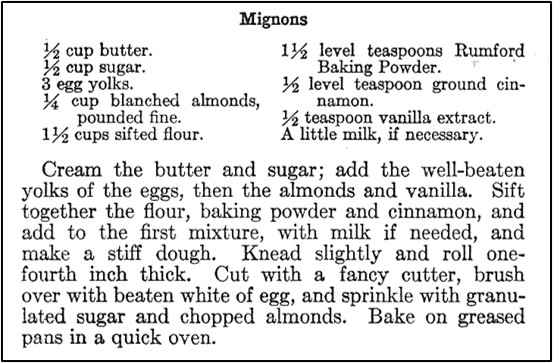
 Here’s the recipe updated for modern cooks: