Whew – Thank goodness some things have changed over the past hundred years. How could anyone back then think that candy cigarettes might be a good idea?
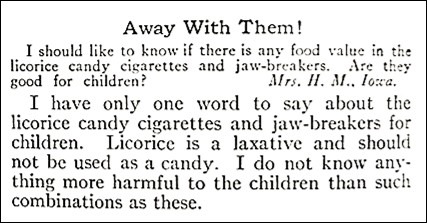
The question about whether licorice candy cigarettes and jaw breakers had any food value appeared in a question and answer column written by Dr. Harvey Wiley in the February, 1926 issue of Good Housekeeping. Dr. Wiley was concerned about adulterated foods, and advocated for more regulation of food and drugs. He was the first commissioner of the Food and Drug Administration (FDA), and later worked for Good Housekeeping Institute.
It’s interesting that Dr. Wiley focused his response on whether licorice was good for children rather than on whether candy cigarettes might encourage children to becomes smokers — though in 1926, people weren’t yet fully aware of the dangers of smoking.
The 1920’s was the era of the flappers, and social norms were rapidly changing. Many young women started smoking (and drinking alcohol – even though it was during prohibition) as a way of demonstrating their independence. Men also were smoking more cigarettes. Previously men were more likely to smoke cigars, but in the 1920’s many shifted to cigarettes.
Candy cigarettes were still popular when I was a child. There was a candy store near where I lived that prominently displayed them. I remember friends buying packs of the candy cigarettes. (I don’t think that I ever bought any, but am not sure.) They would gently tear the cellophane away from the top of the pack and tear it open. They’d take a “cigarette” out, maybe offer another one to a friend, then tap it on a table or hard surface, put it to their mouth, pretend to light it, pretend to inhale, then dramatically remove it from their mouth and pretend to exhale. Just thinking about it now makes me cringe, but at the time, it seemed like a fun activity.
Bottom line – I agree with Dr. Wiley, “Away with them!” I can’t remember the last time I saw a candy cigarette. It must have been at least 40 years ago. Candy cigarettes may still be legal; but, as we’ve become aware of the dangers of smoking, they thankfully seem to have vanished from the marketplace.
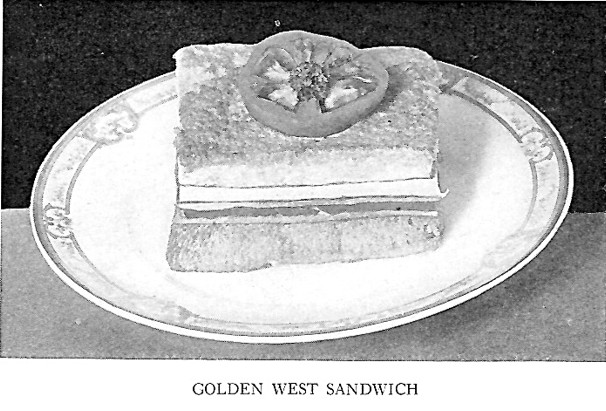
I love to eat grilled sandwiches for lunch, so was intrigued when I came across a hundred-year-old recipe for Golden West sandwiches. This is basically a recipe for a ham and cheese sandwich made using French toast.
The bread slices are sipped in an egg and milk mixture prior to grilling. The assembled ham and cheese sandwich is then grilled using medium low heat that allows sufficient time for the Swiss (or Gruyere) cheese to melt. The grilled sandwich is then topped with a tomato slice.
The Golden West Sandwich was delightful. The grilled bread was softer and moister than the typical grilled ham and cheese sandwich, and was a nice variation of this classic.
Here’s the original recipe:
Source: American Cookery (October, 1926)
A spider pan is a skillet with legs. They originally were used over open fires. I just used a regular skillet to make the sandwich.
Years ago, bread crusts were sometimes removed from bread when making sandwiches. Since bread crusts are seldom removed today, I didn’t remove them when making the Golden West Sandwich.
It sounded challenging to dip the bread slices into the egg mixture after the sandwich was assembled, so I dipped the individual slices prior to making the sandwich.
I’m not sure why the old recipe calls for measuring the milk using a tablespoon. Four tablespoons of milk is the equivalent of 1/4 cup of milk, so when I updated the recipe, I went with 1/4 cup.
I used Swiss cheese when making this sandwich. The recipe gives the option of using either Swiss or Guyerë, cheese. Today, the later option is typically spelled either “Gruyere” or “Gruyère” cheese. I’m not sure whether the spelling (and the way accent markes are used) has changed across the years or if it this was a typo.
Here’s the recipe updated for modern cooks:
Golden West Sandwich (Ham and Cheese Grilled Sandwich)
2 slices Swiss or Gruyère cheese (I used Swiss cheese.)
2 – 3 thinly sliced slices of ham
1 tomato slice
Combine the egg and milk in a shallow dish or pan; stir to combine. Butter one side of the bread slices, then dip the slices in the egg and milk mixture. Put one of the slices on a plate, buttered side down. Put a slice of cheese on top of the bread slice, then the ham slices. Put the other slice of cheese on top of the ham slices. Top with the other slice of bread, with the buttered slide facing up.
Using medium low heat, melt enough butter in a skillet to cover the bottom of the pan. Add the assembled ham and cheese sandwich. Cook in the skillet until the bread on the bottom of the sandwich is toasted and golden brown, then use a spatula to gently flip the sandwich. Toast the other side, then remove from heat, top with the tomato slice, and serve.
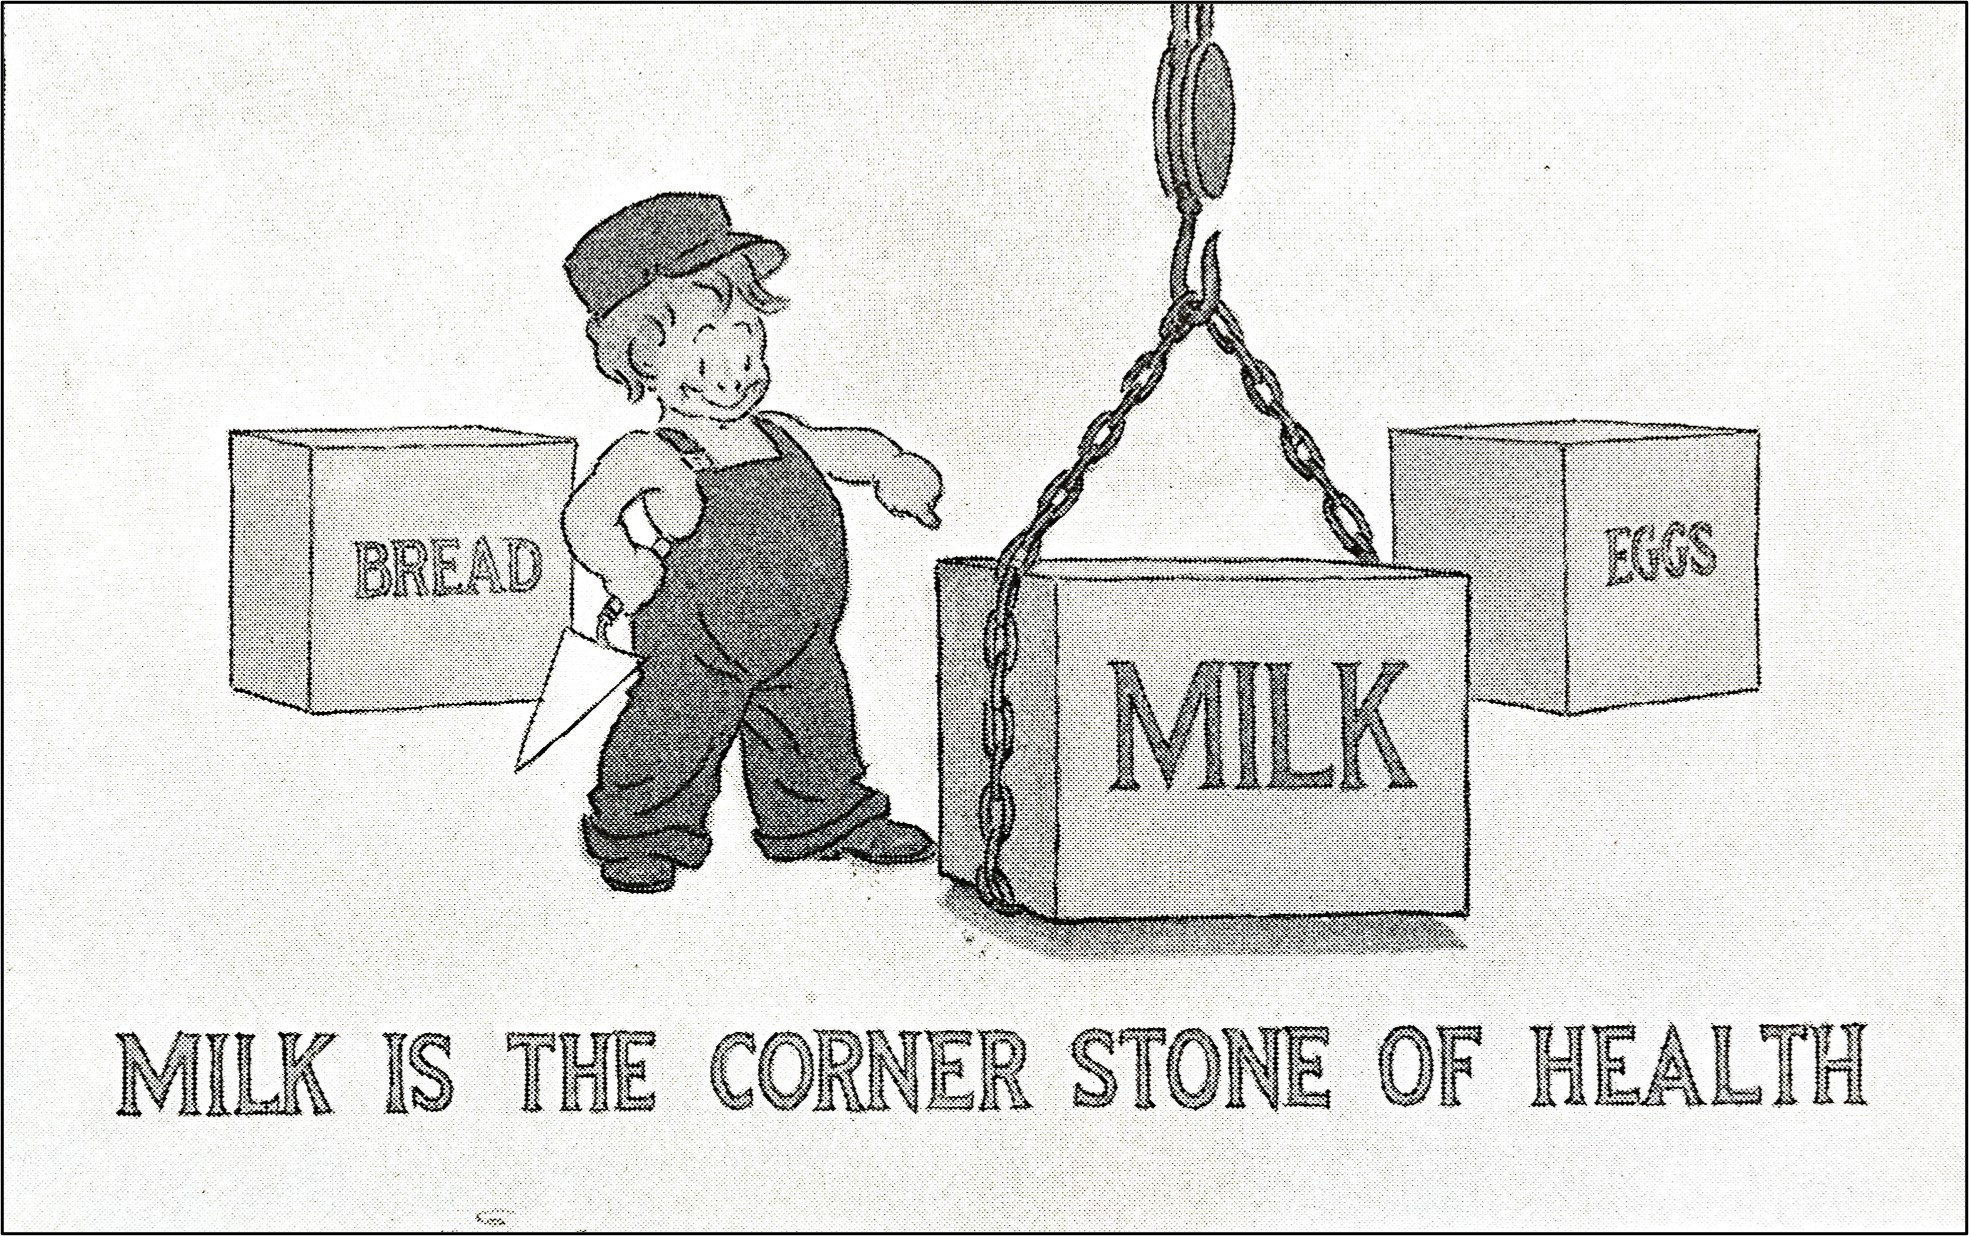
A hundred years ago Ladies Home Journal contained a monthly Food Facts column. The May, 1926 column was about milk. As someone who grew up on a dairy farm, my interest was immediately piqued. Some of the facts in the old magazine are the same as what I commonly hear today; others have changed over the years.
Milk: What Do You Know About It?
DO YOU KNOW that the chief value of milk in the diet is as a supplement to other foods, correcting their deficiencies?
This is Why milk is often called a “protective” food.
DO YOU KNOW that milk, because it meets nearly every food requirement, is the most satisfactory single article of food consumed by man?
This is Why there is no effective substitute for milk.
DO YOU KNOW that milk is not only essential to the growth of children but to the health and vigor of adults?
This is Why a quart of milk a day for a child and not less than a pint for an adult are essential to a proper diet.
DO YOU KNOW that no other food can be taken in sufficient quantity to supply the calcium needs of the body?
This is Why a diet that is short in milk in generally short in the lime which is needed for bone structure.
DO YOU KNOW that the best milk will spoil when it is not kept clean and cold?
This is Why the careless housekeeper frequently ruins milk that has been carefully handled by farmer and distributor.
DO YOU KNOW that heating milk to 140° – 145° F. and keeping at this temperature for twenty to thirty minutes destroys most of the harmful bacteria which it may contains?
This is Why pasteurized milk is generally safer than raw milk for those who must depend on a city milk supply.
DO YOU KNOW that the lactic-acid bacteria which sour milk are not harmful or putrefactive bacteria?
This is Why we should distinguish between sour milk, which is useful, and spoiled milk, which should be thrown away.
DO YOU KNOW that from the standpoint of nutrition skim milk is worth more than the cream which is taken off it?
This is Why more use should be made of skim milk in breadmaking and other cooking processes.
DO YOU KNOW that a low temperature – under 50° F. – is the only preservation needed for clean milk?
This is Why milk that is both clean and cold can be kept sweet for three to four weeks.
DO YOU KNOW that because of its wide use as a food, milk is more closely supervised in the United States than any other article of diet?
This is Why we have the most wholesome milk supply in the world.
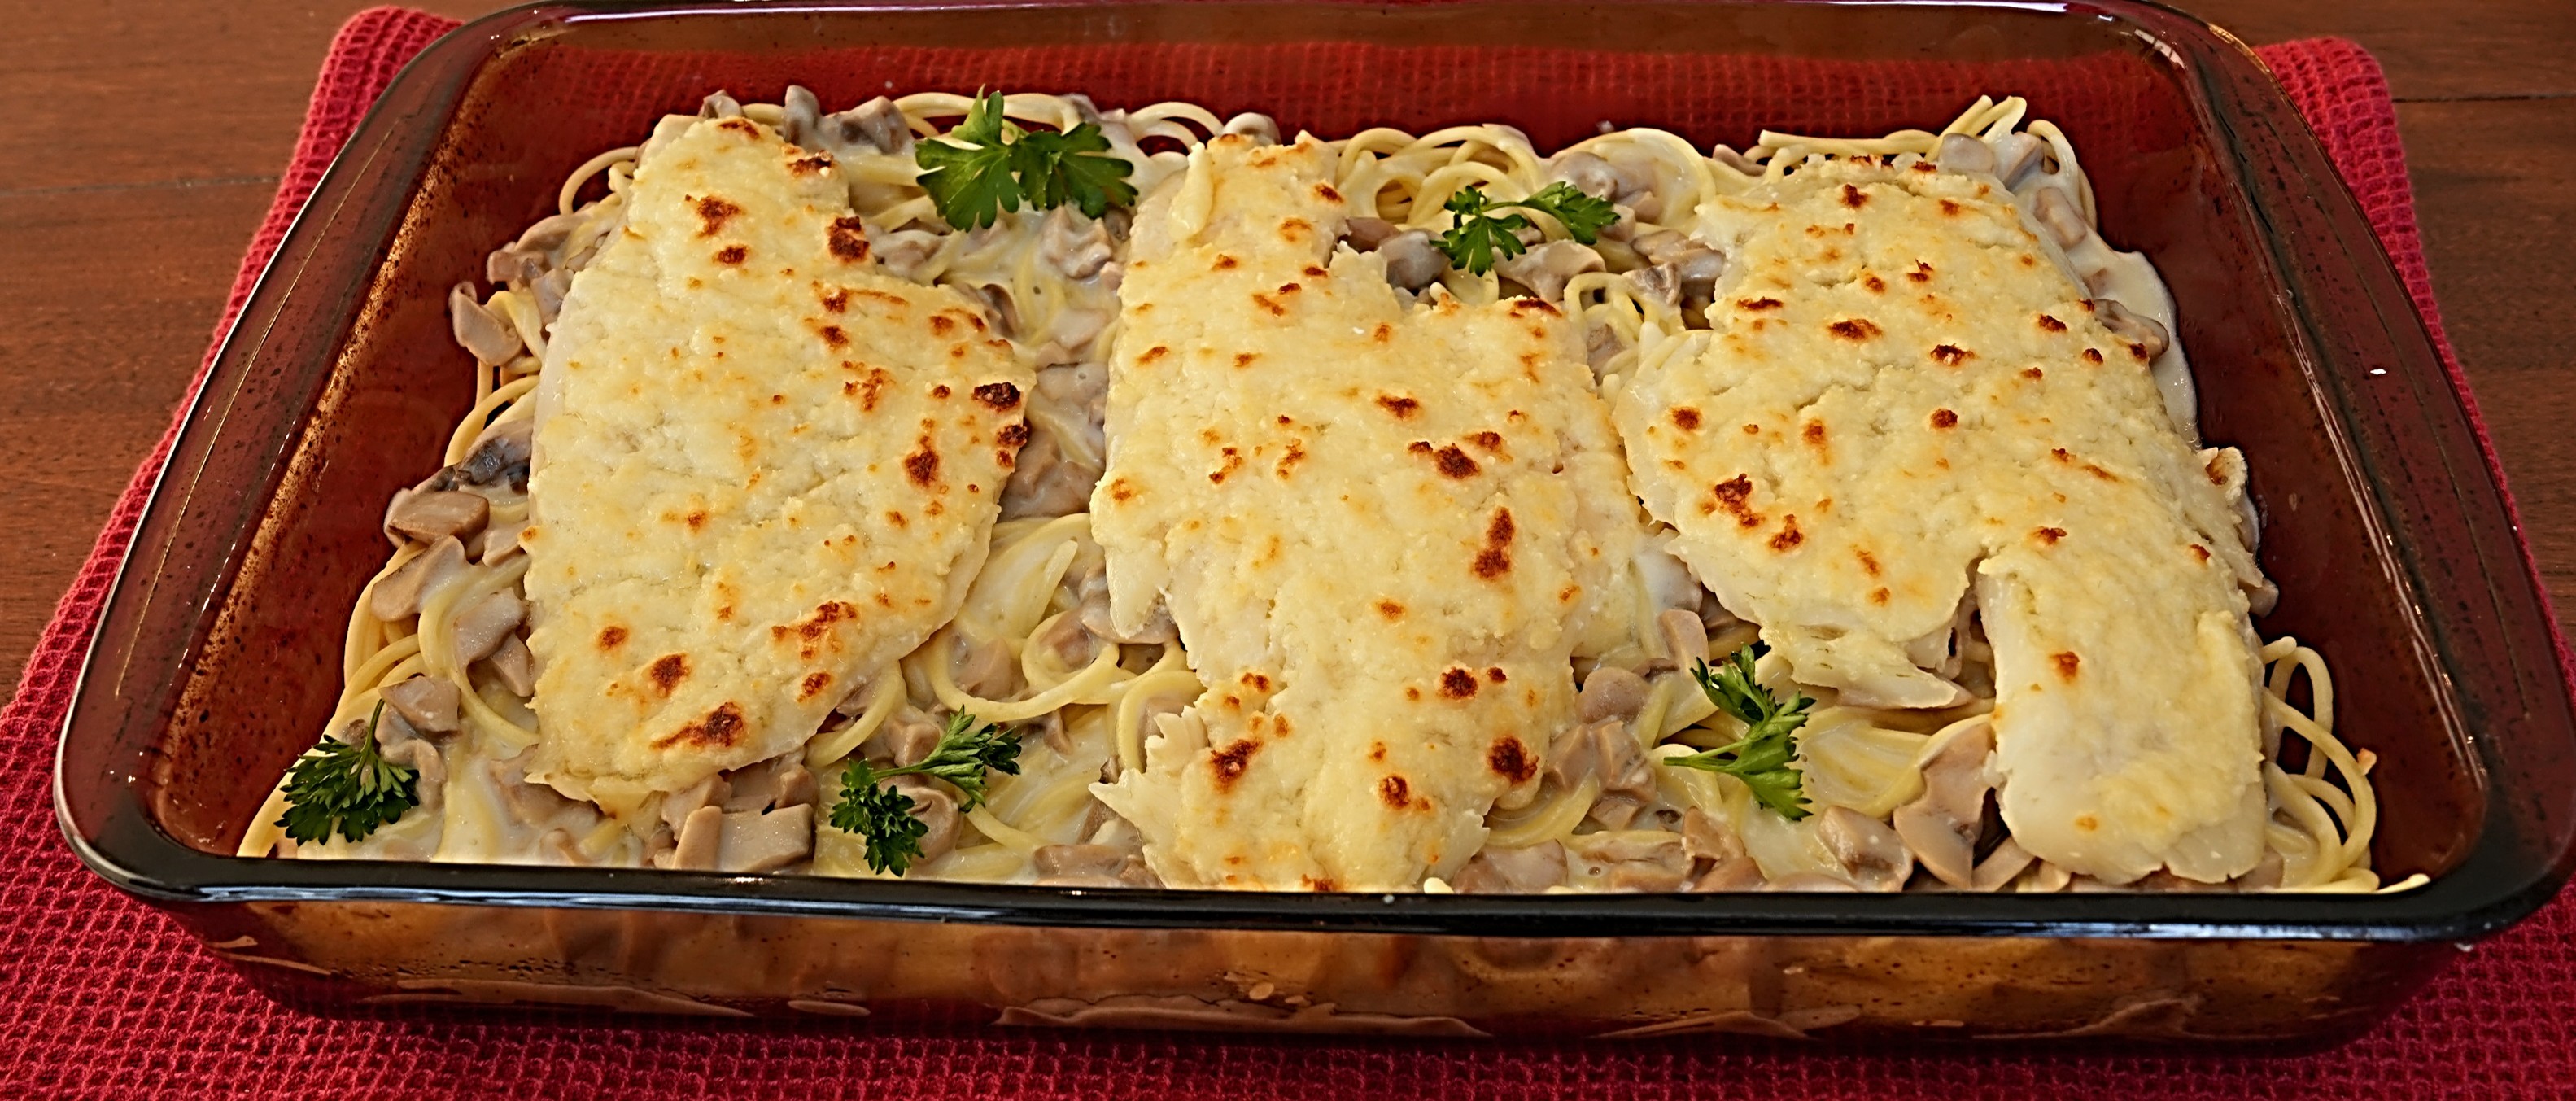
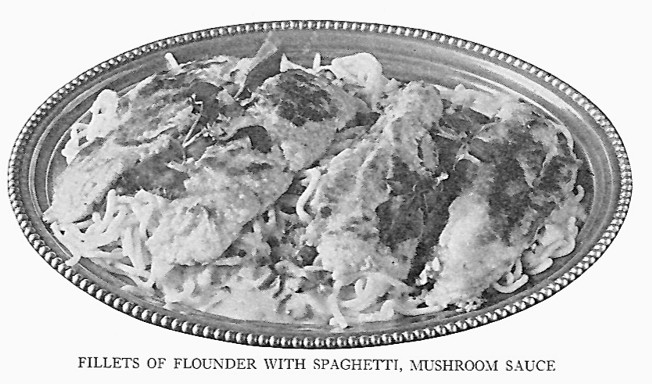
I was recently flipping through a hundred-year-old issue of American Cookery magazine, and noticed a photo of Fillets of Flounder with Spaghetti and Mushroom Sauce. There aren’t many photos of dishes in old cookbooks and magazines, so I always assume that the dishes photographed were ones the publisher considered especially nice. The photo was black and white (and much less enticing that modern food photos), but it looked good. So, the next time I went to the supermarket, I bought some flounder, and made the dish.
This recipe is a winner. Spaghetti is dressed with a creamed mushroom sauce. Fillets of flounder with tangy broiled Parmesan cheese are then placed on top. This dish was a delight that tasted surprisingly modern.
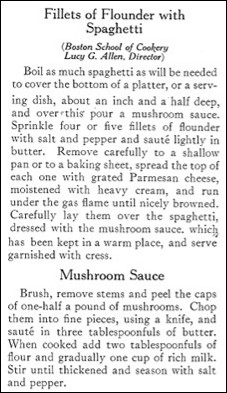
Here’s the original recipe:
Source: American Bakery (October, 1926)
When I made this recipe, I purchased a one-pound package of frozen flounder fillets which contained three fillets. I thawed the fish before using in the recipe.
I used milk instead of heavy cream when moistening the Parmesan cheese. For the “rich milk” called for in the mushroom sauce recipe, I used half and half. Milk would also work, though the sauce would be a little less rich.
I used parsley instead of water cress as a garnish.
There are three components to this dish: spaghetti, mushroom sauce, and flounder with a Parmesan cheese topping. The most difficult part of this recipe is getting all of the parts cooked at the same time (and if some are finished before others, keeping those components hot). I made the mushroom sauce, and then turned the heat off. I reheated it for a minute or so when I was ready to assemble the dish.
Here’s the recipe updated for modern cooks:
Fillets of Flounder with Spaghetti and Mushroom Sauce
1/2 pound mushrooms, chopped (1 6.5-ounce can of mushrooms, chopped, can be substituted for the fresh mushrooms.)
3 tablespoons butter
2 tablespoons flour
1 cup half and half (Milk can be substituted for the half and half.)
8 ounces spaghetti
1 pound flounder fillets (3 – 5 fillets)
2 tablespoons butter
salt and pepper
1/2 cup grated Parmesan cheese
1 tablespoon milk
parsley (optional garnish)
Step 1. Make the mushroom sauce by melting the butter in a skillet using medium heat. Place the chopped mushrooms in the skillet and sauté until tender (3 – 5 minutes). Stir in the flour, then gradually add the half and half while stirring constantly. Continue stirring and cooking until the mixture comes to a boil. Turn off the heat.
Step 2. Make the spaghetti following package instructions. (While the water comes to a boil and while the spaghetti cooks, move on to the next steps and cook the flounder fillets.)
Step 3. In the meantime, put the Parmesan cheese and milk in a small bowl. Stir to combine. Set aside.
Step 4. Melt the butter in a large skillet. Put the flounder fillets in the skillet and sauté for 2-3 minutes. Flip the fillets and cook the other side until internal temperature reaches 145° F. (Do not overcook.)
Step 5. Line a baking sheet that can be put under the broiler with aluminum foil. Gently use a large spatula to transfer the cooked flounder to the baking sheet. Sprinkle with salt and pepper. Spread the Parmesan and milk mixture on the flounder and put under the broiler until lightly browned.
Step 6. Reheat the mushroom sauce, while stirring constantly.
Step 7. Assemble dish by putting the cooked spaghetti on a platter or flat dish. (I used a 7 1/2″ X 12″ baking dish.) Spoon the mushroom sauce on top of the spaghetti. Using a large spatula, gently put the flounder fillets that are topped with Parmesan cheese on top of the spaghetti and mushrooms. If desired, garnish with parsley sprigs.
Sometimes I get in a rut when making salads, and basically make the same lettuce salad almost daily. It was time to look for some “new” salads, so I started browsing through my hundred-year-old cookbooks and came across a recipe for Cheese and Tomato Salad, or to be more specific, Cottage Cheese and Tomato Salad.
Medium tomatoes are stuffed with a cottage cheese, paprika, and chopped almond mixture; and, served with a vinaigrette dressing. The salad was lovely, with the sweet, slightly acidic taste of the tomatoes balancing nicely with the mild, salty, tanginess of the cottage cheese. The chopped almonds added a nice, crunchy texture.
Here is the original recipe:
Source: Westminster Cook Book 1926 (Cherokee, Iowa)
I decided to stuff three tomatoes, so, in the updated ingredients list, I included amounts needed to stuff that many tomatoes. A hundred-years-ago tomatoes were often peeled, but today they are seldom peeled, so I did not peel them when I made the recipe. Since cottage cheese (as well as the French Dressing) already contains salt, I did not add additional salt to the stuffing mixture.
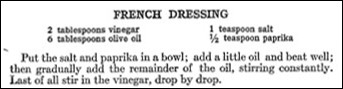
The old recipe called for serving the salad with French Dressing. A hundred years ago, French Dressing was a vinaigrette dressing, and quite different from the commercial, orange-colored French dressing that is common today. There was no recipe for French Dressing in the cookbook that contained the salad recipe, so I found a French Dressing recipe in another cookbook:
Source: The New Winston Cook Book of Guaranteed Recipes (1926)
This recipe makes more French dressing than needed for three stuffed tomatoes, so I halved the recipe.
3 medium tomatoes (Select tomatoes that are nicely shaped and that will be level when placed on a plate.)
1/2 cup cottage cheese
1/8 teaspoon paprika (plus additional paprika to garnish, if desired)
2 tablespoons almonds, chopped (plus additional chopped almonds to garnish, if desired)
lettuce leaves, if desired
Step 1. Cut the top of the tomatoes and then scoop out the pulp in the center. (Be sure to leave the shell of the tomato.) Turn tomato upside down on a plate to drain out any remaining liquid.
Step 2. Make the filling for the tomatoes by putting the cottage cheese, paprika, and almonds in a small bowl; stir until mixed.
Step 3. Stuff the tomatoes with the filling. If desired, sprinkle additional paprika and chopped almonds on top. The stuffed tomatoes may be served on lettuce leaves and with French Dressing (recipe below).
French Dressing (Vinaigrette Dressing)
1/2 teaspoon salt
1/4 teaspoon paprika
3 tablespoons olive oil
1 tablespoon vinegar
Step 1. Put the salt and paprika in a small bowl.
Step 2. Gradually add the olive oil while stirring constantly.
Step 3. Then slowly add the vinegar, a small amount at a time, while continuing to stir.
There are many recipes in hundred-year-old cookbooks that call for graham flour. Back then, graham flour was a popular type of flour, and cookbooks contained recipes for graham bread, graham muffins, graham pudding, and other graham foods. But, now graham flour is almost impossible to find, so when browsing through hundred-year-old cookbooks, I generally skip over any recipes that call for it. I even did a post several years ago titled “Why is it so Difficult to Find Graham Flour?”
But, I recently looked through Beth Dooley’s Forever Green Cookbook, and came across this statement:
Kernza flour resembles whole wheat flour and has a nutty, earthy flavor that is reminiscent of graham flour.
I was ecstatic. If Beth was right, maybe I could make some of those old recipes that called for graham flour. I have known Beth since I took a food writing class from her many years ago. Beth is a James Beard Award-winning author, has written numerous cookbooks, and is a food writer for the Minneapolis Star Tribune. She also has a Substack newsletter called Beth Dooley’s Kitchen, as well as held an endowed chair at the Minnesota Institute for Sustainable Agriculture at the University of Minnesota. Much of her recent work focuses on integrating traditional knowledge with the latest science to help support healthy eating and regenerative farming practices. Soon Beth and I had an email conversation going about how to substitute Kernza for graham flour.
What is Graham Flour?
Graham flour is a coarsely ground whole wheat flour that contains the endosperm, bran, and wheat germ of the wheat kernels. Year ago, it was considered a health food. Graham flour is named after its inventor Sylvester Graham. He began making graham flour in the 1830s, and promoted it as part of a health movement which encouraged eating vegetarian meals and unseasoned foods.
Even if graham flour is found today, it may not contain the wheat germ. Modern graham flours sometimes have most of the wheat germ removed to prolong shelf life and to help keep it from going rancid. In the past, I sometimes substituted whole wheat flour for graham flour, but was not totally pleased with the results.
Kernza: This relative of wheat, developed by The Land Institute and the Forever Green Initiative, is high in nutrients and long on flavor. Unlike wheat, it’s a perennial crop and its ecological benefits to the land are immense – filtering water, retaining topsoil and nutrients, and providing habitat for wildlife while producing a kernel that may be milled for flour.
A New York Times article provides additional information about the environmental benefits of Kernza:
Kernza, which can be used as a substitute for wheat, has roots that can stretch more than 10 feet into the ground, allowing it to absorb more carbon dioxide than many crops. And because Kernza is a perennial grain and doesn’t need to be replanted each year, it requires less water and fertilizer than traditional wheat, making it a boon for cost-conscious farmers.
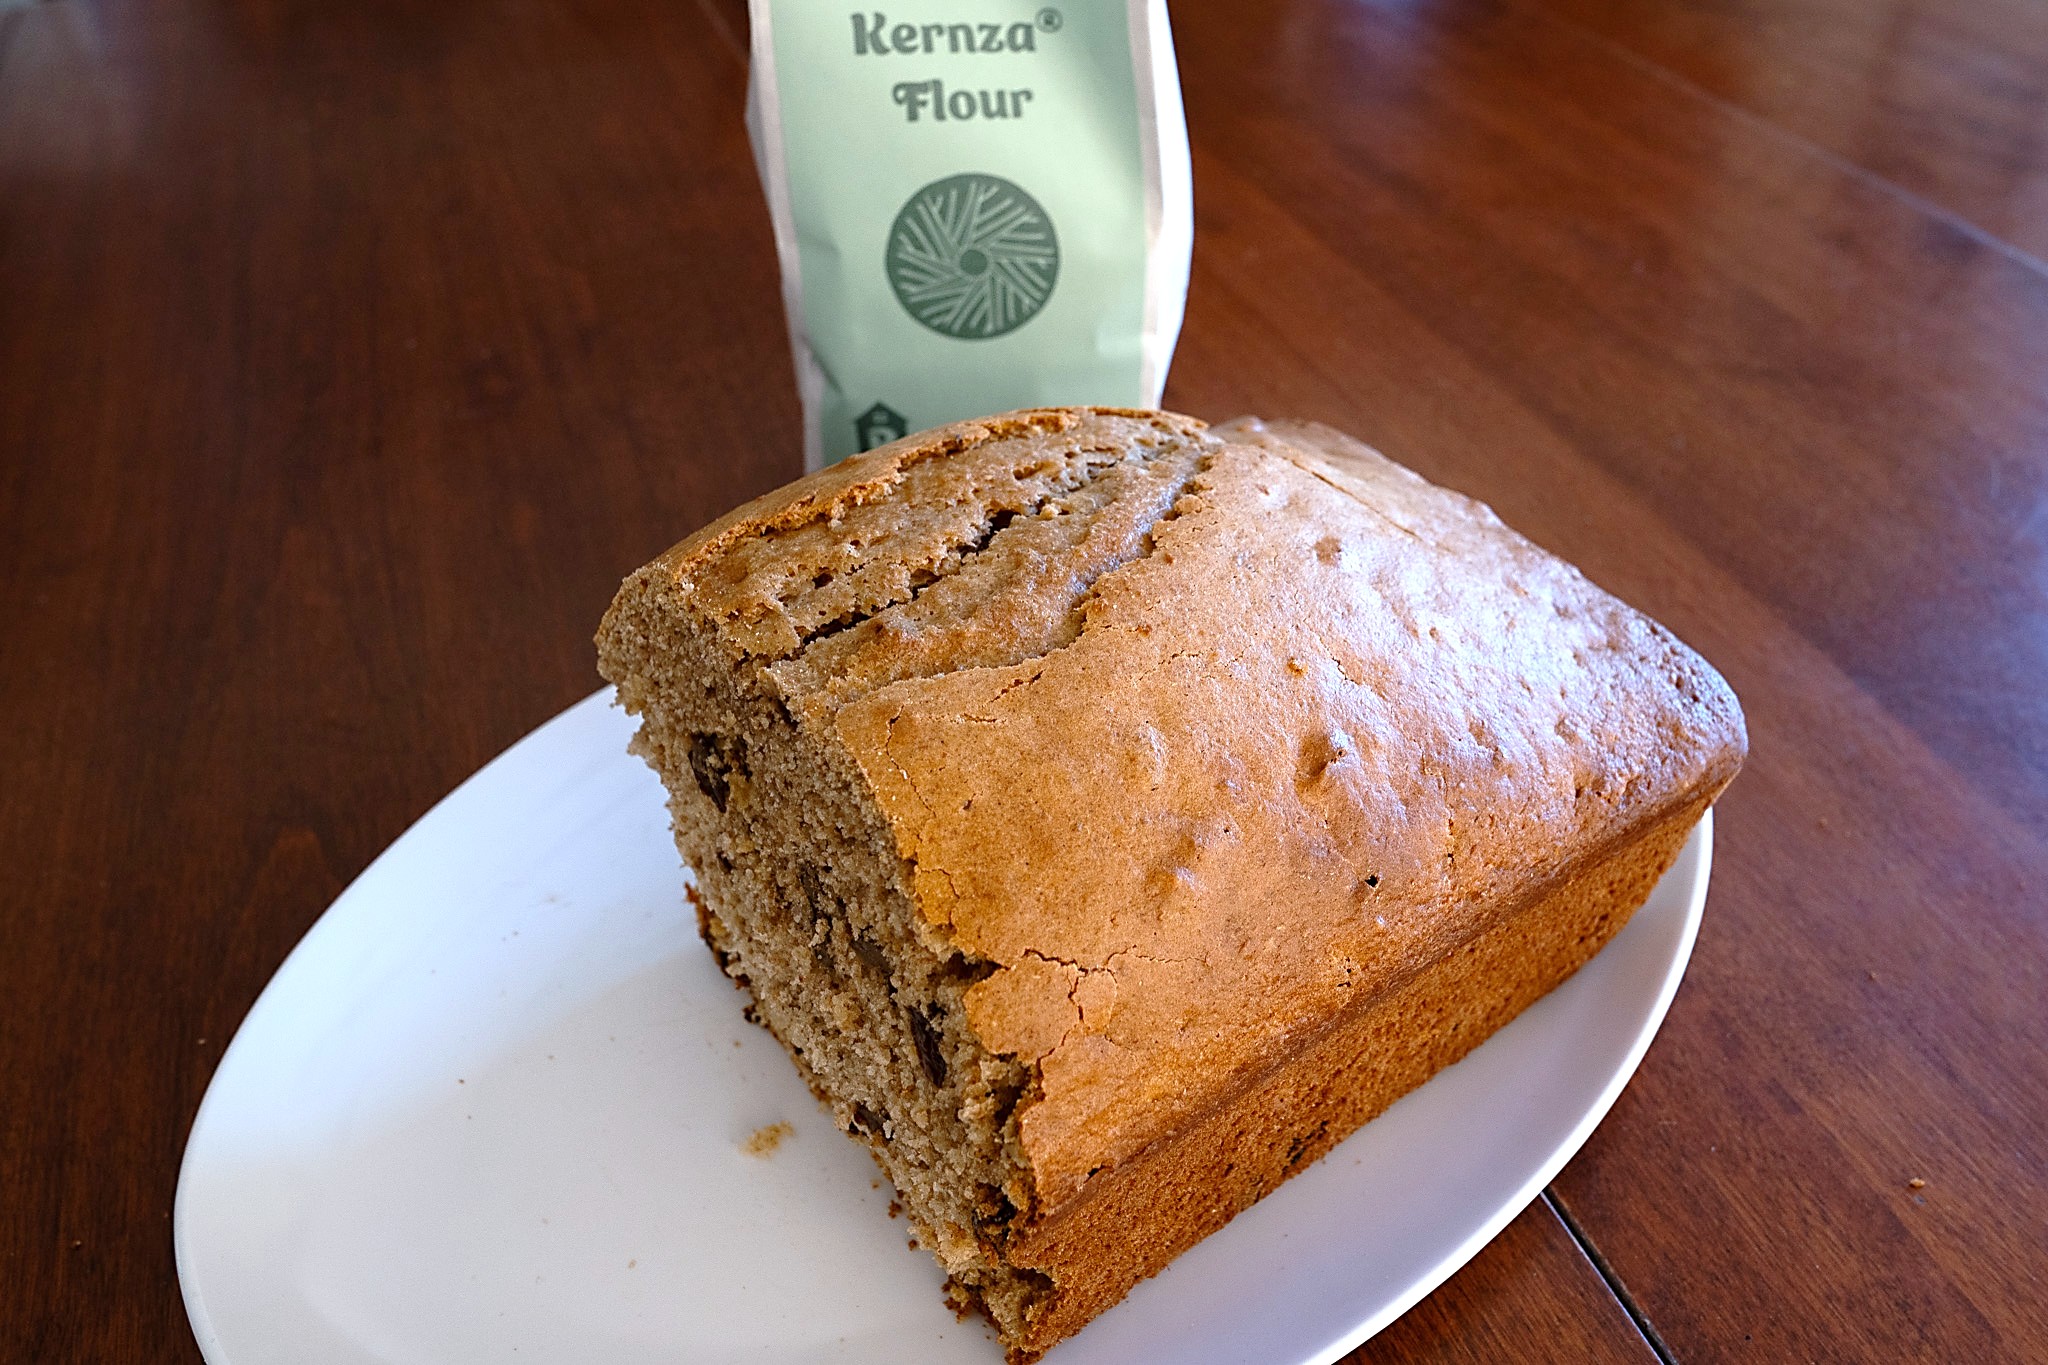
Updating a Hundred-Year Old Graham Nut Bread Recipe to Use Kernza Flour
I looked through my 1926 cookbooks, and found several recipes that called for graham flour. I shared them with Beth, and we decided that a recipe for Graham Nut Bread would be a good one to try updating:
Source: Source: Methodist Ladies Aid Cook Book (Culbertson, NE, 1926)
We decided to substitute Kernza flour for the graham flour at a 1:1 ratio. In other words, instead of using 2 cups of graham flour, I used 2 cups of Kernza flour. Since the old recipe called for baking the bread in a “moderate” oven, I baked it at 350° F. until a wooden pick came out clean (about 1 hour and 15 minutes).
The bread was sweet, had a rustic, firm texture, and contained lots of chopped walnuts and raisins. It was not crumbly. In my opinion, the crust was a little thick, though when I took it to a coffee group gathering, it was a huge success. They loved it, and two people even asked if they could have slices to take home.
I also shared my experience making the bread with Beth, and she said that the crust might be better if I baked the bread at a lower temperature (325° F). This would also mean cooking it for a little longer. Additionally, she suggested adding ¼ cup of melted butter.
I made the bread again using Beth’s suggestions, and the bread was perfect. The crust had just the right amount of crustiness, and the bread still had a lovely rustic, firm texture. Success! Kernza flour was a great substitute for graham flour (and it has the added bonus of being good for the environment).
A minor issue is that many stores do not carry Kernza flour, but it is available at some food co-ops and online. Hopefully, before too long, it will be more readily available.
Step 1. Preheat oven to 325° F. Grease a 9” X 5” loaf pan.
Step 2. Combine Kernza flour, all-purpose flour, and baking powder; set aside.
Step 3. Put the eggs, sugar, and salt in a mixing bowl; stir to combine. Add butter, then stir. Alternately add the flour mixture and the milk (add about a third of each at a time). Stir until just mixed.
Step 4. Add chopped walnuts and raisins; stir just enough to distribute throughout the batter.
Step 5. Put batter into prepared loaf pan.
Step 6. Put in oven and bake for about 1 hour and 30 minutes (or until a wooden pick comes out clean). Remove bread from oven, and allow it to cool for about 10 minutes before removing it from pan.
Sweet potatoes are a delightful, but often under-utilized vegetable. Often, they are served on Thanksgiving and then forgotten until the following November. That’s unfortunate. They are a seasonal, widely available vegetable in January, and they are very nutritious.
A cup of sweet potatoes contains more than 100% of the daily value (DV) for Vitamin A and almost half of the daily value for Vitamin C. They also contain substantive amounts of manganese (43% of DV), copper (36% of DV), pantothenic acid (35% of DV), Vitamin B6 (34% of DV, potassium (20% of DV), and niacin (19% of DV). Additionally, they contain 6.6 grams of fiber. So when I saw a recipe for Sweet Potatoes a la Pecan while browsing through a hundred-year-old cookbook, I decided to give it a try.
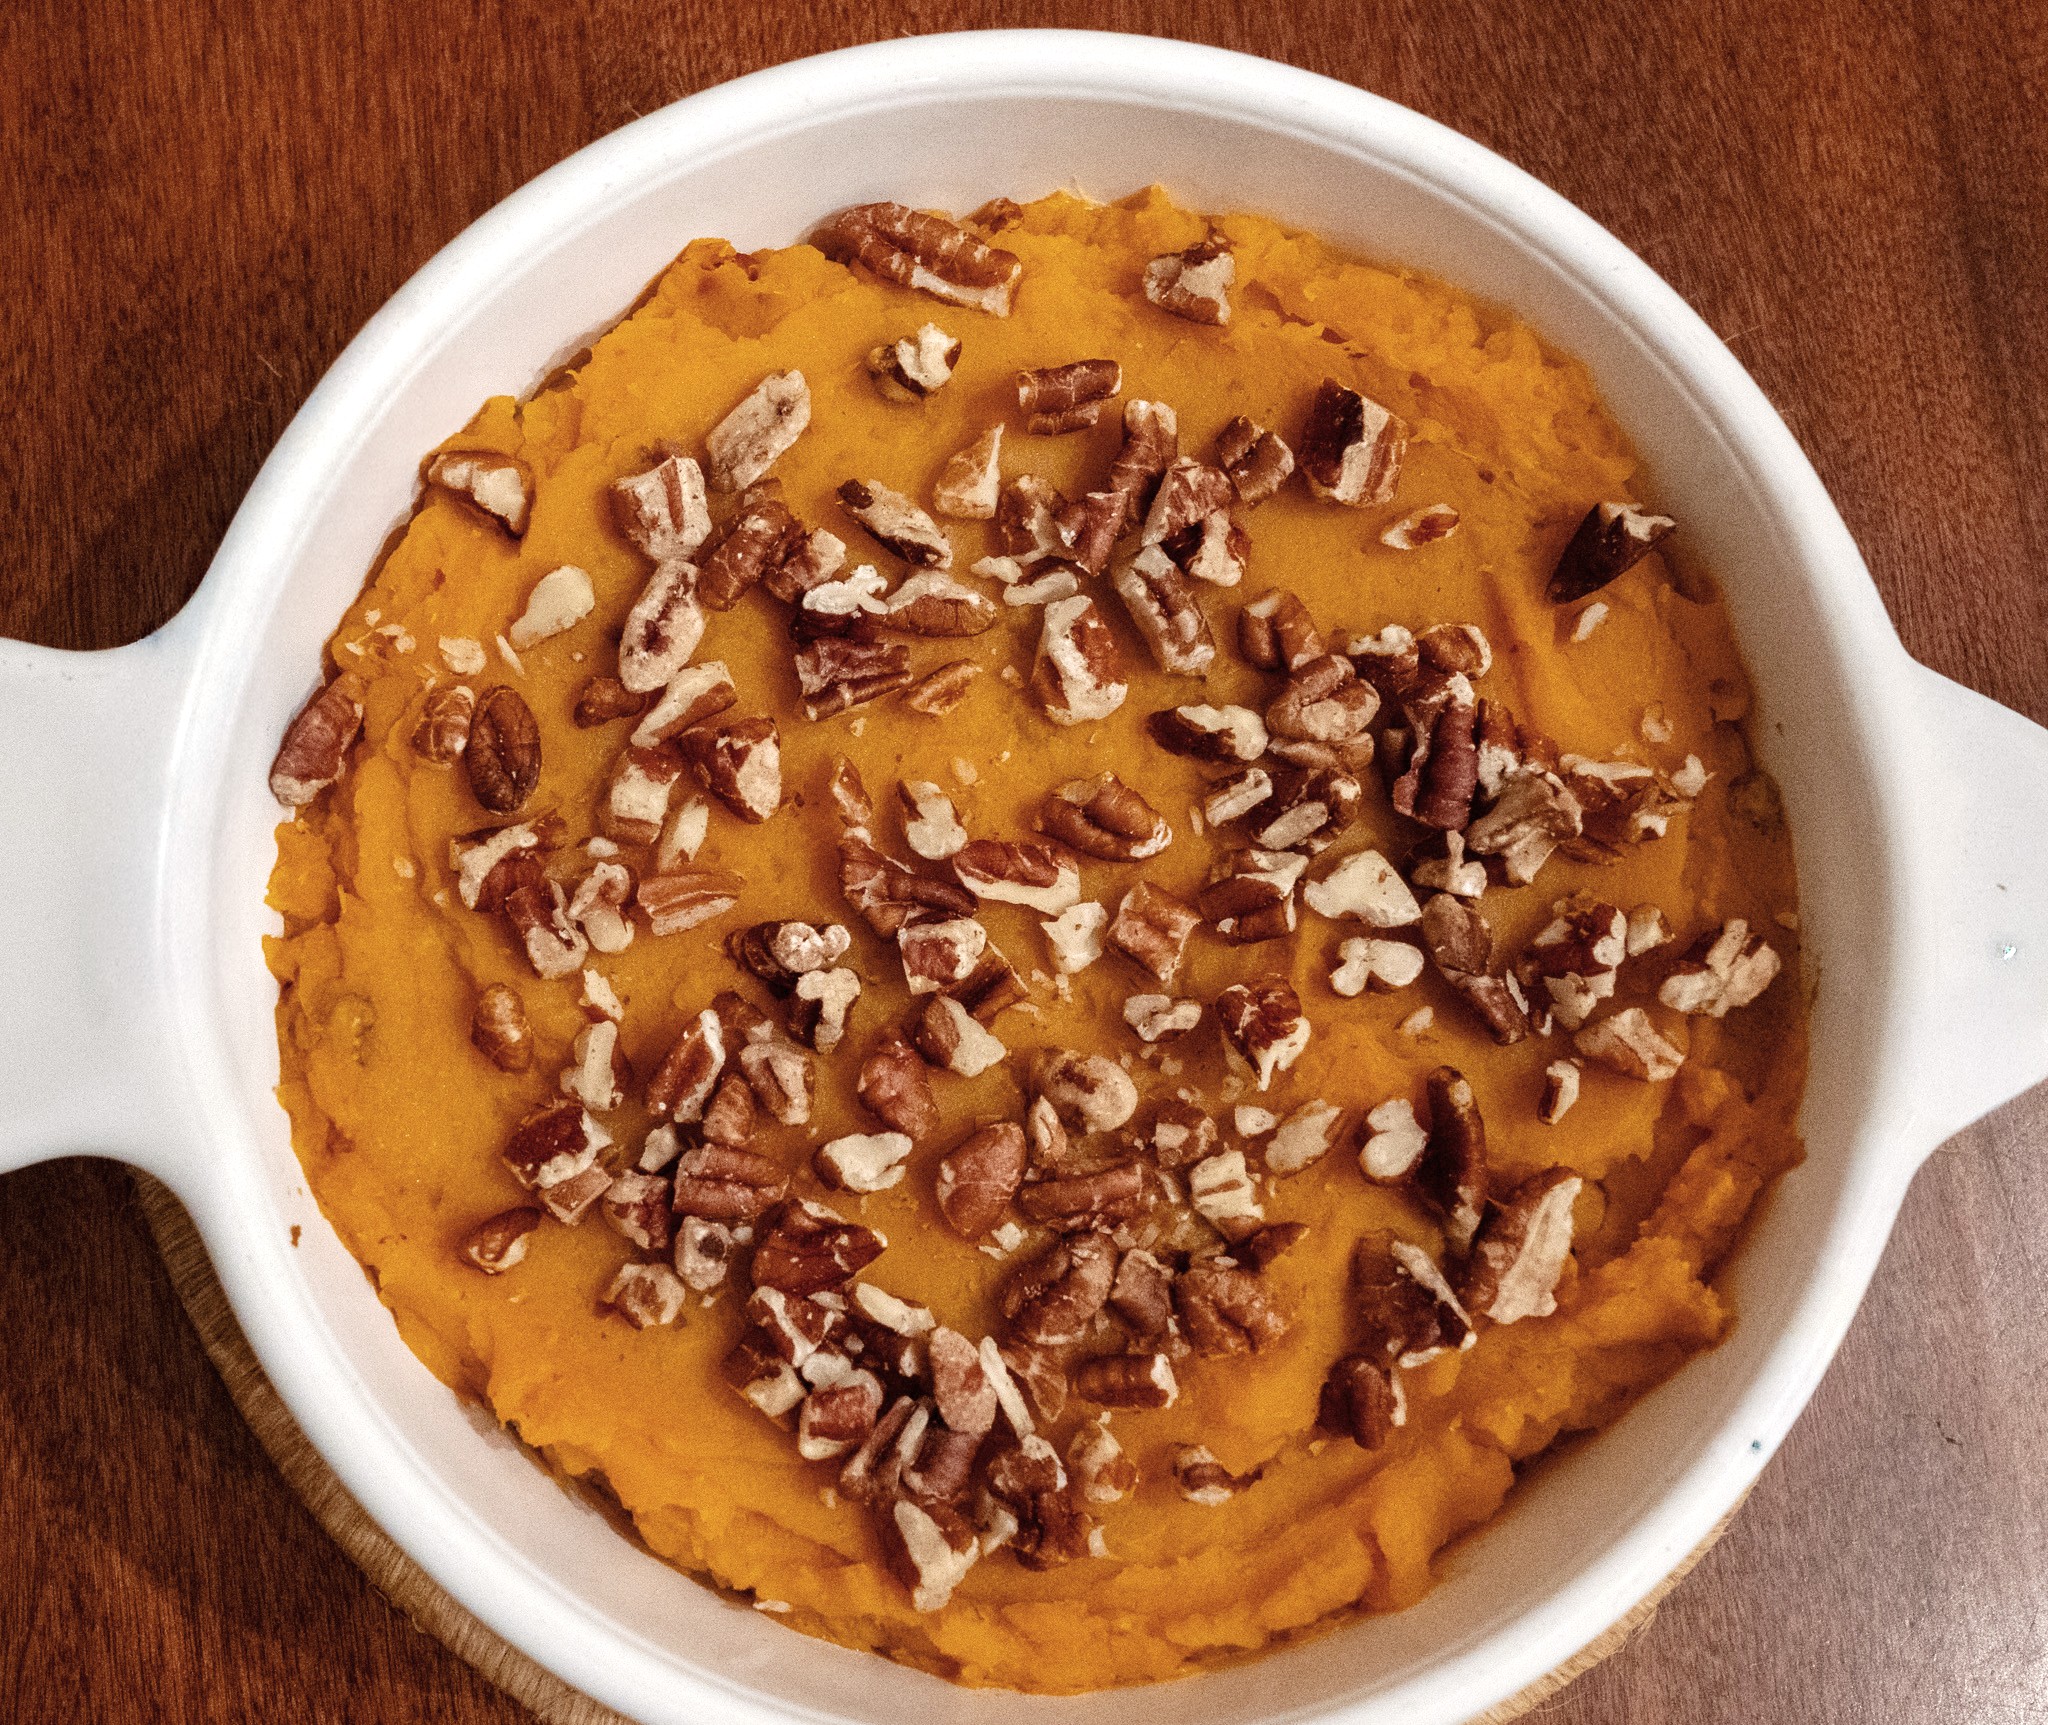
The recipe for Sweet Potatoes a la Pecan did not call for any added sweeteners, so the natural, rich, almost caramelly taste of the sweet potatoes had the opportunity to shine. The creamy mashed sweet potatoes combined with crunchy chopped pecan resulted in a lovely texture. This dish is perfect for these cold winter days.
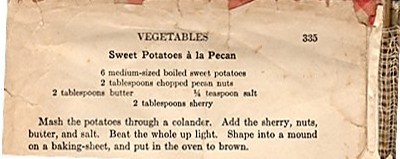
Here’s the original recipe:
Source: Recipe pasted into 1926 cookbook compiled by the Domestic Science Class of the Peoria (IL) Women’s Club
I’m uncertain about the origins of this recipe. It is from a cookbook page that was neatly pasted onto the inside front cover of a 1926 cookbook compiled by the Domestic Science Class of the Peoria, Illinois Women’s Club. At first, I thought that the page had fallen out of the cookbook, and had then been pasted by the cookbook’s owner onto the inside cover to keep it from getting lost. But the page number is more than a hundred pages higher than the last page of the cookbook, so it originated from another book.
Six sweet potatoes would make a lot of Sweet Potatoes a la Pecan, so I halved the recipe (except for the pecans). It seemed like a recipe that had pecans in the title should contain a substantive amount of chopped pecans, so I stirred two tablespoons of chopped pecans into the mashed sweet potato mixture, and also sprinkled some additional chopped pecans on top of the dish.
I’m surprised that the recipe called for sherry. The cookbook was published a hundred years ago, which was during prohibition, and I seldom see recipes calling for alcohol in cookbooks published during those years. However, since the recipe was pasted into the book, perhaps it is from a book published either prior to or after prohibition. I didn’t have any sherry, but Spruce Eats indicates that wine or apple cider vinegar can be substituted for sherry, so I used white wine.
I could not figure out how to make a mound of the sweet potato mixture on a baking sheet that could be successfully transferred in one piece to a serving plate after it was baked, so I just put the sweet potato mixture in a casserole dish.
Step 2. Peel the sweet potatoes, then cut into 1-inch cubes. Put in a large saucepan and cover with water. Bring to a boil using high heat, then reduce heat and simmer until the sweet potatoes are tender (about 20 minutes).
Step 3. Remove the sweet potatoes from the heat and drain, then mash the sweet potatoes. (An electric beater can be used to mash them.)
Step 4. Add the butter, salt, and sherry/wine/vinegar to the mashed sweet potatoes, and beat until well mixed. Stir in the 2 tablespoons of chopped pecans.
Step 5. Put the sweet potato mixture in a baking dish; and, if desired, top with additional chopped pecans.
Step 6. Put the baking dish in the oven to bake until the mixture is hot and lightly browned. (About 20 minutes if the sweet potatoes were hot when mashed; longer if they had partially cooled.). Remove from oven and serve.