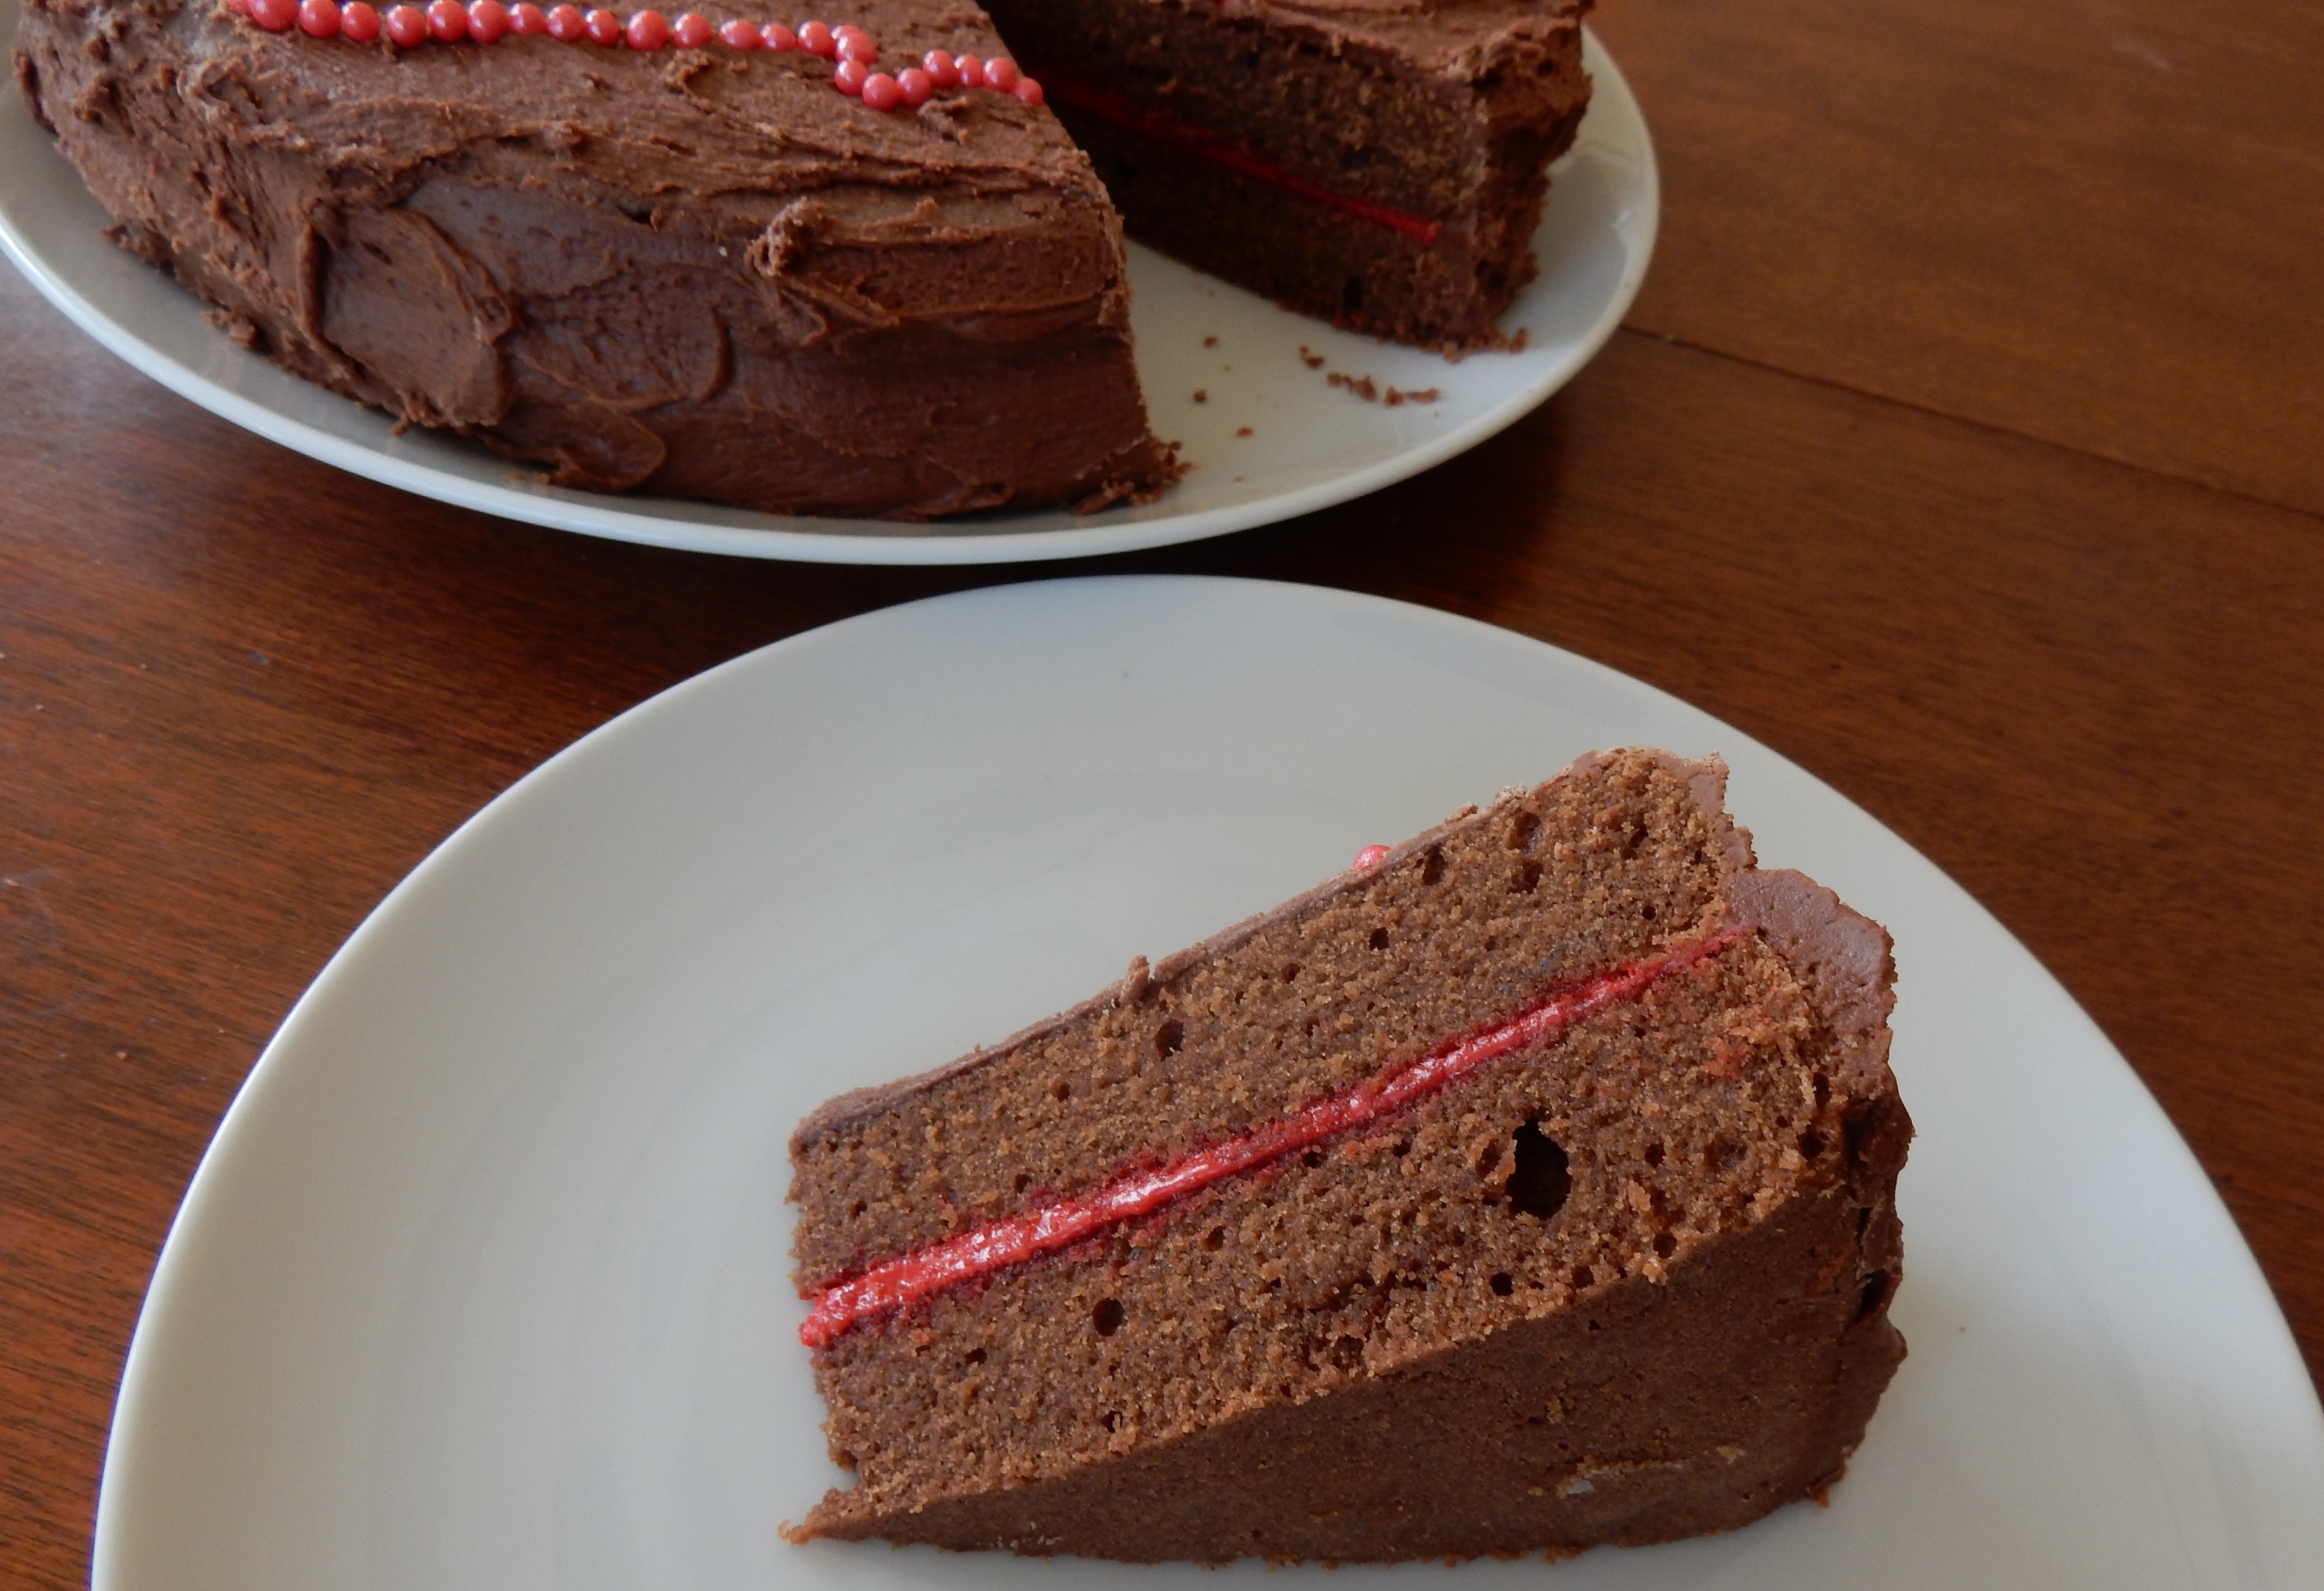
I love browsing through hundred-year-old cookbooks and selecting recipes to make for this blog. Generally I choose recipes that I think I will enjoy. But, old cookbooks also contain some recipes that seem very unusual and that I don’t think that I will like. I tend to ignore those recipes, but occasionally I’m intrigued enough to give one a try – while not having very high expectations. The recipe that I’m sharing this week is one of those times.
I made Stuffed Celery. The recipe called for “fringing” celery pieces with a knife, putting in ice water for several hours, and then stuffing and putting two pieces together and standing on a plate. What seemed really unusual was that the stuffing contained butter, peanut butter, salt, cayenne (red) pepper, and chopped olives. I couldn’t even begin to imagine what this mixture might taste like, but definitely had my doubts that I’d like it.
The verdict: The Stuffed Celery looked very dramatic, though some of the pieces didn’t want to stay together or stand for very long. The stuffing mixture actually tasted okay (not incredible, but it was not terrible). It was definitely a case where something tasted better than it sounds.
Here’s the original recipe:

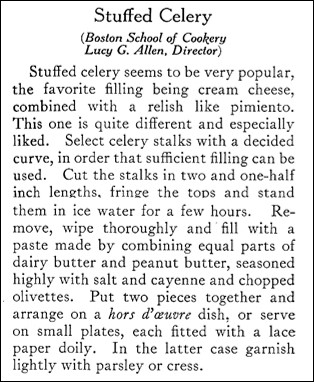
I’m not sure what olivettes are, but I interpreted it to mean olives. When I made this recipe I used stuffed green olives that I finely chopped.
Here’s the recipe updated for modern cooks:
Stuffed Celery
1 bunch celery
water with ice
1/4 cup butter, softened
1/4 cup peanut butter
1/4 teaspoon salt
1/8 teaspoon cayenne (red) pepper
2 tablespoons stuffed green olives, finely chopped
Select the large curved stalks of celery in the bunch, wash, and then cut into 2 1/2 inch pieces. (Save small stalks and pieces for use in other recipes.) Fringe the top of the celery by making vertical cuts close together in the top half of each piece of celery. Stand the fringed celery in ice water for 2-4 hours.
In the meantime put the butter, peanut butter, salt, and cayenne pepper in a small bowl; stir until thoroughly mixed. Add chopped olives and stir until evenly distributed.
After 2-4 hours remove celery pieces from the ice water and wipe dry. Fill the bottom portion of each piece of celery with the peanut butter mixture. Put two pieces together, and wipe with a paper towel to remove any excess peanut butter mixture, then stand on a plate. The bottom edges of the celery may be trimmed if needed to make them level so they will stand better.