When I was recently browsing through the recipes in a hundred-year-old cookbook I saw a recipe for Oatmeal Sticks and was intrigued. Breadsticks are a nice addition to a meal, and I thought that Oatmeal Sticks might be a nice change of pace. When I read the recipe, I was surprised that flour was the main ingredient and that the recipe called for a relatively small amount of oatmeal, but decided to proceed anyway and give it a try. Many breadstick recipes call for yeast, while this recipe was in a cookbook published by the Rumford Baking Powder Company so it called for the use of baking powder.
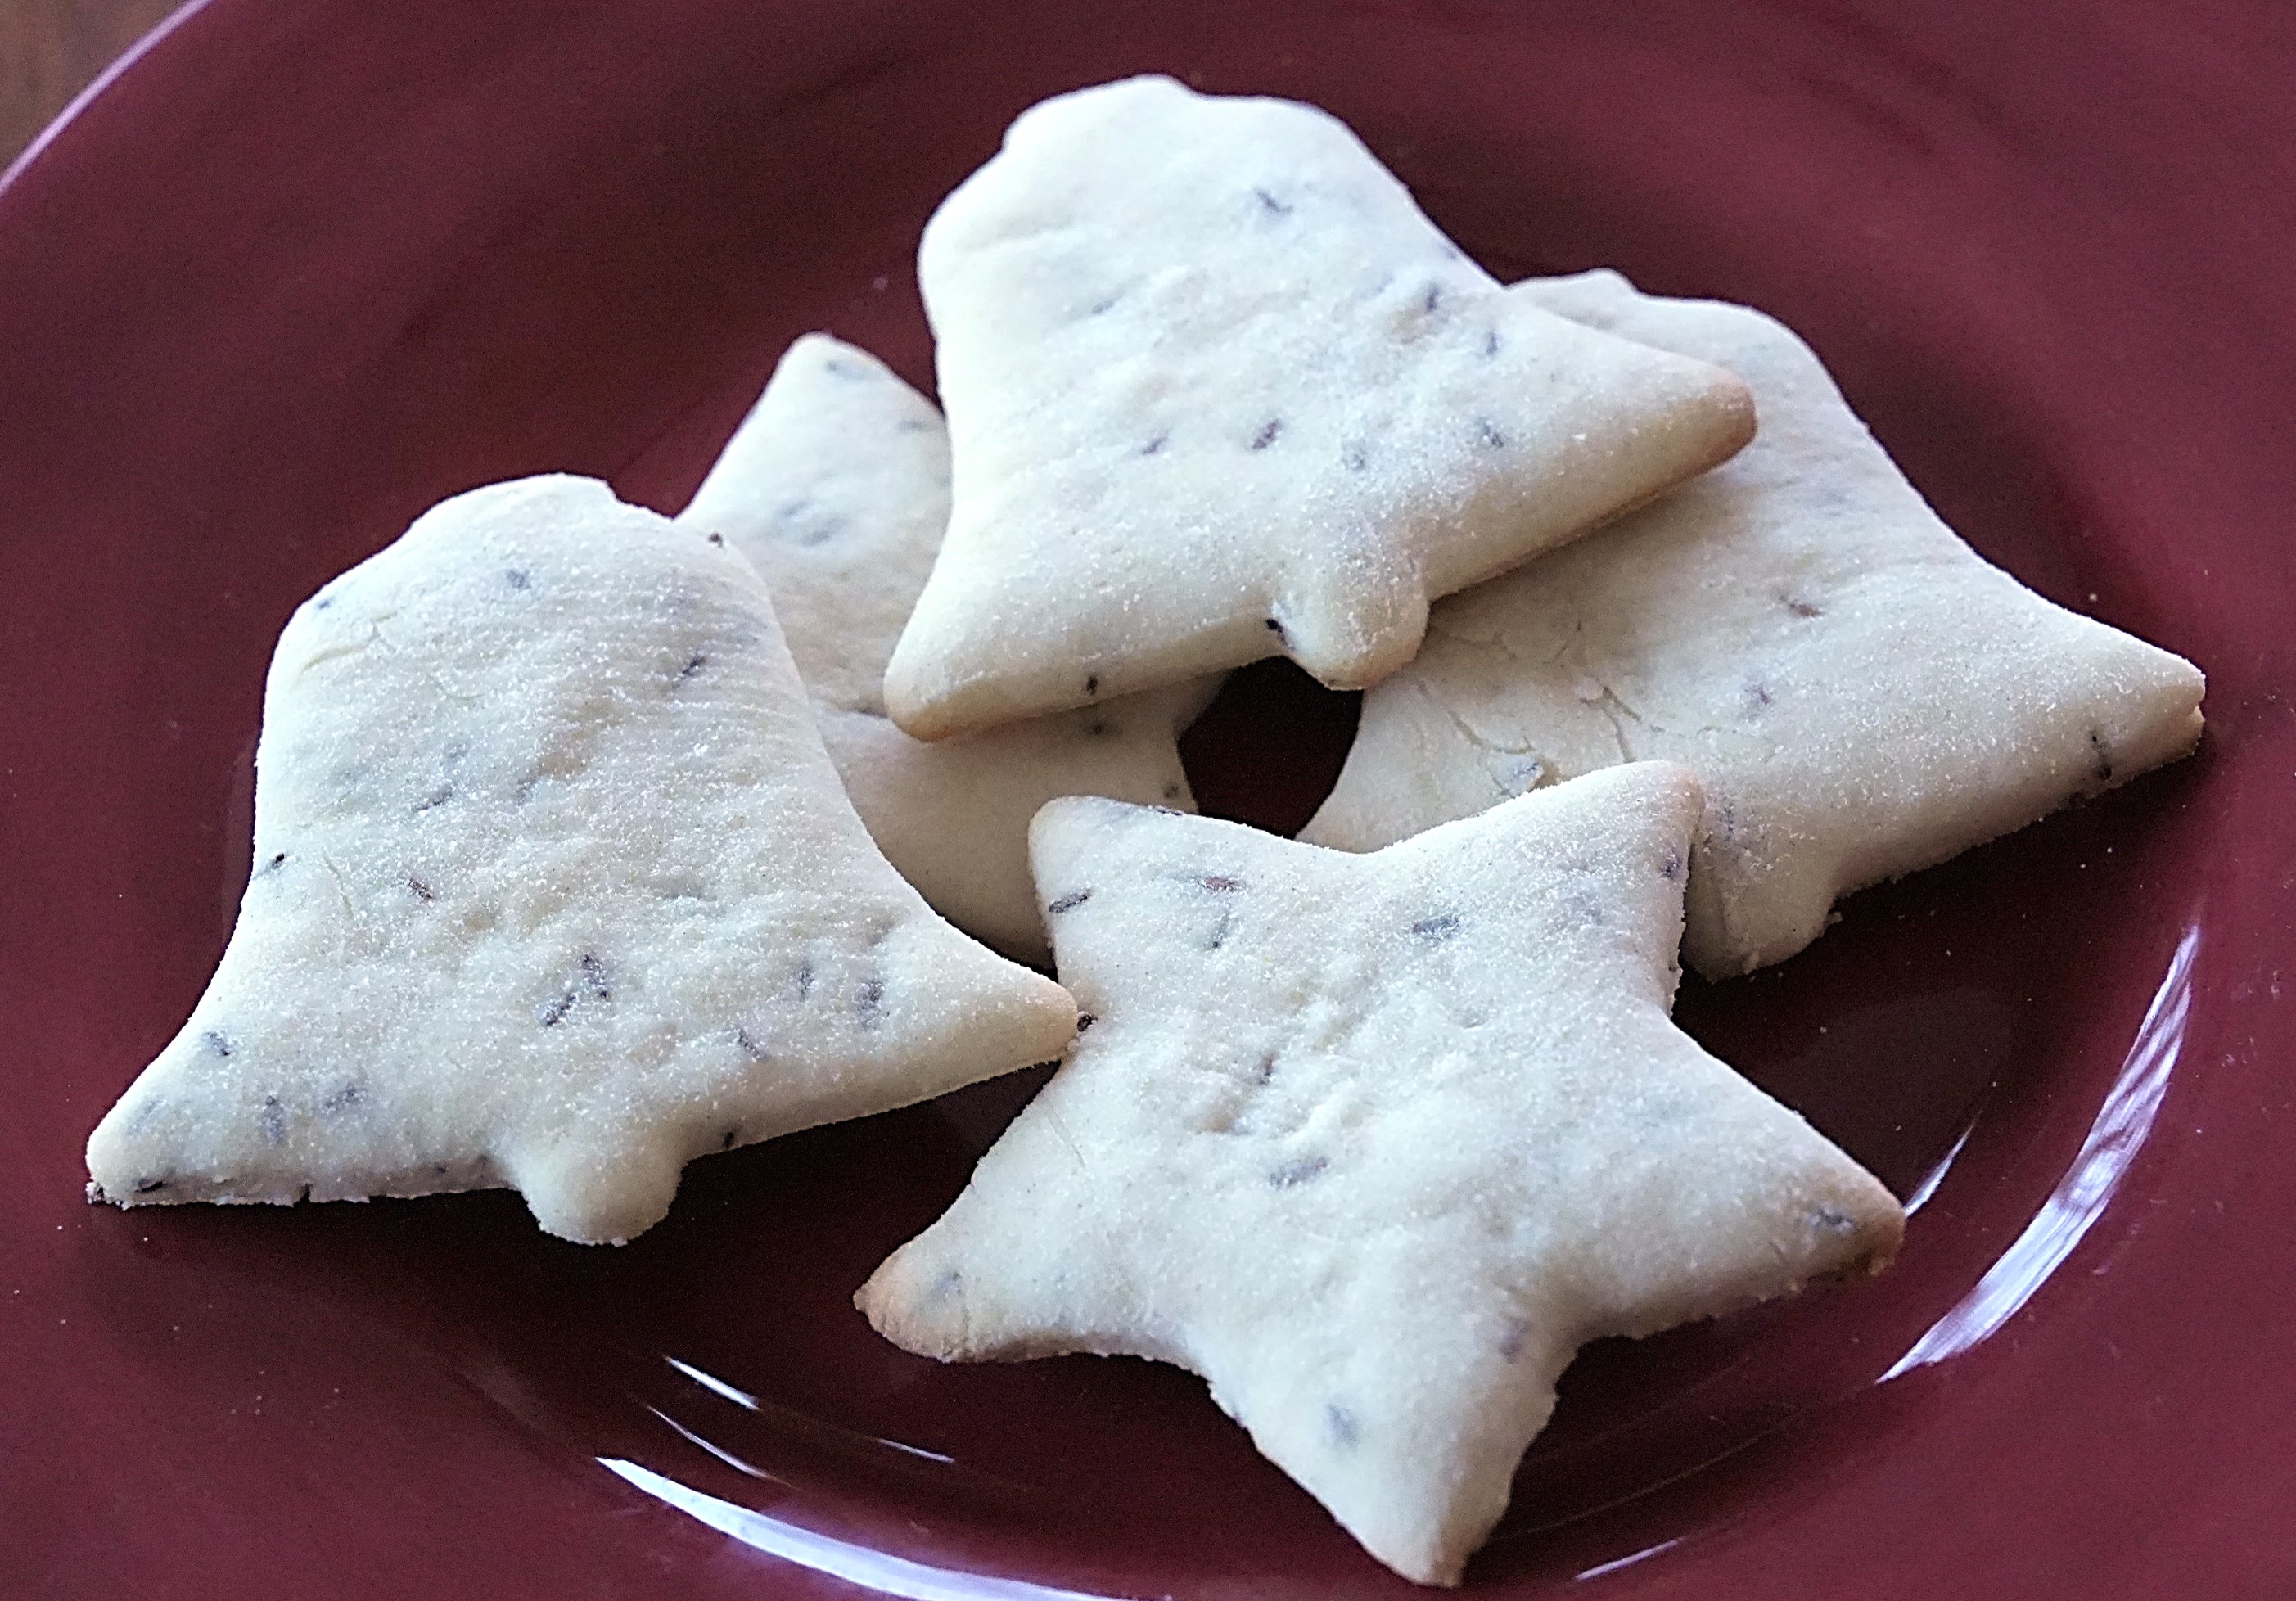
The Oatmeal Sticks were very rustic and had an artisan look. They were tasty but denser than the typical breadstick and had the texture of a quick bread. I could not tell that the baked Oatmeal Sticks actually contained oatmeal, though it may have contributed to the texture.
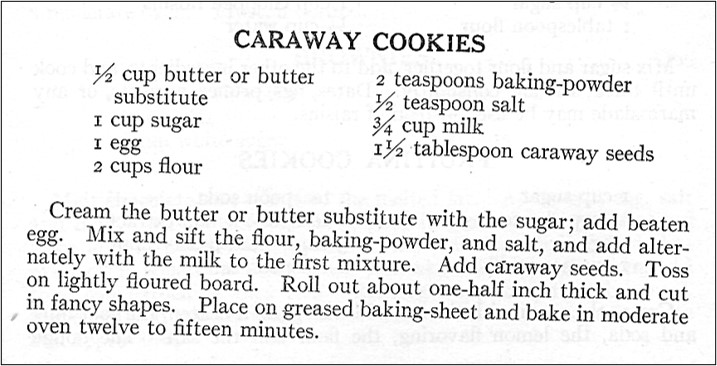
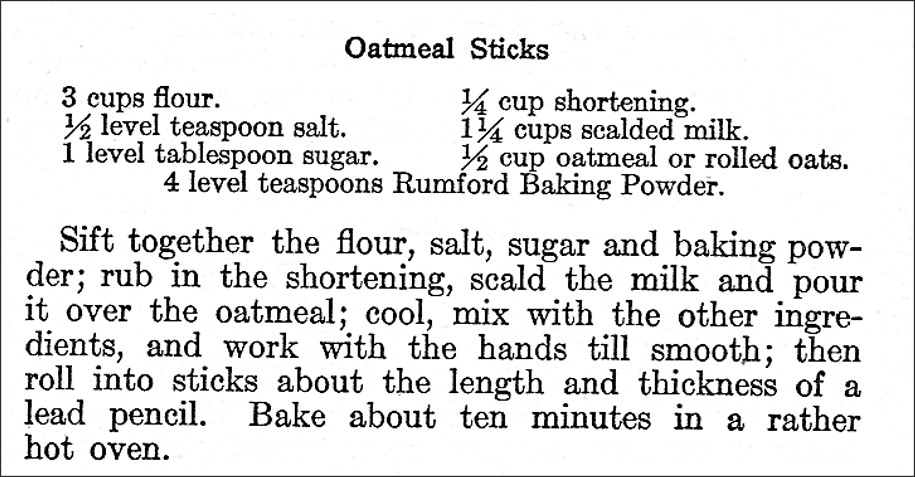
Here’s the original recipe:
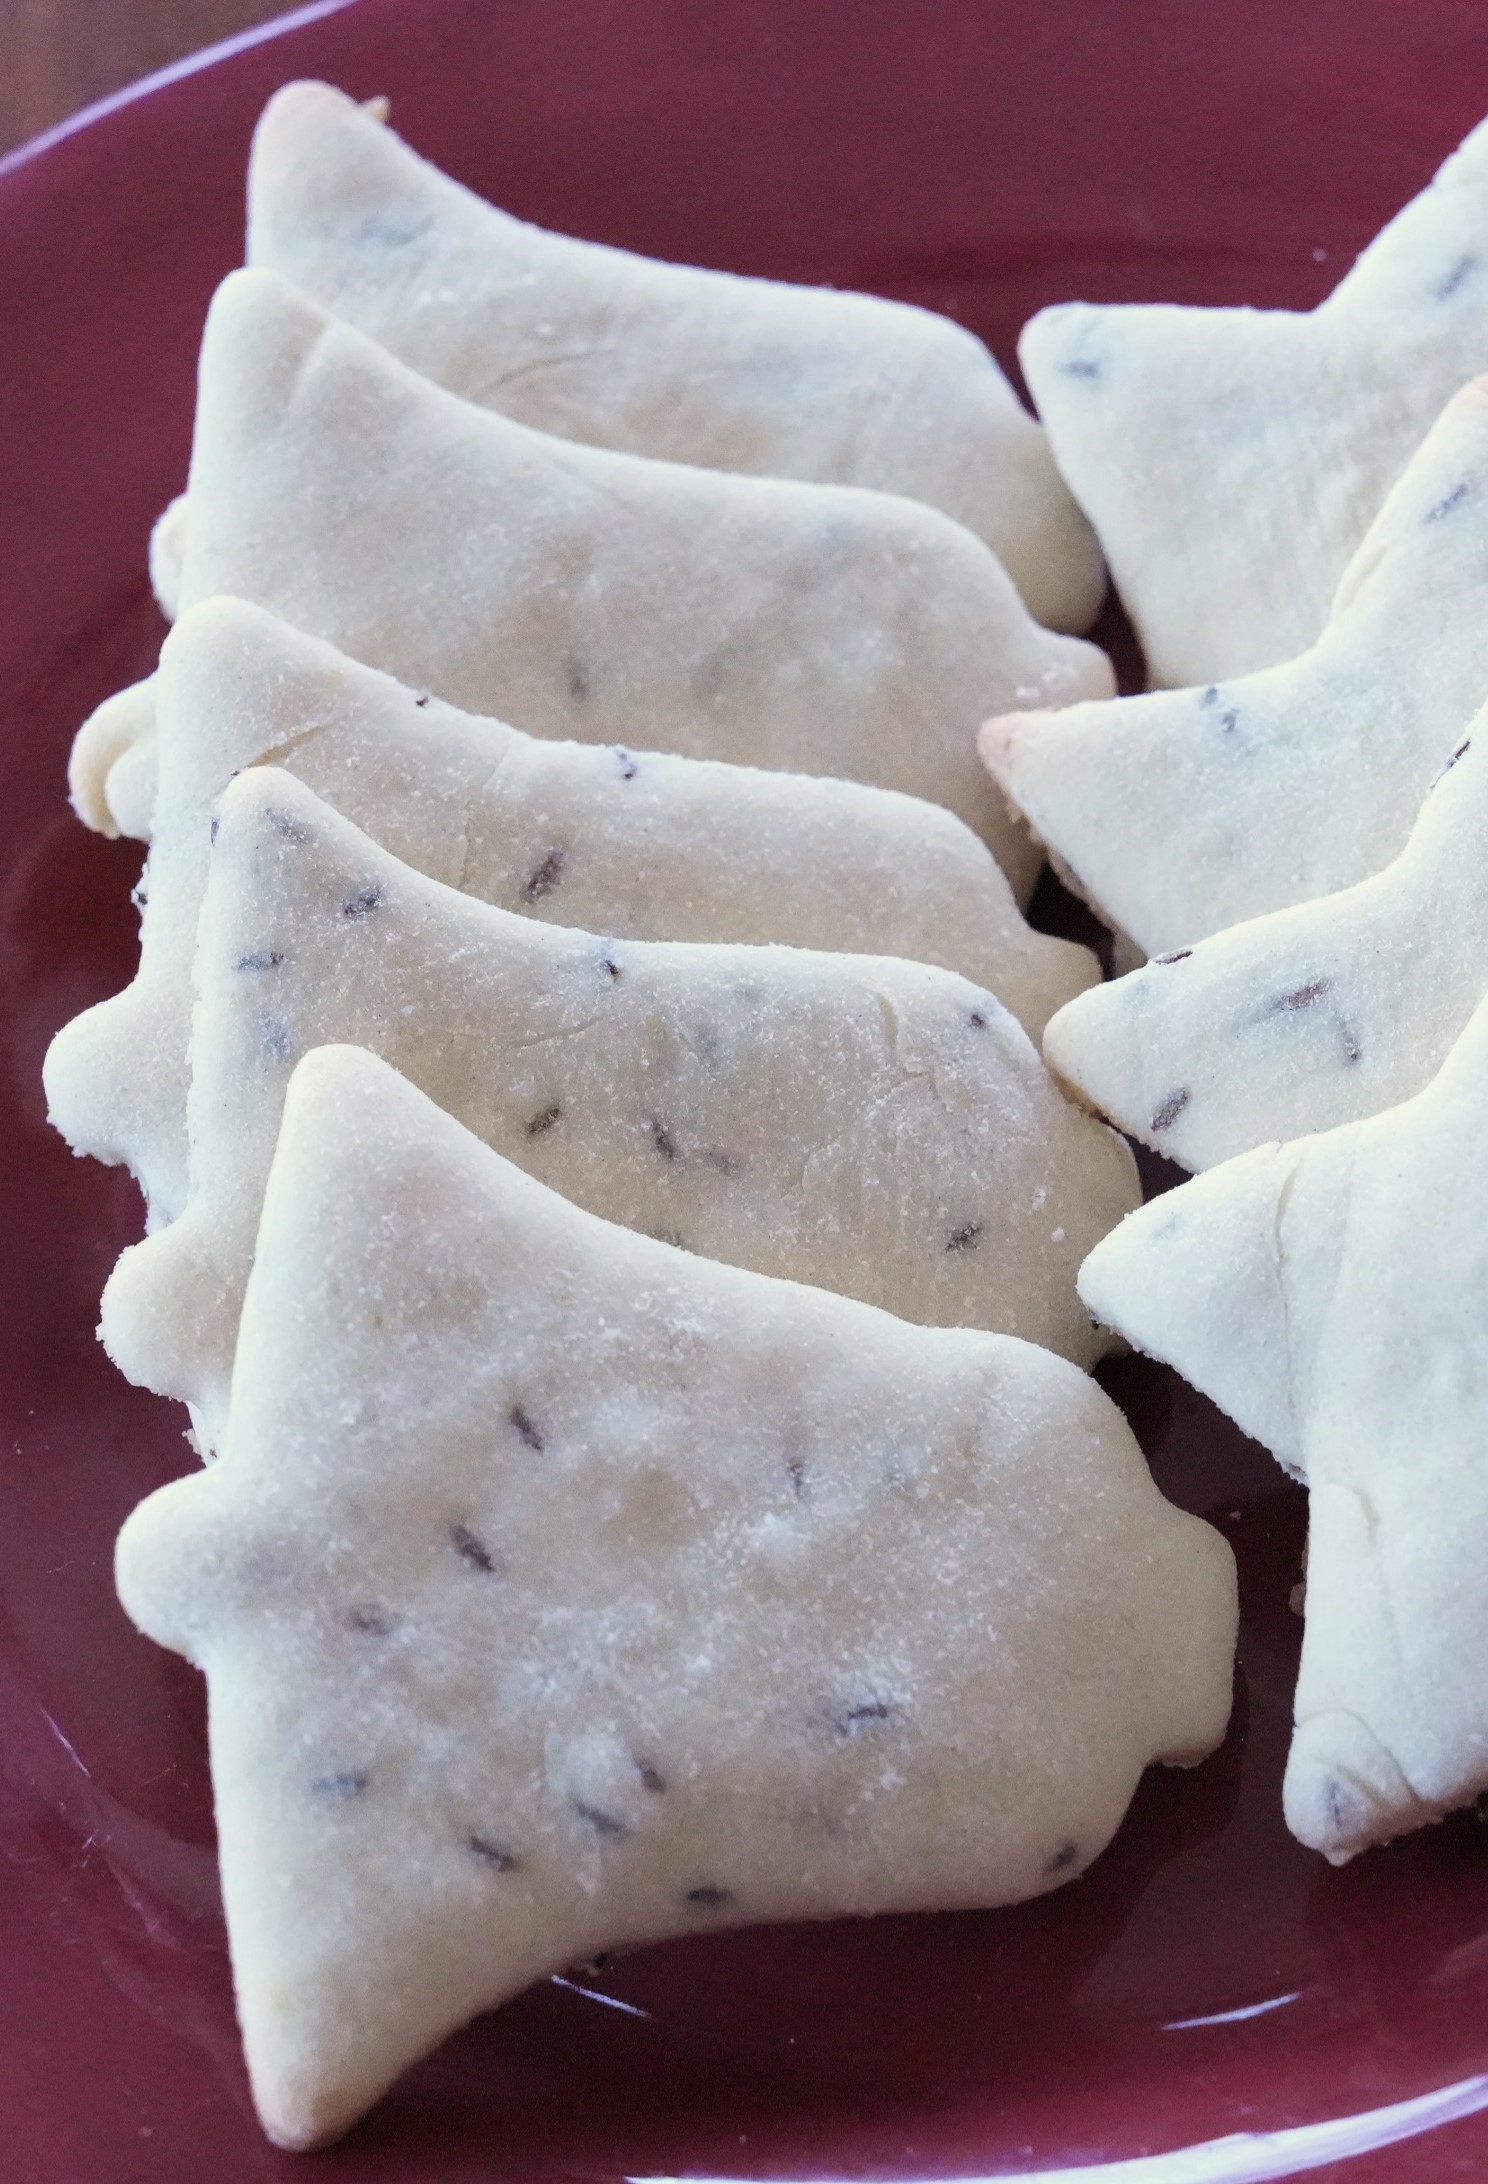
It took me substantive time to shape the Oatmeal Sticks, and even though I tried to do it very carefully, they were not as smooth as the typical bread stick (which I will again attribute to the use of baking powder rather than yeast).
Here’s the recipe updated for modern cooks:
Oatmeal Sticks
1 1/4 cups milk
1/2 cup oatmeal (I used quick 1-minute oatmeal.)
3 cups flour
1/2 teaspoon salt
1 tablespoon sugar
4 teaspoons baking powder
1/4 cup shortening
Preheat oven to 425◦ F. Using medium heat, bring milk to a boil, then stir in the oatmeal and turn off heat.
In the meantime, in a mixing bowl combine the flour, salt, sugar, and baking powder, then cut in the shortening. Add the cooked oatmeal and mix until all the ingredients are combined, then put on a prepared surface and knead for a few minutes until the mixture is smooth. Roll into sticks about the length and diameter of a pencil. Place on baking sheets (space about 1 1/2 inches apart). Cover dough that has not yet been made into sticks as well as the sticks that have been shaped while working to prevent them from drying out. Put in oven and bake until lightly browned (about 10 minutes).
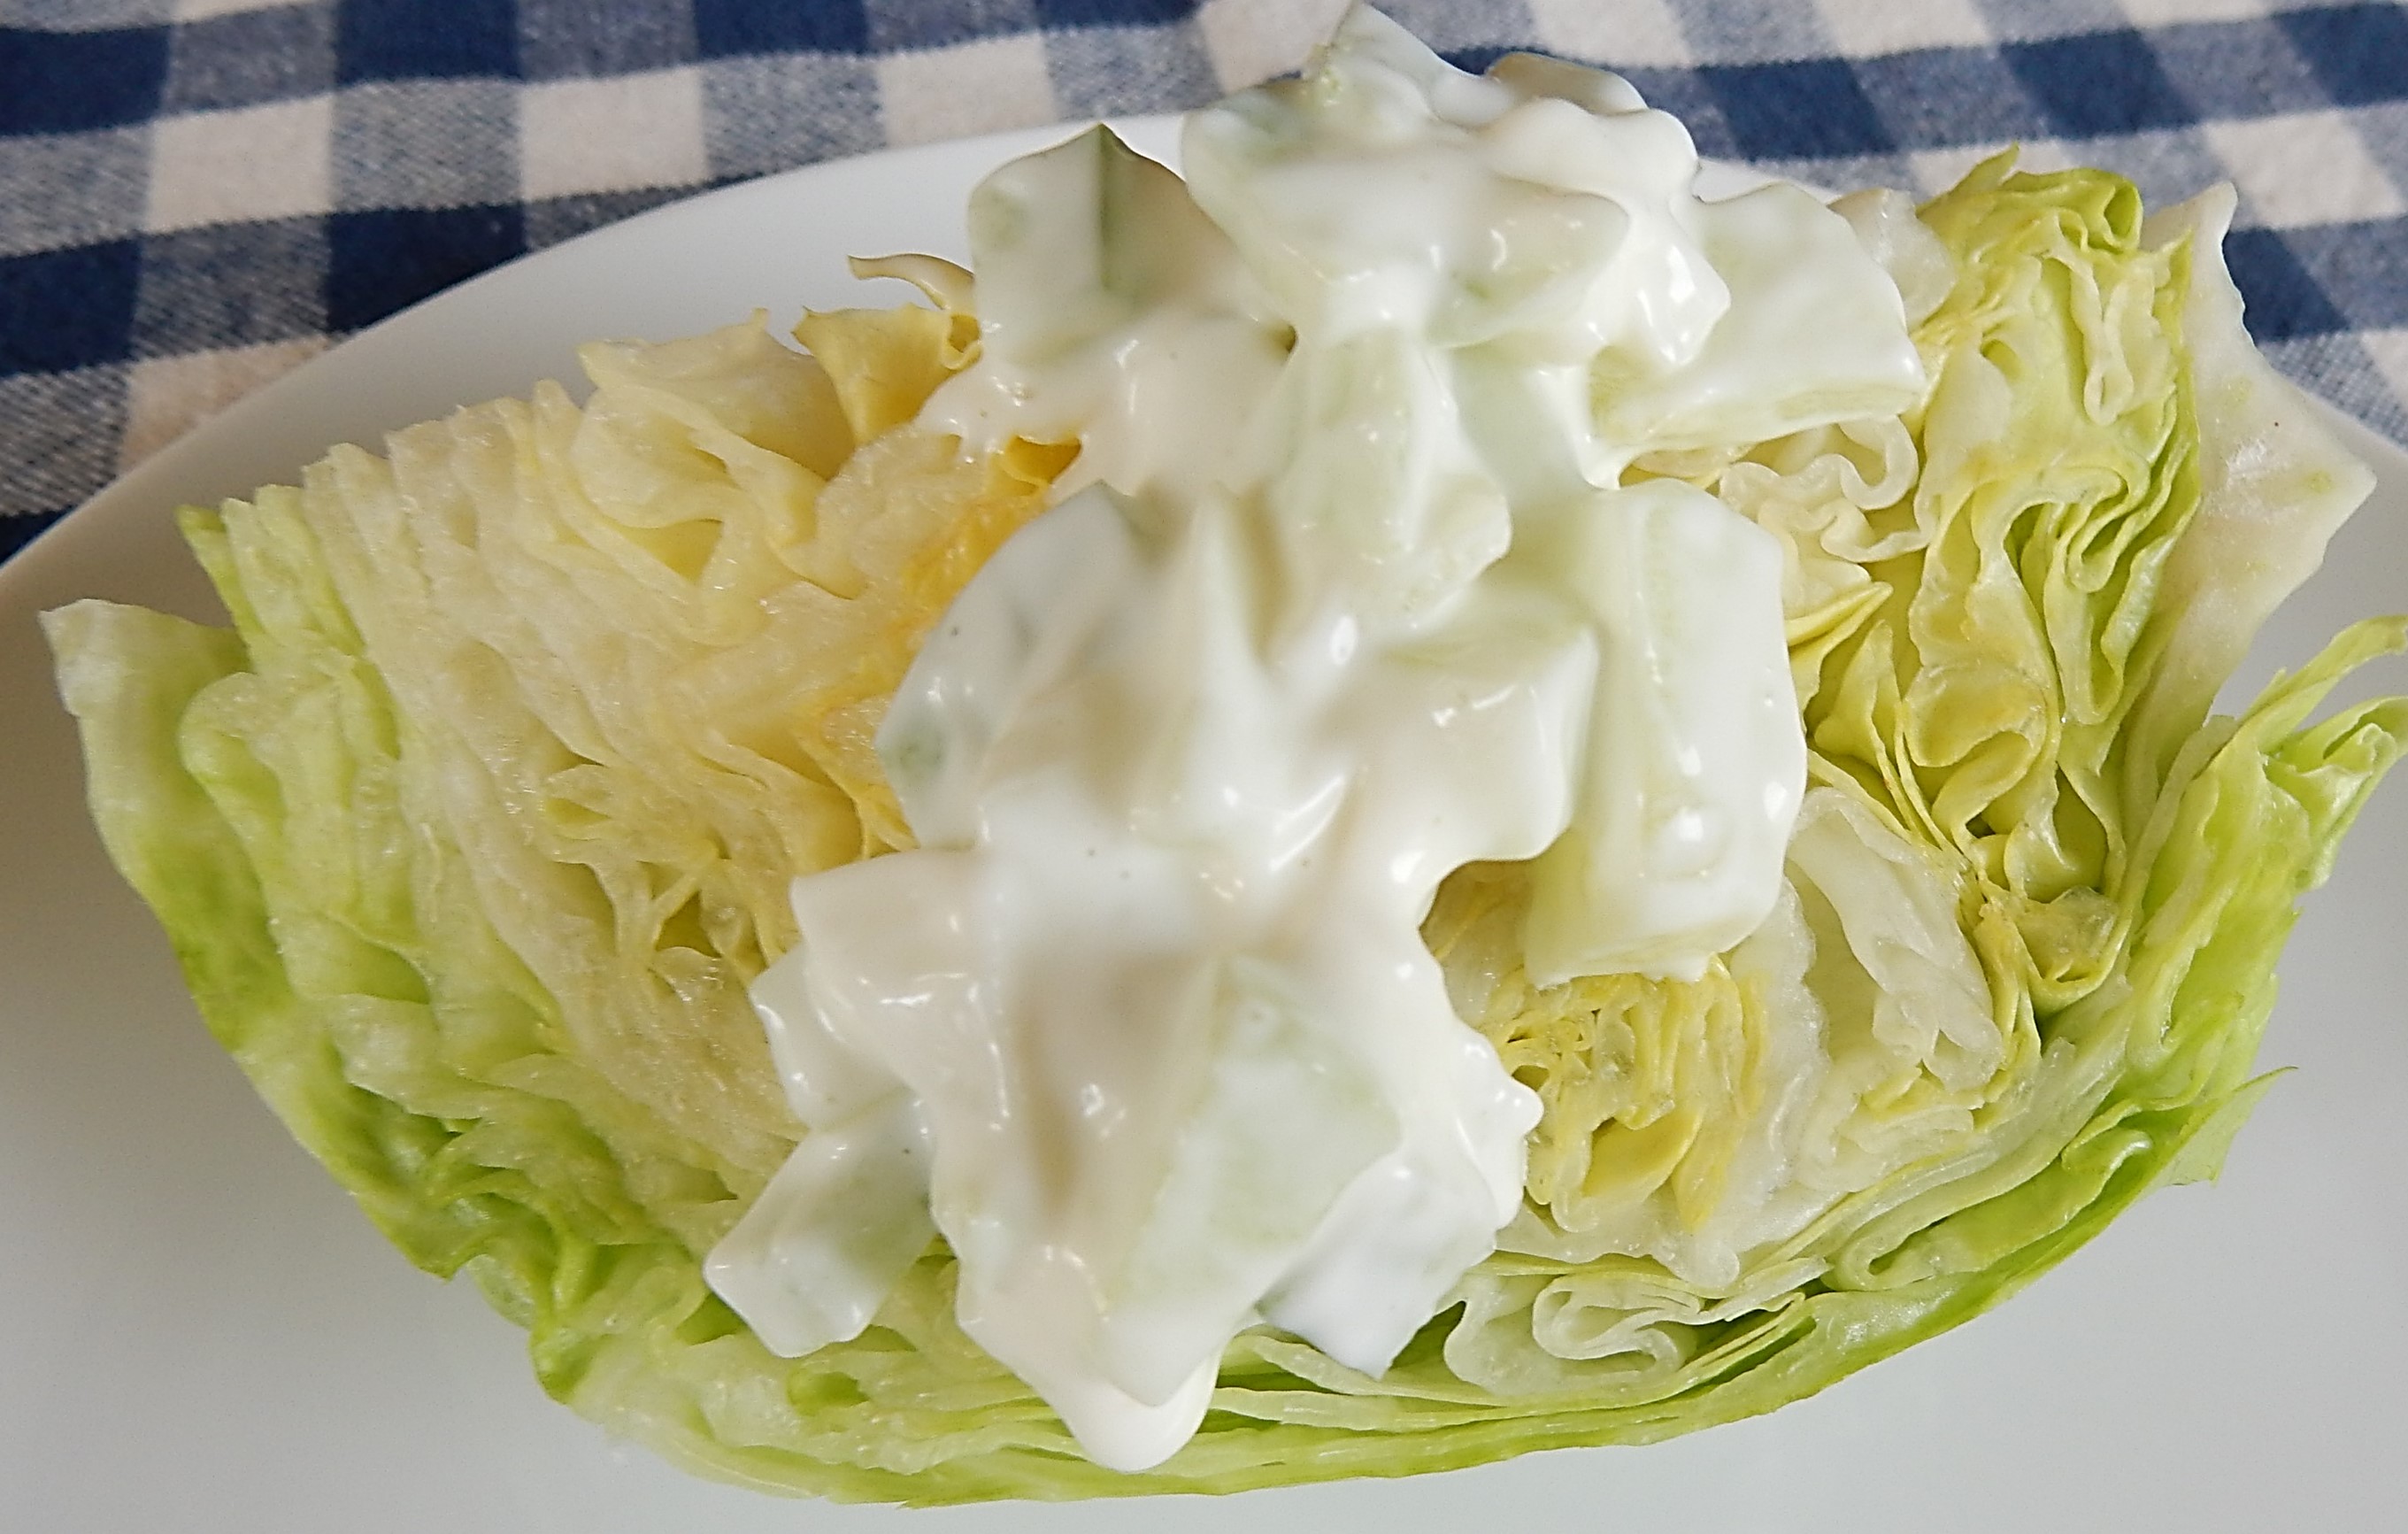 A hundred years ago salad options during the winter months were more limited than they are today. Here is what it said in a 1925 cookbook:


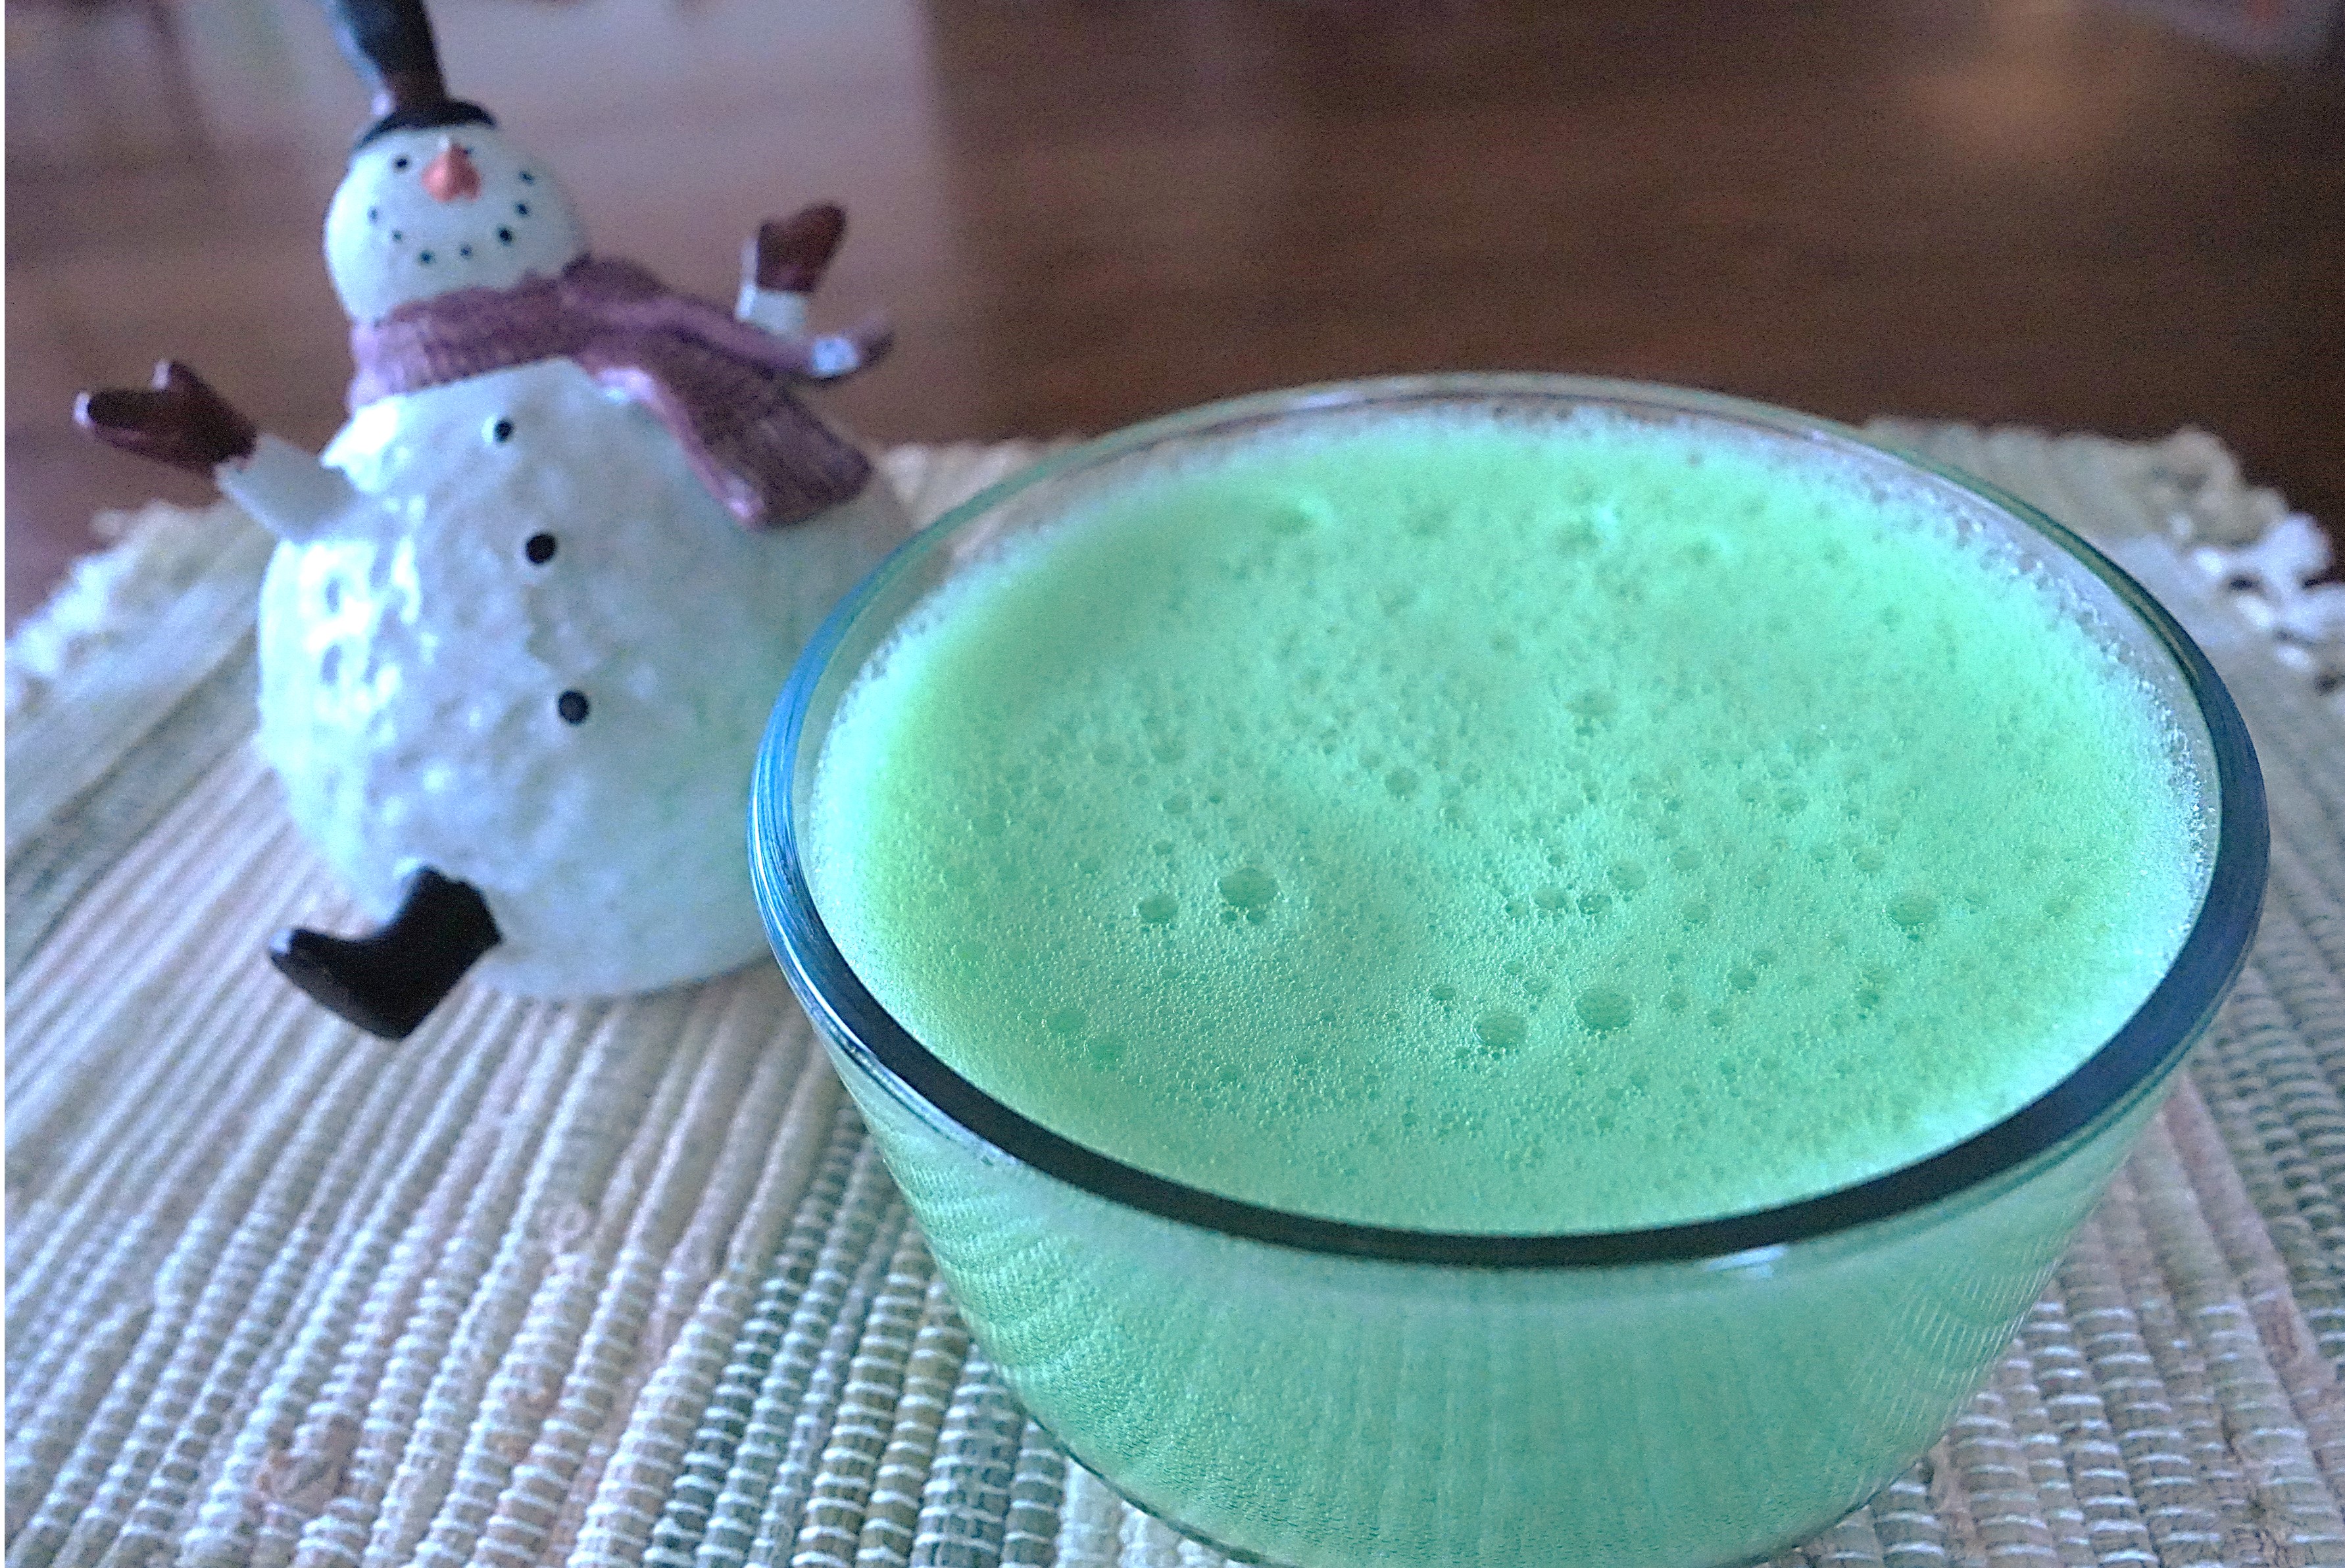 When my mother hosted family Christmas gatherings when I was a child, she always made two bowls of “Fluffy Jello;” one made using red gelatin and the other green. She said that “the kids like Fluffy Jello.” She made it by using electric beaters to add lots of air and foam to cooled gelatin that was almost ready to set. I hadn’t had Fluffy Jello in years and had forgotten all about it until I saw directions for making whipped gelatin in a hundred-year-old cookbook.