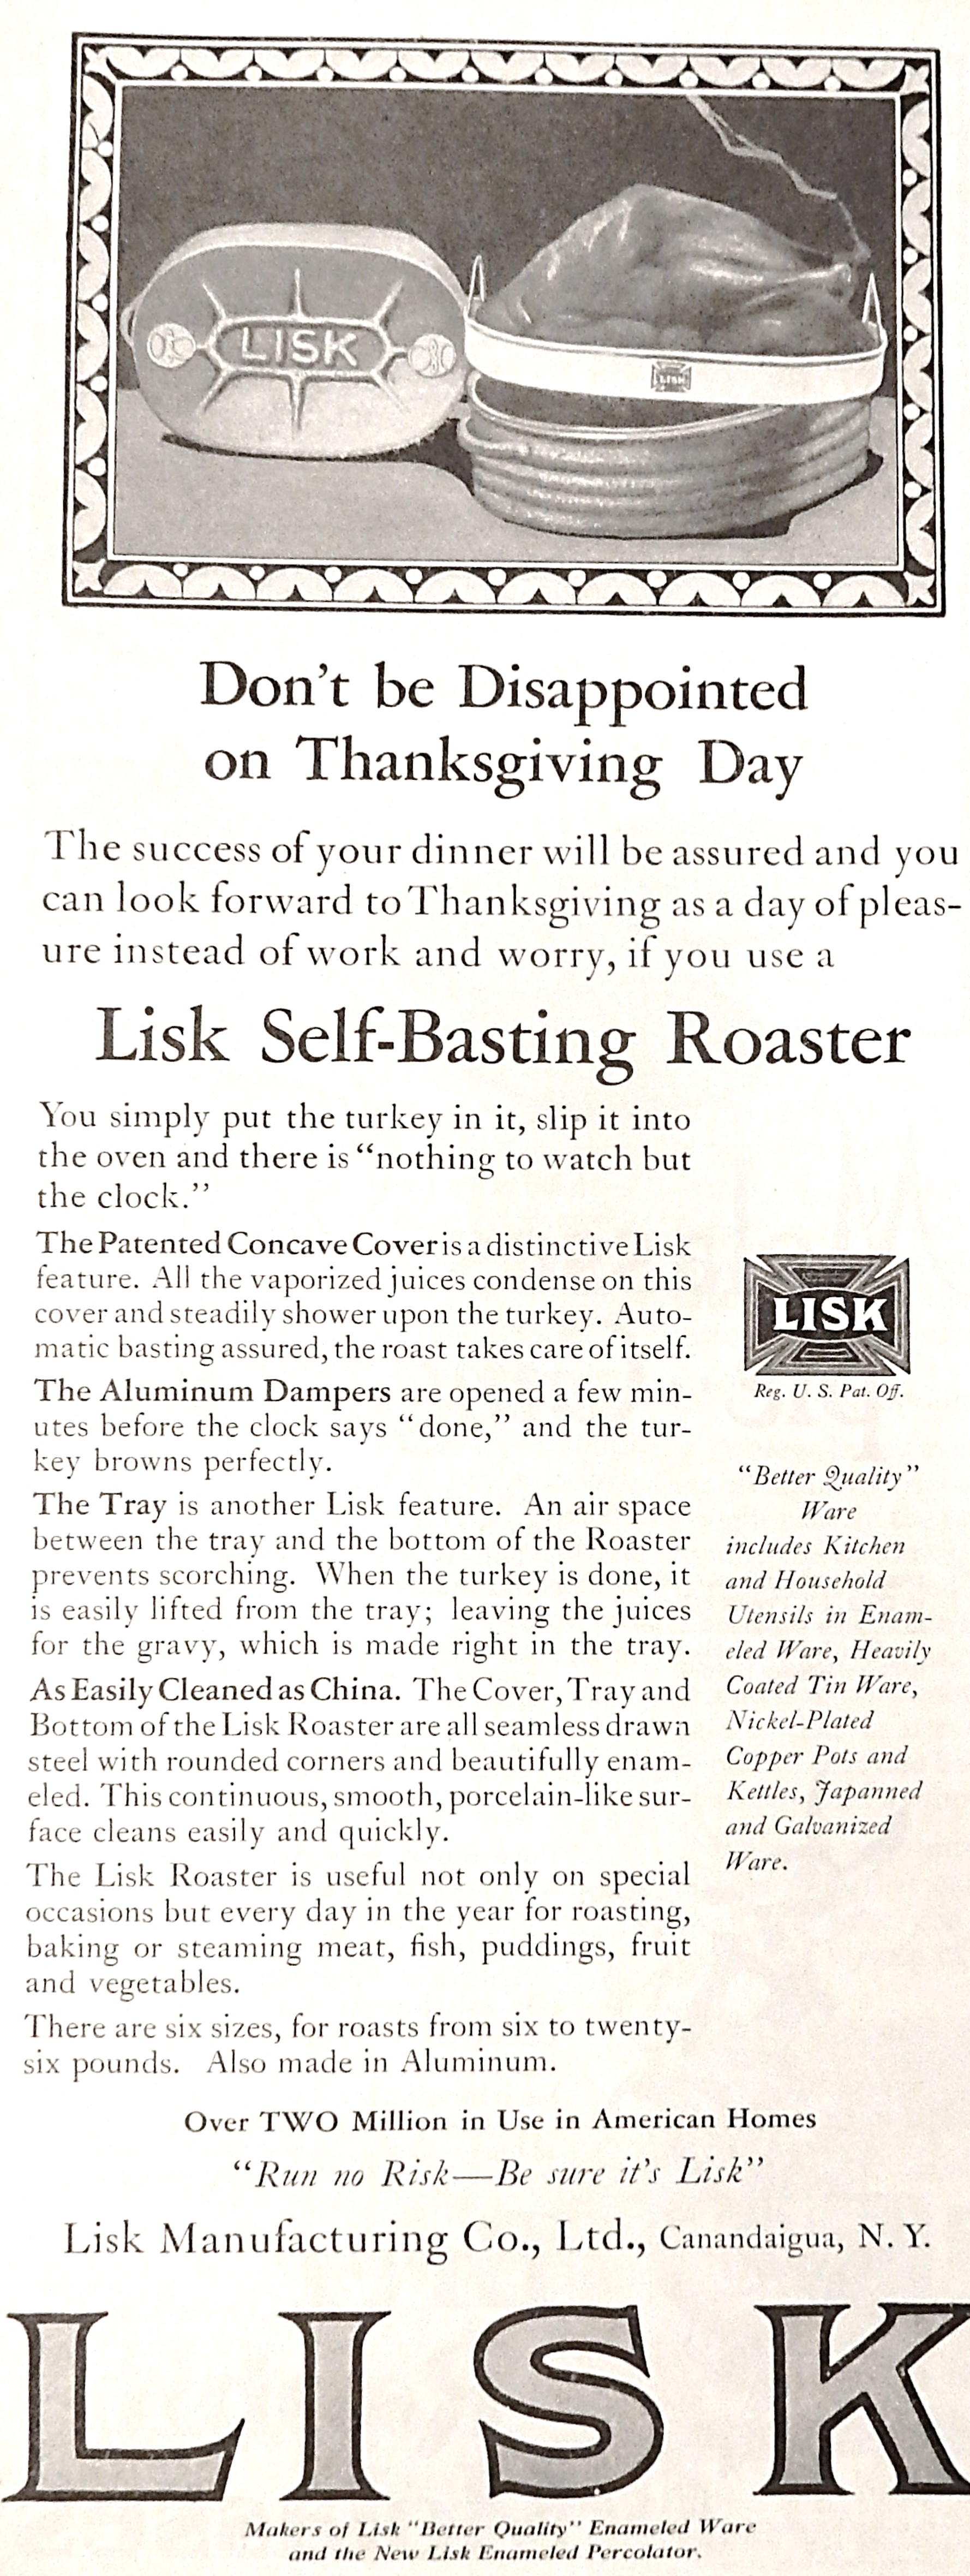
I’ve had a large pumpkin sitting on my front porch for close to two months. Now that the Fall holidays are past, it was time to compost it – but then I remembered seeing a recipe for Preserved Pumpkin in a hundred-year-old magazine. I dug out the recipe. Preserved Pumpkin actually was a pickled pumpkin recipe. In addition to strips of pumpkin, it called for sugar, lemon juice and peel, and ginger. The recipe looked intriguing – but like many pickle recipes it looked like a lot of work and required letting the pumpkin strips sit in the syrup for several days before cooking. I kept thinking – just toss the pumpkin and be done with it. But. . .
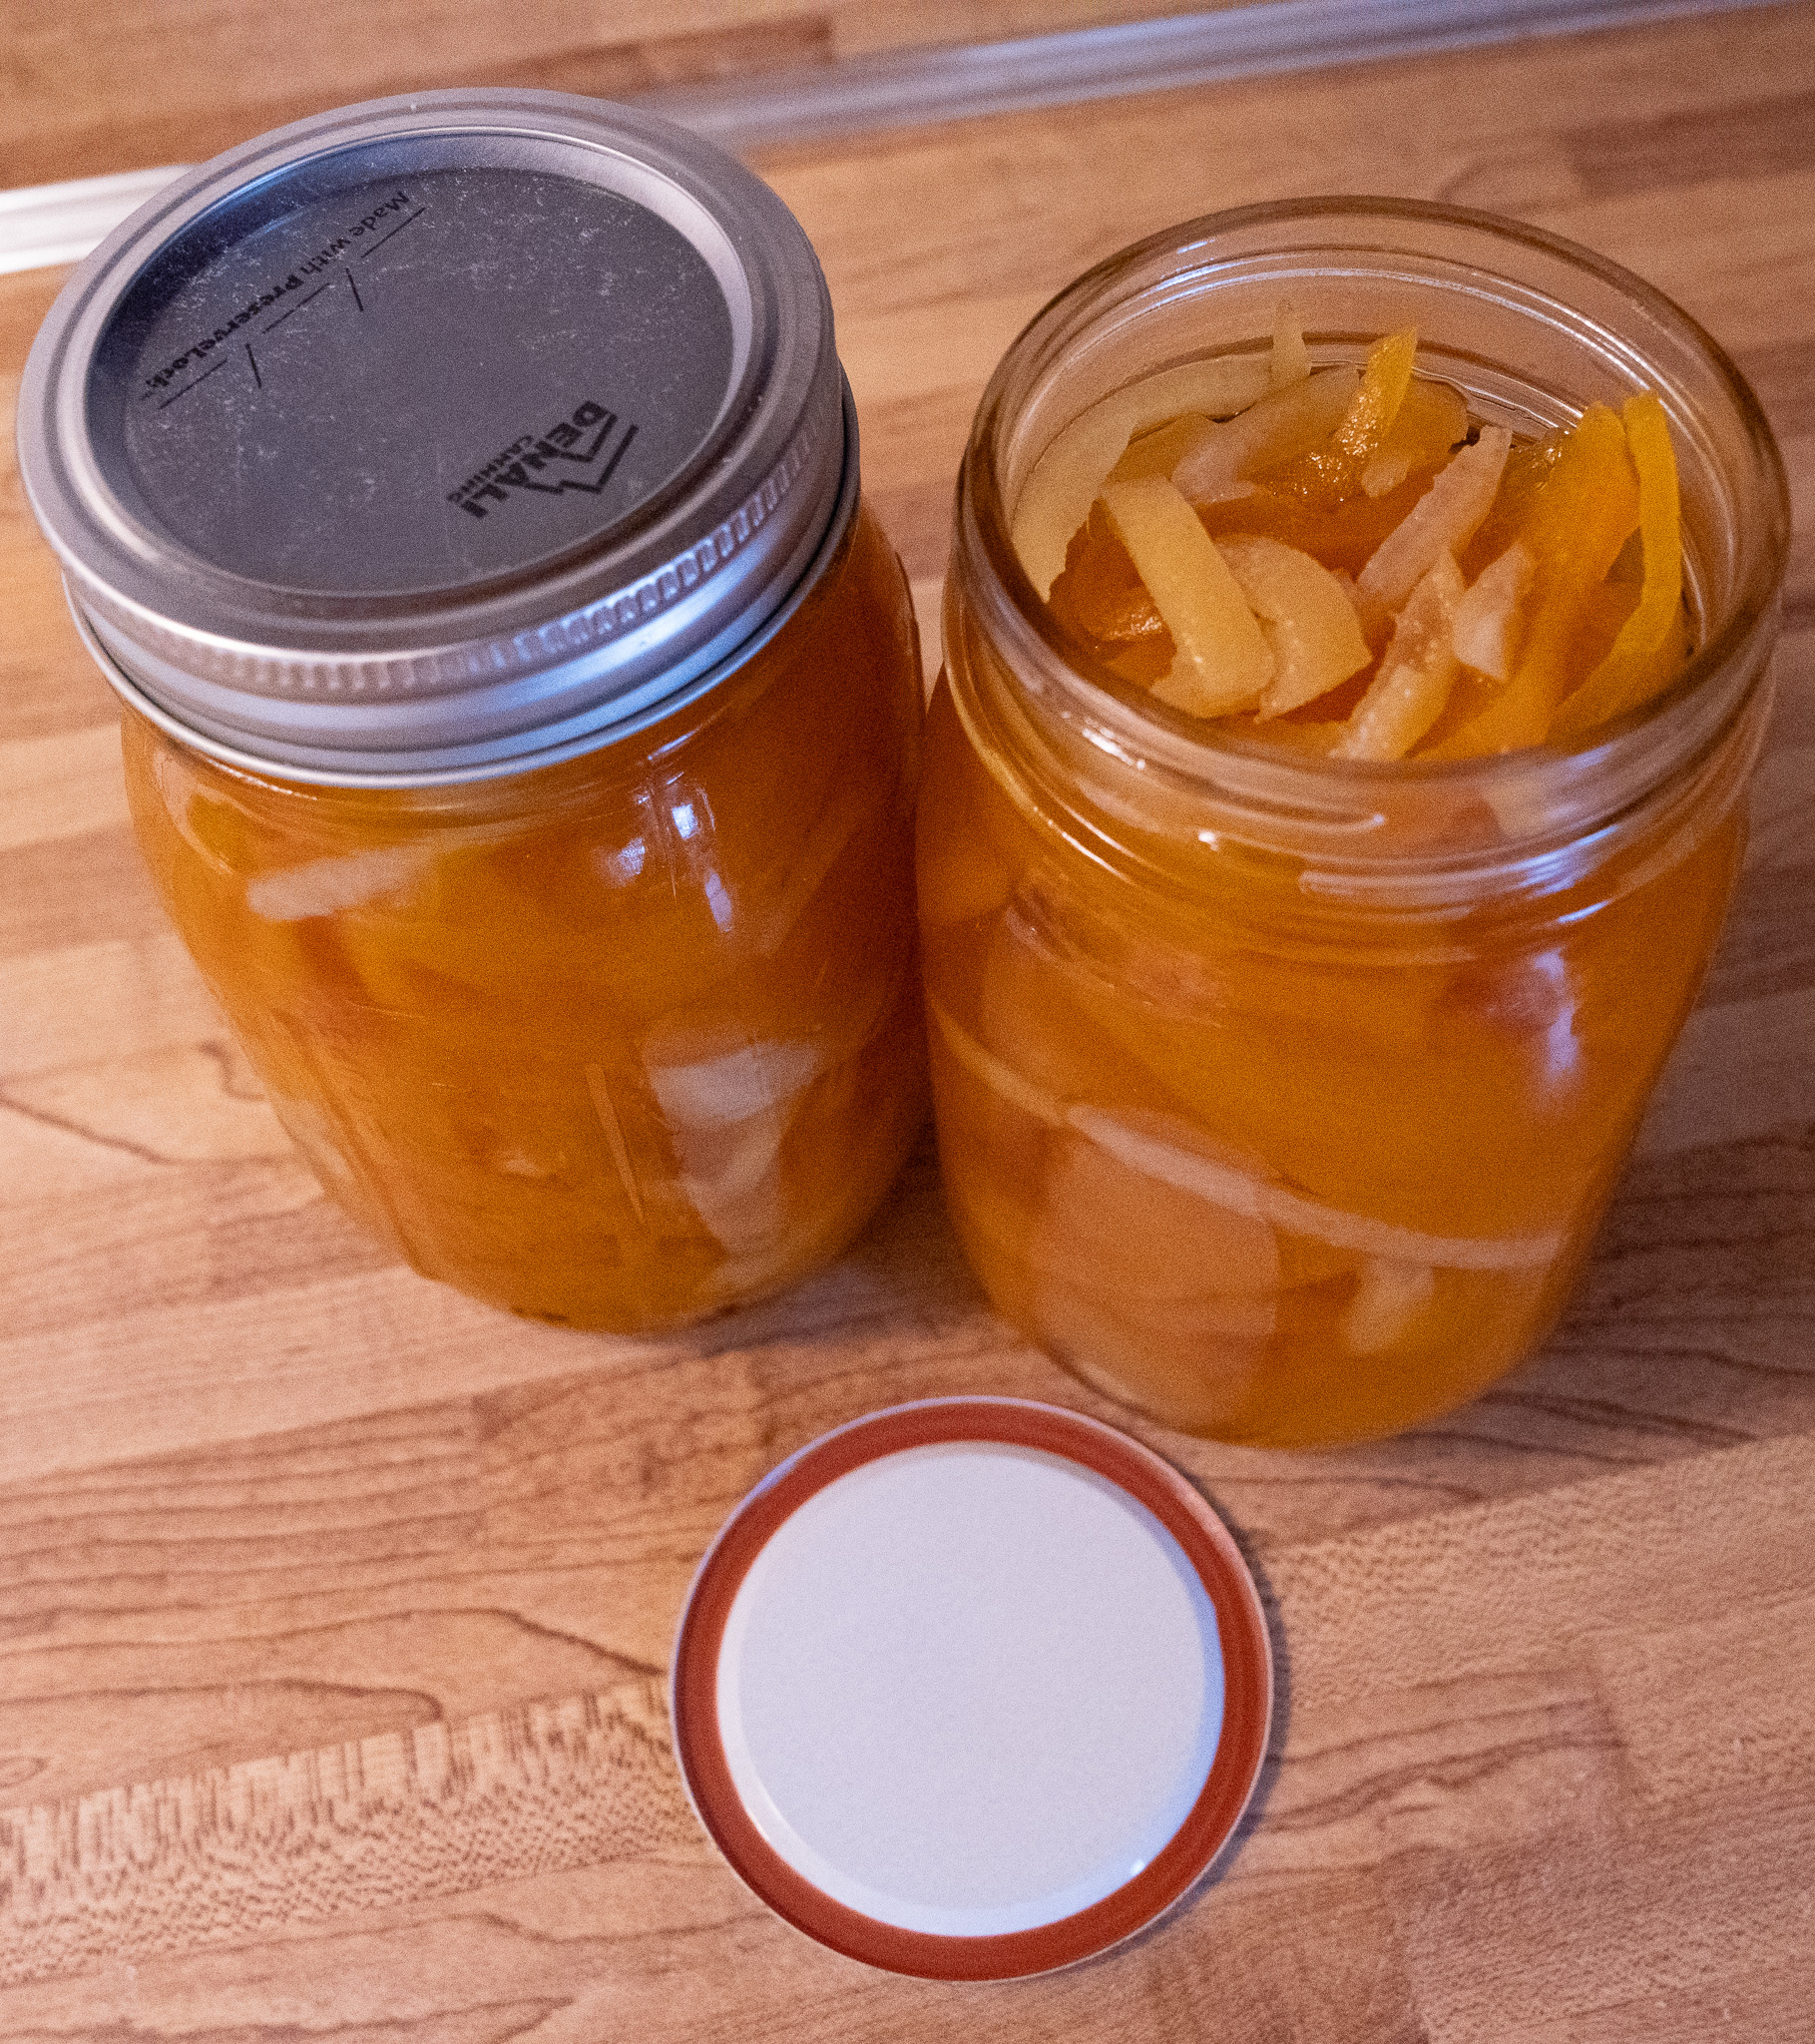
I couldn’t get the Preserved Pumpkin recipe out of my mind (my life must be boring), and ended up making a small batch. And, I’m glad that I did. I peeled, seeded, and cut into strips about one quarter of the pumpkin and composted the rest.
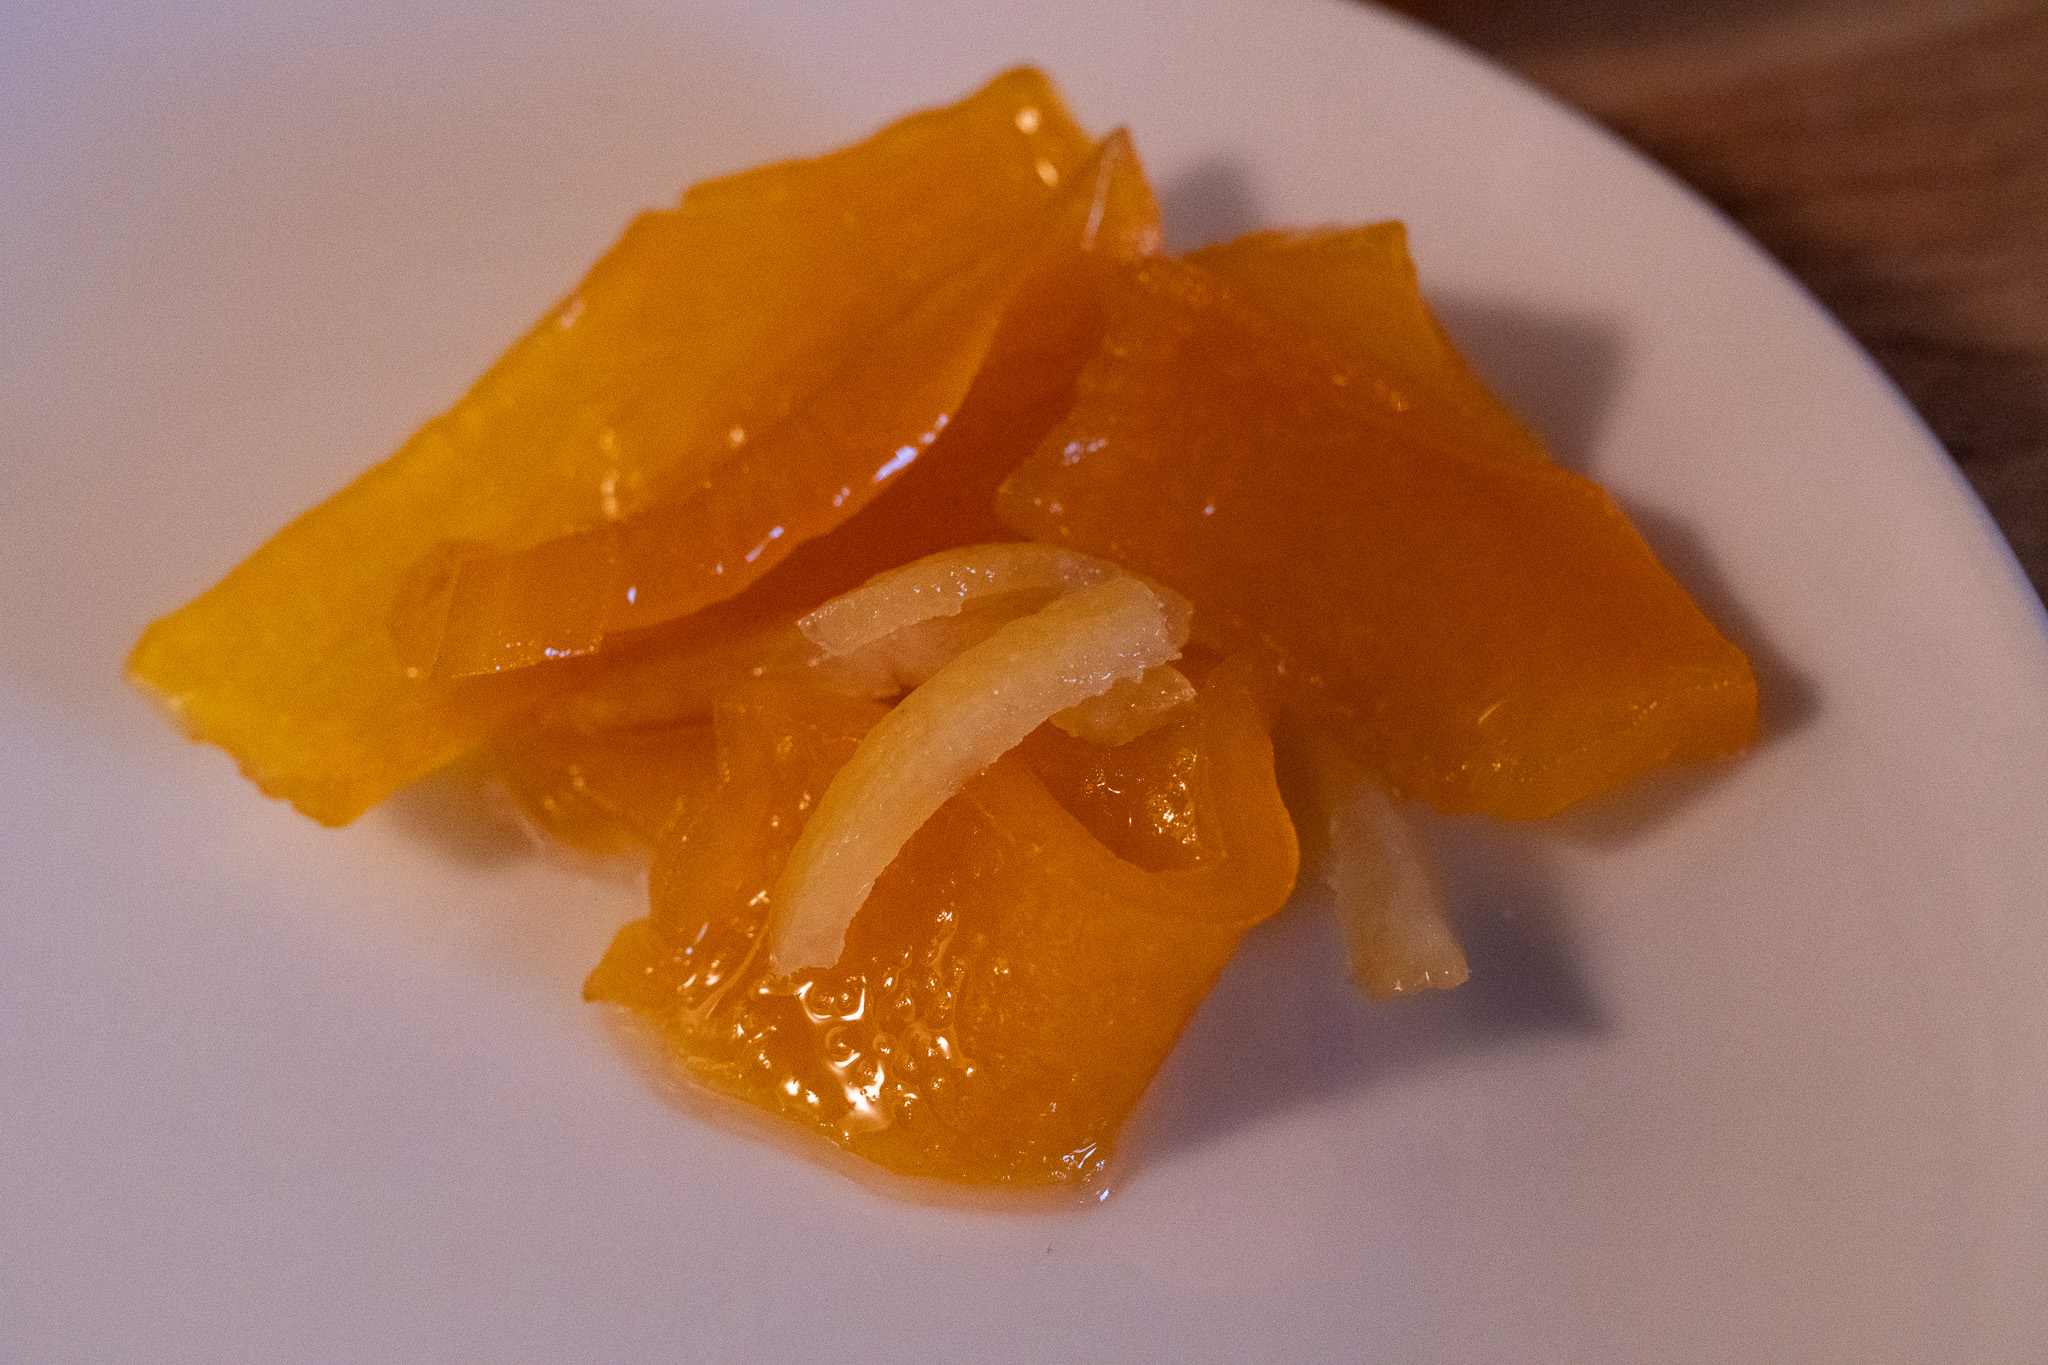
The Preserved Pumpkin was wonderful with a lovely sweet, citrusy flavor. I’m not exactly sure how to describe the texture. The pumpkin strips were sort of crunchy – or perhaps they were slightly chewy. Maybe a better description is that the texture was at the intersection of crunchy and chewy, if there is such a thing. The Preserved Pumpkin almost seemed gourmet and I could picture it being served at a very nice restaurant as a palette cleanser. I anticipate that I will make this recipe again next year.
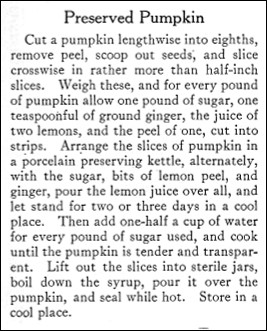
Here’s the original recipe:
When I made this recipe 1/2 inch seemed very thick for the slices, so I made them approximately 1/4 inch thick. I also ended up with about 2 1/2 pounds of pumpkin strips (rather than the 2 pounds called for when doubling the recipe). I decided to proceed with a little extra pumpkin and the recipe worked fine.
Here’s the recipe updated for modern cooks:
Preserved Pumpkin
approximately 2 1/2 pounds pumpkin, peeled and seeded then cut into strips 1/4-inch thick
2 pounds sugar
2 teaspoons ground ginger
lemon peel from 2 lemons, cut into thin strips
juice from 4 lemons
1 cup water
Put a layer of pumpkin slices in an enameled pan, crock, or large baking dish. Put a layer of sugar over the pumpkin, as well as some lemon peel strips and ground ginger. Repeat alternating layers. Pour the lemon juice over the layered pumpkin mixture. Cover and set in the refrigerator or other cool spot for two t0 three days. Then put the mixture in a large enamel or stainless steel pan. Add the water. Bring to a boil using medium heat; then reduce heat and simmer until the pumpkin slices are tender and translucent (about 20-3o minutes). Lift the pumpkin slices and lemon strips out and pack them into pint jars. Continue boiling the syrup for another 10-15 minutes, then pour the hot syrup over the packed pumpkin and lemon. Fill to 1/4 inch of top. Wipe jar rims and put lid on. Process in boiling water bath for 5 minutes.