Cut-out cookies are so much fun to make, and it’s a wonderful family activity, so I’m always on the look-out for hundred-year-old recipes for cut-out cookies. I recently found a wonderful recipe in a 1919 magazine for Lemon Star Cookies. The frosted cookies are sprinkled with chopped walnuts, and have a delicate lemon flavor.
I used buttercream frosting, though other types of frosting could be used. Any type of walnuts would work well in this recipe, but I had some black walnuts so used them. The bold, richness of the black walnuts combined perfectly with the sweetness of the frosting and the lemon in the cookies. This cookie is a winner – whether the cookies are cut into stars or some other shape.
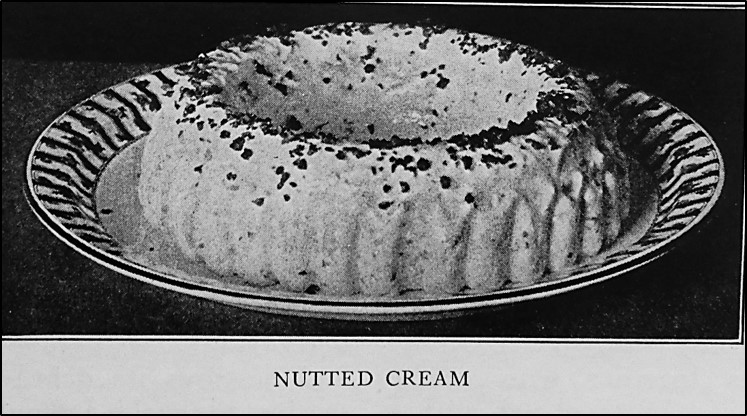
Here’s photo of the cookies in the old magazine:

All was good. The cookies tasted wonderful, and they looked similar to the photo of Lemon Star Cookies in the old magazine. Then the Saturday newspaper arrived on my doorstep. There was a beautiful feature showing how to make decorated cut-out cookies. It included directions for making royal icing, piping the icing to make an outline around the edge of the cookie, and then “flooding” the cookie with additional icing.
I suddenly realized that my cookies weren’t as awesome and picture-perfect as I’d thought a few minutes earlier. That said, the buttercream frosting I smeared on the top of the cookies with a knife is probably very similar to what cooks did a hundred years ago – so I keep telling myself that at least my cookies are authentic even if they aren’t Instagram perfect.
Here’s the original recipe:
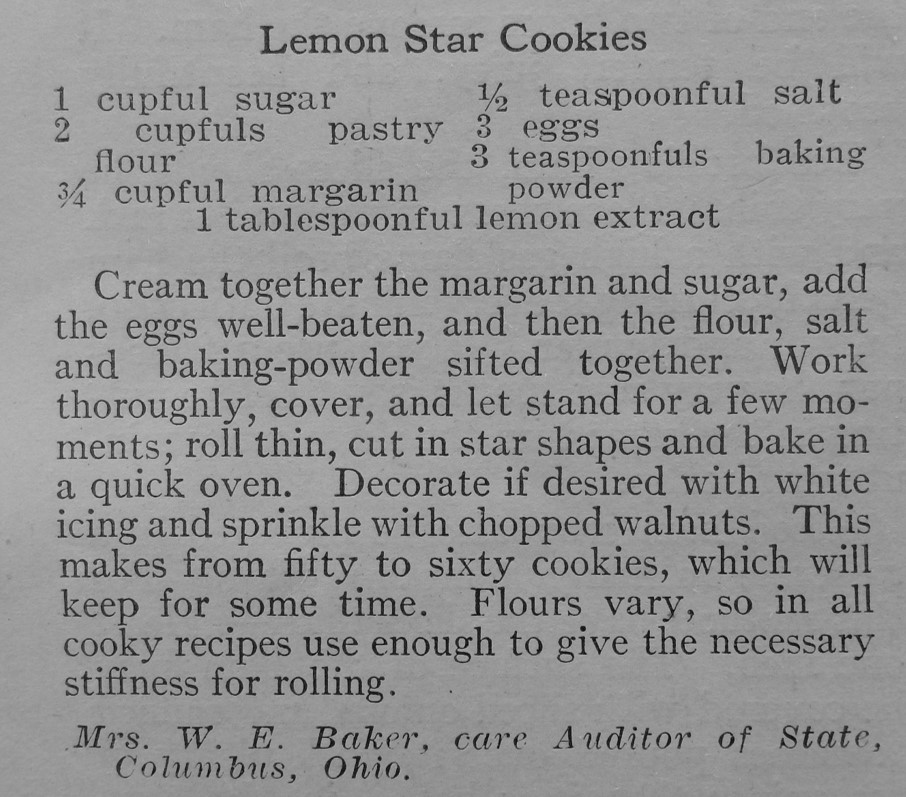
Lemon Star Cookies
3/4 cup butter or margarine (I used butter.)
1 cup sugar
3 eggs
2 cups pastry flour (all-purpose flour can be substituted)
1/2 teaspoon salt
3 teaspoons baking powder
1 tablespoon lemon extract
white frosting (I used buttercream frosting.)
chopped walnuts (I used black walnuts, but the typical walnuts that are sold in stores also would work well.)
Preheat oven to 400° F. In a mixing bowl, cream the butter (or margarine) together. Stir in the eggs, then add the flour, baking powder, salt and lemon extract. Stir until well-mixed. Refrigerate dough 1/2 hour or until chilled.
On well-floured surface, roll out dough to 1/8 inch thickness. Cut into shapes using a star cookie cutter (or use other shaped cutters, if preferred). Place on greased baking sheets. Bake 9-11 minutes or until lightly browned.
Remove from oven, and cool on wire racks. Ice the cookies with the frosting, and then sprinkle chopped walnuts in the center of each cookie.