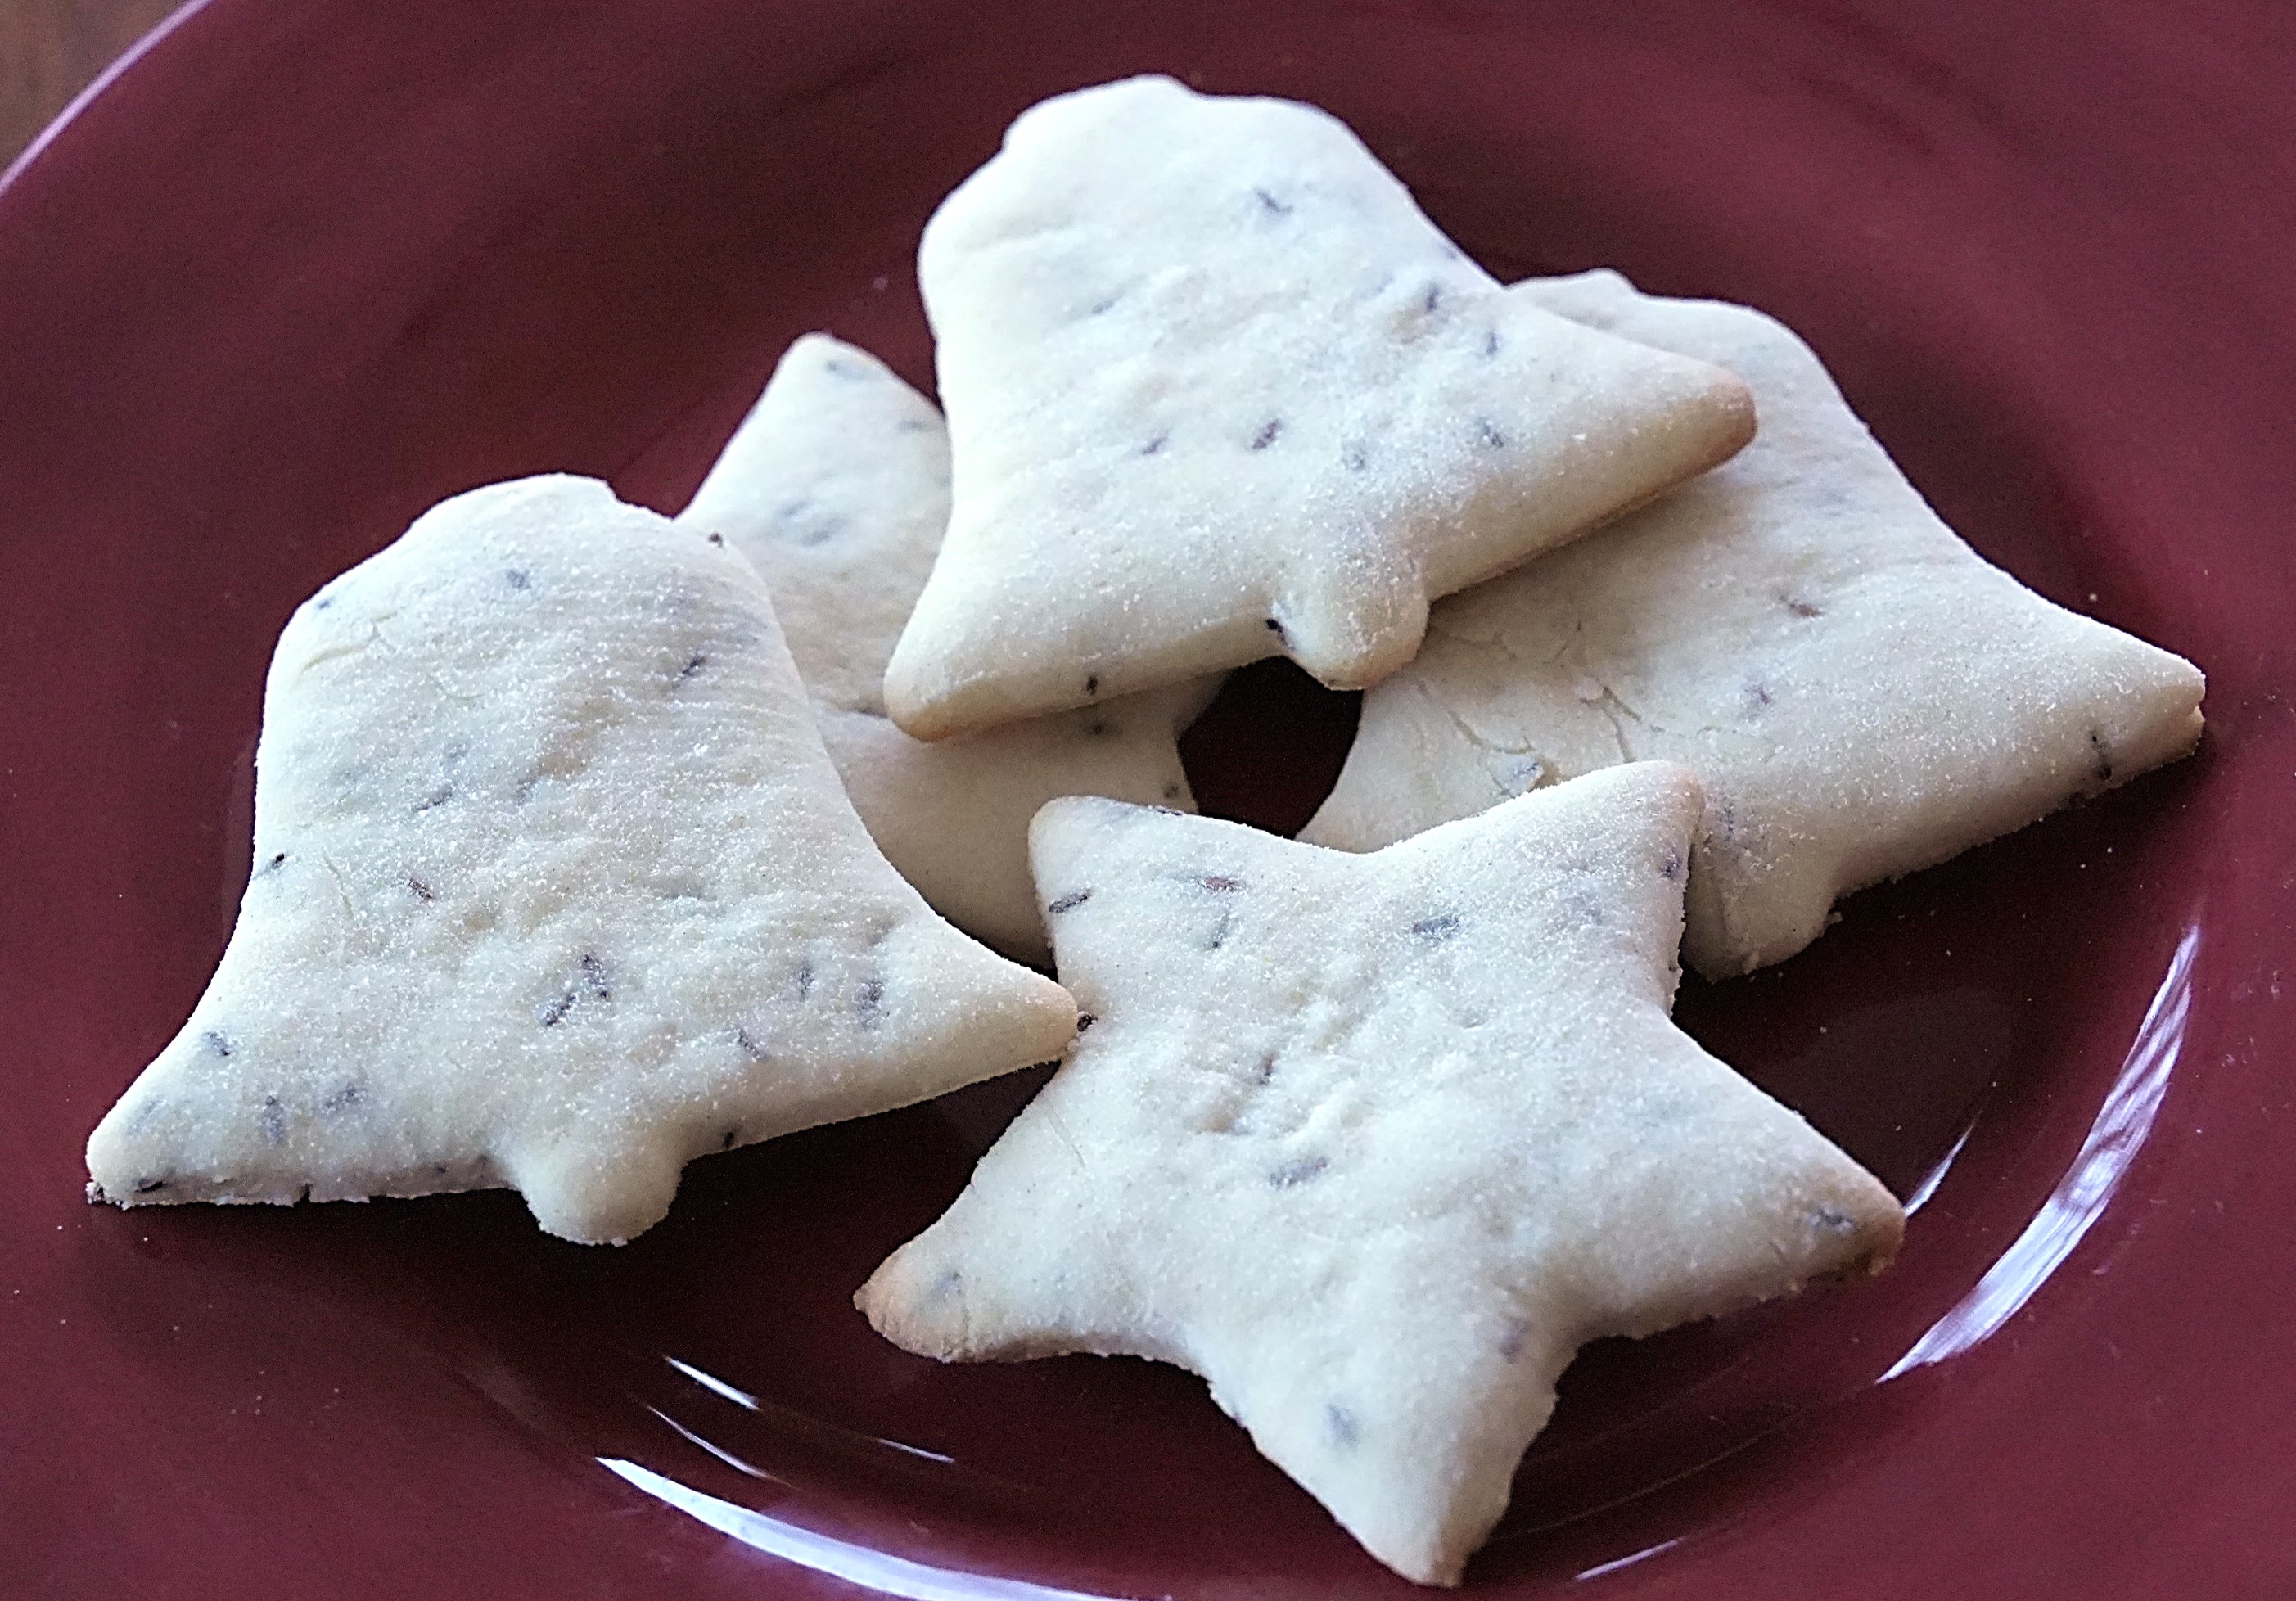
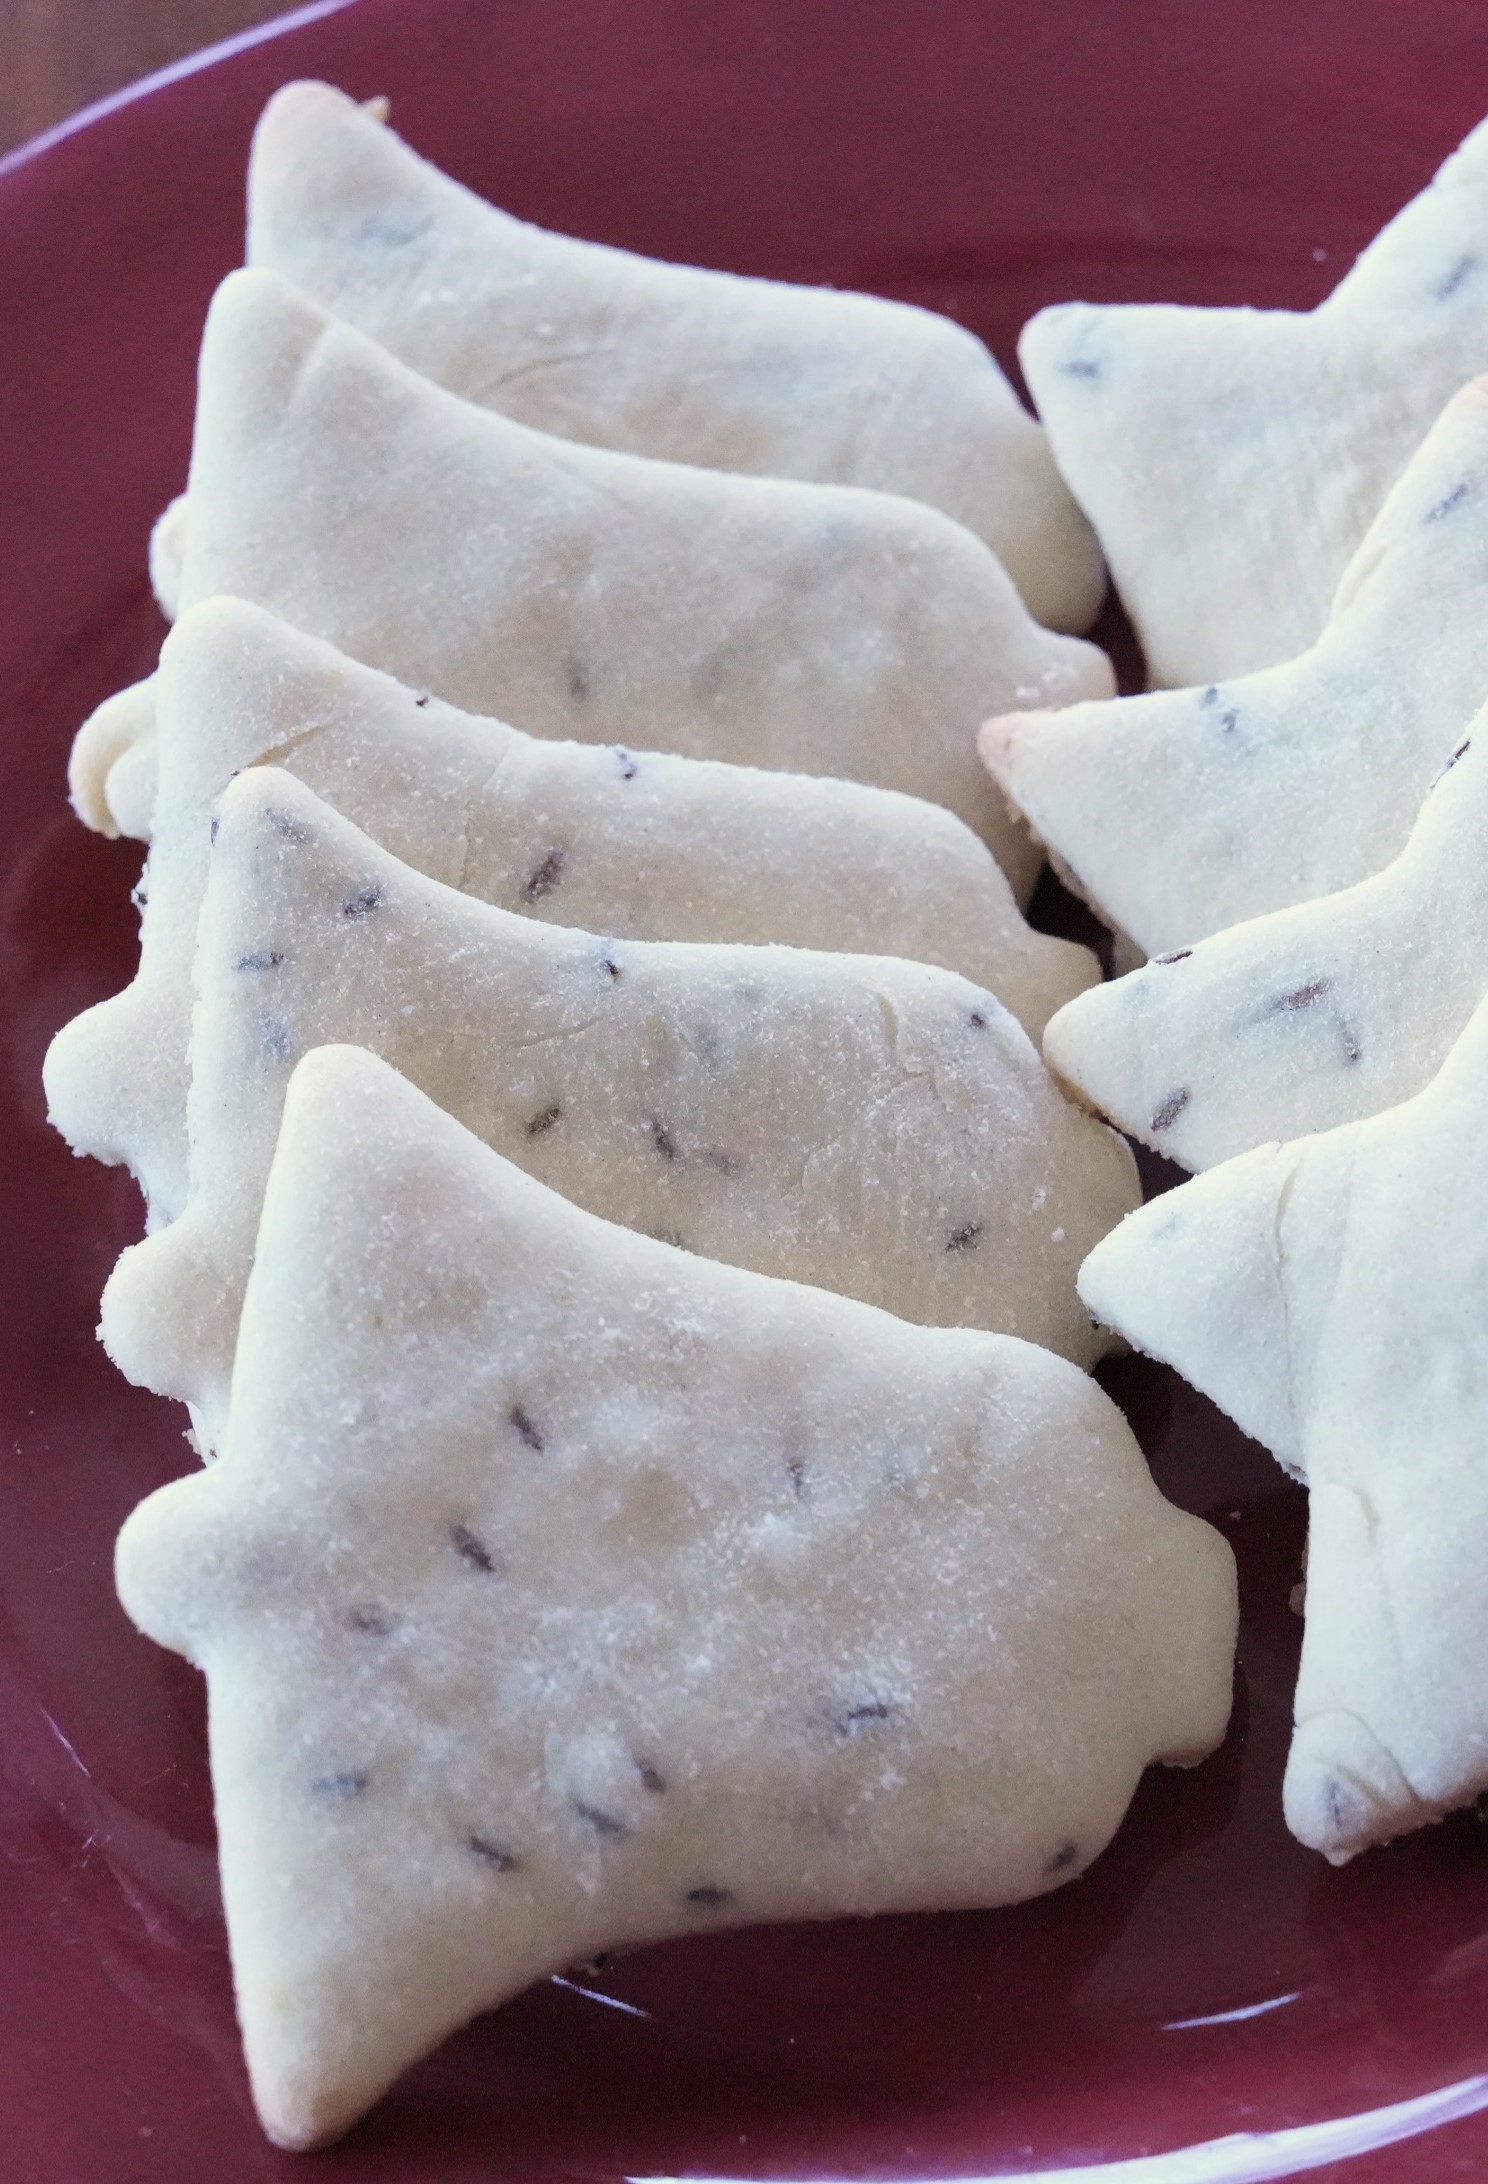
When I was a child, I remember making Caraway Cookies to put on holiday cookie trays, but I had not had any in years; so when I came across a recipe for them in a hundred-year-old cookbook I decided to give it a try.
The Caraway Cookies were simple to make, and they turned out well. They have an old-fashioned goodness, and the warm, earthy flavor of the caraway seeds was delightful. They are not nearly as sweet as many modern cookies, and can nicely balance some of the other sweets on a cookie tray. They are also very nice with coffee, tea, or milk.
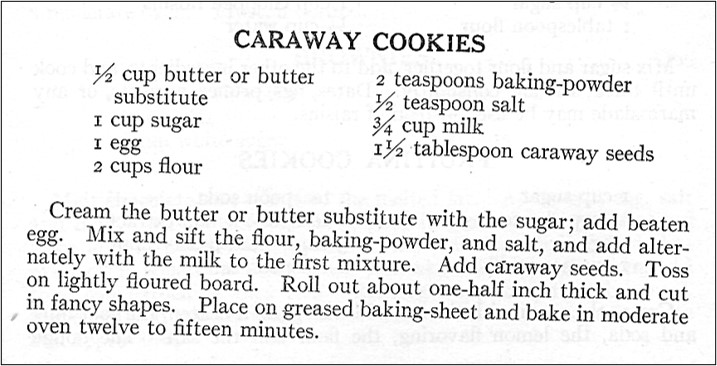
Here’s the original recipe:
Source: The New Butterick Cook Book (1924)
When I made this recipe, the dough was very sticky, so I added additional flour to make the dough a better consistency for rolling. I used butter rather than a butter substitute.
Preheat oven to 400° F. Cream butter and sugar; then stir in egg and milk. Add the baking powder and salt; stir until combined. Add the flour and stir until well mixed. If the dough is not the right consistency to roll; add additional flour. Roll out to 1/4 inch thick; then cut into shapes. Place on greased baking sheets. Bake 9-12 minutes or until lightly browned.
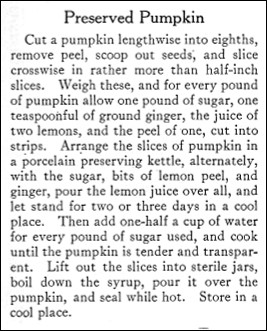
I’ve had a large pumpkin sitting on my front porch for close to two months. Now that the Fall holidays are past, it was time to compost it – but then I remembered seeing a recipe for Preserved Pumpkin in a hundred-year-old magazine. I dug out the recipe. Preserved Pumpkin actually was a pickled pumpkin recipe. In addition to strips of pumpkin, it called for sugar, lemon juice and peel, and ginger. The recipe looked intriguing – but like many pickle recipes it looked like a lot of work and required letting the pumpkin strips sit in the syrup for several days before cooking. I kept thinking – just toss the pumpkin and be done with it. But. . .
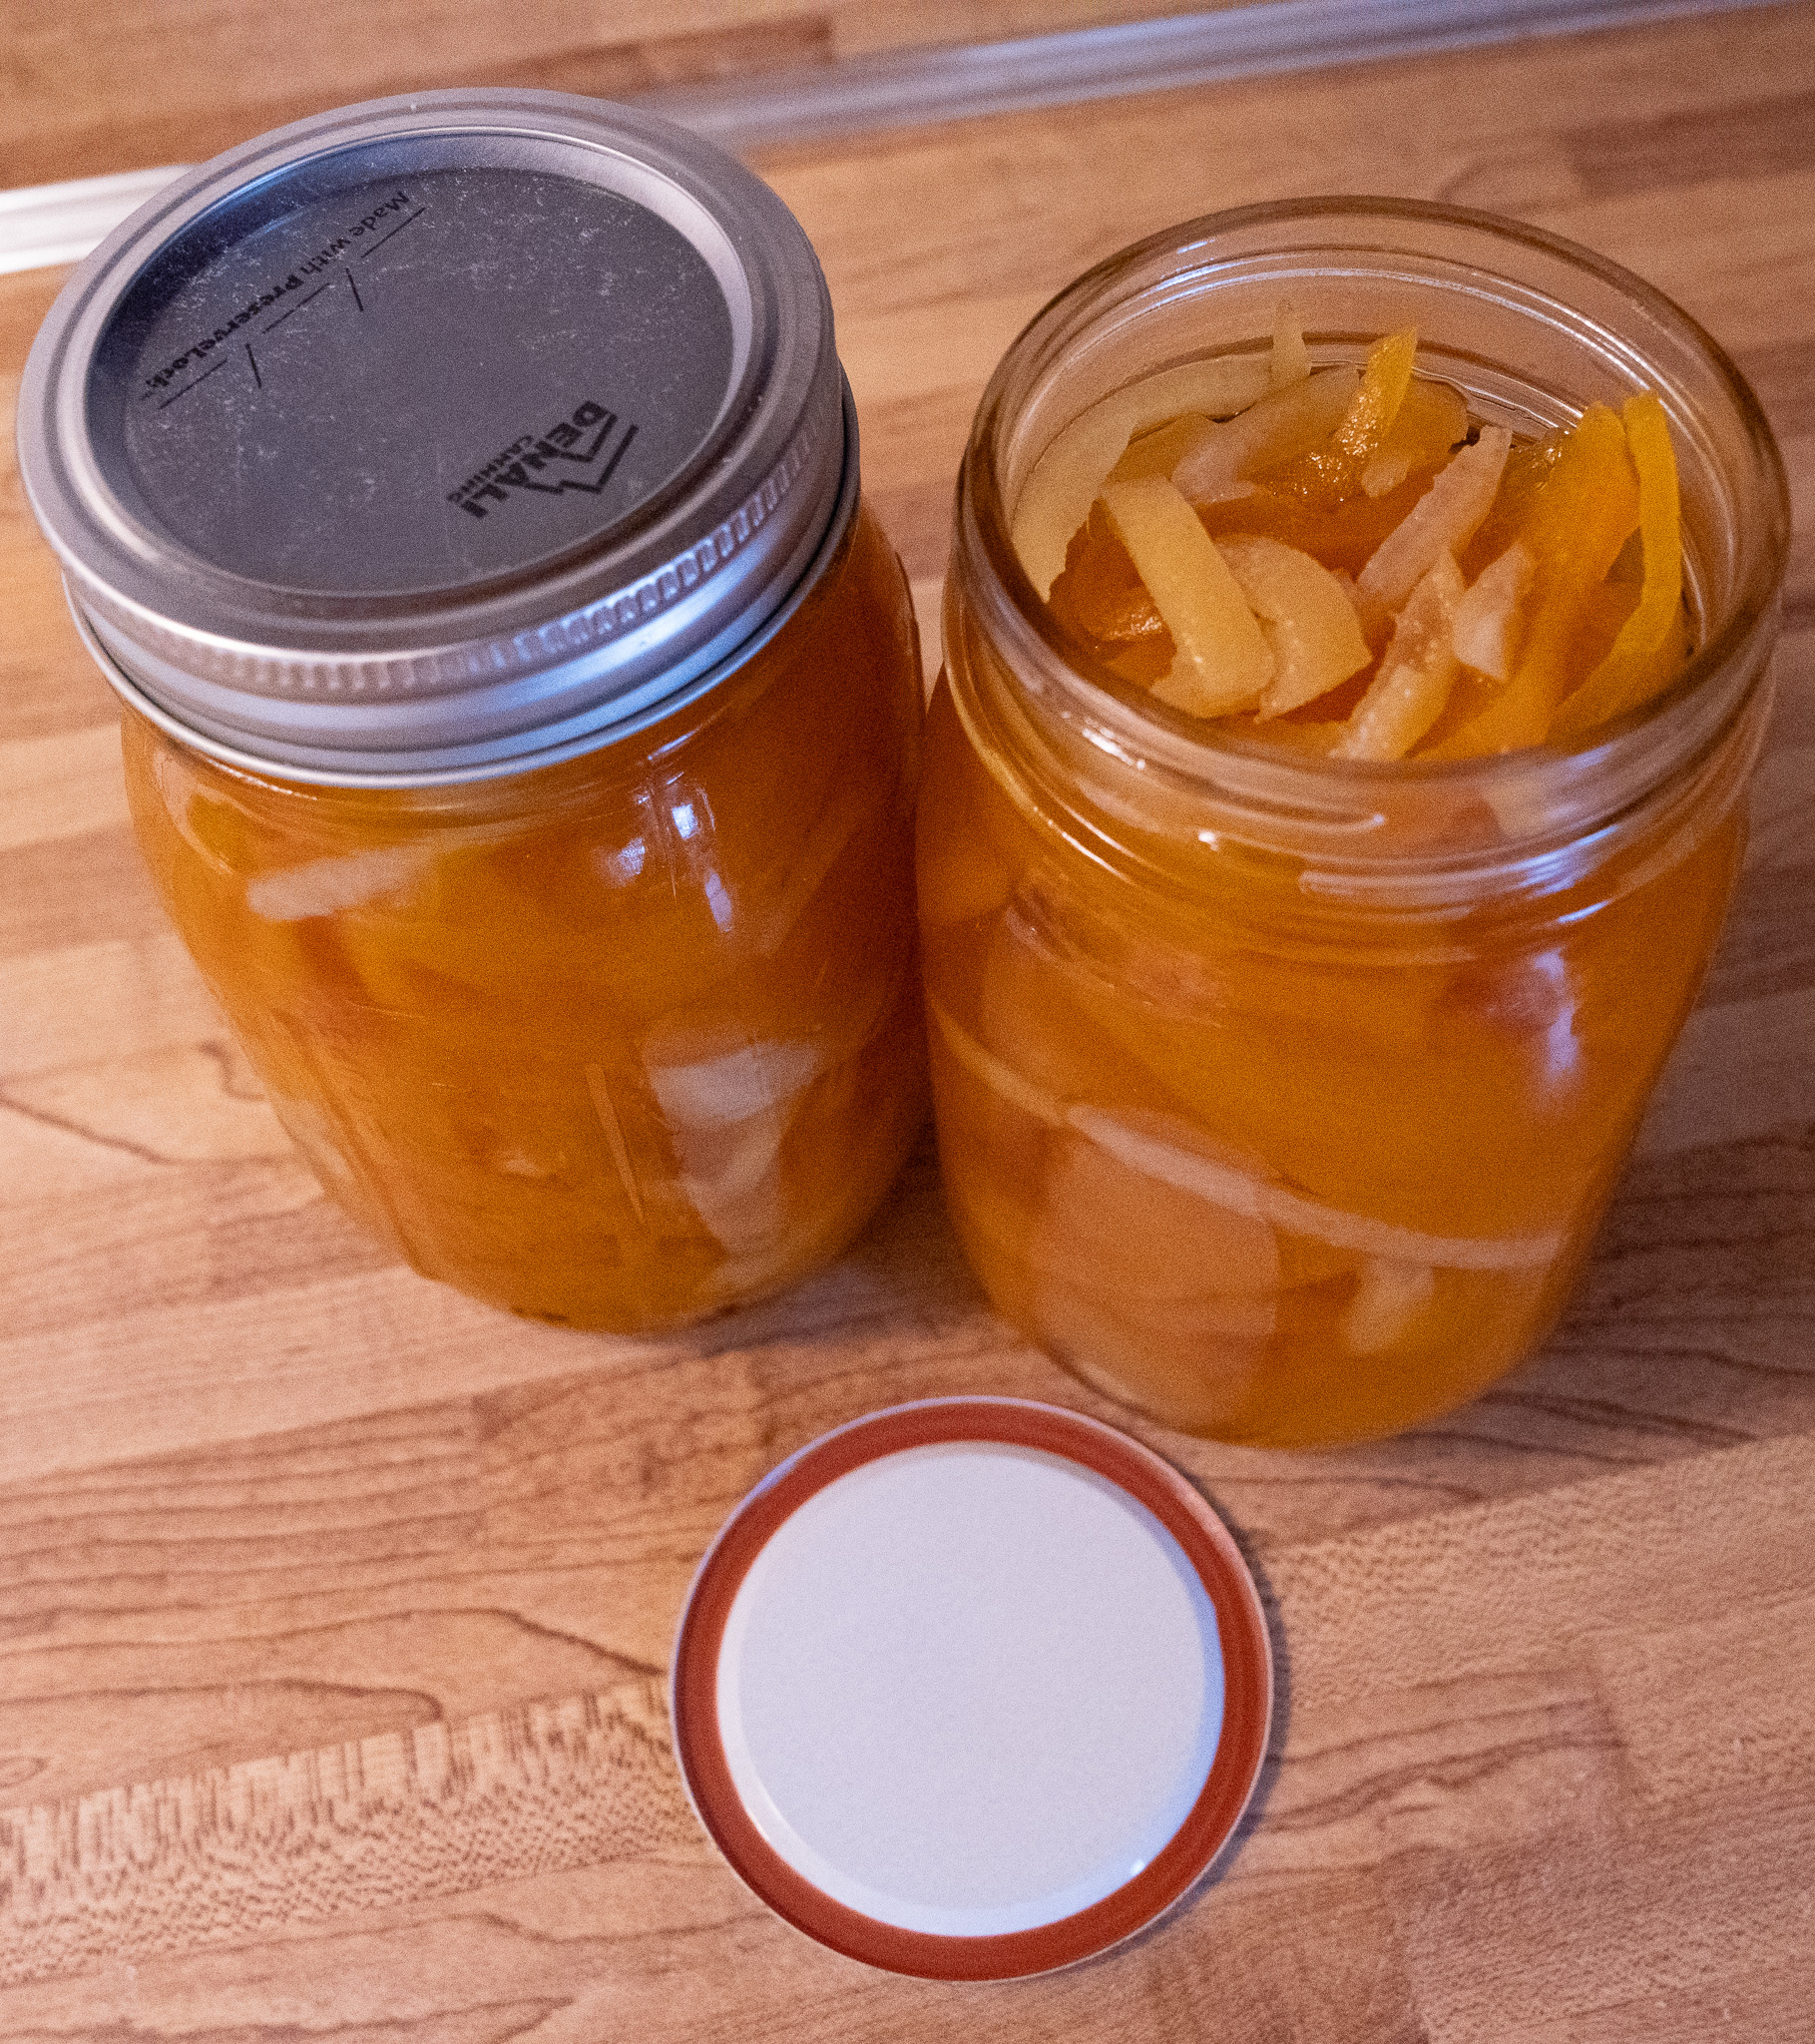
I couldn’t get the Preserved Pumpkin recipe out of my mind (my life must be boring), and ended up making a small batch. And, I’m glad that I did. I peeled, seeded, and cut into strips about one quarter of the pumpkin and composted the rest.
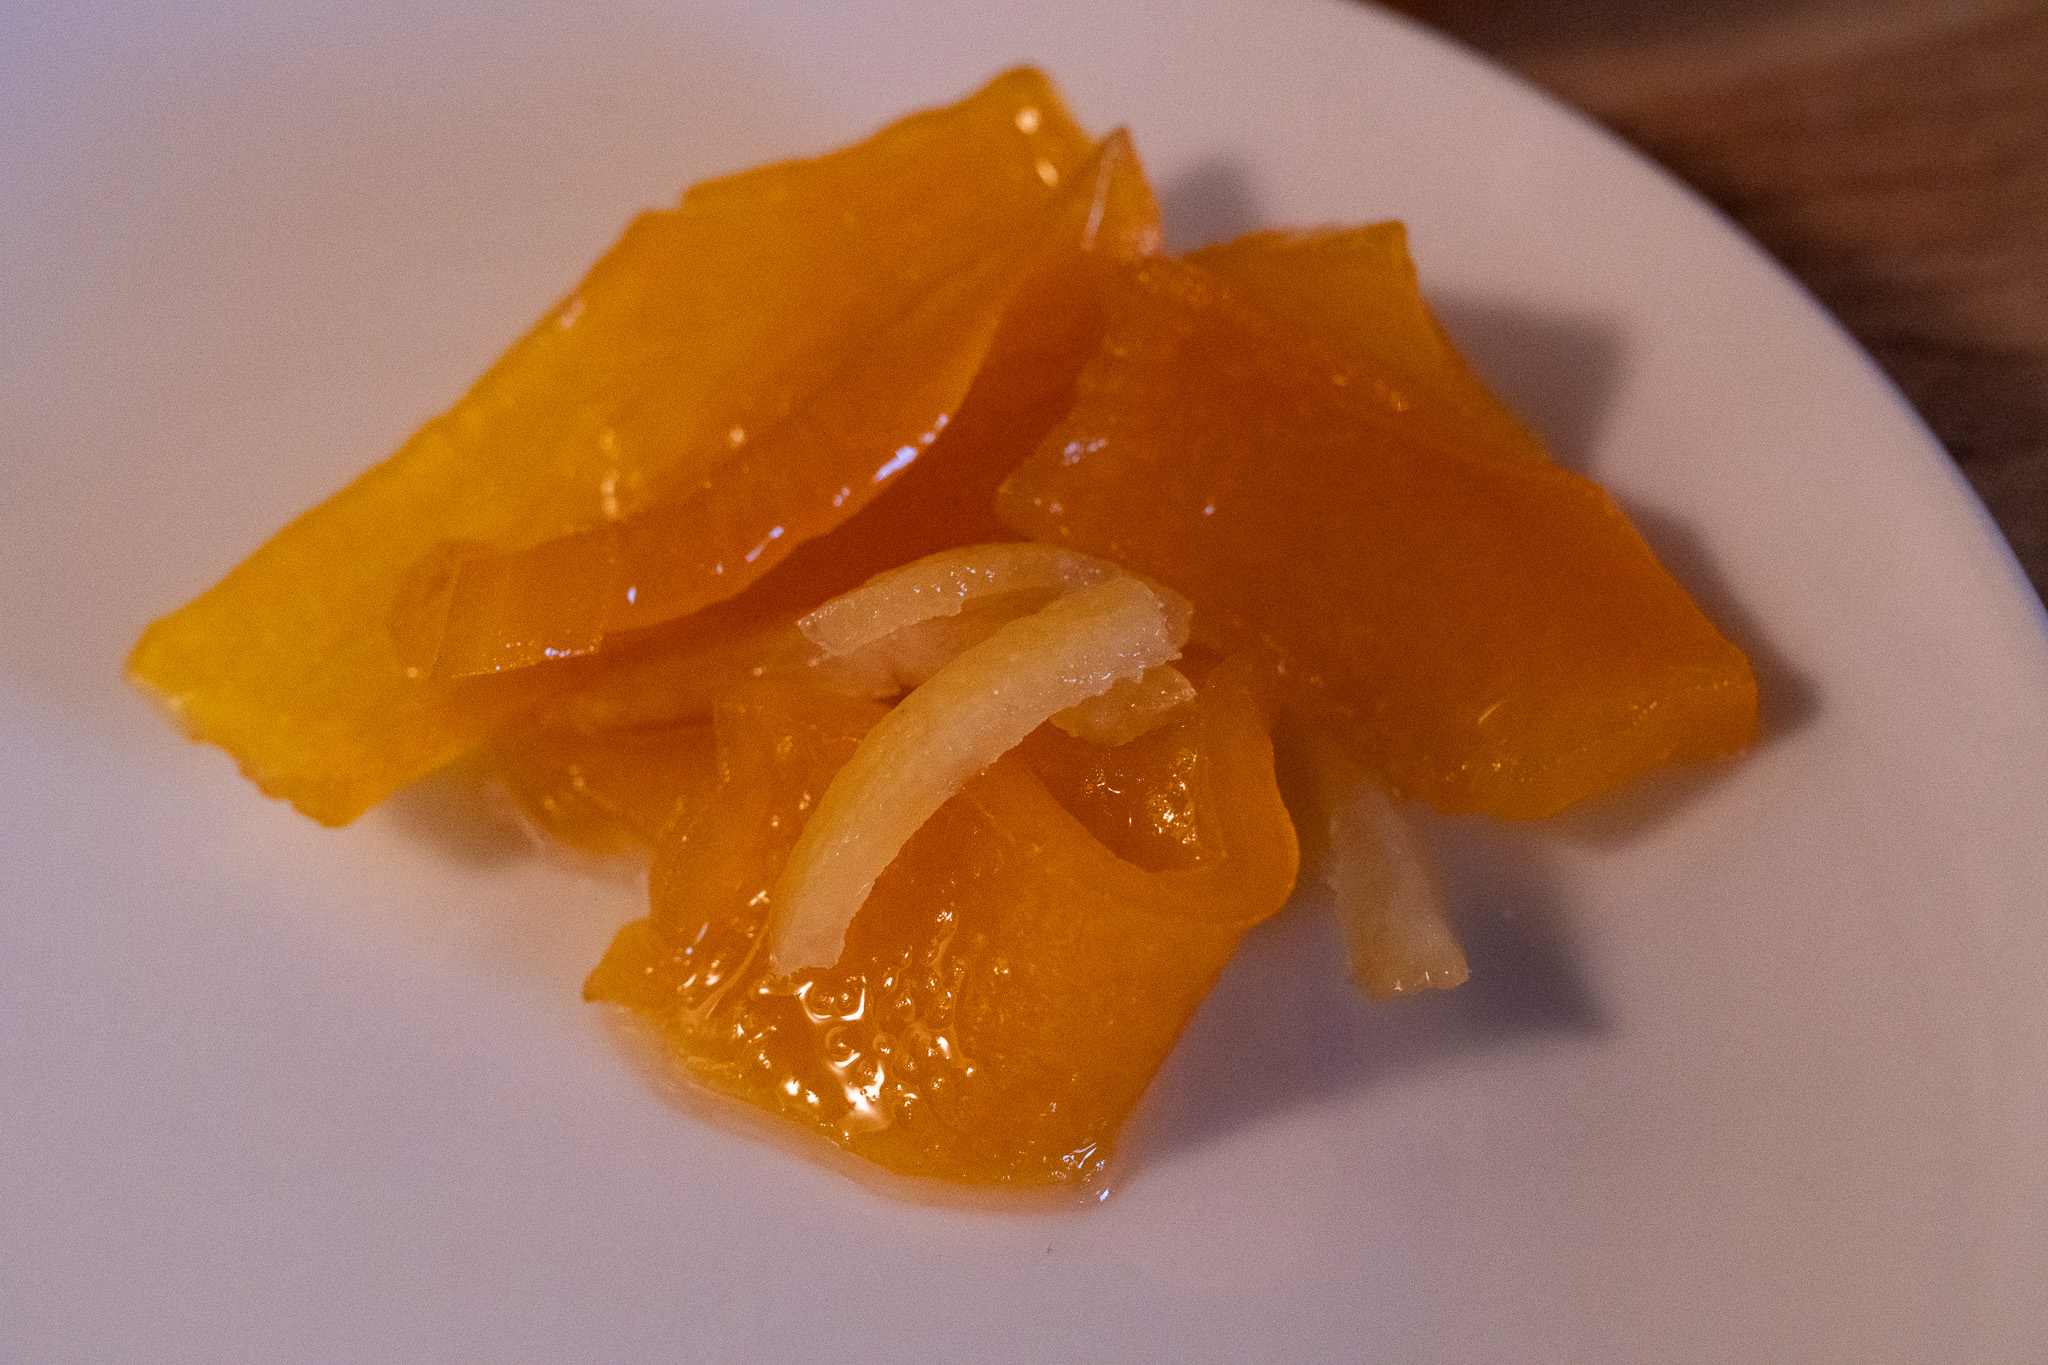
The Preserved Pumpkin was wonderful with a lovely sweet, citrusy flavor. I’m not exactly sure how to describe the texture. The pumpkin strips were sort of crunchy – or perhaps they were slightly chewy. Maybe a better description is that the texture was at the intersection of crunchy and chewy, if there is such a thing. The Preserved Pumpkin almost seemed gourmet and I could picture it being served at a very nice restaurant as a palette cleanser. I anticipate that I will make this recipe again next year.
Here’s the original recipe:
Source: American Cookery (November, 1924)
When I made this recipe 1/2 inch seemed very thick for the slices, so I made them approximately 1/4 inch thick. I also ended up with about 2 1/2 pounds of pumpkin strips (rather than the 2 pounds called for when doubling the recipe). I decided to proceed with a little extra pumpkin and the recipe worked fine.
approximately 2 1/2 pounds pumpkin, peeled and seeded then cut into strips 1/4-inch thick
2 pounds sugar
2 teaspoons ground ginger
lemon peel from 2 lemons, cut into thin strips
juice from 4 lemons
1 cup water
Put a layer of pumpkin slices in an enameled pan, crock, or large baking dish. Put a layer of sugar over the pumpkin, as well as some lemon peel strips and ground ginger. Repeat alternating layers. Pour the lemon juice over the layered pumpkin mixture. Cover and set in the refrigerator or other cool spot for two t0 three days. Then put the mixture in a large enamel or stainless steel pan. Add the water. Bring to a boil using medium heat; then reduce heat and simmer until the pumpkin slices are tender and translucent (about 20-3o minutes). Lift the pumpkin slices and lemon strips out and pack them into pint jars. Continue boiling the syrup for another 10-15 minutes, then pour the hot syrup over the packed pumpkin and lemon. Fill to 1/4 inch of top. Wipe jar rims and put lid on. Process in boiling water bath for 5 minutes.
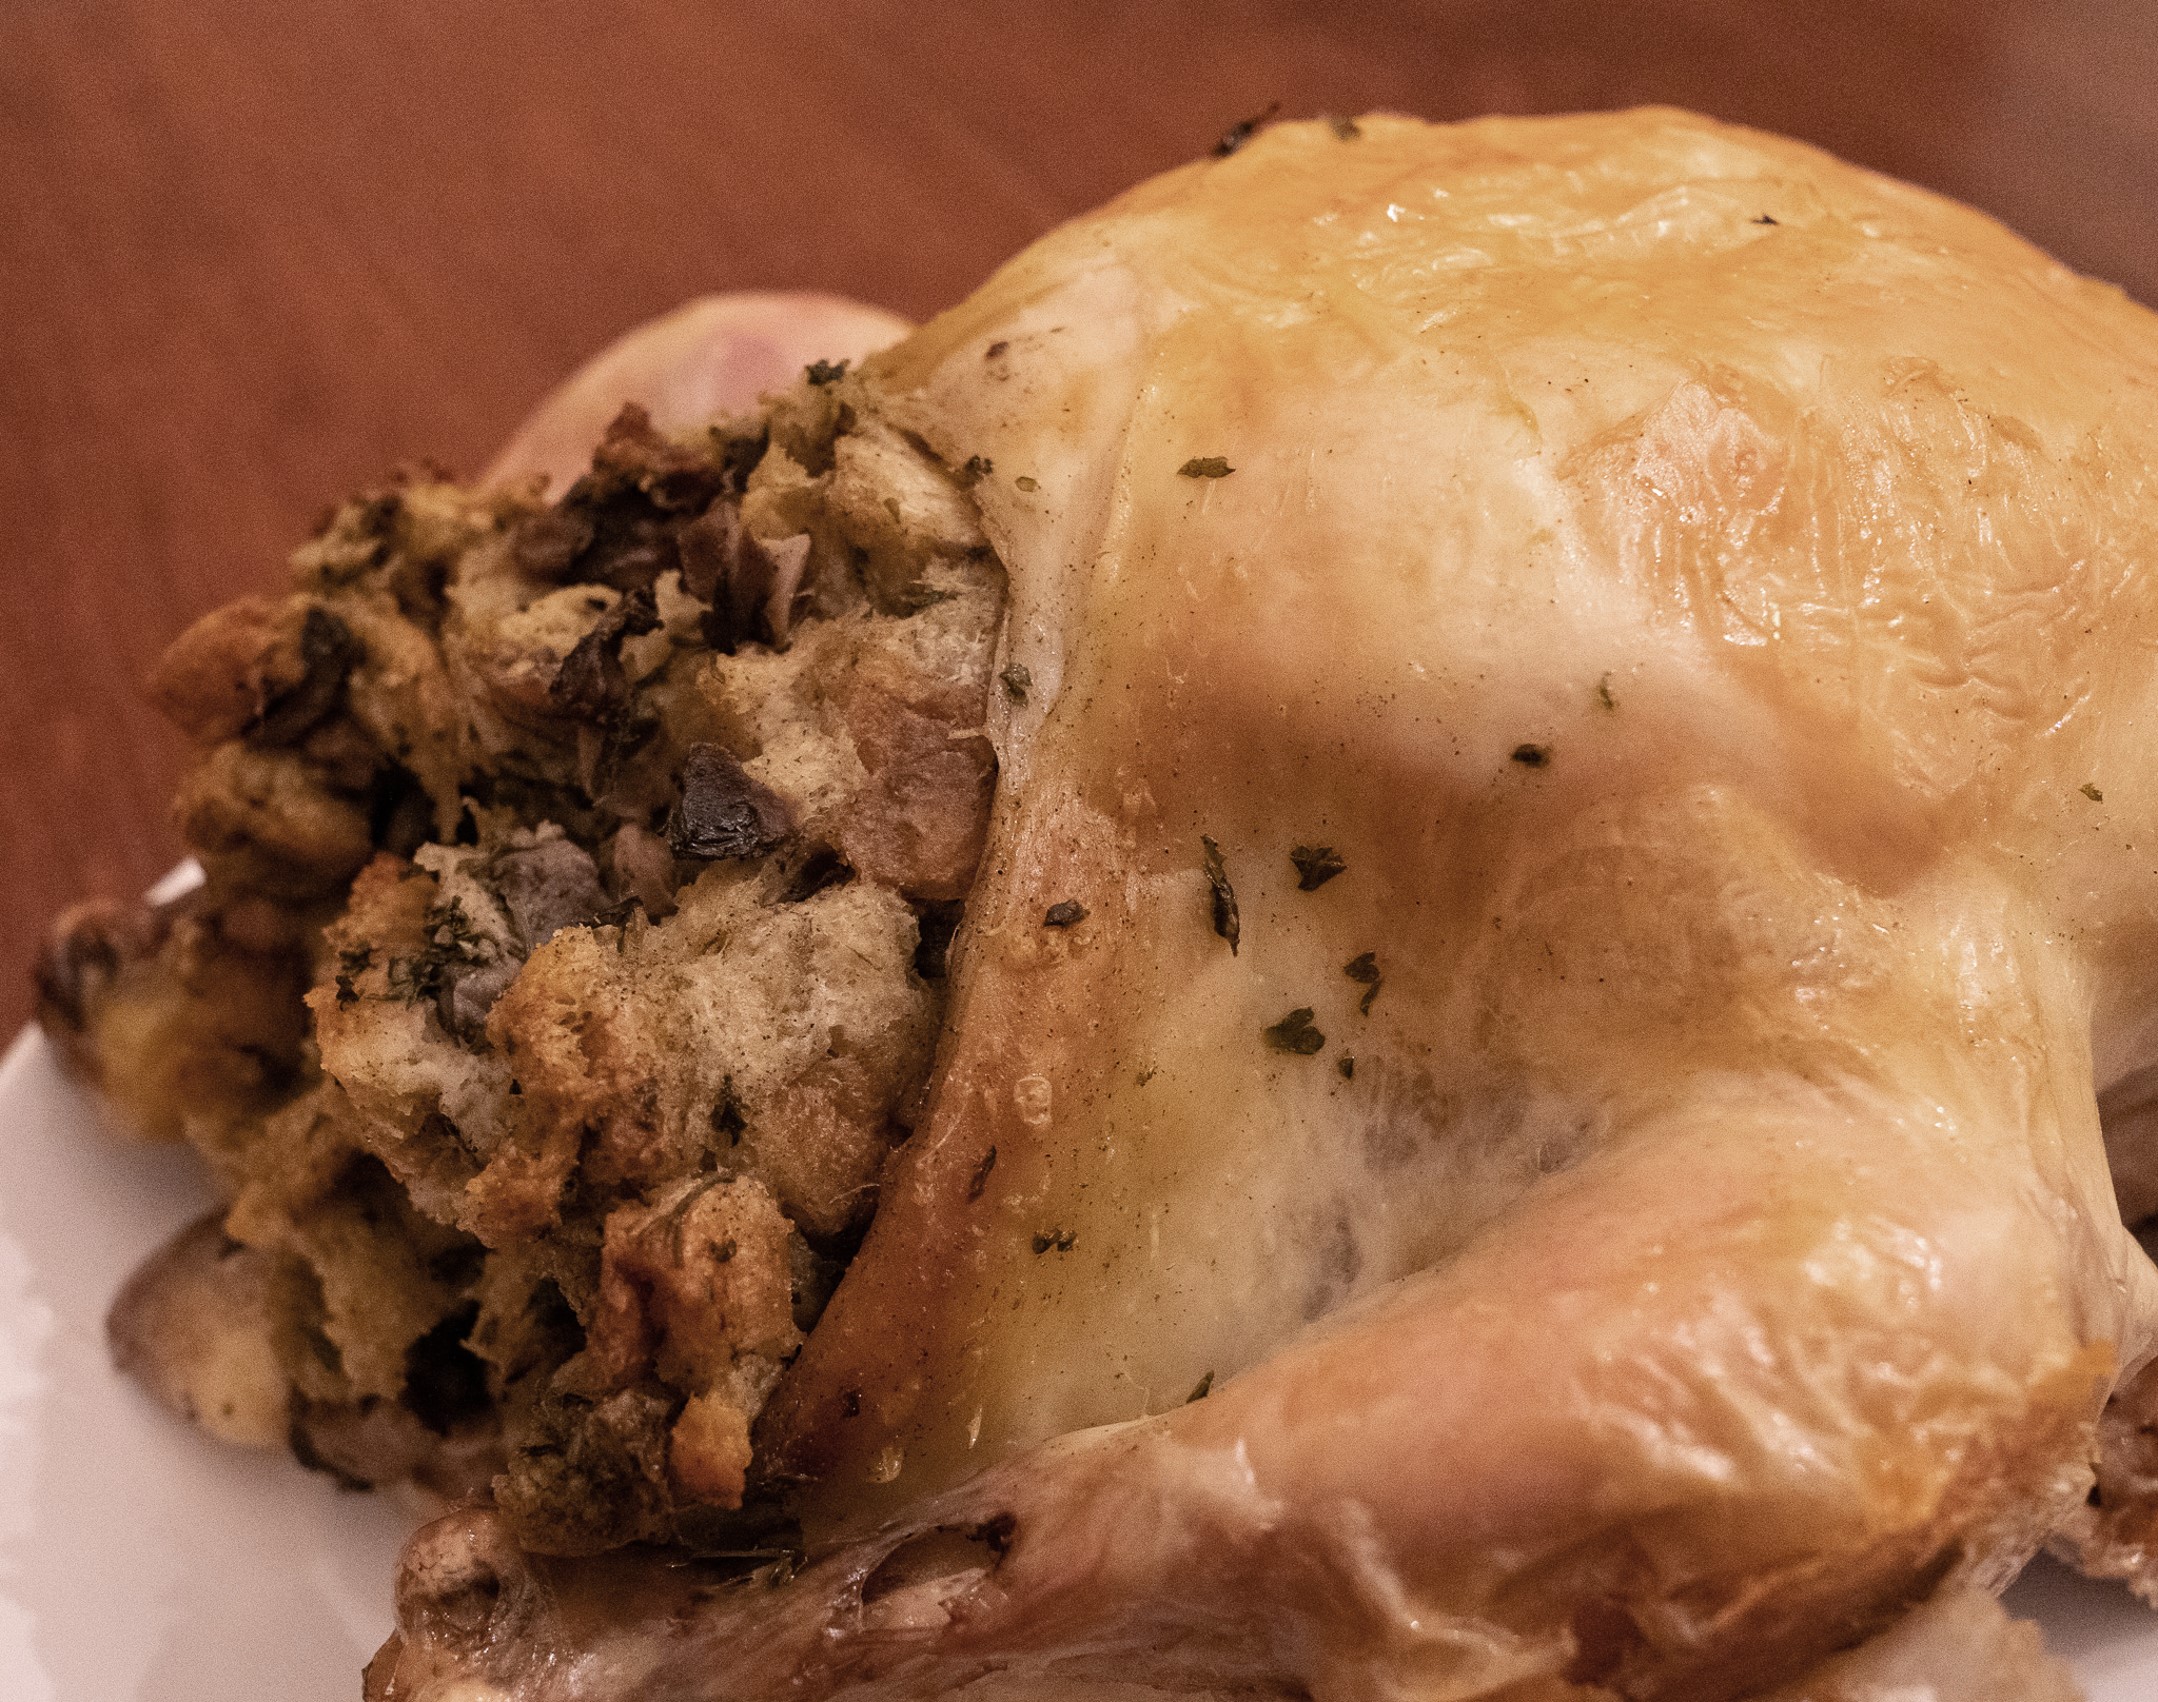
I recently saw a recipe for Mushroom Stuffing in a hundred-year-old cookbook, and decided to give it a try. I used it to stuff a chicken.
Verdict: The Mushroom Stuffing was easy to make and tasted delightful. The seasoning was just right and the mushrooms were a nice change from the usual stuffing that contains celery.
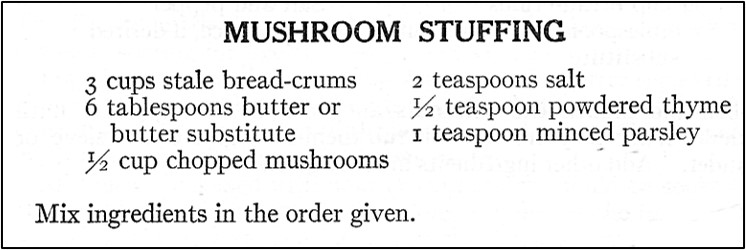
Source: The New Butterick Cook Book (1924)
Two teaspoons of salt seemed like a lot, so I reduced it to 3/4 teaspoon which worked fine. I didn’t follow the order listed in the recipe for mixing the ingredients. I combined the butter, salt, and herbs first; then added the mushrooms, and finally stirred in the bread crumbs.
Note: This recipe makes enough stuffing to stuff a 2-3 pound chicken. Double recipe for a 5 – 6 pound chicken; quadruple for a 10-12 pound turkey.
3 cups bread crumbs (tear bread into 1-inch pieces)
6 tablespoons butter, melted
3/4 teaspoon salt
1/2 teaspoon ground thyme
1 teaspoon parsley flakes
1/2 cup mushrooms, chopped
In a large bowl combine butter, salt, thyme, and parsley flakes; stir in chopped mushrooms. Add bread crumbs; stir gently until thoroughly combined. Scoop stuffing into chicken or turkey body and neck cavities. Cook poultry thoroughly. Remove stuffing from poultry, and place in a bowl. Fluff with a spoon or fork, and then serve.
Every area has its prominent families. In central Pennsylvania, the Weis family is of those families. Sigmund Weis and his brother founded Weis Supermarkets. The original store was located in Sunbury and the corporate headquarters are still there. There currently are Weis stores throughout the Mid-Atlantic states. The Weis family are major philanthropists in the region. At Susquehanna University, in nearby Selinsgrove, there is the Sigmund Weis School of Business. And, Bucknell University in Lewisburg has the Weis Center for the Performing Arts. According to a Bucknell webpage, “The Performing Arts Center was funded primarily through a 1982 bequest from the estate of Claire Weis, wife of the founder of the Weis Market chain.”
I recently was flipping through a 1924 cookbook from Sunbury, Pennsylvania called the Cook Book of the Susquehanna Valley Country Club, and was amazed to discover that Mrs. Sigmund Weis (Claire Weis) had a recipe for Star Canapes in the book. Stars are cut out of bread slices, the bread is buttered, and then a different ingredient is put on each tip of the star. One tip has capers, others chopped egg white from a hard-boiled egg, mashed egg yolk, chopped sweet pickle, and chopped pimento. A rolled anchovy was put in the center of the star.
The Star Canapes were fun (though tedious) to make, but looked beautiful. They were salty with a strong anchovy and capers taste, but were good.
This recipe definitely felt like a blast from the past. I can picture women a hundred years ago at the country club enjoying these canapes. Or maybe Claire Weis served them as hors d’oeuvres when she hosted guests at her home.
This recipe may have also showcased the wide range of products that were sold at the Weis Store – anchovies, capers, pimento, and so on.
Here’s the original recipe:
Source: Cook Book of the Susquehanna Valley Country Club (1924)
I tried toasting the bread before cutting the stars, but the tips broke off the stars when I cut them. It worked much better when I used untoasted bread. (It probably would work to toast the bread after cutting the stars, but I didn’t try that.)
I did not season the white of the hard-boiled egg with salt. The capers and anchovies were very salty, and it didn’t seem necessary.
I mashed the yolk of the hard-boiled egg rather than forcing it through a potato ricer.
(When making this recipe count the number of anchovies in the can; that will determine how many Canape Stars this recipe will make.)
enough thinly sliced bread to cut approximately 9 stars (about 5 – 9 slices, depending upon size)
butter, softened
about 2 tablespoons capers
1 hard-boiled egg (finely chop egg white; mash egg yolk)
about 2 tablespoons finely chopped sweet pickles
1 2-ounce can chopped pimento (If not finely chopped, chop more finely.)
1 2-ounce can anchovies
Drain the capers, sweet pickles, pimento, and anchovies. Put each one (separately) on paper towels and gently squeeze to remove excess liquid. Set aside.
Cut stars from the bread using a star-shaped cutter. Butter the stars. Put capers on one point of the star. Put the chopped egg white on another point, then chopped sweet pickles on a third point, chopped pimento on the fourth, and mashed egg yolk on the last point. Roll the anchovies and then put one rolled anchovy in the center of each star.
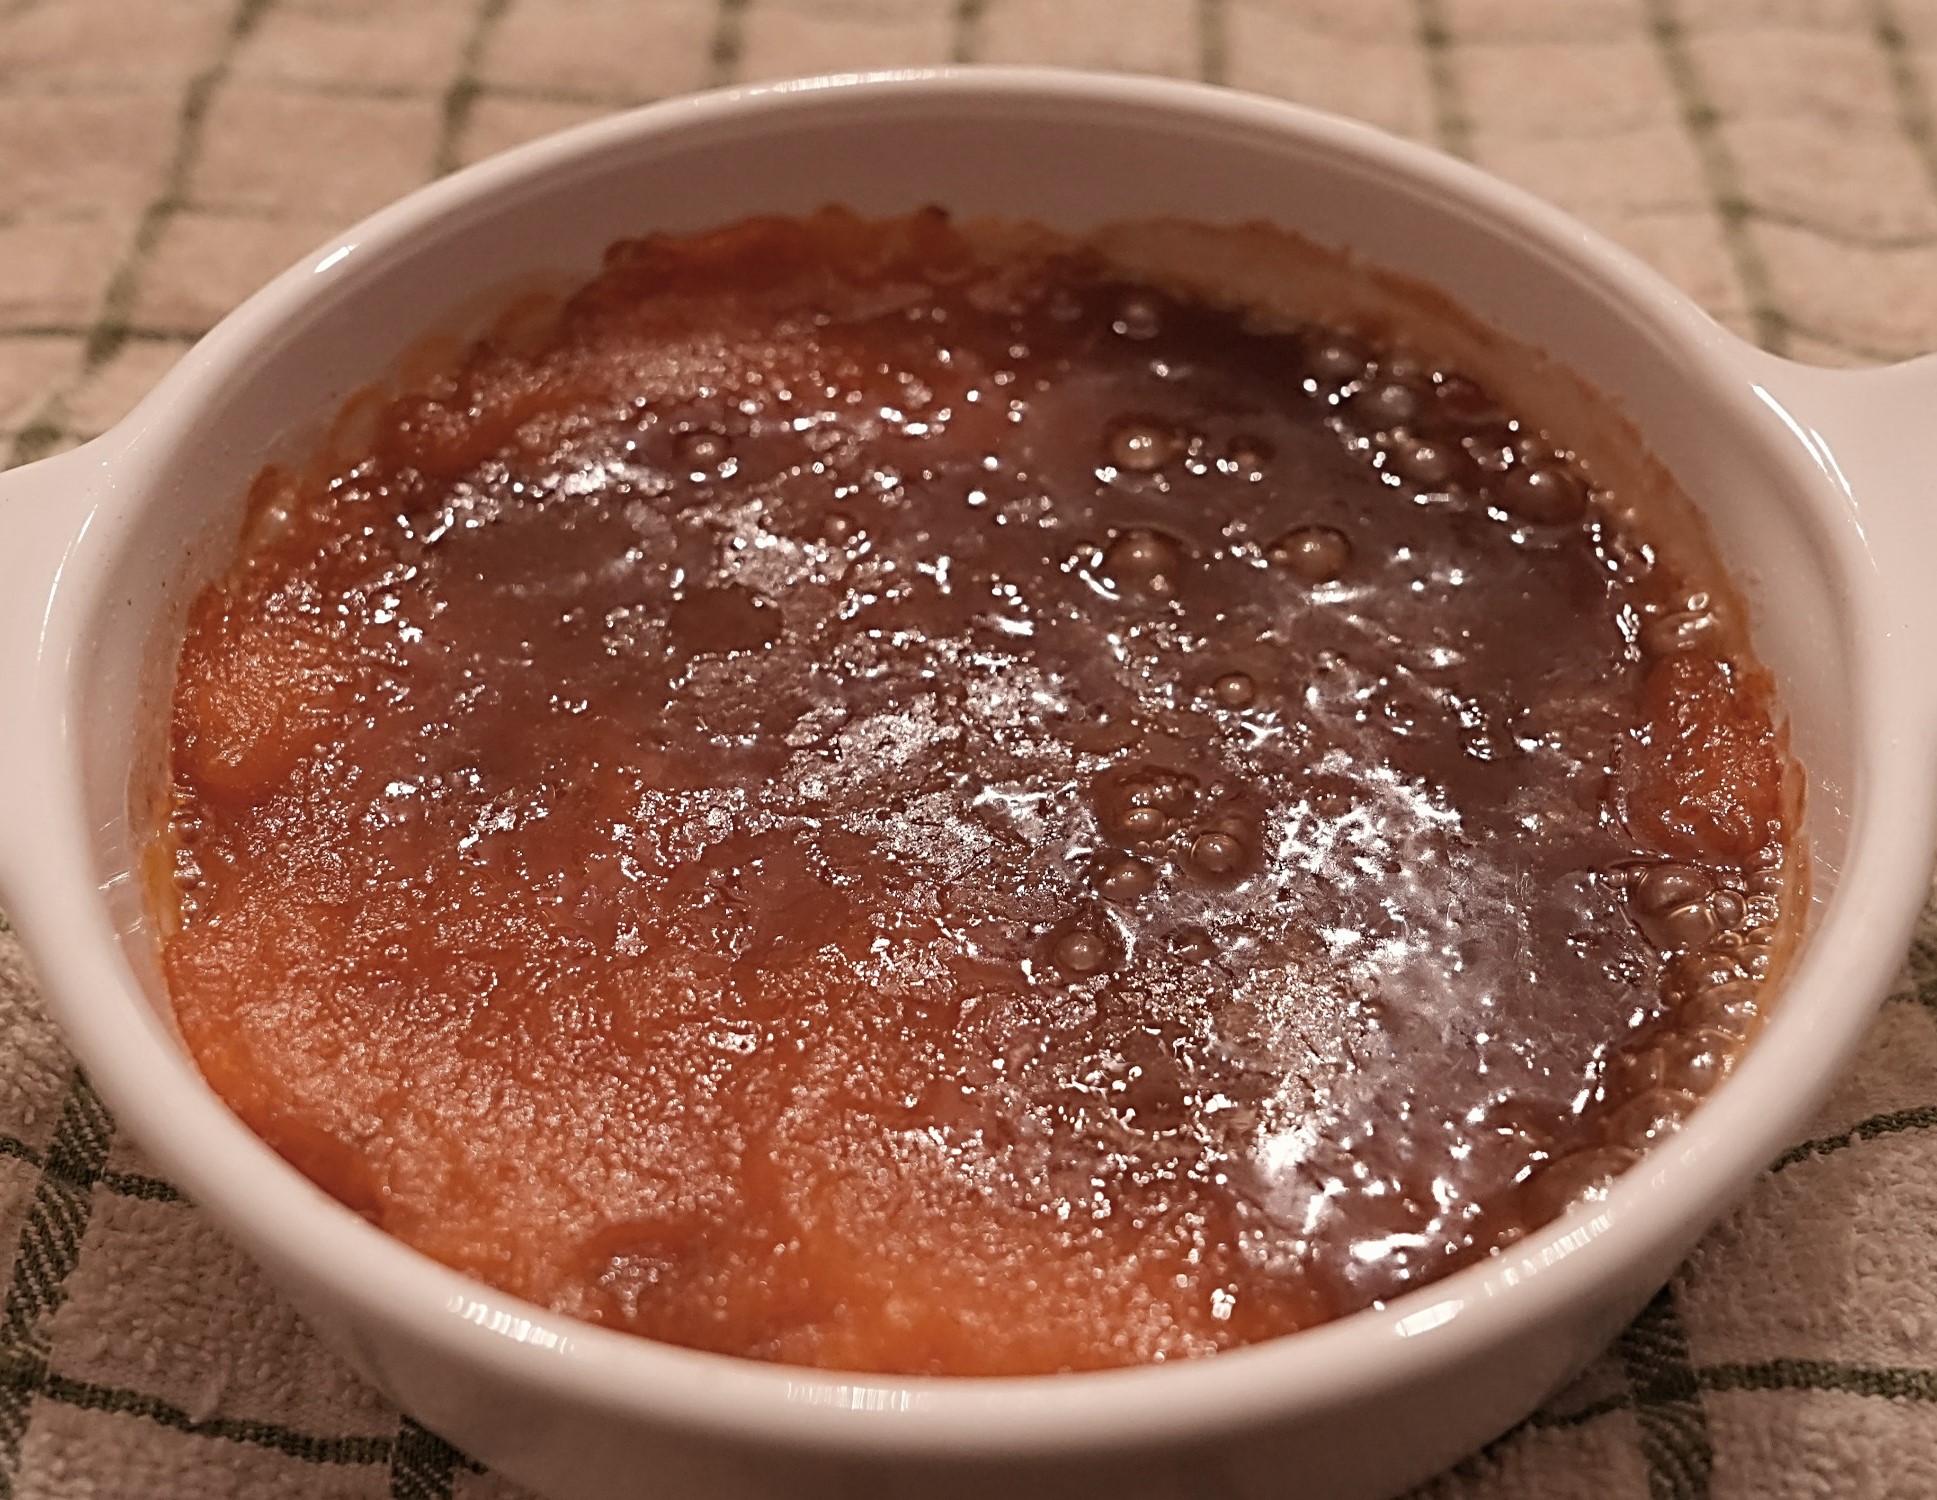
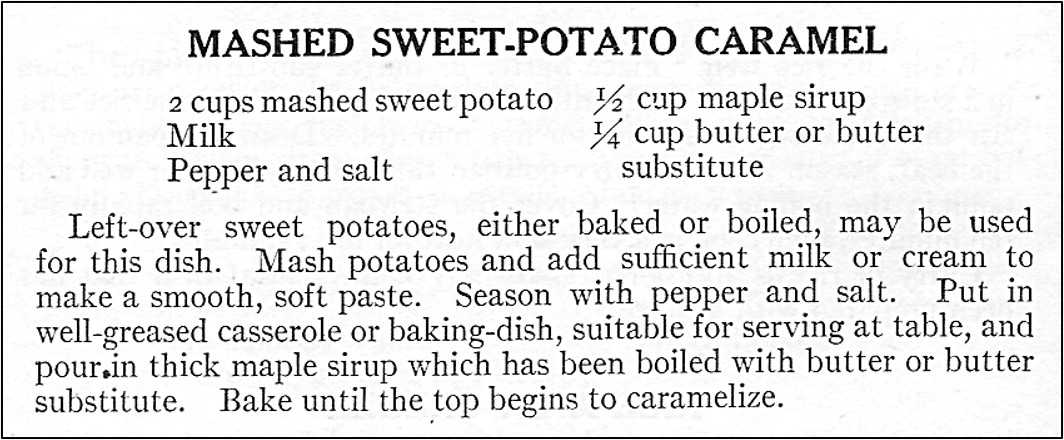
Over the years I’ve often eaten sweet potatoes that were “candied” with brown sugar or baked in a brown sugar sauce. I recently came across a hundred-year-old recipe with a “new” twist. It called for using maple syrup instead of brown sugar, and the sweet potatoes were mashed prior to baking.
The Mashed Sweet Potato Caramel was lovely. The caramelized maple syrup and butter topping was sweet and enchanting.
Here’s the original recipe:
Source: The New Butterick Cookbook (1924)
I don’t generally have leftover cooked sweet potatoes in my refrigerator, so I started with whole sweet potatoes when I made this recipe and cooked them. I added about 2 tablespoons of milk to the sweet potatoes after I mashed them, and that seemed like about the right amount of added liquid. I seasoned the mashed sweet potatoes with 1/2 teaspoon of salt and 1/8 teaspoon pepper
Put sweet potatoes in a large saucepan and cover with water. Bring to a boil using high heat, then reduce heat and cook until the sweet potatoes are tender when tested by inserting a knife (30-40 minutes). Remove from heat, drain, and cool slightly so the sweet potatoes can be handled. Gently remove the peels from the cooked sweet potatoes, then put in a mixing bowl and mash. Add milk, salt, and pepper; mix until combined. Put the mashed sweet potatoes in a baking dish.
In the meantime, preheat oven to 400° F. Put the maple syrup and butter in a saucepan. Bring to a boil using medium heat, then reduce heat and continue cooking until it begins to thicken (5 – 10 minutes). Pour over the mashed sweet potatoes in the baking dish. Put in oven and bake until hot and bubbly, and the maple syrup mixture begins to caramelize. (I baked for about 25 minutes, but the length of time varies greatly depending upon how hot the mashed sweet potatoes are when placed in the oven.)
Cranberries are a Fall favorite, so when I saw a recipe for Cranberry-Raisin Roll in a hundred-year-old cookbook I decided to give it a try.
Chopped cranberries and raisins were rolled into a baking powder dough and then steamed, which results in the roll having a different texture than if it had been baked. It is served with lemon sauce. The Cranberry-Raisin Roll was delightful and almost seemed elegant. It was soft, but slightly chewy, with the lovely tartness of cranberries that were slighted moderated by the sweetness of the raisins.
Here’s the original recipe:
Source: Modern Priscilla Cook Book (1924)
The dough seemed too thick when I rolled it to a thickness of 1/2 inch, so I rolled it a little more until it was about 1/4-inch thick.
And, here is the recipe for Lemon Sauce:
Source: Modern Priscilla Cook Book (1924)
I didn’t stir in boiling water when I made the Lemon Sauce. It didn’t seem necessary since the mixture was heated on the stove. I just used room temperature water.
Chop cranberries and raisins. (A blender or food processor works well to chop them.) Then put in a bowl and stir in the sugar. Set aside.
Put baking powder, sugar, salt, flour, and butter in a bowl. Add 3/4 cup milk, and mix using a fork until dough starts to cling together. If it is too dry, add additional milk. Turn onto a flour-prepared surface, and roll dough into an approximate 11-inch X 18-inch rectangle that is 1/4 inch thick. Evenly spread the cranberry and raisin mixture on the rolled dough to within 1/2 inch of the edges. Start at one of the narrower sides and roll, then put in a steamer over quickly boiling water and cover. Steam for 1 1/2 hours. Remove from steamer and serve with Lemon Sauce.
Lemon Sauce
1/2 cup sugar
1 tablespoon corn starch
dash salt
1 cup water
2 tablespoons butter
1 1/2 tablespoons lemon juice
1/4 teaspoon grated lemon rind
1/8 teaspoon nutmeg
Mix the sugar, cornstarch, and salt together in a saucepan. Stir in the water, and heat using medium heat until the mixture boils. Reduce heat and simmer until the mixture thickens. Stir in the butter, lemon juice, grated lemon rind, and nutmeg. Serve hot.
I have a lot of fun making hundred-old-recipes. Often old recipes have less detailed directions than modern ones, and I need to try to interpret what the recipe author meant. Usually it is fairly easy to figure out what to do, but occasionally an old recipe just leaves me scratching my head. This is one of those times. Here’s the original recipe for Marshmallow Pudding:
Cook Book of the Susquehanna Valley Country Club, Sunbury, PA (1924)
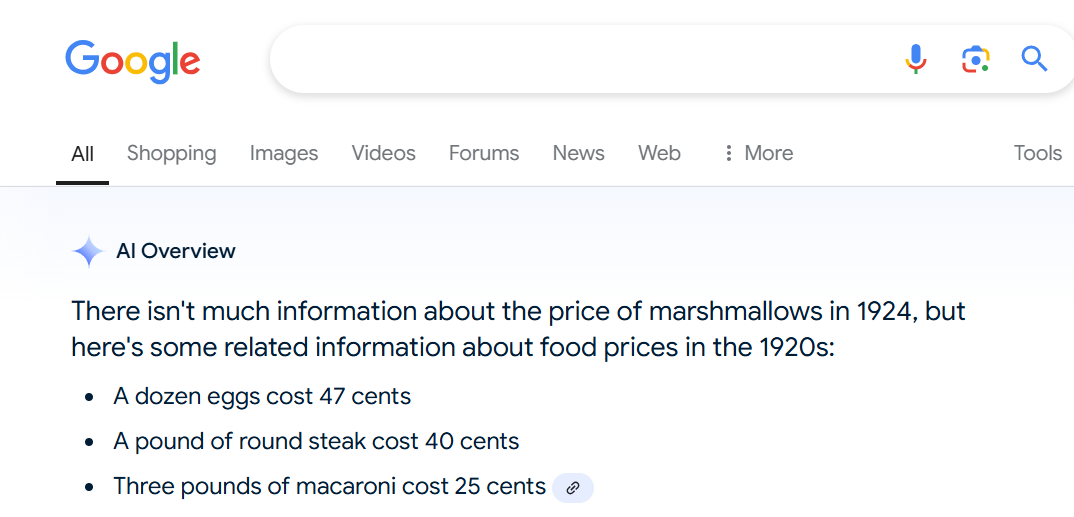
What the heck is 10¢ worth of marshmallows and 10¢ worth of shelled nuts? I quickly did a few online searches with relatively little luck. Amazingly even the artificial intelligence (AI) feature in my search engine doesn’t know what marshmallows cost in 1924. (I thought that AI took at stab at answering all questions and would try to give me a price for marshmallows. Rather it redirected me to the prices of eggs, round steak, and macaroni in 1924.)
I decided to use with 3 cups miniature marshmallows and 1/2 cup chopped walnuts. I have not idea whether this is similar to what the recipe author used, but it worked okay.
I used canned pineapple tidbits when making this recipe. The old recipe calls for chopped pineapple. I had a vague memory that years ago gelatin packages said not to use fresh pineapple when making gelatin, so did another search that was more successful. Gelatin won’t set when mixed with fresh pineapple because of an enzyme it contains; however, it will set if canned pineapple is used.
I had difficulty getting the gelatin dissolved. One tablespoon cold water plus 2 tablespoons boiling water just did not seem like enough liquid to get it successfully dissolved. I ended up heating 1/4 cup of pineapple juice (from the canned pineapple) and adding that to the gelatin that I was trying to dissolve.
I assumed that “1-3 cup sugar” meant “1/3 cup sugar.” I also assumed that “1 pint whipped cream”, meant 1 pint of unwhipped heavy cream that I then whipped.
The verdict: My interpretation of this recipe was very nice. The Marshmallow Pudding was creamy and sweet with bits of tart pineapple and crunchy walnuts. It reminds me of similar dishes that I’ve had at reunions, pot luck dinners, and family gatherings over the years.
1 cup canned pineapple tidbits, drained (Reserve 1/4 cup pineapple juice)
2 cups heavy whipping cream
1/3 cup sugar
3 cups miniature marshmallows
1/2 cup walnuts, chopped
Place the cold water in a small bowl; then sprinkle the gelatin over the 1 tablespoon cold water. Let the gelatin absorb the water and soften for a few minutes. In the meantime, heat 2 tablespoons of water plus 1/4 cup pineapple juice to boiling. Reduce heat to low and stir in softened gelatin; stir until dissolved. Add 1/3 cup sugar; stir until dissolved. Remove from heat. Set aside and allow to partially cool.
Put the whipping cream in a bowl. Beat until stiff peaks form. Gently stir in the dissolved gelatin and sugar. Fold in the pineapple tidbits, miniature marshmallows, and walnuts. Put in serving bowl. Refrigerate until chilled (at least 2 hours).