Old-Time Cheese Delight (Cheese & Bread Custard)

Cheese Delight (Cheese and Bread Custard)As the holidays are beginning to wind down, I’m in the mood for comfort food. So, when I came across a hundred-year-old recipe for Cheese Delight, I was intrigued and decided to give it a try.

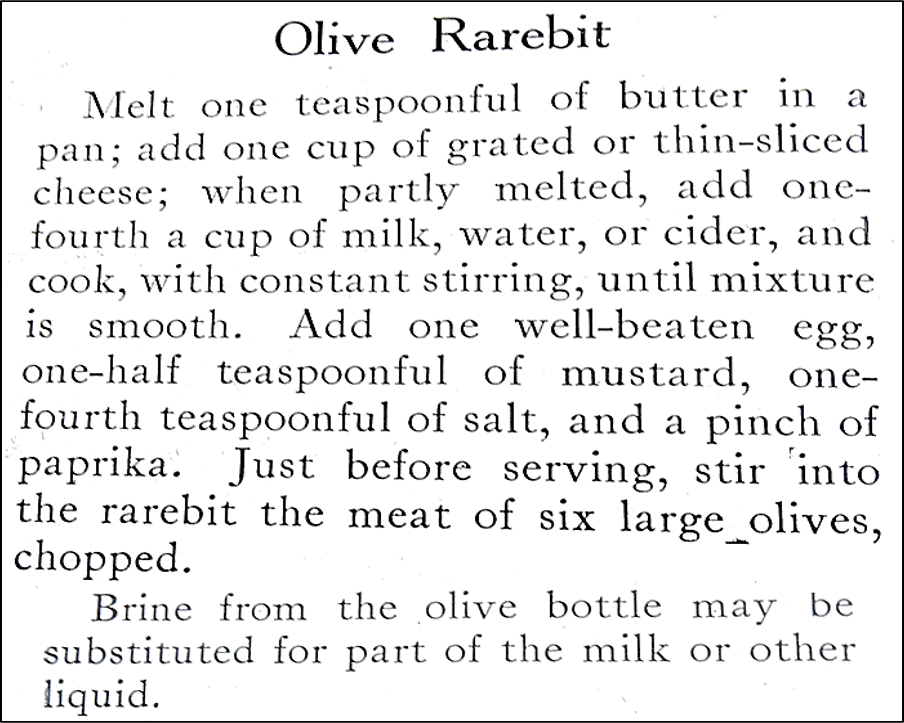
Cheese Delight is a delicate cheese and bread custard. It is not the same as modern egg and cheese casseroles that often contain bacon, onions, and green peppers. If you can set aside any possible expectation that Cheese Delight will be the same as modern egg and cheese casseroles, you will  will enjoy this dish.

The original recipe called for using American cheese. I thought about updating it to go with a natural cheese that has a tangier flavor, but decided to stick with the recipe author’s choice. The mild and creamy nature of American Cheese (and velvety smoothness when it melts) worked well in this recipe, and made this dish a delightful, old-fashioned comfort food.

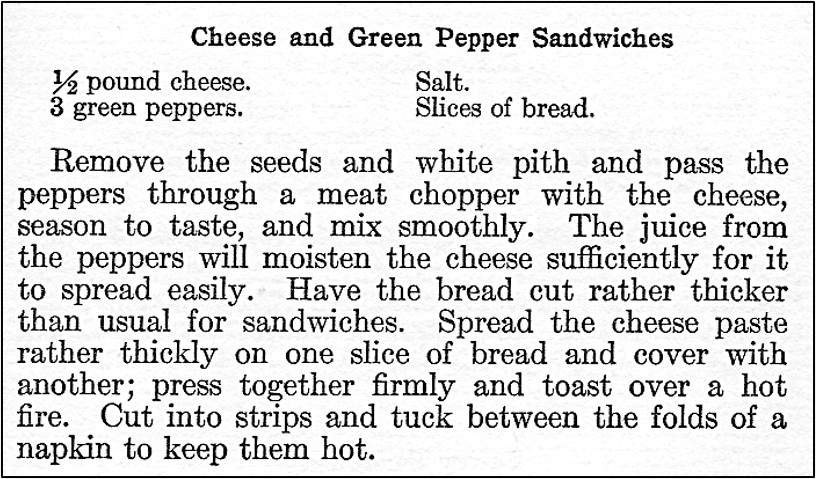
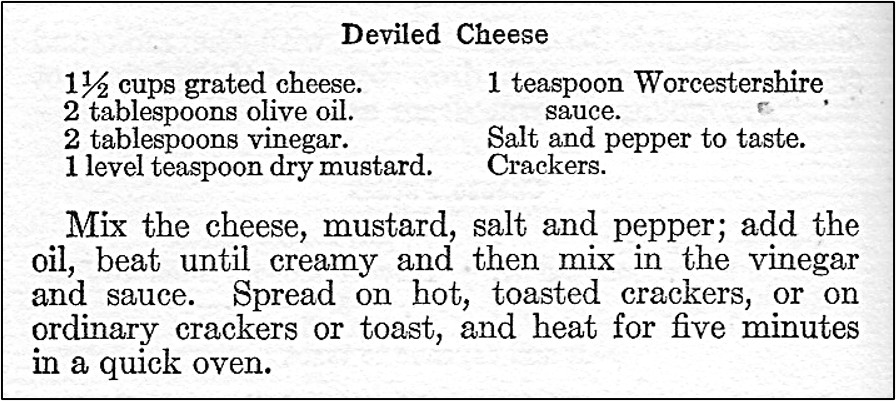
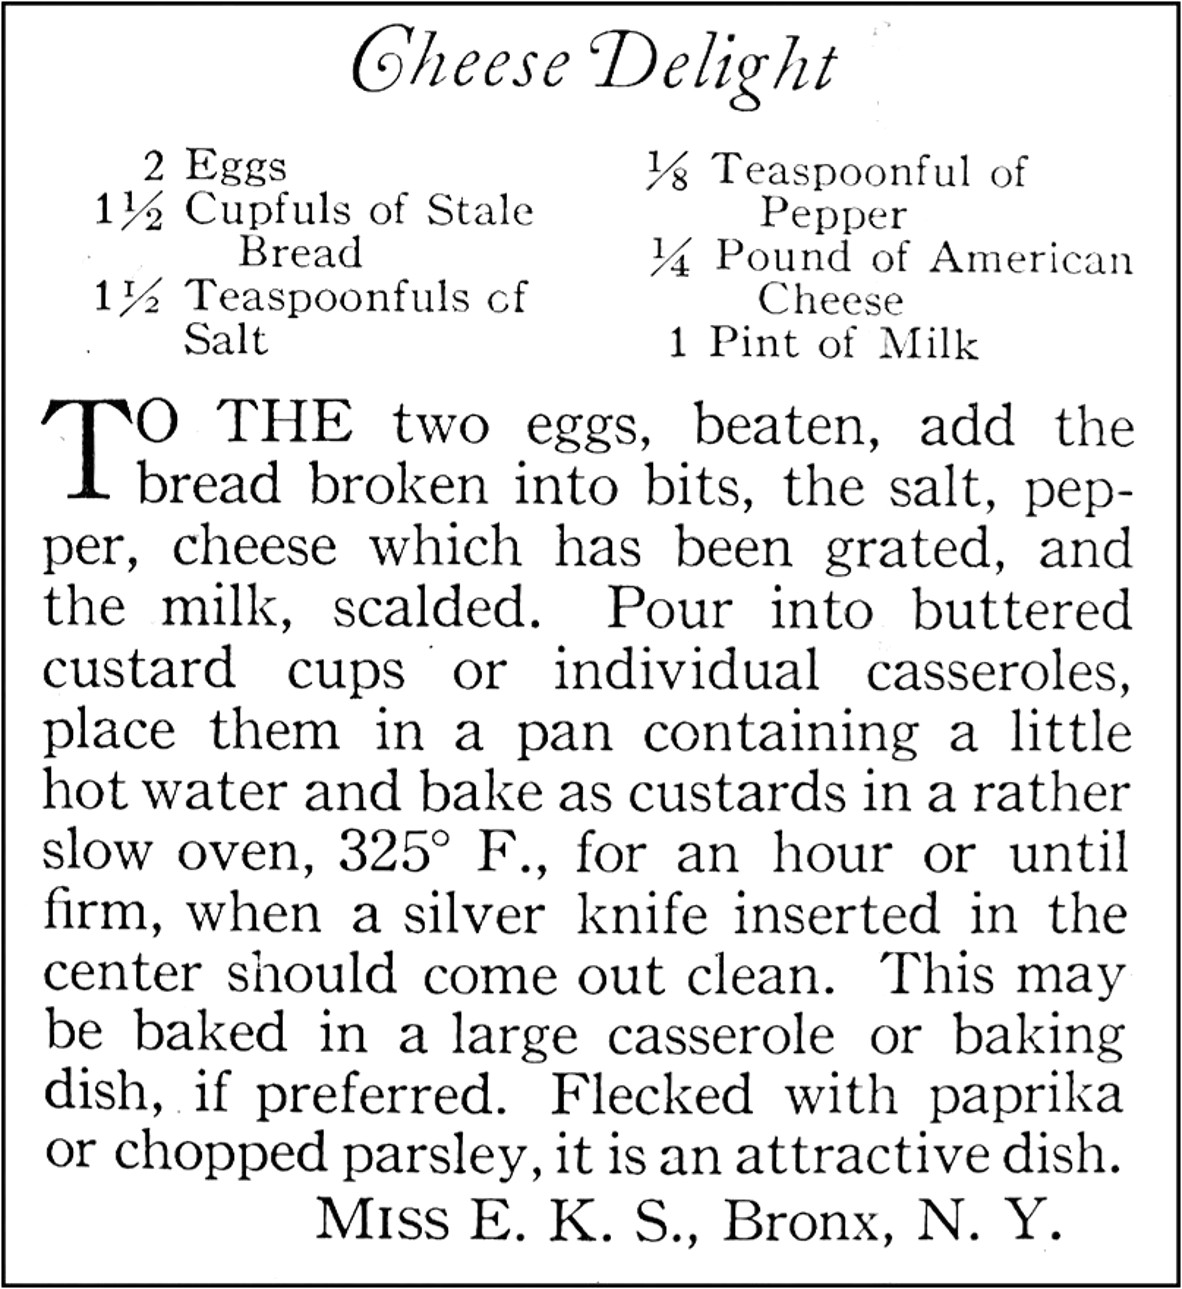
Here is the original recipe:

Cheese Delight Recipe
Source: Ladies Home Journal (September, 1925)

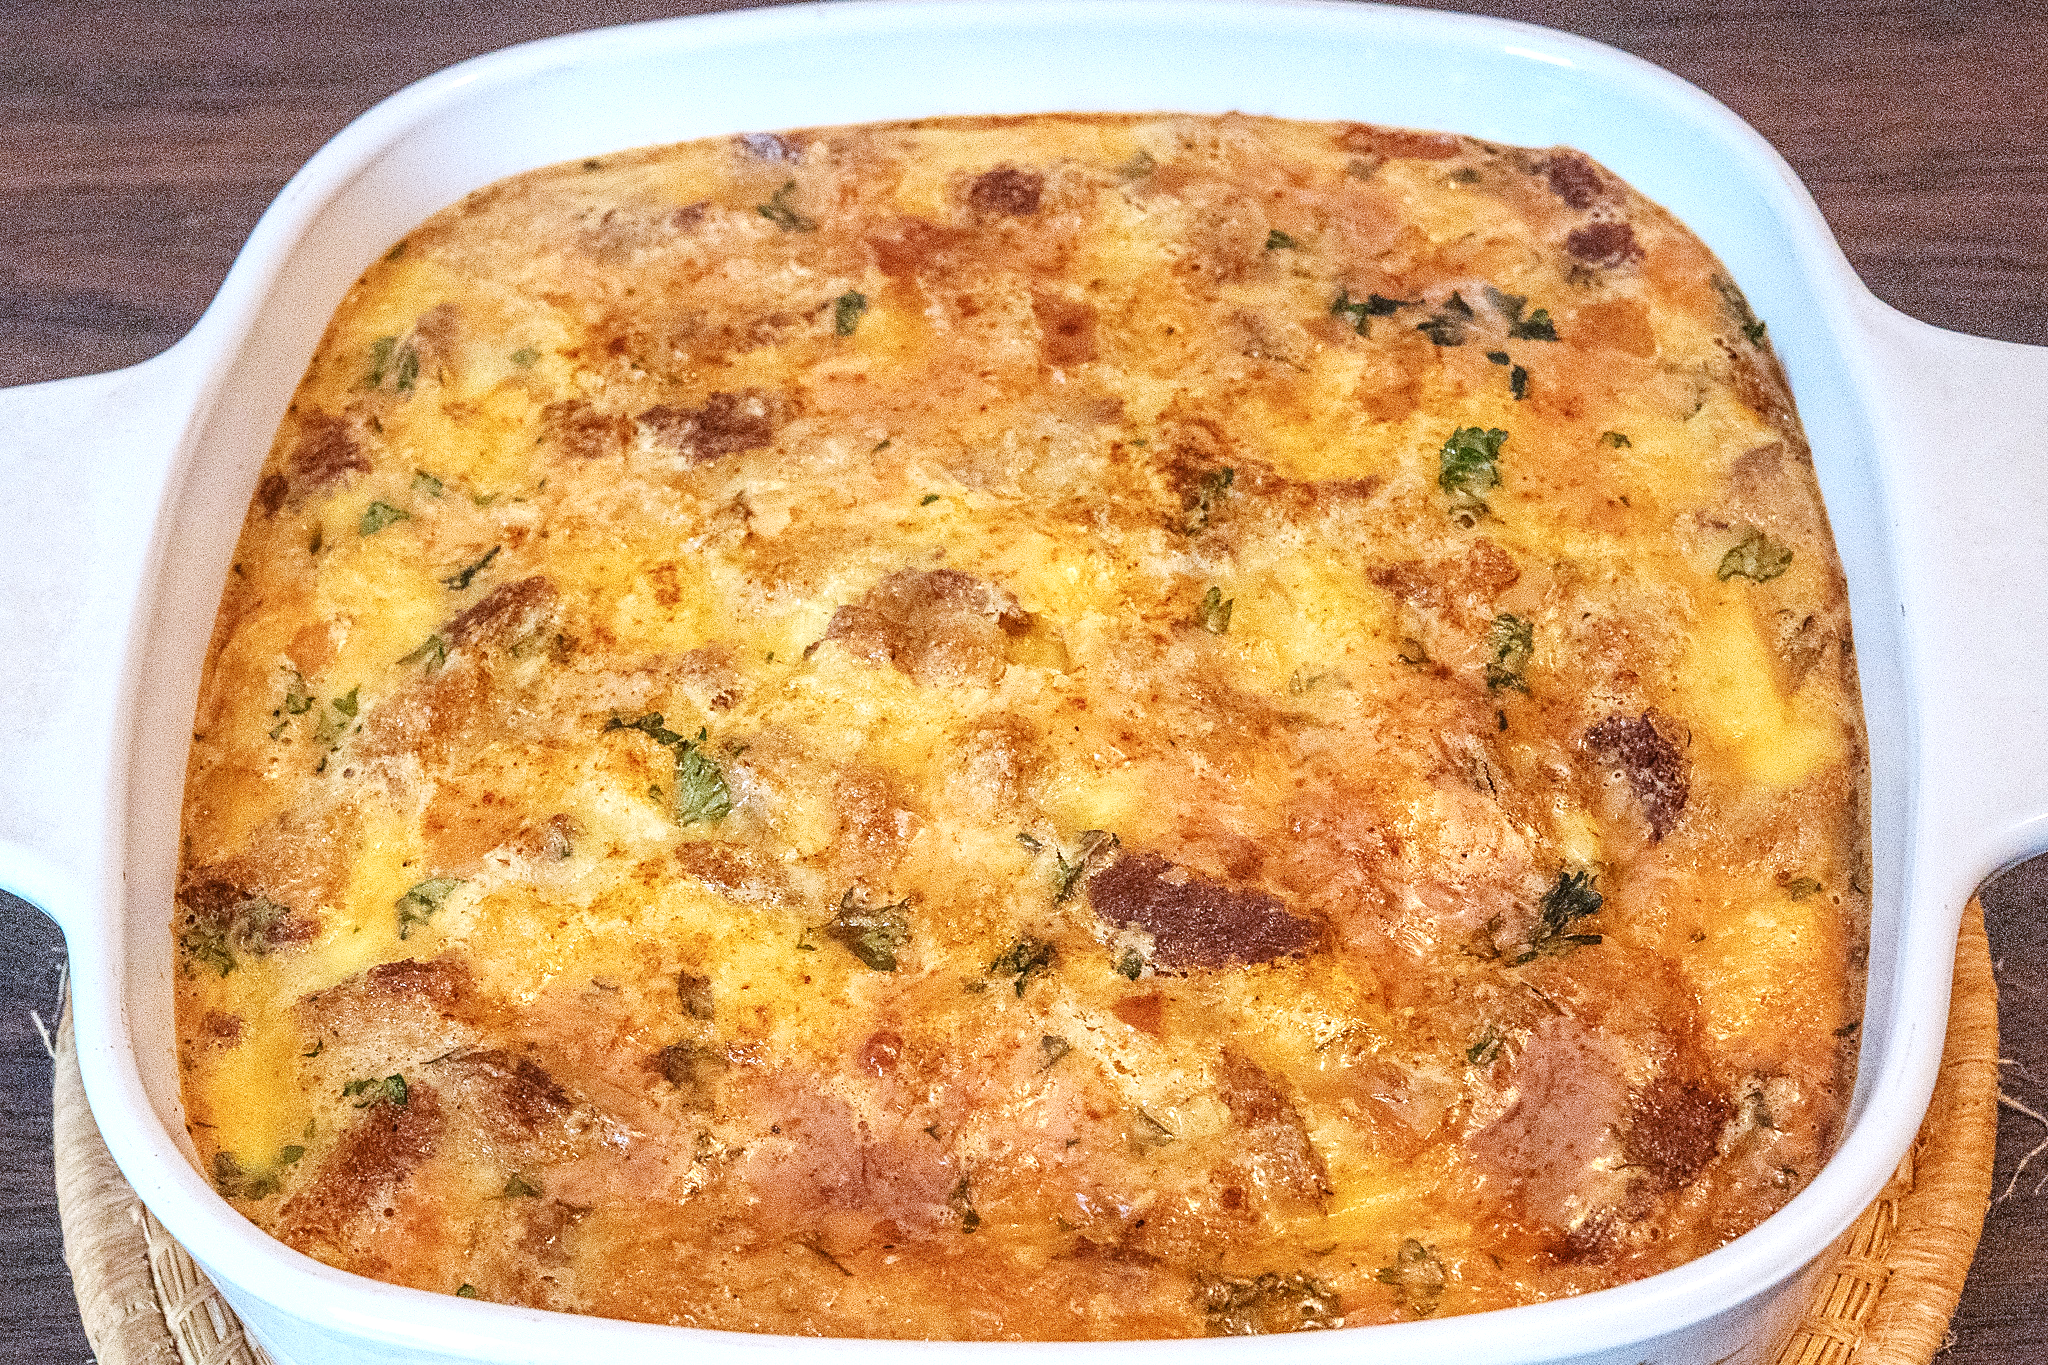
I decided to put the custard in a baking dish rather than make individual cups of custard.

When I made this recipe, I added chopped parsley to the egg mixture. I sprinkled a little paprika on the top before putting in the oven to bake, but I could not see the paprika when I took the dish out of the oven, so would not bother putting any on it if I made the dish again.

Here’s the recipe updated for modern cooks:

Cheese Delight (Cheese and Bread Pudding)

  • Servings: 3 - 4
  • Difficulty: moderate
  • Print

2 eggs

1 1/2 cups bread torn into 1/2-inch cubes (I used half white bread and half whole wheat bread.)

1 1/2 teaspoons salt

1/8 teaspoon pepper

1/4 pound American cheese, grated (about 6 slices) (I folded the cheese slices to make a small stack and then grated with a box grater.)

2 cups milk

2 tablespoons chopped parsley

Step 1. Preheat oven to 325° F.

Step 2. Put the eggs in a mixing bowl and beat. Stir in the milk, salt, and pepper. Add the bread cubes and the grated cheese; stir until all ingredients are evenly distributed. Stir in the chopped parsley.

Step 3. Pour into individual custard cups or into a 1-quart baking dish.

Step 4. Place the custard cups or baking dish in a pan of hot water and place in the oven.

Step 5. Bake for 50-60 minutes or until a knife inserted in the center of the pudding comes out nearly clean. (It may not be totally clean because of the melted cheese.) It will take a less baking time if individual cups were used than if the mixture was put into a baking dish.

http://www.ahundredyearsago.com

Old-Fashioned Cheese and Green Pepper Sandwiches (Toasted)

Cheese and Green Pepper Sandwich on plate

Grilled cheese sandwiches can get a little boring, so when I saw a recipe in a hundred-year-old cookbook for Cheese and Green Pepper Sandwiches that were toasted, I decided to give it a try.

The sandwiches were delightful. The crunchiness, slight sweetness, and subtle tanginess of the green peppers co-mingled nicely with the melted cheese.

The old recipe said to cut the toasted sandwiches into strips. I have never previously cut a sandwich into strips, but I decided to give it a try and it made a nice presentation.

Here’s the original recipe:

Recipe for Cheese and Green Pepper Sandwich
Source: Rumford Complete Cook Book (1925)

The ingredient list indicates that salt is an ingredient in this recipe, but it is not mentioned in the cooking instructions. Since cheese already contains salt, and it was not mentioned in the instructions, I did not add any salt when making this recipe.

Maybe most people had meat choppers a hundred years ago, but today I don’t think that many cooks have one. I know that I don’t. Instead, I decided to use my grater to grate the green pepper. That worked fine and there was some green pepper juice similar to what was described in the old recipe. It would also work to finely chop the green pepper, though there might be less juice, but I think that it would still work since the cheese will melt and hold everything together when the sandwich is heated.

This recipe is very specific regarding the amounts for the cheese and green papers, but very vague about the number of slices of bread to use. I decided to make three sandwiches, and adjusted the amount of green pepper and cheese to make an appropriate amount of filling. Three green peppers sound like a lot of green pepper. I think that green peppers often were much smaller a hundred years ago than what they typically are today, so I decided to use 1/2 cup of shredded or grated green pepper. I also thought that 8 ounces of cheese was more than was needed to make 3 sandwiches, so I used 4 ounces of cheese.

The original recipe says to “toast over a hot fire,” so I toasted the sandwiches using the broiler in my oven; but, it would also work well to put butter on the bread slices and grill in a skillet.

I didn’t think that there was any need to tuck the toasted sandwich strips in the folds of a napkin to keep them warm. I just served the hot sandwiches immediately.

Here’s the recipe updated for modern cooks:

Cheese and Green Pepper Sandwich (Toasted)

  • Servings: 3
  • Difficulty: moderate
  • Print

4 ounces cheese, grated or shredded (I used cheddar cheese)

1/2 cup green pepper, grated or finely chopped

6 slices bread

Put the cheese and the green pepper in a bowl; stir until the cheese and green pepper pieces are evenly distributed. Put half of the bread slices on a baking sheet, then spread with the cheese mixture. Top with the remaining slices of bread.

Set the rack 7-8 inches under the broiler. Put the baking sheet with the sandwiches under the broiler. Broil until the top slice of bread is lightly browned; gently flip the sandwiches, continue broiling until the other side is lightly browned. (Another option for browning the bread would be to lightly butter the bread slices, then grill in a skillet.)  Remove from heat. If desired, cut each sandwich into three strips. Serve immediately.

http://www.ahundredyearsago.com

Old-Fashioned Deviled Cheese

Deviled Cheese on crackers

I recently came across a hundred-year-old recipe for Deviled Cheese. It basically was a recipe for hot crackers with a tangy cheese topping. In addition to cheese, the topping contained olive oil, vinegar, ground mustard, and Worcestershire sauce. The zesty topping was tasty. This recipe was easy to make and is a fun twist on more modern ways of serving crackers and cheese.

Here’s the original recipe:

Deviled Cheese Recipe
Source: The Rumford Complete Cook Book, 1925

I spread the cheese topping on the crackers, and then heated in the oven for five minutes.  I did not add any salt or pepper. The cheese and Worcestershire sauce already made this a bit salty and, in my opinion, it did not need pepper.

I didn’t try the toast option, or the option of spreading the topping on hot, toasted crackers. The cheese, oil, and vinegar did not combine very well until they were heated, so I didn’t think that it would work very well without actually heating the topping.

Here’s the recipe updated for modern cooks:

Deviled Cheese

  • Servings: 5 - 8
  • Difficulty: easy
  • Print

1 1/2 cups grated cheese (I used cheddar cheese.)

1 teaspoon ground mustard

1 teaspoon Worcestershire sauce

2 tablespoons olive oil

2 tablespoons vinegar

crackers

Preheat oven to 400◦ F. Put the grated cheese, ground mustard and Worcestershire sauce in a bowl; stir to combine. Add the olive oil and stir. Then add vinegar and stir until all ingredients are combined. Put crackers on a baking sheet then spread the deviled cheese on top of them. (Do not go quite to the edge.). Put in oven for 5 minutes or until the cheese is melted.

http://www.ahundredyearsago.com

Old-fashioned Cheese Puffs

Cheese Puffs on Plate

When I think of Cheese Puffs, I think of a cheesy snack that’s in the snack aisle at the supermarket, so I was surprised to see a hundred-year-old recipe for cheese puffs. These Cheese Puffs are a delightful cheesy tidbit that can be eaten as a snack or a part of a meal.

The old recipe recommends serving the Cheese Puffs with a salad, which is what I did. Cheese Puffs and a salad are just right for a light lunch.

Here’s the original recipe:

Recipe for Cheese Puffs
Source: Mrs. Scott’s Seasonal Cook Books (The North American Newspaper, Philadelphia, Winter, 1921)

Here’s the recipe updated for modern cooks:

Cheese Puffs

  • Servings: approximately 12 Cheese Puffs
  • Difficulty: easy
  • Print

2 tablespoons butter

1/4 cup water

1/8 teaspoon salt

dash pepper

3/4 cup flour

1/4 cup grated cheese (I used cheddar cheese.) + additional grated cheese to garnish

1 egg

Preheat oven to 400° F. Put butter and water in a large sauce pan; bring to a boil. Stir in salt, pepper, and flour. Remove from heat, and add 1/4 cup grated cheese and egg; stir until thoroughly mixed.

Place on a greased baking sheet. Sprinkle with addiitonal grated cheese. Put in oven and bake 20 minutes or until lightly browned. If desired, serve with a salad.

http://www.ahundredyearsago.com

Old-fashioned Hot Toasted Cheese Sandwiches

Hot Toasted Cheese Sandwich on Plate

I often make toasted cheese sandwiches for lunch (actually I make grilled cheese sandwiches, but I call them toasted cheese sandwiches), so I was intrigued by a hundred-year-old recipe for Hot Toasted Cheese Sandwiches.

The old recipe called for toasting the sandwiches in the oven (or over a coal fire!). It also called for making a cheese filling that contained grated cheese, dry mustard, and paprika – rather than just using slices of cheese.

The sandwiches turned out well. The Hot Toasted Cheese Sandwiches were crisp and toasty, and nice and gooey in the middle. The cheese filling had just a hint of the spices.

Here’s the original recipe:

Recipe for Hot Toasted Cheese Sandwiches
Source: Mrs. Scott’s Seasonal Cook Books (The North American Newspaper, Philadelphia, Winter, 1921)

The recommended way of softening the grated cheese by putting it in a bowl that is then placed over another pan containing hot water seemed very old-fashioned, but I followed the directions and it worked well. The cheese softened quickly so that the spices could be easily stirred into the cheese, and it was very spreadable.

Since I know that cheese contains a lot of salt, I skipped adding salt when I made this recipe. Also, I used a level teaspoon of dry mustard instead of a rounded one that was called for in the recipe.

Here’s the recipe updated for modern cooks:

Hot Toasted Cheese Sandwiches

  • Servings: 3 Sandwiches
  • Difficulty: easy
  • Print

1 cup grated cheese (I used cheddar cheese. American would also work well.)

1 teaspoon dry mustard

1/4 teaspoon paprika

6 slices bread

butter

Put grated cheese, dry mustard, and paprika into a bowl; stir to mix. Put the bowl in a shallow pan of hot water for 2-3 minutes (or put in the microwave for a few seconds). Once the cheese has begun to soften, stir again to get the spices evenly spread throughout the mixture.

In the meantime, butter the bread on one side. Place three slices on a baking sheet with the buttered side down. Spread the slices with the cheese mixture. Top with the remaining bread slices. The buttered side should be up.

Put under the broiler in the oven, and toast until the bread is lightly browned. Flip the sandwiches and return to broiler. Toast until the second side is lightly browned. Remove from oven and serve.

http://www.ahundredyearsago.com

Olive Rarebit

Olive Rarebit on Toast

Welsh Rarebit over toast is one of my comfort foods, so I was intrigued when I came across a hundred-year-old recipe for Olive Rarebit. This recipe is nice variation on the classic. It contains chopped olives embedded in a savory cheese sauce.

Here’s the original recipe:

Olive Rarebit Recipe
Source: American Cookery (January,1920)

And, here’s the recipe updated for modern cooks:

Olive Rarebit

  • Servings: 2
  • Difficulty: easy
  • Print

1 teaspoon butter

1 cup cheddar cheese, grated

1/4 cup milk, water, or apple cider – If desired, olive brine from the jar may be substituted for part of the liquid  (I used milk – and no olive brine.)

1 egg, beaten

1/2 teaspoon ground mustard

1/4 teaspoon salt

dash paprika

6 olives, coarsely chopped (I used pimento stuffed green olives.)

Put butter in a saucepan; melt using medium-low heat. Stir in the cheddar cheese; continue stirring until the cheese is partially melted. Then add the milk and continue stirring until the mixture is smooth. While continuing to stir, add the egg, mustard, salt, and paprika. Heat until hot, then stir in olives. Remove from heat. Serve over toast, English muffins, or other bread.

http://www.ahundredyearsago.com

Old Tomato Rarebit Recipe

16-year-old Helena Muffly wrote exactly 100 years ago today: 

Monday, July 17, 1911: It rained real hard this morning. I don’t know whether that kept me from doing anything of any account or something else—any way it isn’t here to read.Her middle-aged granddaughter’s comments 100 years later:

Since Grandma didn’t have much to say a hundred years ago today, I flipped through the July 1911 issue of Good Housekeeping magazine. It contained a recipe for Tomato Rarebit.  A rarebit is a cheese sauce that is served over toast or other similar foods.  I like Welsh Rarebit so thought that I’d give this recipe a try.

Tomato Rarebit

Cook one tablespoon chopped onion in one tablespoon butter five minutes. Add one cup tomatoes, cook two minutes, and strain. In a saucepan, or the blazer of the chafing dish, melt two tablespoons butter, add two tablespoons flour, and three-fourths of a cup of thin cream. Cook until thickened, then add two cups cheese cut in dice or thinly shaved, the tomato, and one-half teaspoon each mustard and salt, and one-fourth teaspoon paprika. Stir until cheese is melted and the mixture is smooth. Serve on toast or heated crackers.

The Tomato Rarebit had a zestier taste than Welsh Rarebit, and was excellent.  The recipe is a keeper.