
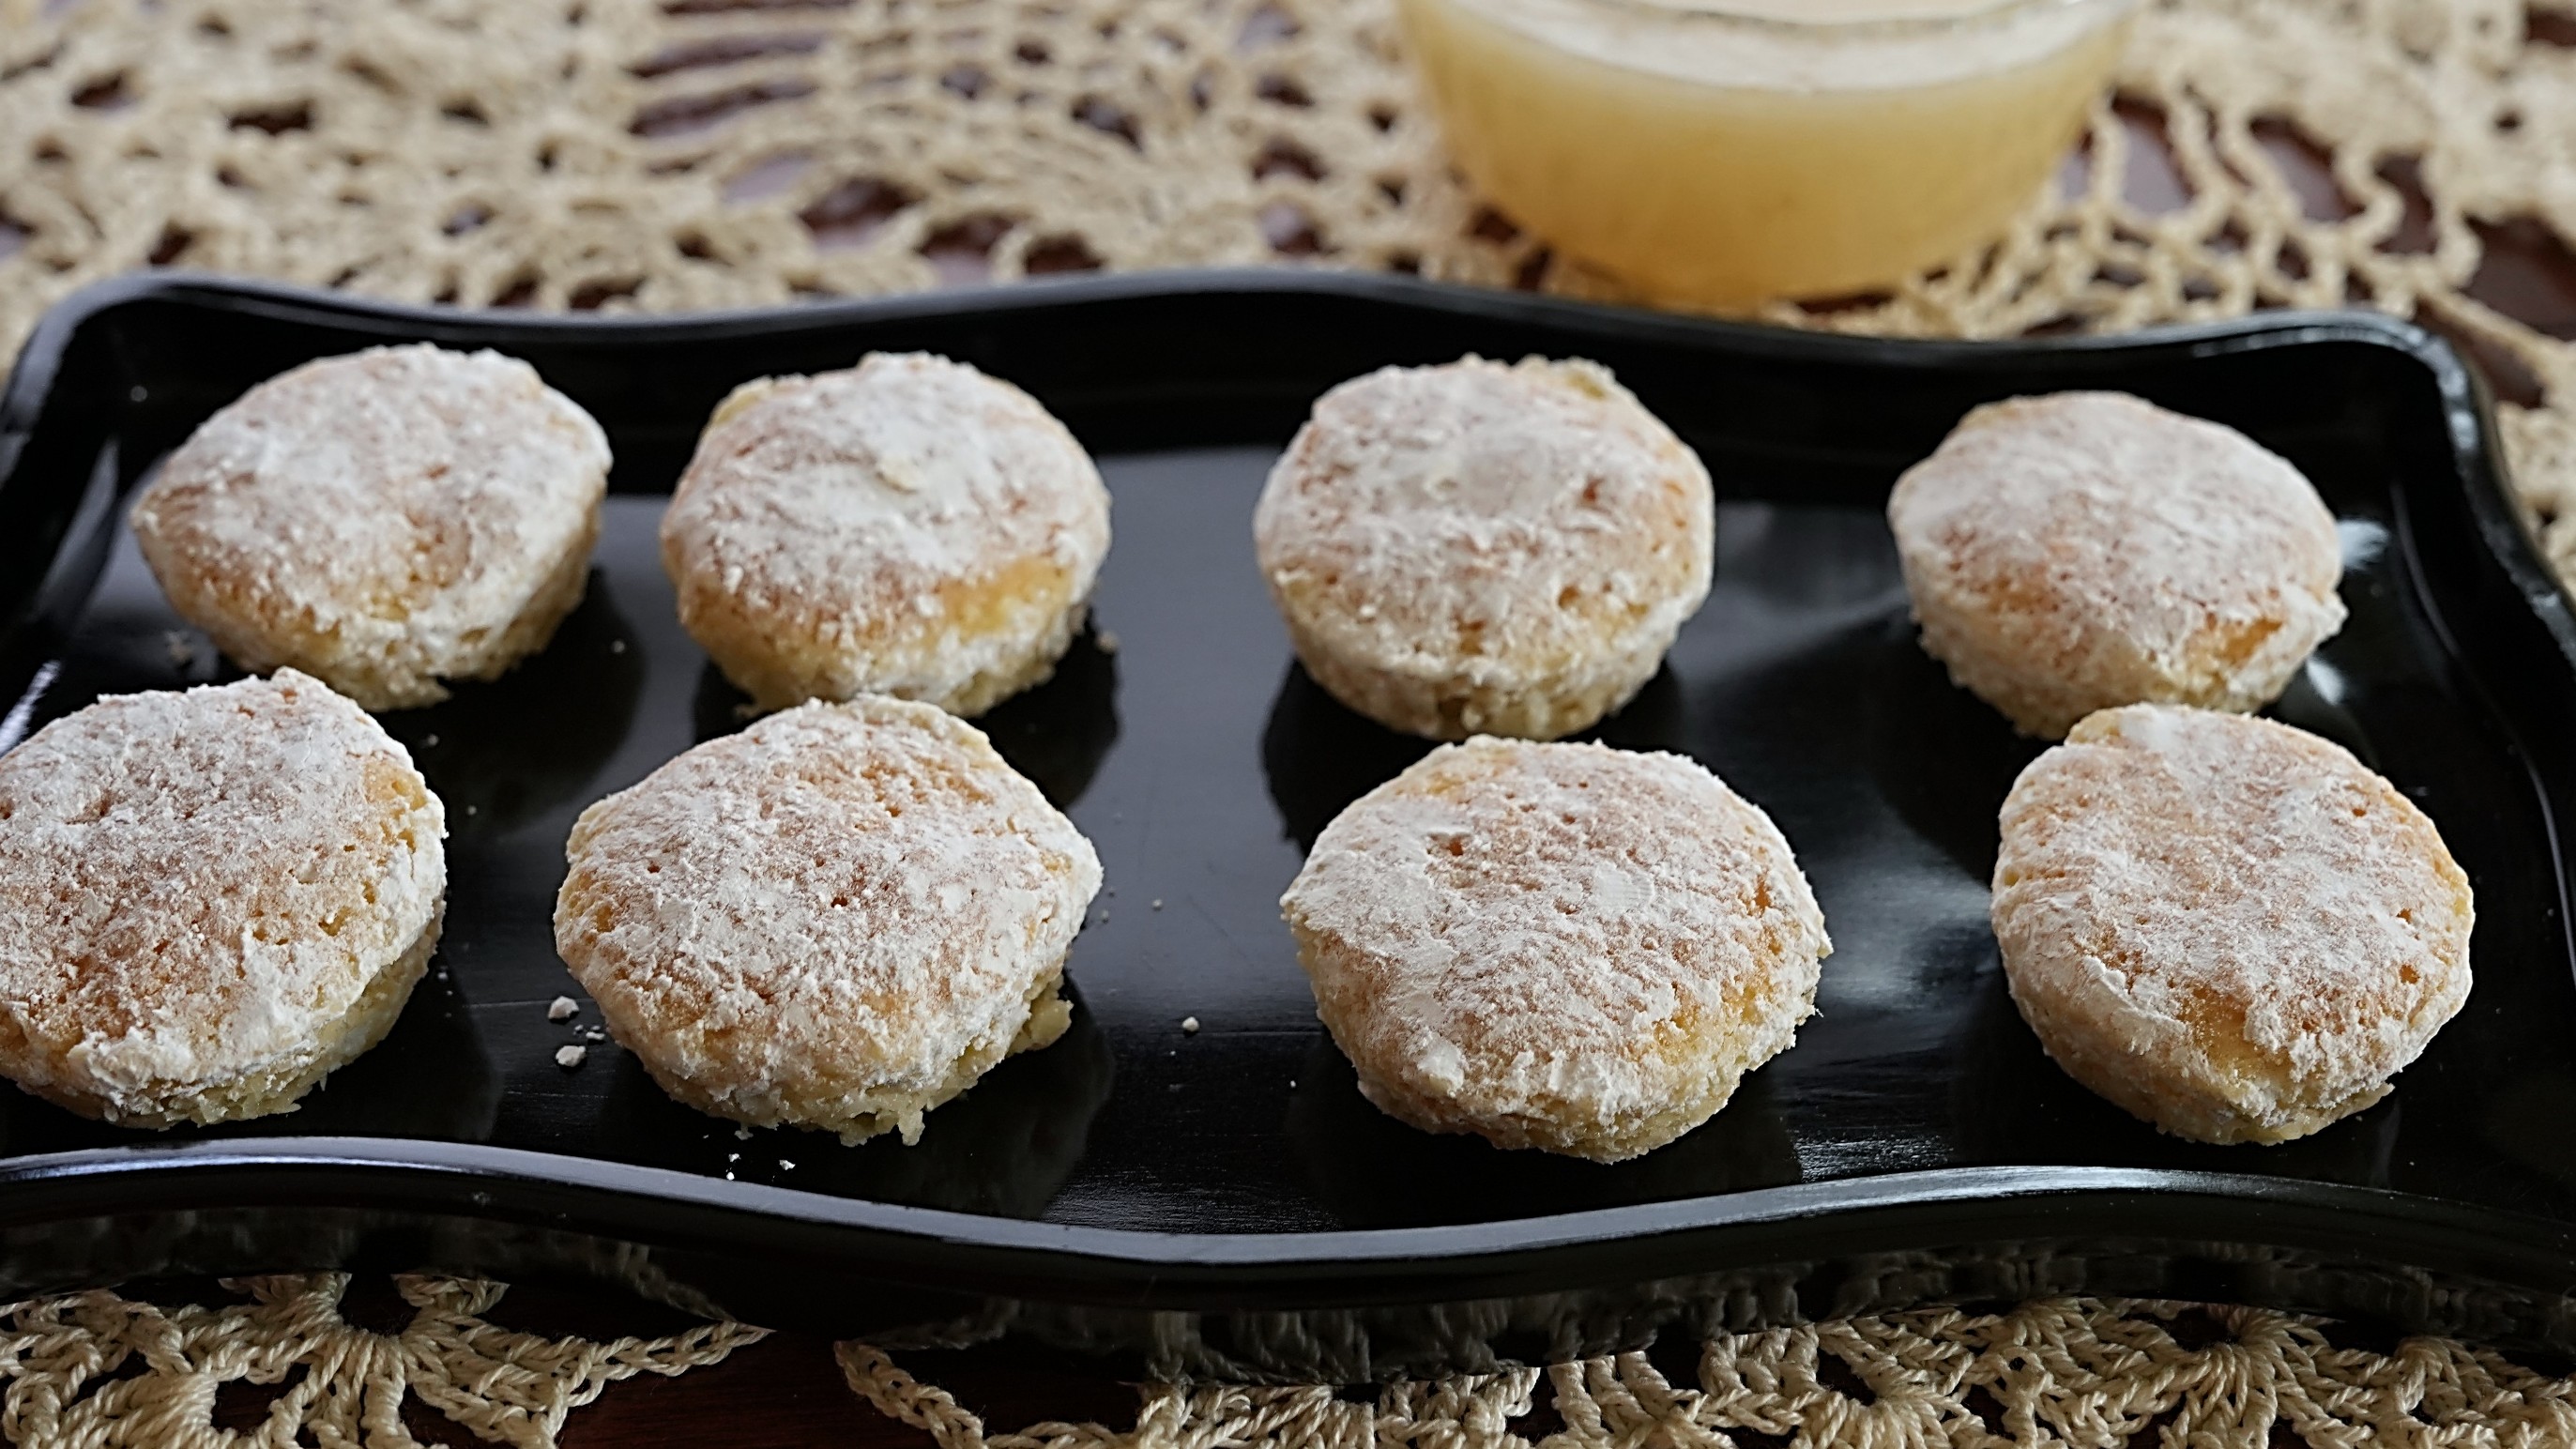
Lemon Snowballs were popular both a hundred years ago and now. They are a lemony dessert that is rolled in powdered sugar. Most modern Lemon Snowballs are a type of cookie that are made by making a dough and then rolling (or scooping) it into balls that are put on a baking sheet. Based on the information in a 1925 cookbook, a hundred years ago Lemon Snowballs were made using a different process. The old recipe called for making a batter, then folding in beaten eggs whites. The mixture is then put into mini-muffin cups that are set in a pan of hot water for baking (similarly to how custards are baked). The old-time Lemon Snowballs are served with a Lemon Sauce.
I decided to give the hundred-year-old recipe a try. The old-time Lemon Snowballs with Lemon Sauce were a delightful very light, lemony, cake-like dessert and the zesty Lemon Sauce was a lovely, flavorful addition.
Here’s the original recipe:
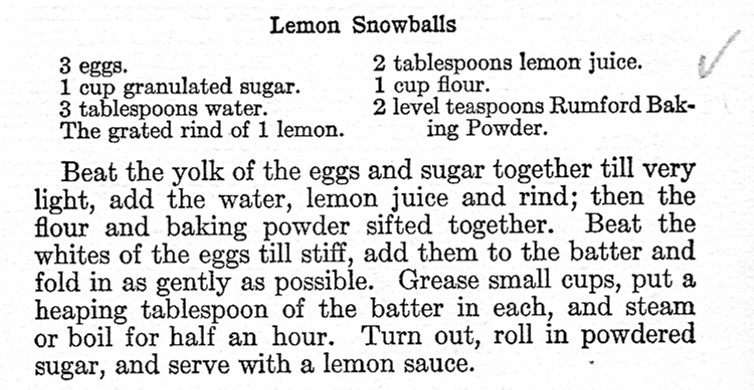
I bought the cookbook that contained this recipe off eBay. The Lemon Snowballs recipe appears to be recommended by a previous owner of the cookbook. There is a checkmark made with a pencil on the righthand side of this recipe.
This recipe makes about 48 small Snowballs. I didn’t have enough mini-muffin tins to make that many, so I put some of the batter in regular muffin tins – which worked fine, though those Snowballs were much larger.
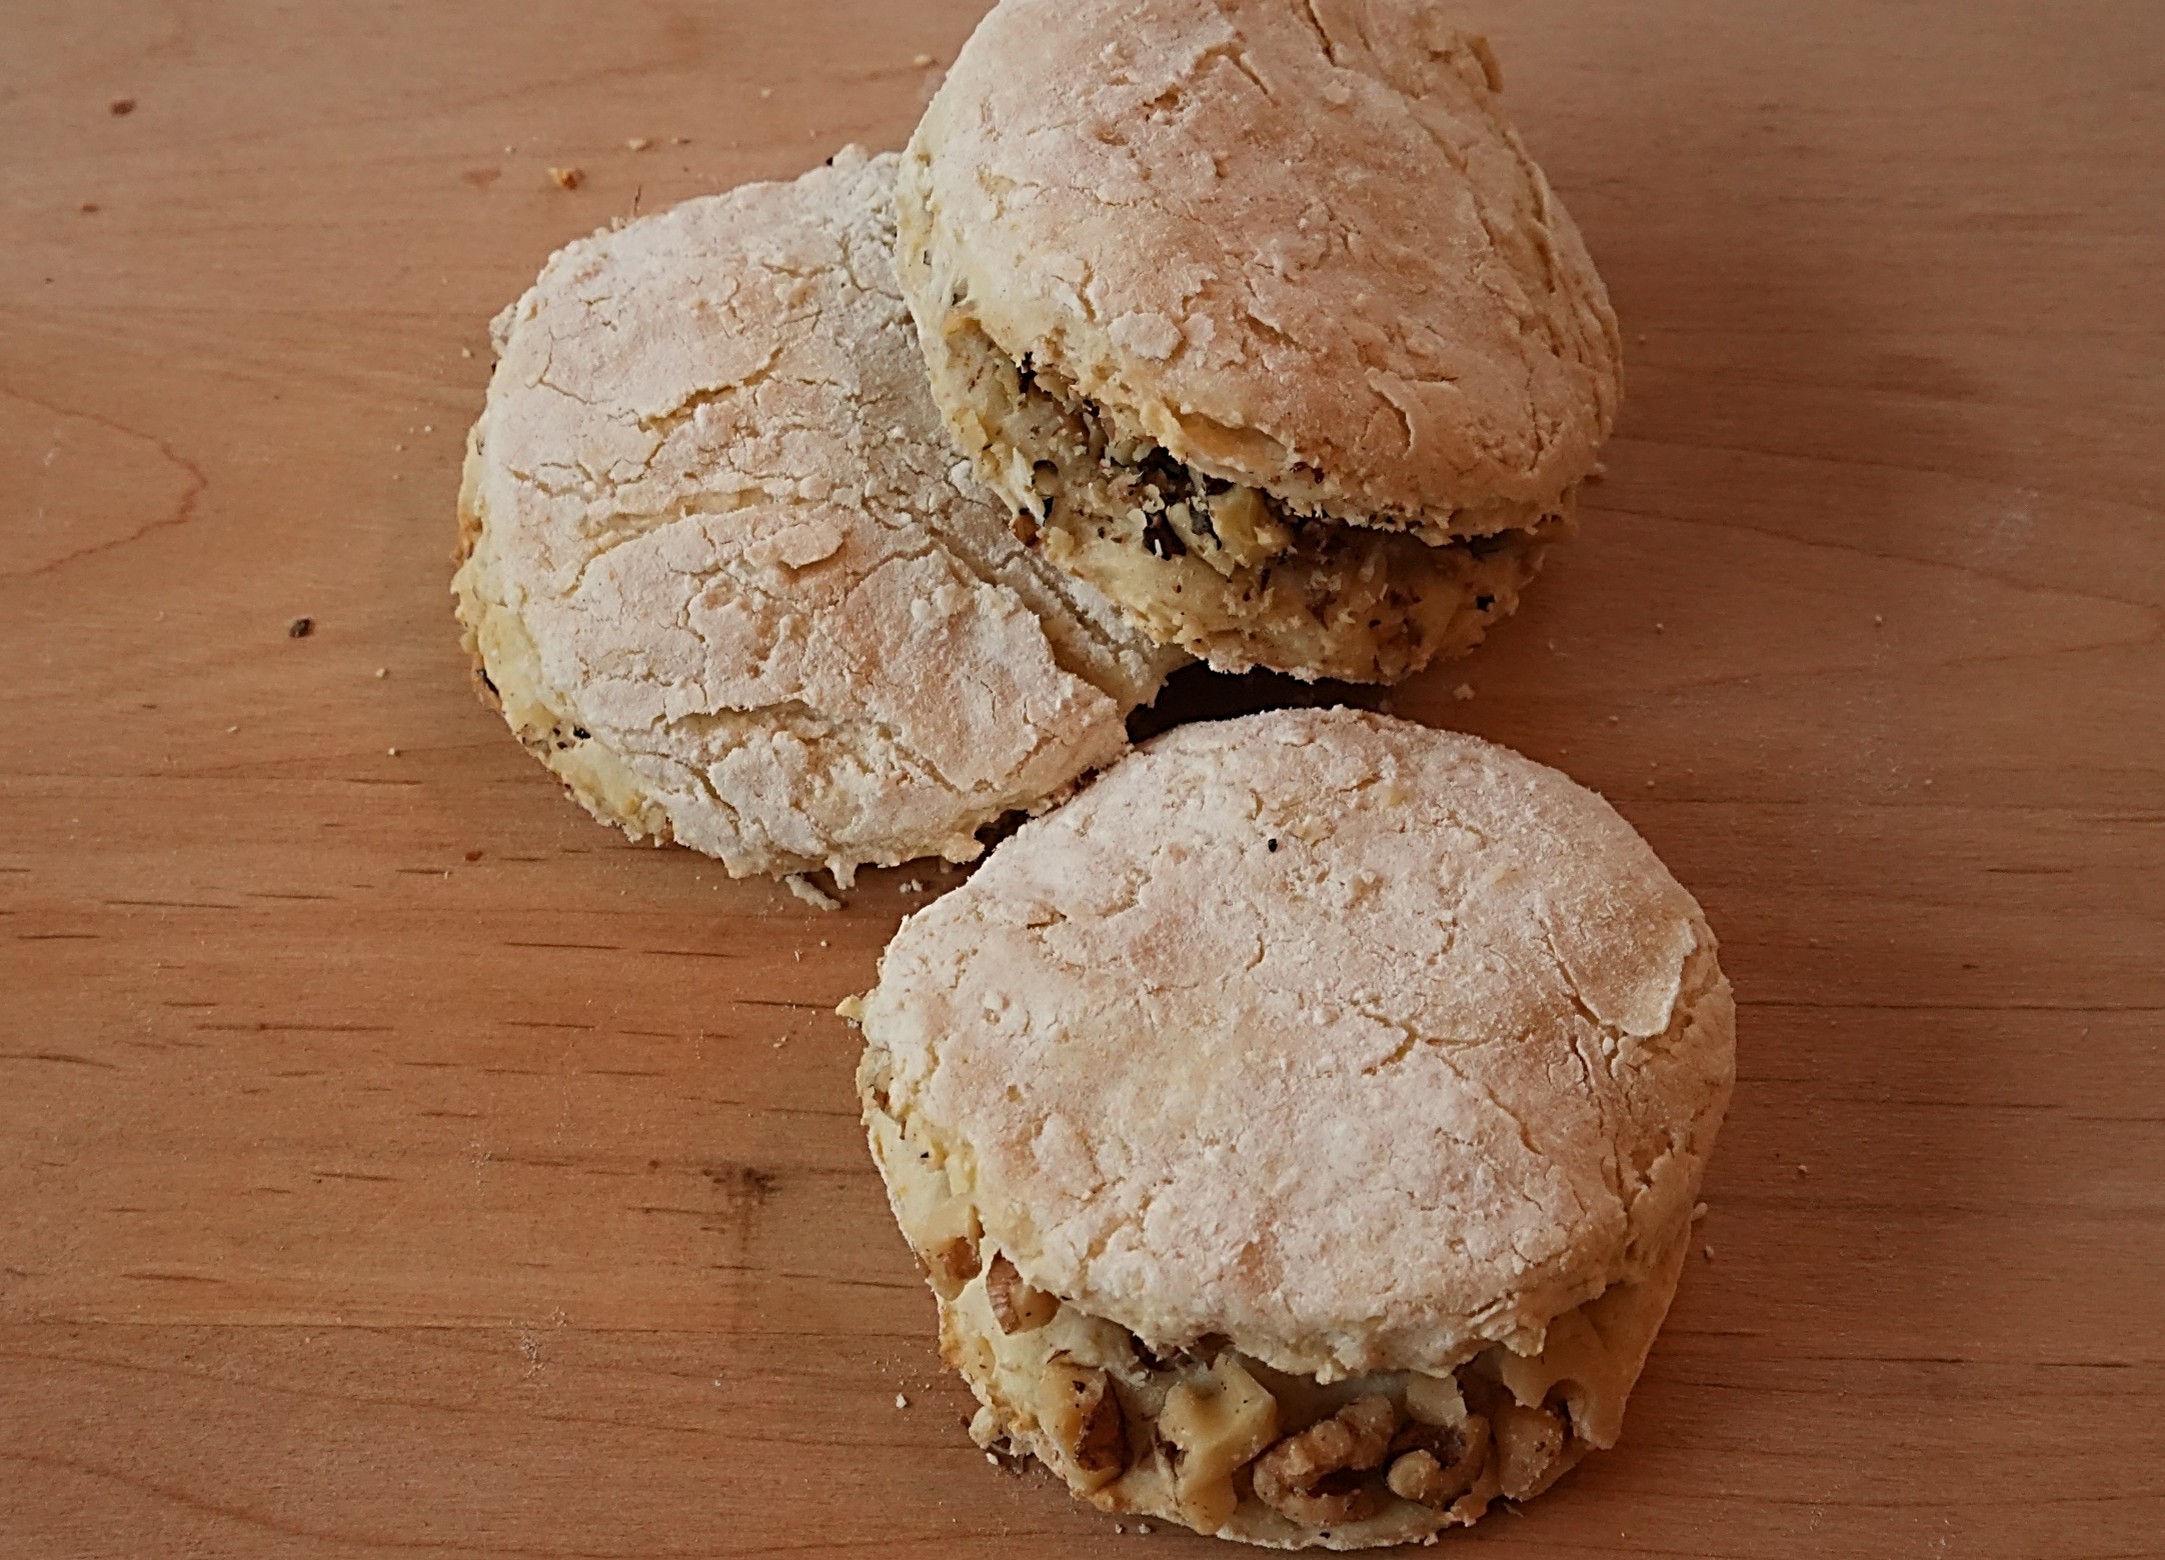
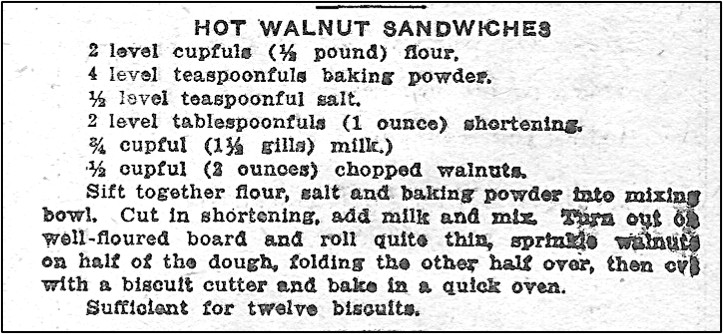
Even though the recipe calls for serving with a Lemon Sauce, there was no Lemon Sauce recipe in the Rumford Cookbook. Maybe the Rumford Cookbook author assumed that the recipe for Lemon Sauce was so basic that there was no need to include it in the book. I found a Lemon Sauce recipe in an old home economics textbook:

Here’s the recipe updated for modern cooks:
Lemon Snowballs with Lemon Sauce
3 eggs, separated
1 cup sugar
3 tablespoons water
2 tablespoons lemon juice
grated rind of 1 lemon
1 cup flour
2 teaspoons baking powder
powdered sugar
Preheat oven to 350° F. Put egg whites in a mixing bowl and beat until firm peaks form. Set aside.
Put egg yolks and sugar in another mixing bowl; beat until thoroughly mixed. Add water, lemon juice, and grated lemon rind; beat to combine. Add flour and baking powder and continue beating until thoroughly mixed, then gently fold in the beaten egg whites.
Grease mini-muffin cups, then put a heaping tablespoon of batter in each. Place the muffin tin in a pan that contains hot water that is about 1-inch deep. Place the pan (with the muffin tins) in the oven. Bake about 30 minutes or until a pick inserted in center of the Snowballs comes out clean. Remove the muffin tin from pan with the water and let cool slightly for a few minutes, then remove the Snowballs from the muffin cups. Roll the warm Snowballs in powdered sugar. If desired, serve with Lemon Sauce (see recipe below). May be served warm or cold.
Lemon Sauce
3/4 cup sugar
2 tablespoons flour
2 cups boiling water
1 lemon (juice and grated rind)
1 tablespoon butter
In a saucepan, mix the sugar and flour thoroughly, then slowly add the boiling water while stirring constantly. Bring to a boil using medium heat, then reduce heat and simmer for 10 minutes. Remove from the heat and stir in the lemon juice, grated lemon rind, and butter; continue stirring until the butter is melted.


 My husband recently said to me, “You don’t make hard boiled eggs right. The Wall Street Journal says that there are 16 steps involved in making good hard boiled eggs.”


