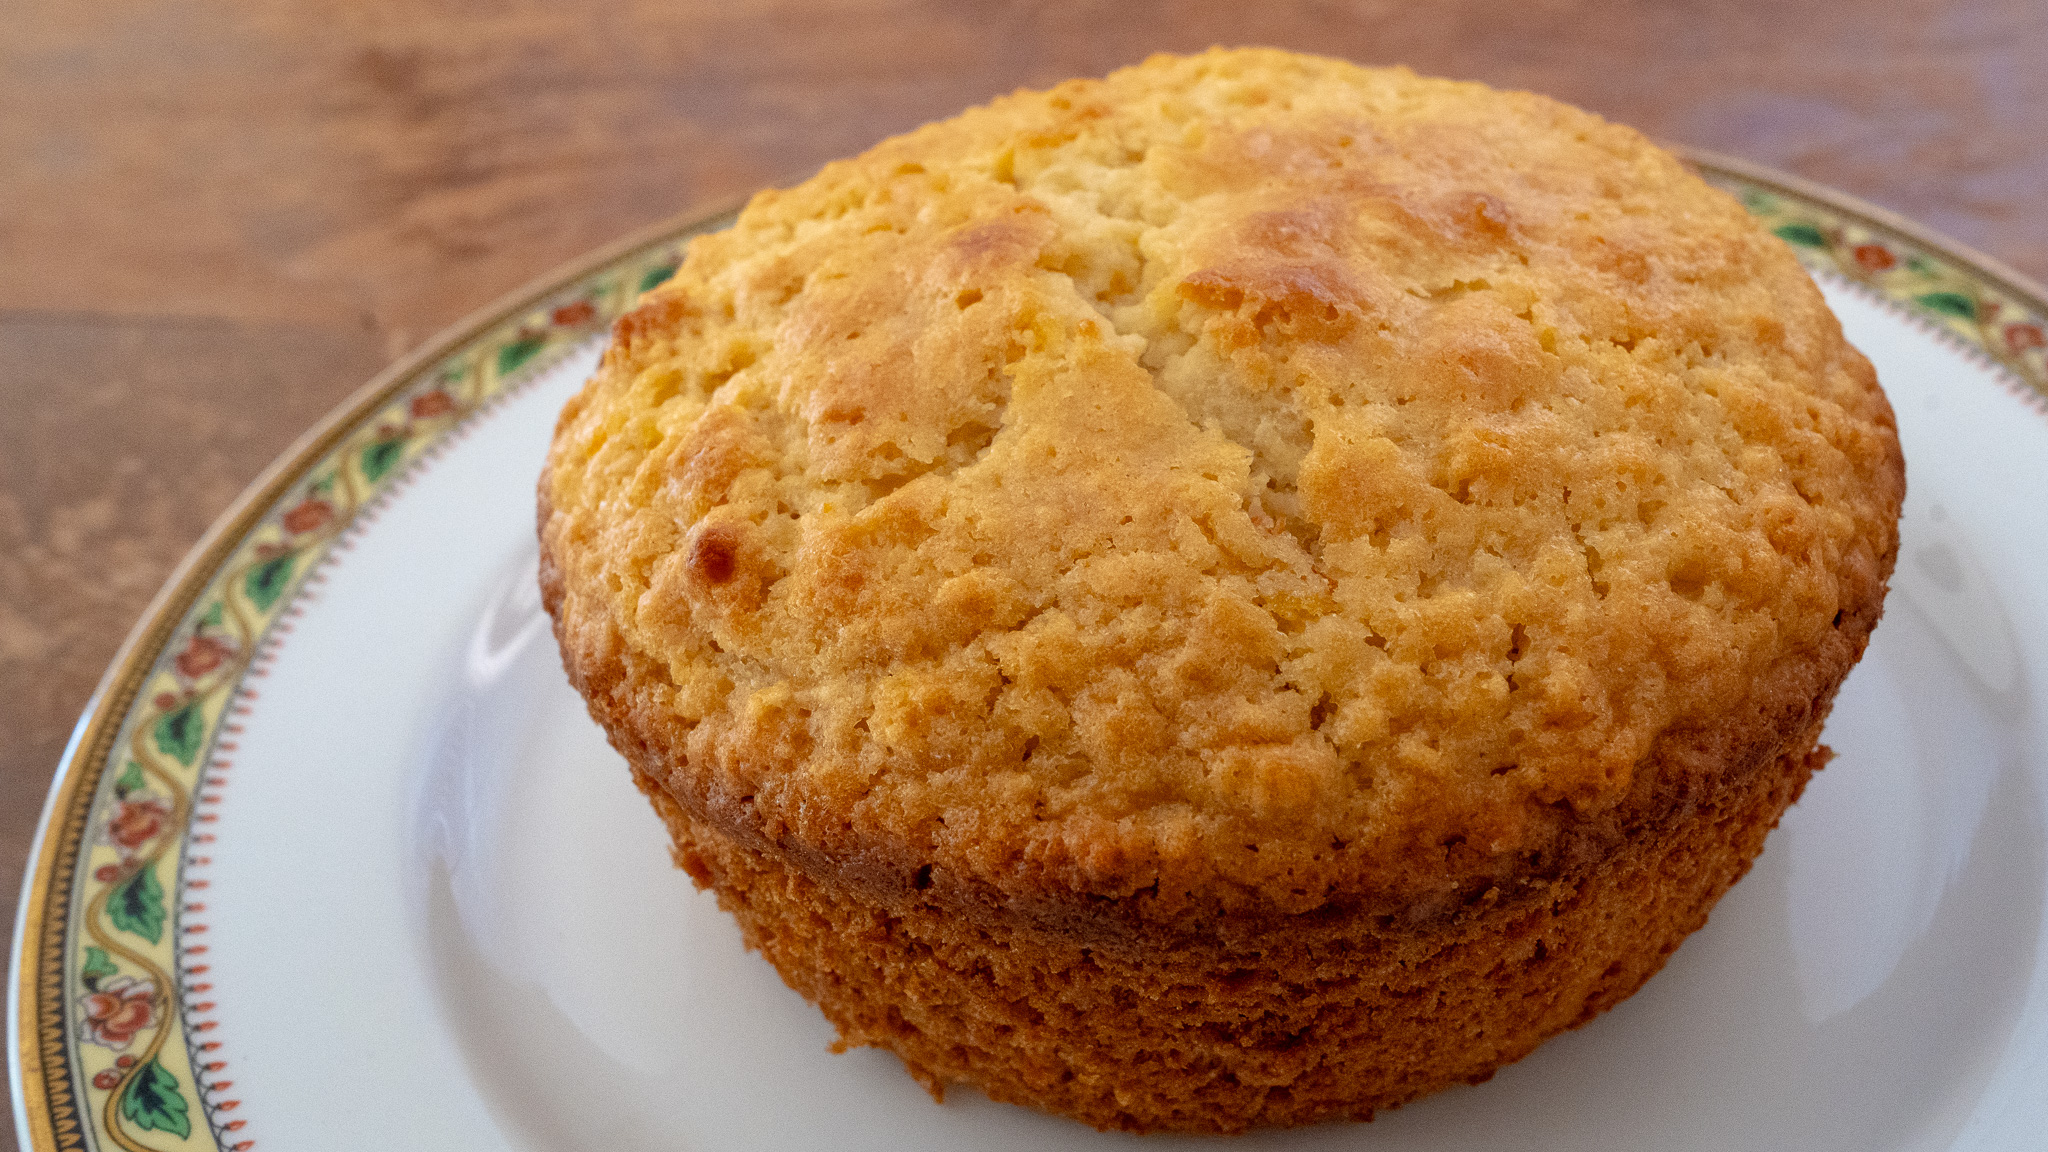
Old-fashioned, thick and fluffy Potato Griddle Scones are perfect for cozy winter breakfasts. I recently found a delightful hundred-year-old recipe for them that puts me in the mindset of cooks back then.
Cooks a hundred years ago cooked almost every day, and wanted quick and easy recipes that used inexpensive ingredients while satisfying a hungry family. Potato Griddle Scones fit the bill for those frugal cooks. The recipe calls for mashed potatoes, and are a perfect way to use left-over mashed potatoes. The mashed potatoes are mixed with flour, milk and a few other basic ingredients, and the scones take just a few minutes to make.
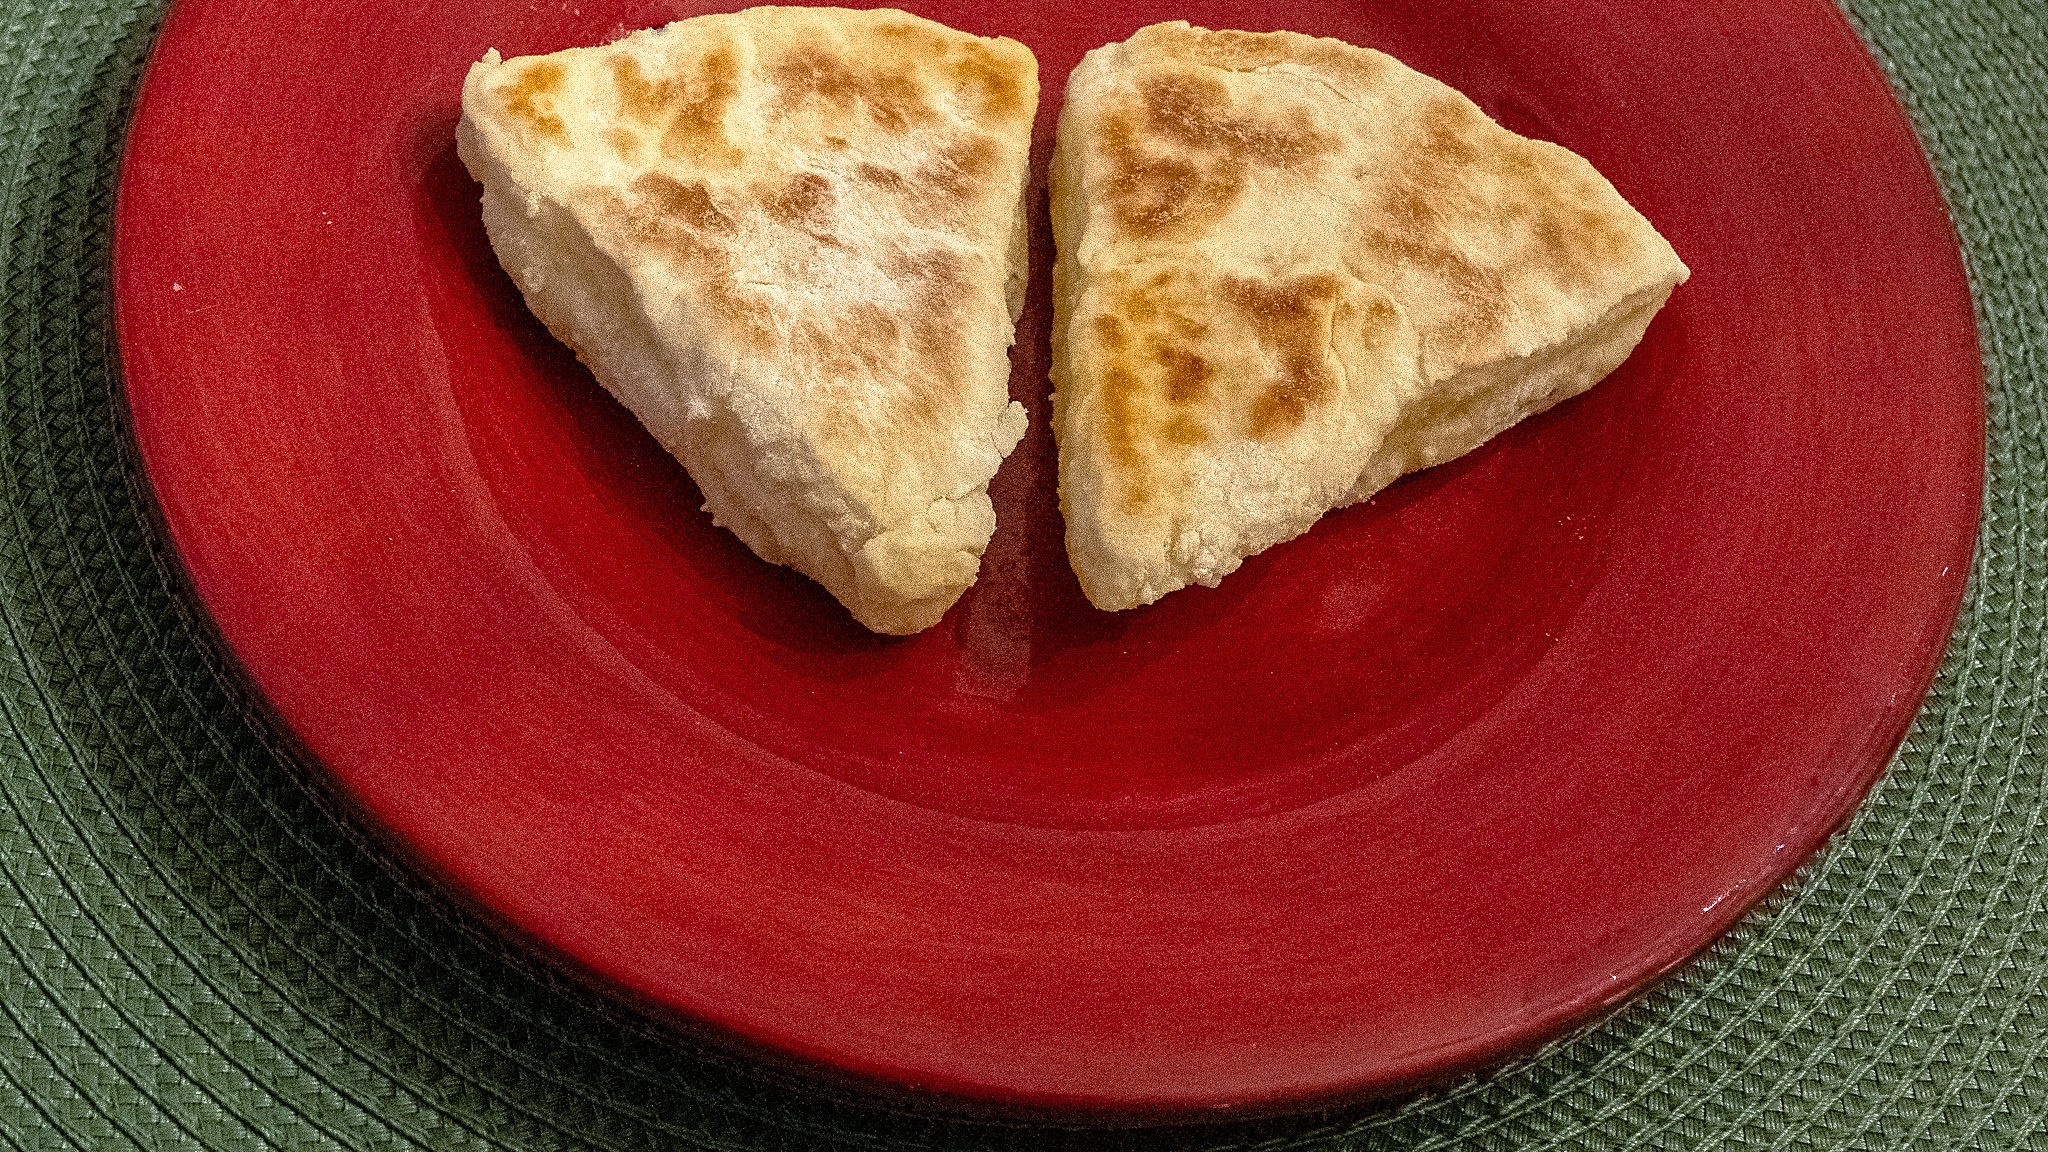
The old recipe called for rolling the dough into a circle that is 3/4 inch thick, cutting into triangles, and then cooking on a griddle or in a skillet. This results in lovely, thick scones. They are thicker than many modern Potato Griddle Scones. I can picture cooks a hundred years ago making these scones in a cast iron skillet with a large family clamoring in the background for breakfast. Satisfying amounts of the scones could have been quickly made and ready to eat, as compared to the slower process of cooking just a few thin pancakes at a time on a griddle or skillet with limited space on the top.
Warm Potato Griddle Scones are lovely with a little jam or butter smeared on them. They also make a nice lunch or dinner quick bread.
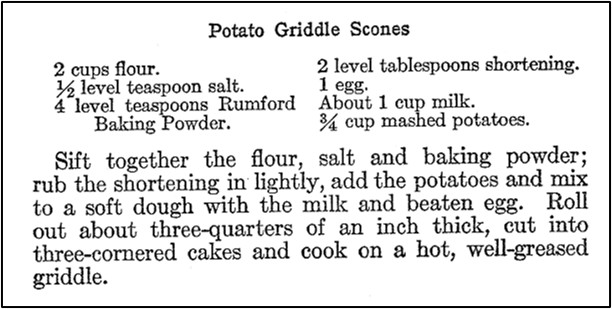
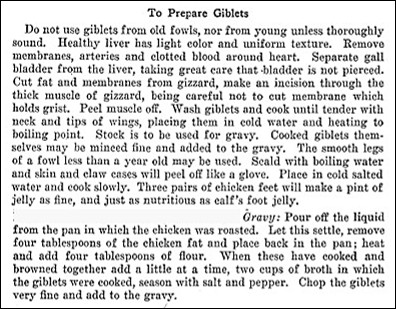
Here is the original recipe:
Here’s the recipe updated for modern cooks:
Potato Griddle Scones
3/4 cup mashed potatoes
2 cups flour
1/2 teaspoon salt
4 teaspoons baking powder
2 tablespoons shortening or butter (softened) (I used butter.)
1 egg, lightly beaten
approximately 1 cup milk
Step 1. If the mashed potatoes are refrigerated and cold, warm them slightly to soften them. (I put them in the microwave for a few seconds.) Set aside.
Step 2. Combine the flour, salt, and baking powder in a mixing bowl. Add the butter, mashed potatoes, and egg, then stir to combine. Add about 2/3 cup milk and stir to mix. If the dough is too thick, add additional milk to create a dough that is a nice consistency to roll. (If the mashed potatoes contained milk, probably less than 1 cup of milk will need to be added.)
Step 3. Divide the dough in half. Roll half of the dough on a prepared surface into a circle that this approximately 3/4 inch thick, then cut into sixths to create triangles. Roll other half of dough, and cut into triangles.
Step 4. Grease griddle or a large skillet, then heat using medium-high heat. When hot, put the triangles of dough on the griddle or skillet. Cook until lightly browned (about 3-4 minutes), then flip and cook on the other side.


 Here is the recipe updated for modern cooks: