 Summer is the perfect time to make chilled desserts, so I was pleased to find a hundred-year-old recipe for Chocolate Mint Blancmange.
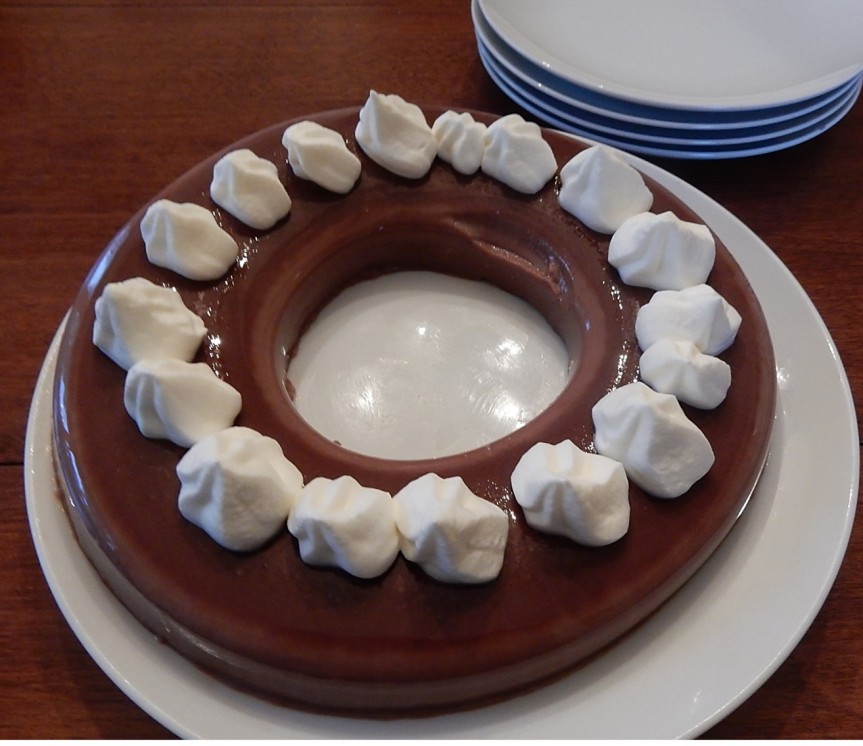
Chocolate Mint Blancmange is smooth and chocolaty with the essence of mint. It is made with milk and thickened with gelatin, and topped with whipped cream.
This molded dessert seemed old-fashioned, but the taste and texture reminded me of some of the small individual- serving chocolate desserts that I’ve had at restaurants or hotels. I think that Chocolate Mint Blancmange would seem much more trendy and modern if put into individual serving cups.
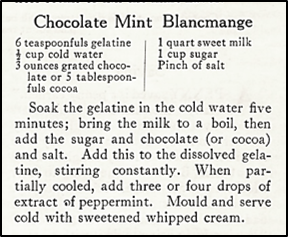
Here’s the original recipe:
Here’s the recipe updated for modern cooks:
Chocolate Mint Blancmange
3 packets (0.25 ounce) of unflavored gelatin
1/2 cup cold water
3 ounces grated chocolate or 5 tablespoons cocoa (I used cocoa.)
1 quart (4 cups) milk
1 cup sugar
dash of salt
3 or 4 drops of peppermint extract
whipped cream
Place the cold water in a small bowl; then sprinkle the gelatin over the water. Let the gelatin absorb the water and soften for a few minutes.
In the meantime put the milk in a large saucepan and bring to a boil using medium heat; stir constantly. Stir in sugar, chocolate (or cocoa), and salt. Add the softened gelatin while continuing to stir constantly. Once the gelatin has dissolved, remove from heat. Strain and let partially cool for a few minutes, then add the peppermint extract and stir. Put into a 5 or 6 cup mold (or put into individual serving dishes or cups). Chill until firm (at least 4 hours).
To serve (if molded): Quickly dip the mold in hot water, then unmold onto serving plate.
Serve with whipped cream.


 I often see sandwich recipes in hundred-year-old cookbooks. They often contain different ingredients from modern sandwiches, and don’t pique my interest. But. I was intrigued by a recipe for Cucumber Sandwiches. There’s a bumper crop of cucumbers this year, so decided to give the recipe a try. The sandwiches contain lettuce and cucumber slices coated with a sweet-sour Boiled Dressing.
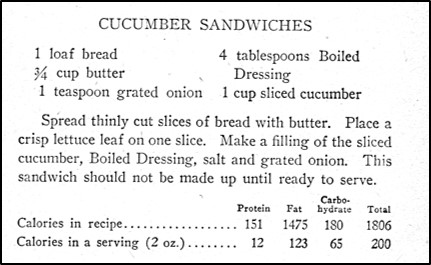

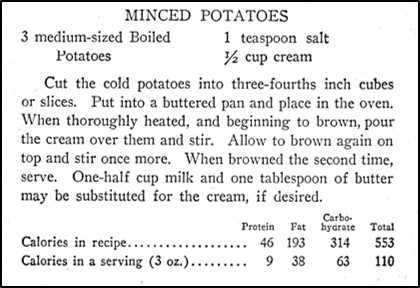
 Occasionally I make a hundred-year-old recipe that is lovely – but that seems to be misnamed. This is one of those times. The name of the recipe is Minced Potatoes – yet recipe directions call for either cutting the potatoes into 3/4th inch chunks or slicing them — I sliced them — which resulted in pieces which seemed much larger than what I’d expect for Minced Potatoes.