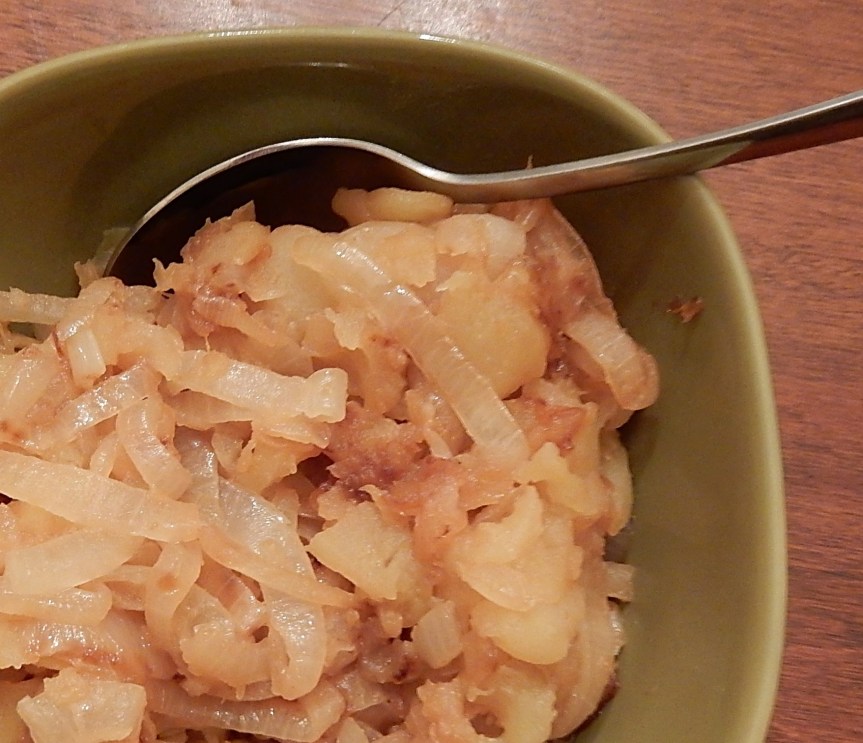
A hundred years ago there was a limited selection of fruits and vegetables during the winter months. Onions and apples are two foods that store well, and were frequently eaten during the winter – though I had never thought of them as being foods that would be combined in one recipe until I saw a recipe for Fried Onions with Apples in a hundred-year-old cookbook. I couldn’t picture what this recipe would taste like, so decided to give it a try.
The sweet tartness of the apples combined beautifully with the sharpness of the onions to make a tasty side dish. I served the Fried Onions with Apples with roast beef and it nicely complemented the meat.
Here’s the original recipe:
Source: Good Housekeepng’s Book of Menus, Recipes and Household Discoveries (1922)
3 large tart apples, peeled and sliced (I used Braeburn apples.)
2 tablespoons bacon fat or other fat (The old recipe called for meat drippings.)
1/2 teaspoon salt
1/3 cup water
Heat fat in a skillet, then add the onion slices. Saute using medium heat until the onions begin to turn transparent, then add the apples, salt and water. Cover and cook until the apples are soft (10 – 15 minutes). Remove lid, increase heat to medium high, and fry until the water has evaporated and the onions and apples are a light brown; stir frequently.
January always energizes me. This year I am sharing 1922 recipes. I have a whole new set of hundred-year-old cookbooks and magazines that I’m just beginning to explore, and I look forward to trying recipes that look intriguing and sharing them with you.
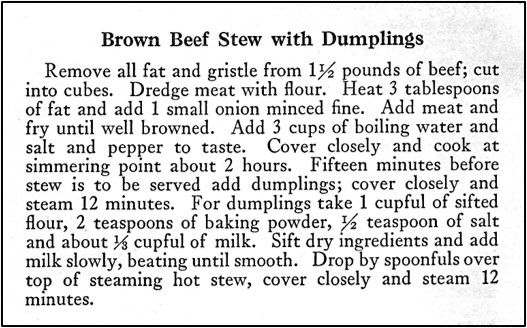
Cold, wintery January days always make me crave comfort foods, so for my second recipe this year, I decided to make Brown Beef Stew with Dumplings. This hundred-year-old recipe made a delightful stew. The stew had a wonderful aroma while it cooked, and was hearty and flavorful with tasty homemade dumplings.
1 1/2 pounds stewing beef, cut into 1/2 inch cubes
1/4 cup flour
3 tablespoons fat (lard, shortening, or cooking oil)
1 small onion, finely chopped (about 1/3 cup)
3 cups water
1/2 teaspoons salt + 1/2 teaspoon salt for dumplings
1/4 teaspoon pepper
1 cup all-purpose flour
2 teaspoons baking powder
approximately 1/3 cup milk
Directions
Put the stew beef in a bowl with the flour. Stir until the beef is coated with the flour.
In the meantime, melt the fat in a skillet or other broad pan that has a lid (I used a 12 inch skillet with a lid). Then put the chopped onions in the skillet and saute until translucent. Add the flour-dredged stewing beef. Increase heat to medium high and saute while stirring until the meet is browned. Then add water, 1/2 teaspoon salt, and pepper. When it begins to boil, reduce the heat, cover, and gently simmer for 1 hour and 45 minutes.
While the stew is simmering make the dumpling dough by putting the flour, baking powder, and 1/2 teaspoon salt in a bowl; stir to mix. Add 1/3 cup milk slowly stirring until a smooth dough forms. (Add additional milk if crumbly and too dry.)
Drop heaping teaspoonfuls of the dumpling dough into the simmering stew; evenly space the dropped dumpling dough across the top of the stew. Cover tightly with lid and steam for 12 minutes. Remove lid and remove from heat, serve.
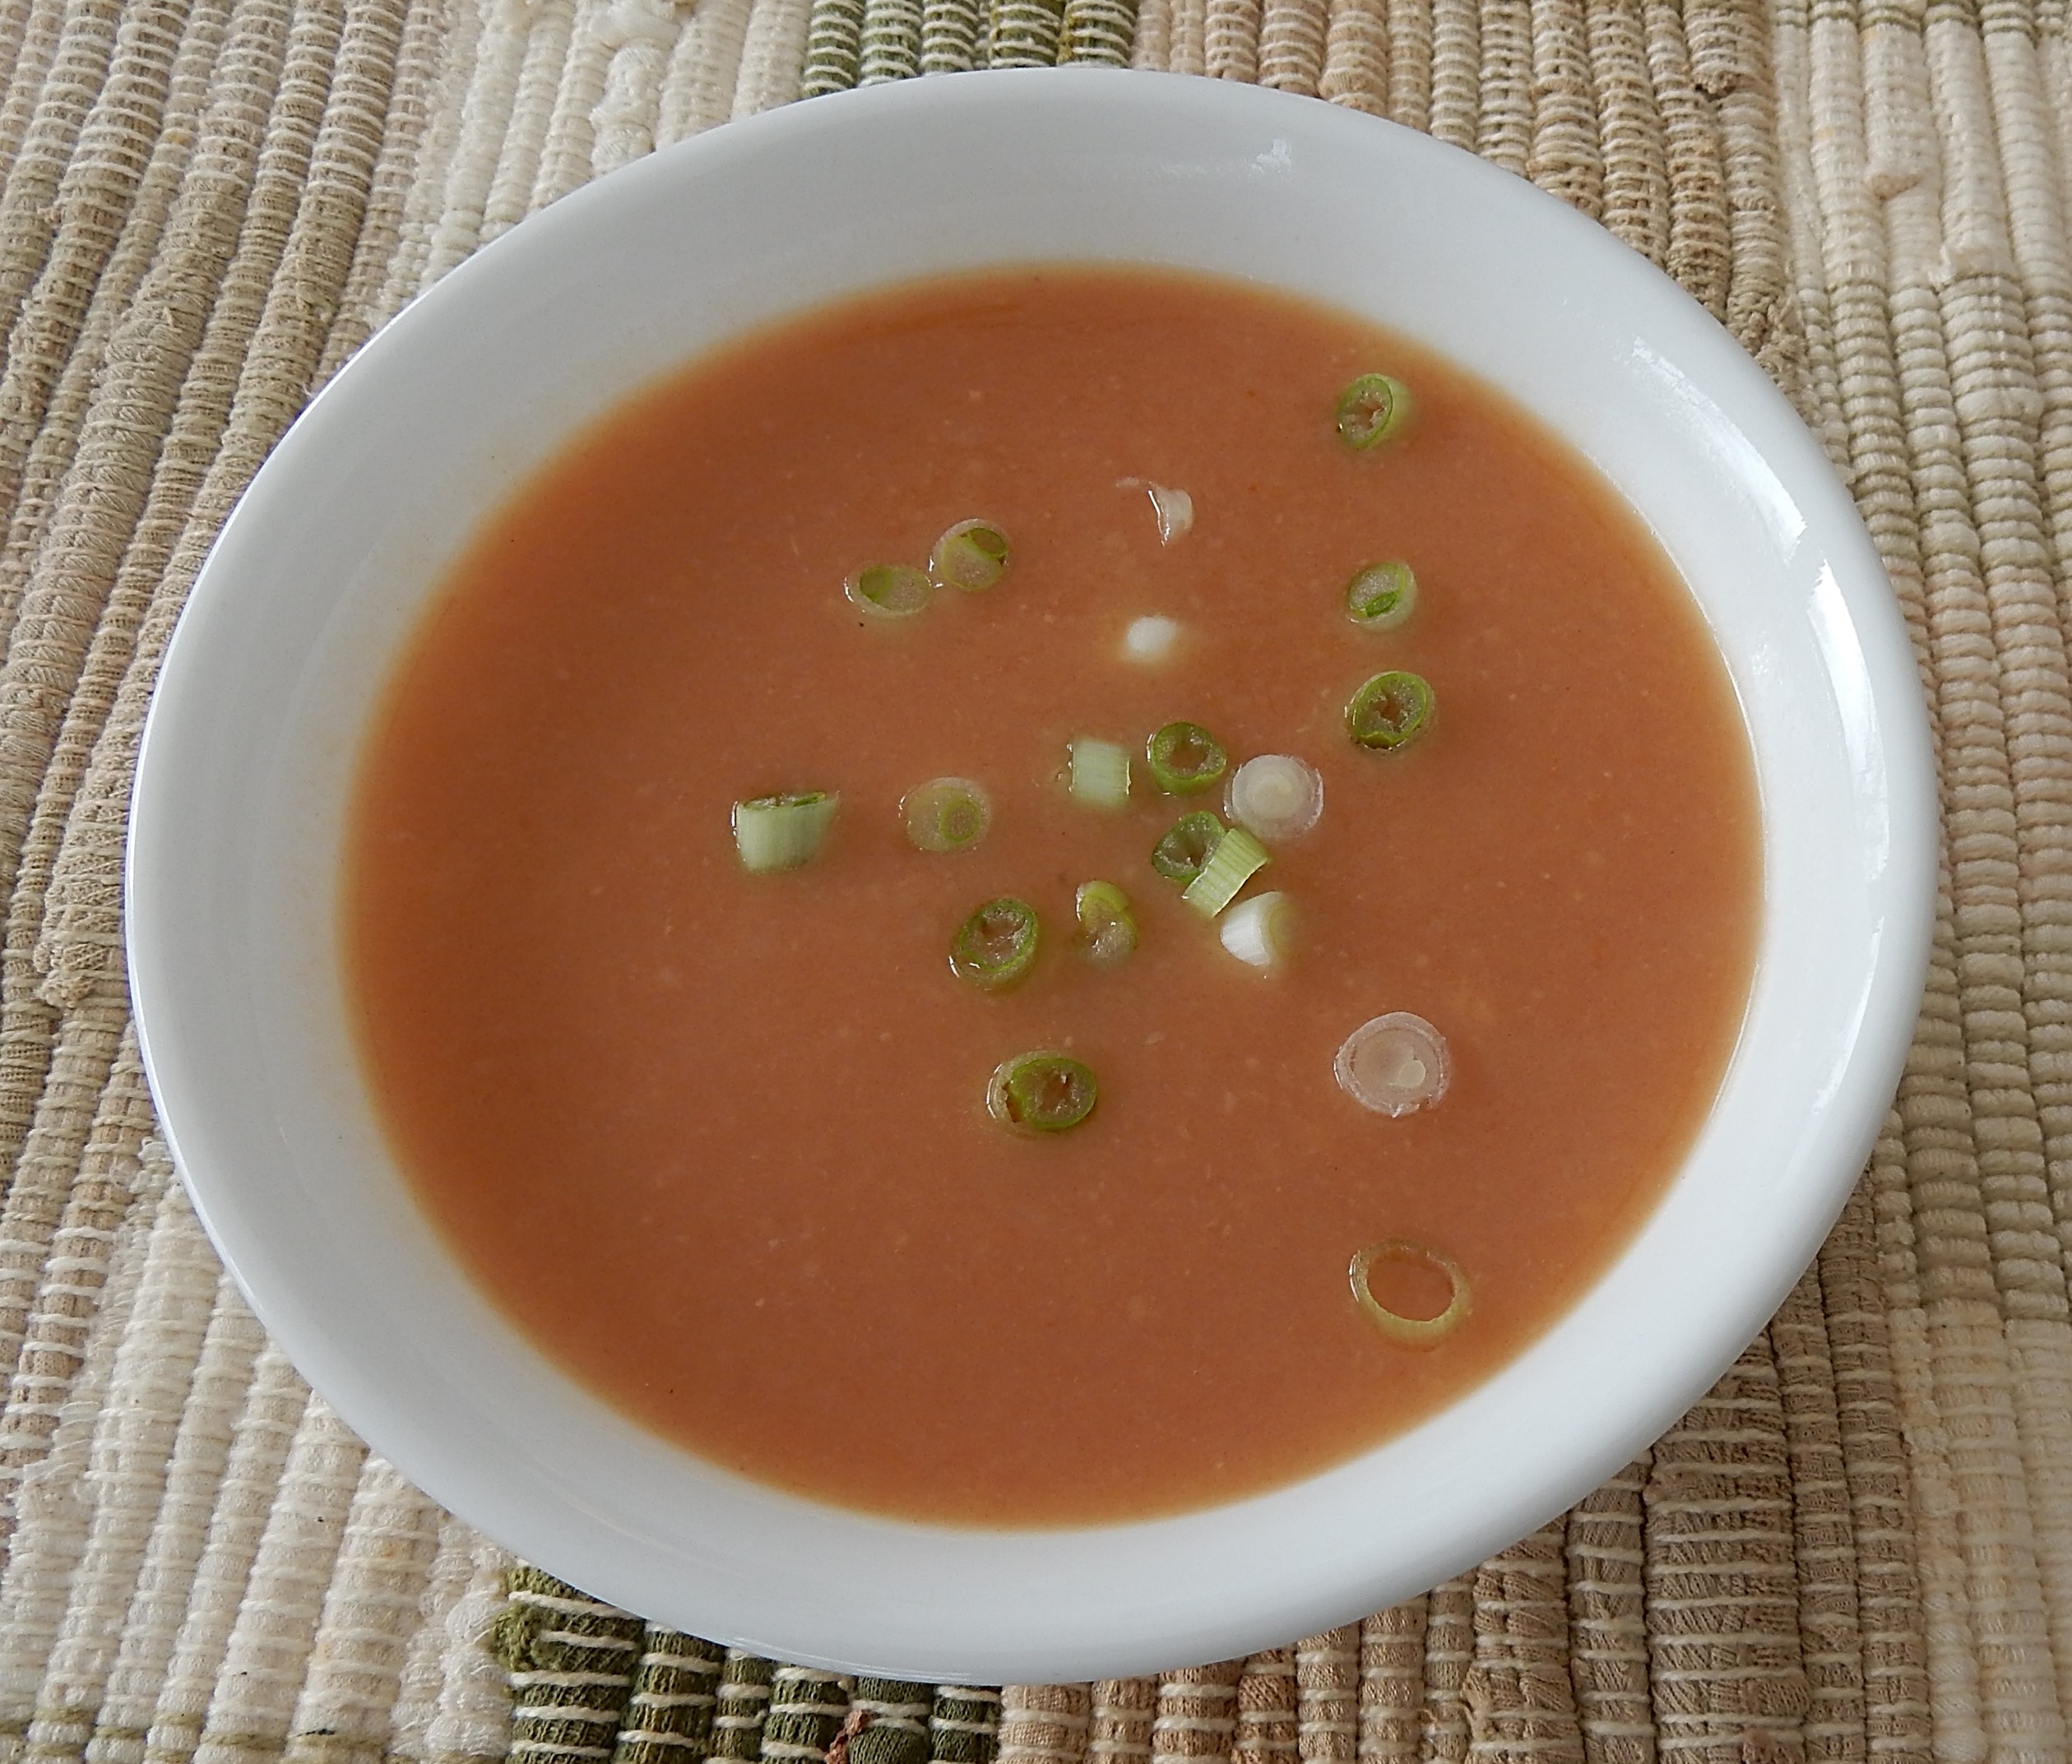
I was looking for a soup recipe to make on a cold winter day, and saw a recipe for Poorhouse Soup in a hundred-year-old church cookbook, and was immediately intrigued.
The soup is a pureed white been soup with potatoes, onions, and tomato juice. A little cayenne (red) pepper is added to give it more flavor. The soup was nice, though even with the cayenne pepper I found it a bit bland. If I made it again, I’d probably experiment a bit with the spices.
A hundred years ago many communities had publicly-funded poorhouses where the financially challenged could live. The food in the poorhouses was notoriously bad, and the residents often had to work on the poorhouse farm. This was seen as a way of encouraging people to not stay for long. Was this recipe actually based on what they fed residents at the local poorhouse? . . . or was the recipe name an inside family joke? It was an inexpensive soup to make and contains no meat, so maybe the cook’s family felt slightly annoyed that they were eating such a “cheap” food and joked about it being Poorhouse Soup.
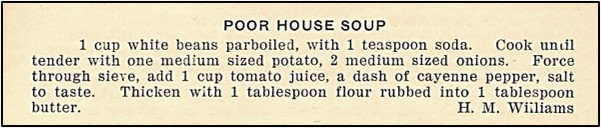
Here’s the original recipe:
Source: Cement City Cook Book (1922), compiled by S.W.W. Class of the Baptist Sunday School, Alpena, Michigan
Since “poorhouse{ is one word in online dictionaries, .I spelled “poorhouse” as one word when I updated the recipe even though it was two words in the original recipe. I’m not sure whether the way poorhouse is written has changed over the past hundred years or if the recipe author didn’t know how it should be written.
This recipe is lacking a few key details – such as how much water to add to the beans, both for soaking and for cooking. Based on the directions on the package of dried beans, I decided to soak the beans in 5 cups of waters of water overnight. I then drained the beans, and used 3 cups of water when I cooked them. This seemed like an appropriate amount of water, and the soup had a nice consistency.
I know that recipe is for Poorhouse Soup – and that it is supposed to be a very basic, economical food, but I just couldn’t help myself, and garnished the soup with a few thin slices of green onion. It made a plain soup look special.
The soup wasn’t as flavorful as many modern soups (maybe I didn’t add enough cayenne pepper), but I think that it now would be considered a healthy food option rather than something for the poor (though it still is very economical to make).
1 cup white beans (great northern, navy, cannellini, or other white beans) – I used great northern beans.
5 cups water for soaking
3 cups water for cooking
1 teaspoon baking soda
1 medium potato, peeled and cut into 1/2 inch cubes
2 medium onions, chopped
1 cup tomato juice
1 teaspoon salt
1/2 teaspoon cayenne (red) pepper
1 tablespoon flour
1 tablespoon butter, softened
sliced green onions or other garnish (optional)
Put beans and 5 cups water in a bowl, and soak overnight, then drain.
Put the soaked beans, 3 cups of water, baking soda, potatoes, and onions in a large saucepan, and bring to a boil using high heat; then reduce and simmer for 1 1/2 hours or until the beans are tender.
Remove from heat, cool slightly, and then puree using a blender or food processor (or press it through a sieve). Return to saucepan, stir in the tomato juice, salt, and cayenne pepper; reheat until hot and steamy.
In the meantime, put the flour and butter in a small bowl; stir to combine. Put a small amount of the hot soup in the bowl and stir until smooth. Then stir the mixture into the soup. Continue heating until the soup thickens slightly.
If desired, garnish the soup with sliced green onions or other garnish.
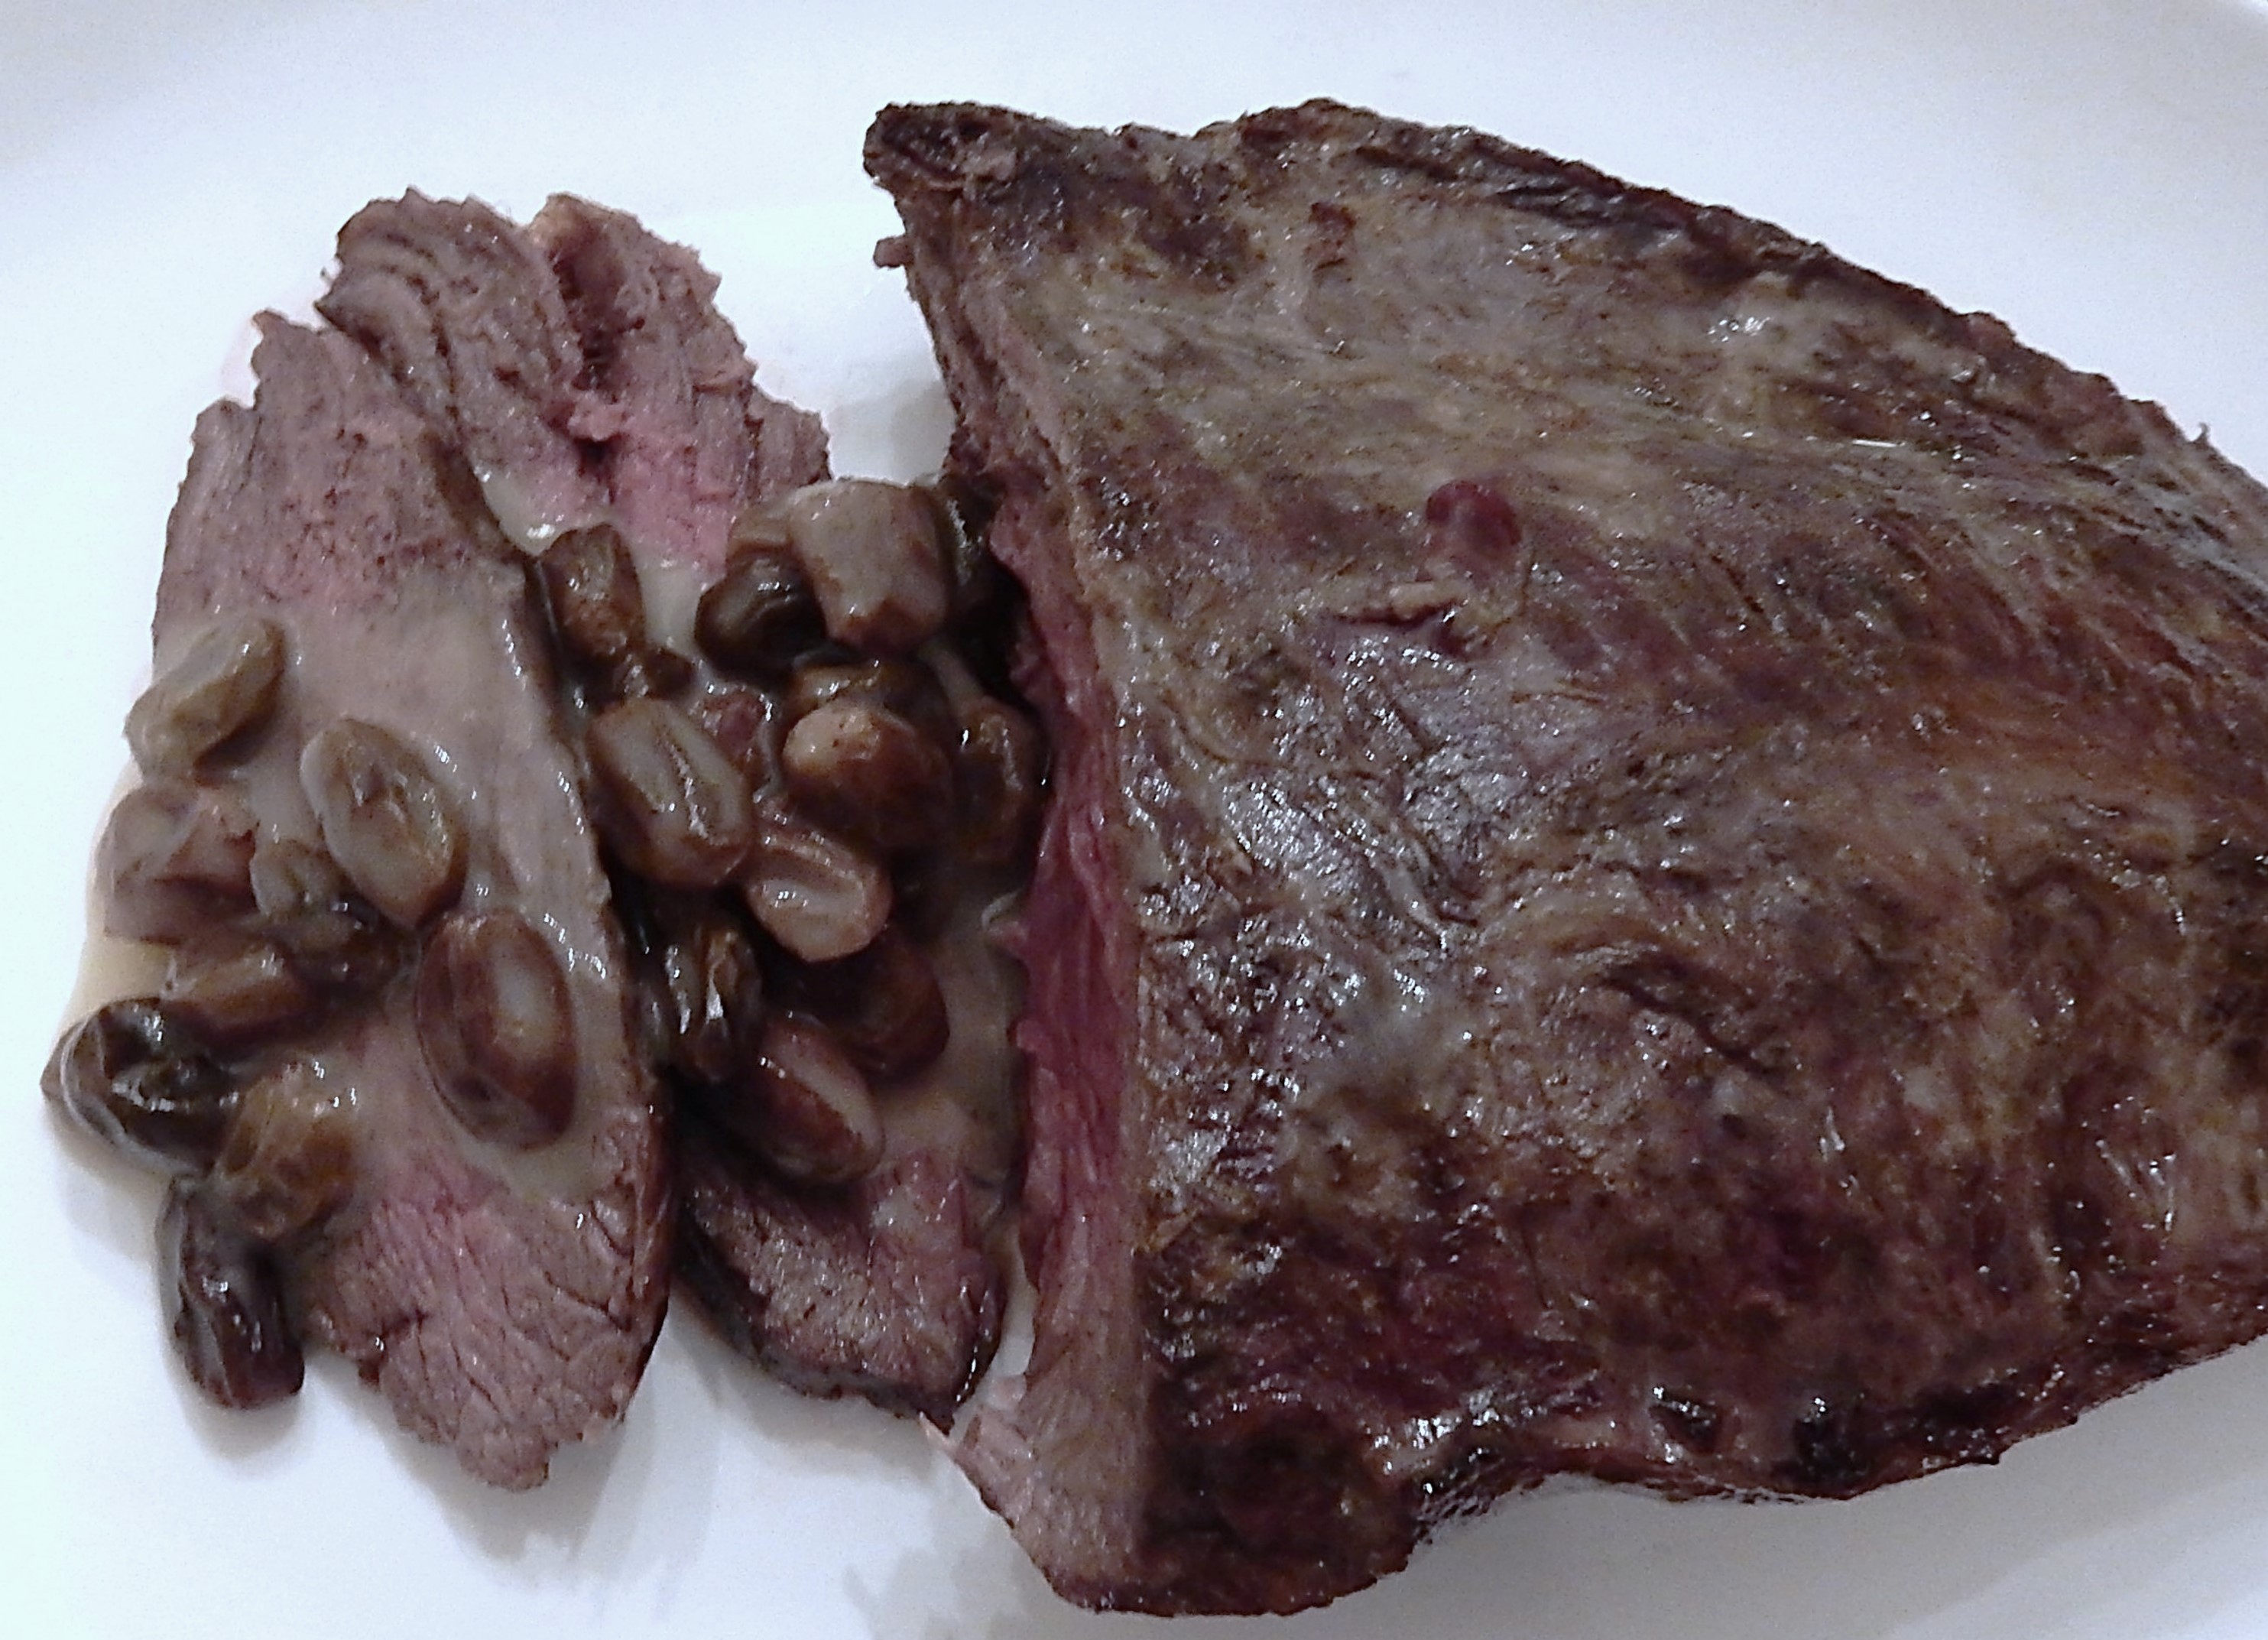
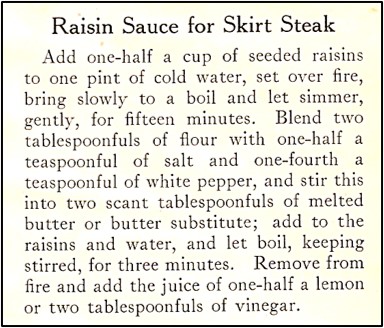
The local meat market recently had some lovely, very reasonable priced, skirt steaks for sale. I almost never buy this flavorful, juicy cut, but remembered seeing a recipe in a hundred-year-old magazine for skirt steak with a Raisin Sauce, so decided to give it a try, and was glad that I had. The skirt steak was lovely, and the sweet and sour Raisin Sauce was nicely balanced and enhanced the steak
2 cups water (use less if the raisins are very moist)
2 tablespoons flour
1/2 teaspoon salt
1/4 teaspoon white pepper
2 tablespoons melted butter or margarine (I used butter.)
juice of 1/2 lemon r 2 tablespoons vinegar (I used the lemon juice.)
Grill, broil, or sear skirt steak. See Simply Recipes for more information about how to prepare a skirt steak.
In the meantime, make the Raisin Sauce (or prepare the sauce ahead of time, and reheat to serve.)
Put the raisins and water in a saucepan, and bring to a boil using high heat; reduce heat and gently simmer for 15 minutes.
While the raisins and water are cooking, put the melted butter or margarine into a small bowl, and stir in the flour, salt and white pepper; continue stirring until smooth. Then after the raisins have simmered for 15 minutes, slowly add the flour and butter combination while stirring constantly. The mixture should return to a boil, and then simmer for an additional 3 minutes while continuing to stir constantly. Remove from heat and stir in the lemon juice or vinegar.
People often ask me if I ever have cooking disasters when making hundred-year-old recipes. And, I usually say, “No, that’s very rare. I like some recipes better than others, but most recipes turn out fine. A few I really like and they become part of my regular recipe repertoire, and I make them many times.”
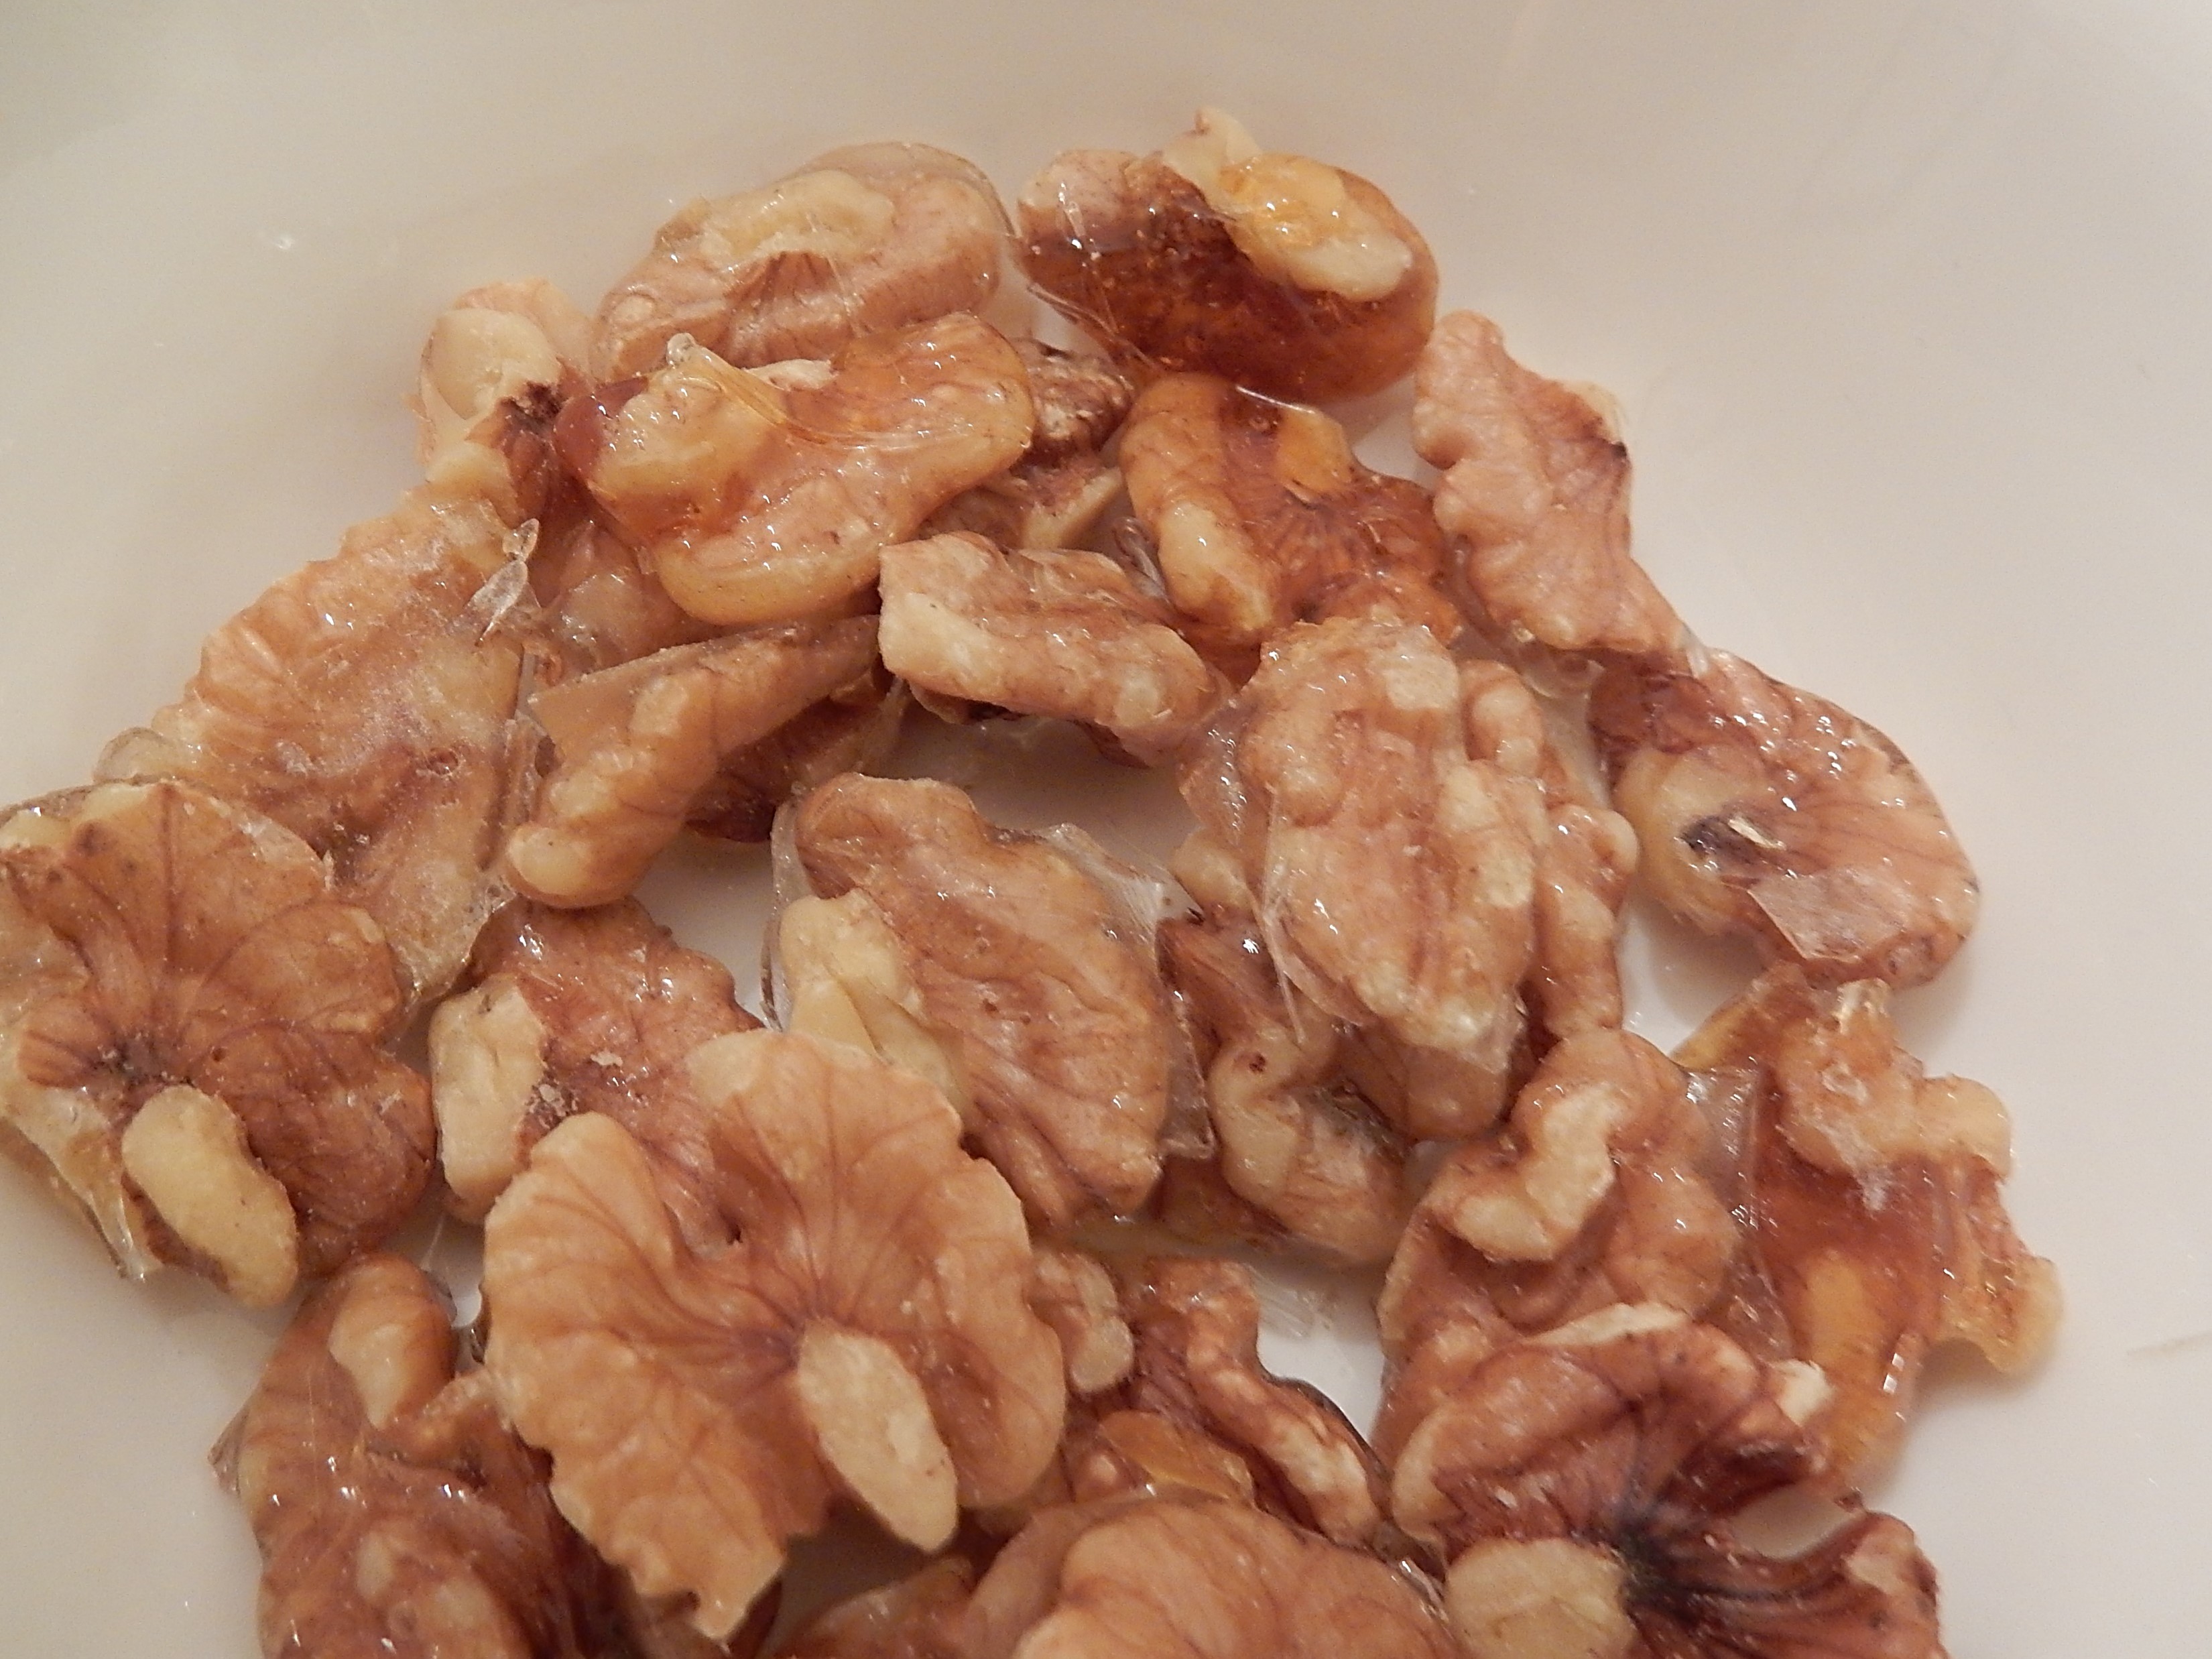
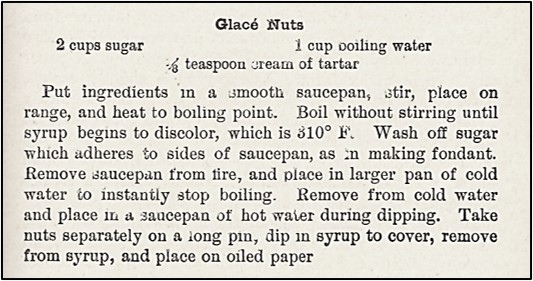
But today’s post is an exception – I made a hundred-year-old recipe for Glace Nuts that was a disaster. Let me explain.
, Source:: The Boston Cooking-School Cook Book (1921 Edition)
I wasn’t quire sure about using a pin to dip the nuts in the syrup as described in the old recipe, but I had some fairly long pins so decided to give it a try. (Did they use hat pins a hundred years ago when making Glace Nuts?)
First, I put the ingredients a saucepan and brought the mixture to a boil. I regularly checked the temperature with a cooking thermometer – 240° F. . . . 264° F . . . 285 ° F . . . 296° F. I decided that it was time to get some waxed paper (it probably was similar to oiled paper) out to put the nuts on after I dipped them in the sugar syrup.. I put pieces of waxed paper on several plates, and then looked at the boiling syrup – oh dear, it was brown. I turned off the heat and grabbed the candy thermometer. – 320°. Maybe the syrup was only slightly discolored.
I put some cold water in the sink and lowered the saucepan into it for a few seconds. Then I put some water in the microwave to heat. When it was hot, I poured it into a shallow pan, and then set the saucepan with the syrup in it. I inserted a pin in a walnut and carefully dipped it into the syrup; then I removed the sugar-coated walnut, and laid it on the waxed paper. I repeated the process with four more nuts – as the syrup rapidly began to thicken and then harden in the pan. Clearly not watching the cooking syrup closely enough and letting it reach a temperature of 320° was causing problems. I also noticed that the dipped nuts were sticking to the waxed paper.
I decided to make a fresh batch of the sugar syrup. Sugar doesn’t cost much. It would only take a few minutes to make the syrup, – and I’d watch it like a hawk to ensure that I took it off the stove at exactly 310°.
Twenty minutes later I had a another batch of the sugary liquid. I put it in cold water then, then set the saucepan in some hot water. And, I inserted a pin in a nut and began dipping once again.
One nut. . two. . . three. . . four. . . five nuts. . . the syrup again began to get very thick. I inserted a pin in the sixth nut, and immersed it into the syrup. The rapidly thickening syrup began to pull the nut off the pin. I instinctively reached with my hand to grab the nut before it fell off the pin – and my middle finger and thumb slipped into the hot sticky syrup. OUCH! I’m burned!
Dang it! My fingers hurt – but then I smiled. I always seem to have a minor crisis or disaster during the mad rush in the days before Christmas. This apparently is my disaster this year.
I do not recommend this recipe – and since I don’t recommend it, I not going to update it for modern cooks.
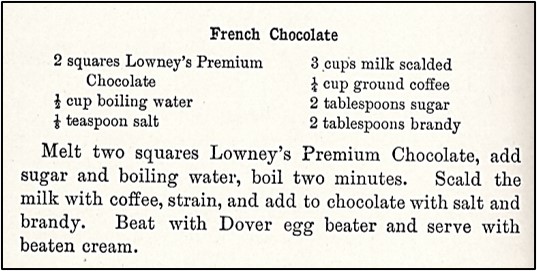
Sometimes recipe names change across the years, but the recipe is classic – and works just as well today as it did a hundred years ago. An example, of this is a recipe for French Chocolate that I found in a hundred year old cookbook. French Chocolate is hot chocolate with coffee and brandy.
A steamy cup of French Chocolate topped with whipped cream is the perfect warmer-upper on cold winter days.
Here’s the original recipe:
Source: Lowney’s Cook Book (1921 Edition)
A Dover egg beater is a rotary egg beater. Maybe they still sell them, but I haven’t seen one in years, so I whisked the French Chocolate to make it foamy.
I’m always fascinated when I see alcohol in recipes in 1921 cookbooks, since this was during prohibition. I’m not quite sure where cooks were supposed to find the brandy that the recipe called for.
Here’s the recipe updated for modern cooks:
French Chocolate (Hot Chocolate with Coffee and Brandy
Put the milk and ground coffee in a saucepan; stir to combine. Using medium heat, heat while stirring constantly until the milk mixture is scalded, and hot and steamy, Remove from the heat and strain to remove coffee grounds.
In the meantime, put the sugar, melted unsweetened chocolate, and water in another saucepan; stir to combine. Using medium heat bring to a boil while stirring constantly; then reduce heat and continue boiling and stirring for 2 minutes.
Gradually, add the strained milk and coffee mixture to the chocolate mixture while stirring. If needed, reheat until very hot, then remove from heat. Stir in salt and brandy. Beat with beaters or a whisk for a few seconds to make foamy. Pour into cups, and top with whipped cream.
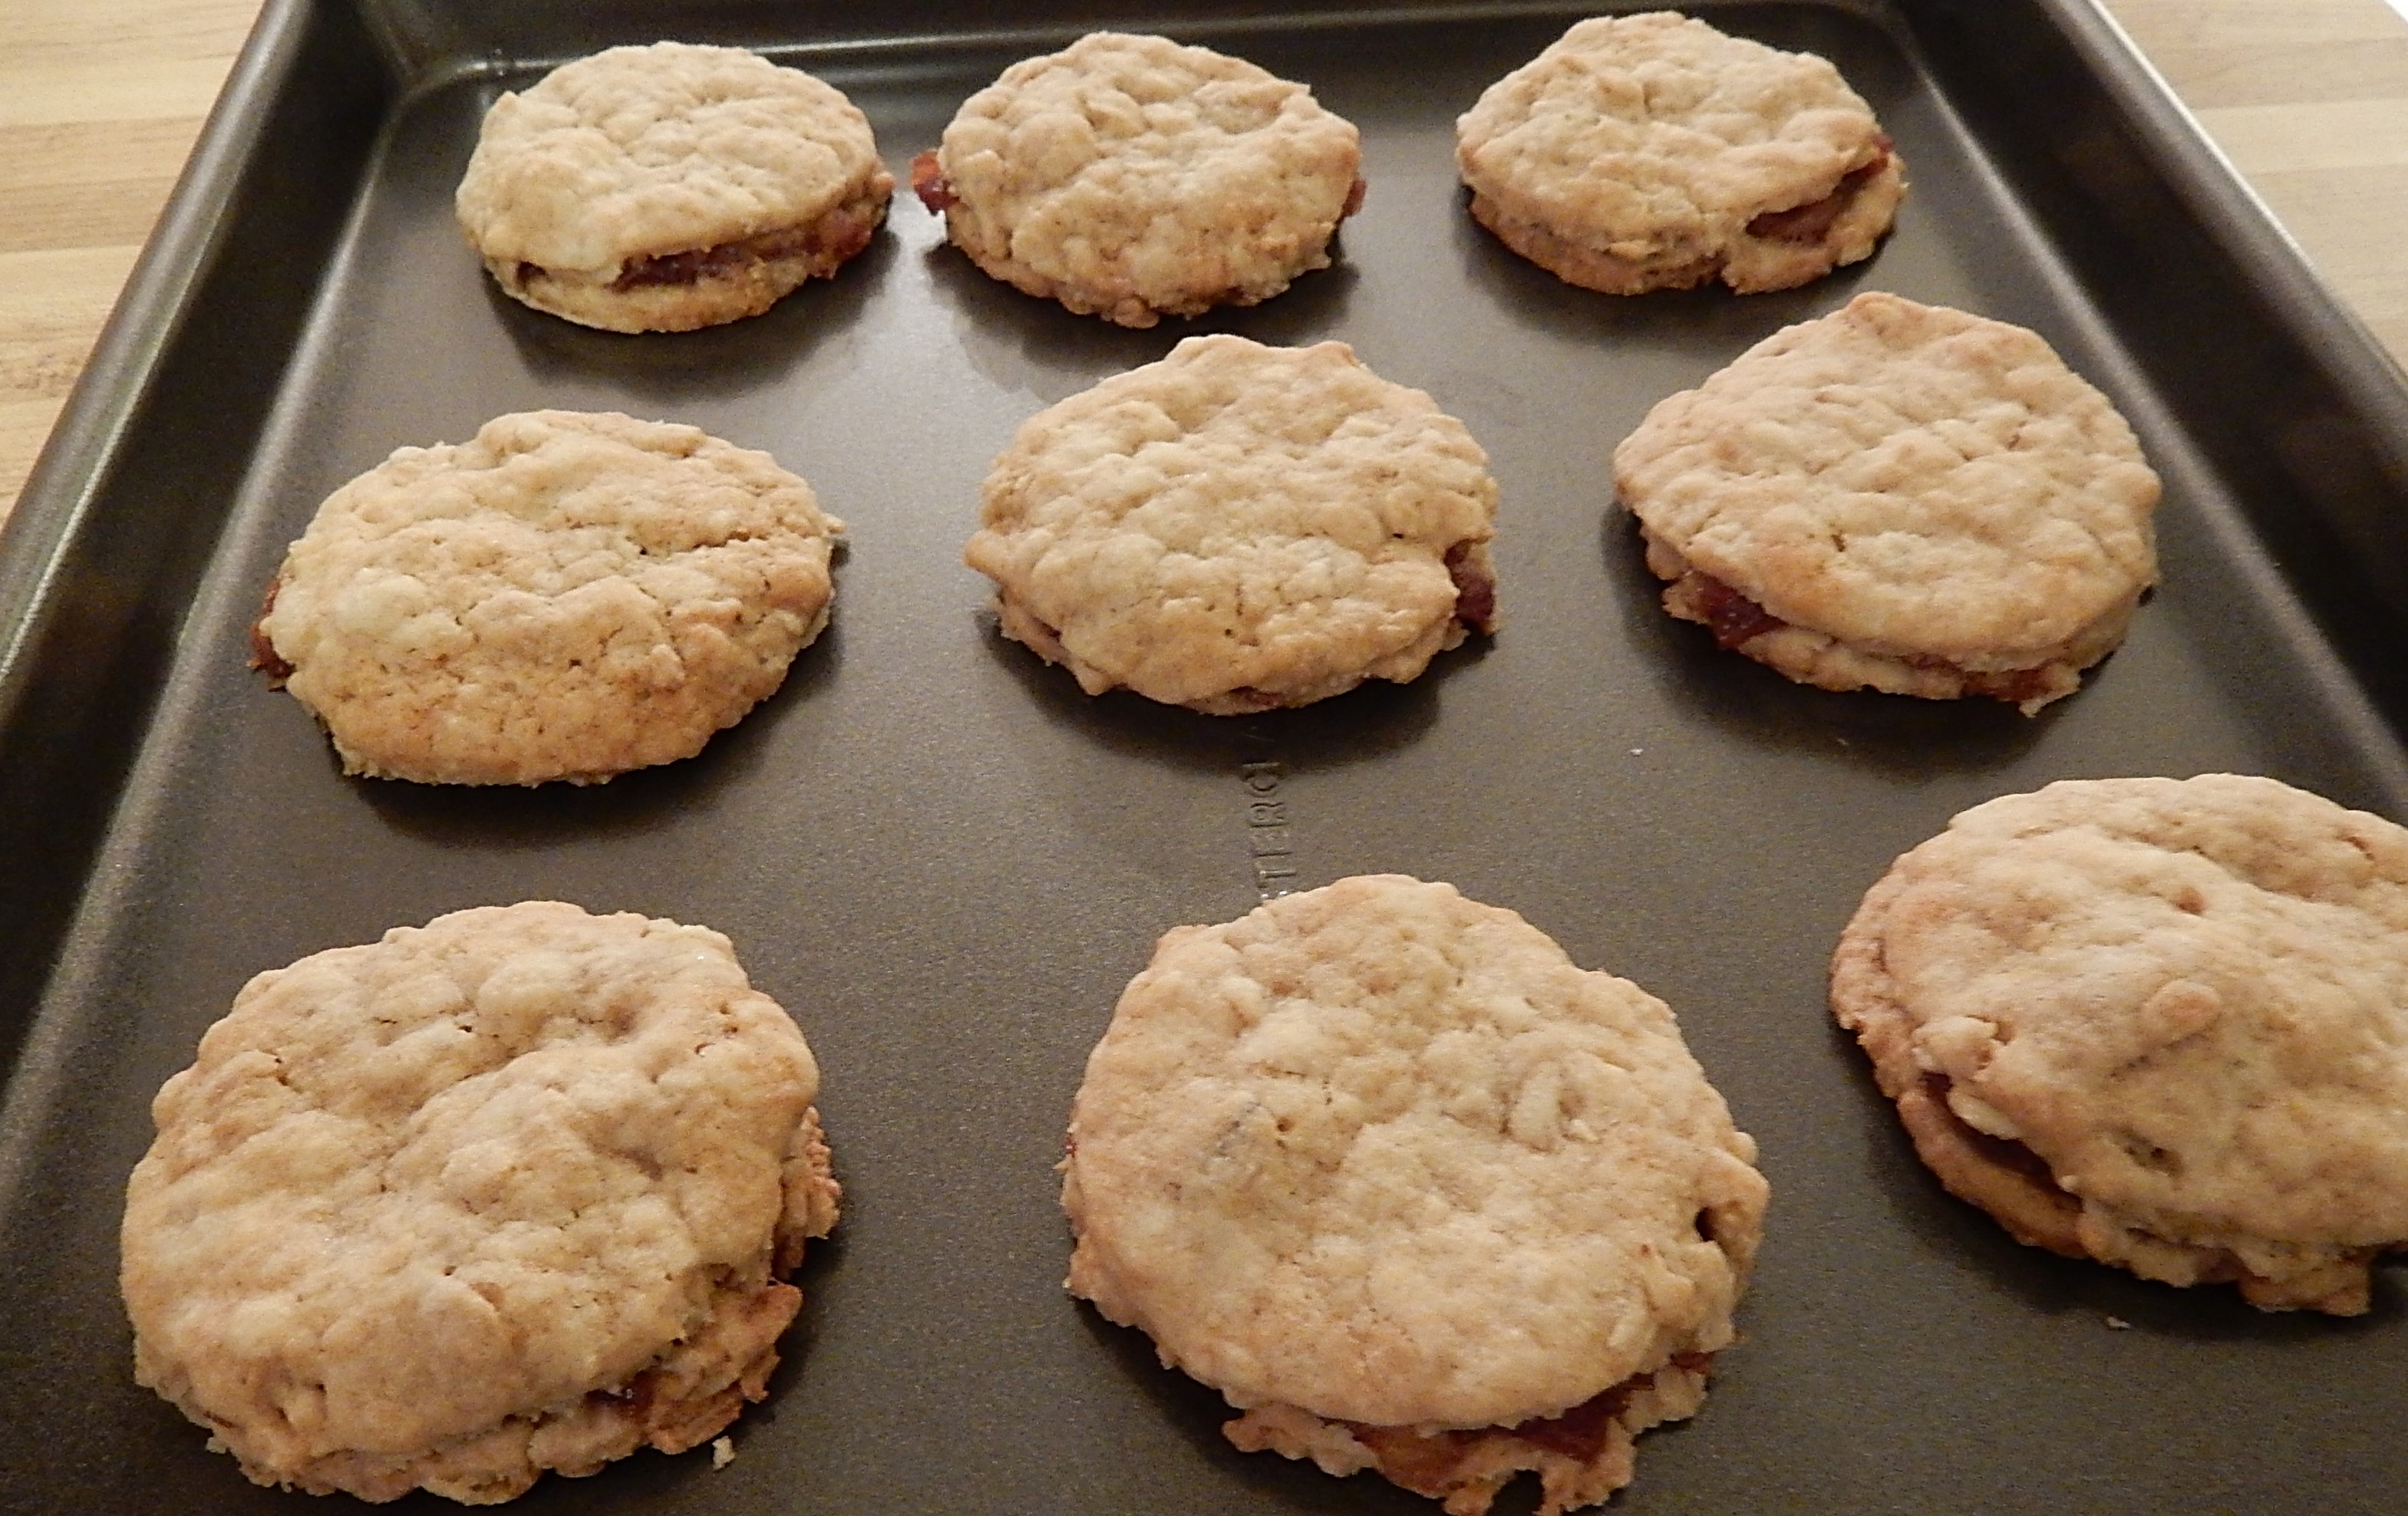
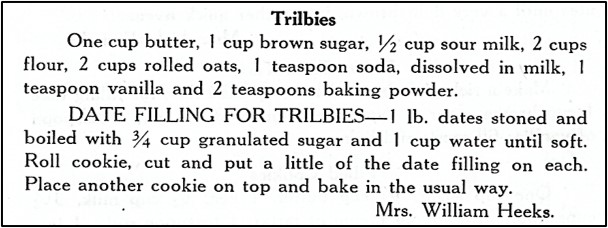
My holiday cookie baking has begun. Today I made a hundred-year-old recipe for Trilbies. They are a lovely date-filled cookie that brings back warm memories of day gone by.
Here’s the original recipe:
Source: Ladies’ Union Cook Book compiled by the Ladies of the West Concord Union Church, Concord Junction, Massachusetts (1921}
A hundred years ago recipes sometimes called for sour milk. Back then much milk was not pasteurized and it soured after a few days. This sour milk was sometimes used in recipes. Today milk can be soured by adding a little vinegar to it.
1/2 cup sour milk (Make milk sour by adding 1 1/2 teaspoons of vinegar to the milk)
1 cup butter, softened
1 cup brown sugar
2 cups flour
2 cups rolled oats (old-fashioned oatmeal)
1 teaspoon baking soda
2 teaspoons baking powder
1 teaspoon vanilla
Preheat oven to 400° F. Put the milk in a cup or small bowl. Stir in the vinegar to sour the milk. Set aside.
In a mixing bowl, cream butter and brown sugar. Stir in the sour milk, baking soda, baking powder, and vanilla. Then add the flour and rolled oats; stir until combined. On well-floured surface, roll out dough to 1/8 inch thickness. Cut into circles using a cookie cutter or small glass. (The cookie cutter I used was 2 inches in diameter.) Place half the circles on greased baking sheets. Place a heaping teaspoon of date filling (see recipe below) on each circle and spread to the edges of the cookies; put a second cookie on top of each date-filling topped cookie. Bake 10-12 minutes or until lightly browned.
Date-Filling
1 pound chopped dates
3/4 cup sugar
1 cup water
Put the chopped dates, sugar, and water into a saucepan and stir to mix; put on medium heat and bring to a boil. Reduce heat and boil gently until the dates are soft and the filling a nice consistency for the cookie filling (5-10 minutes). Cool slightly before using as a filling.