Old-Fashioned Raisin Custard

Raisin Custard

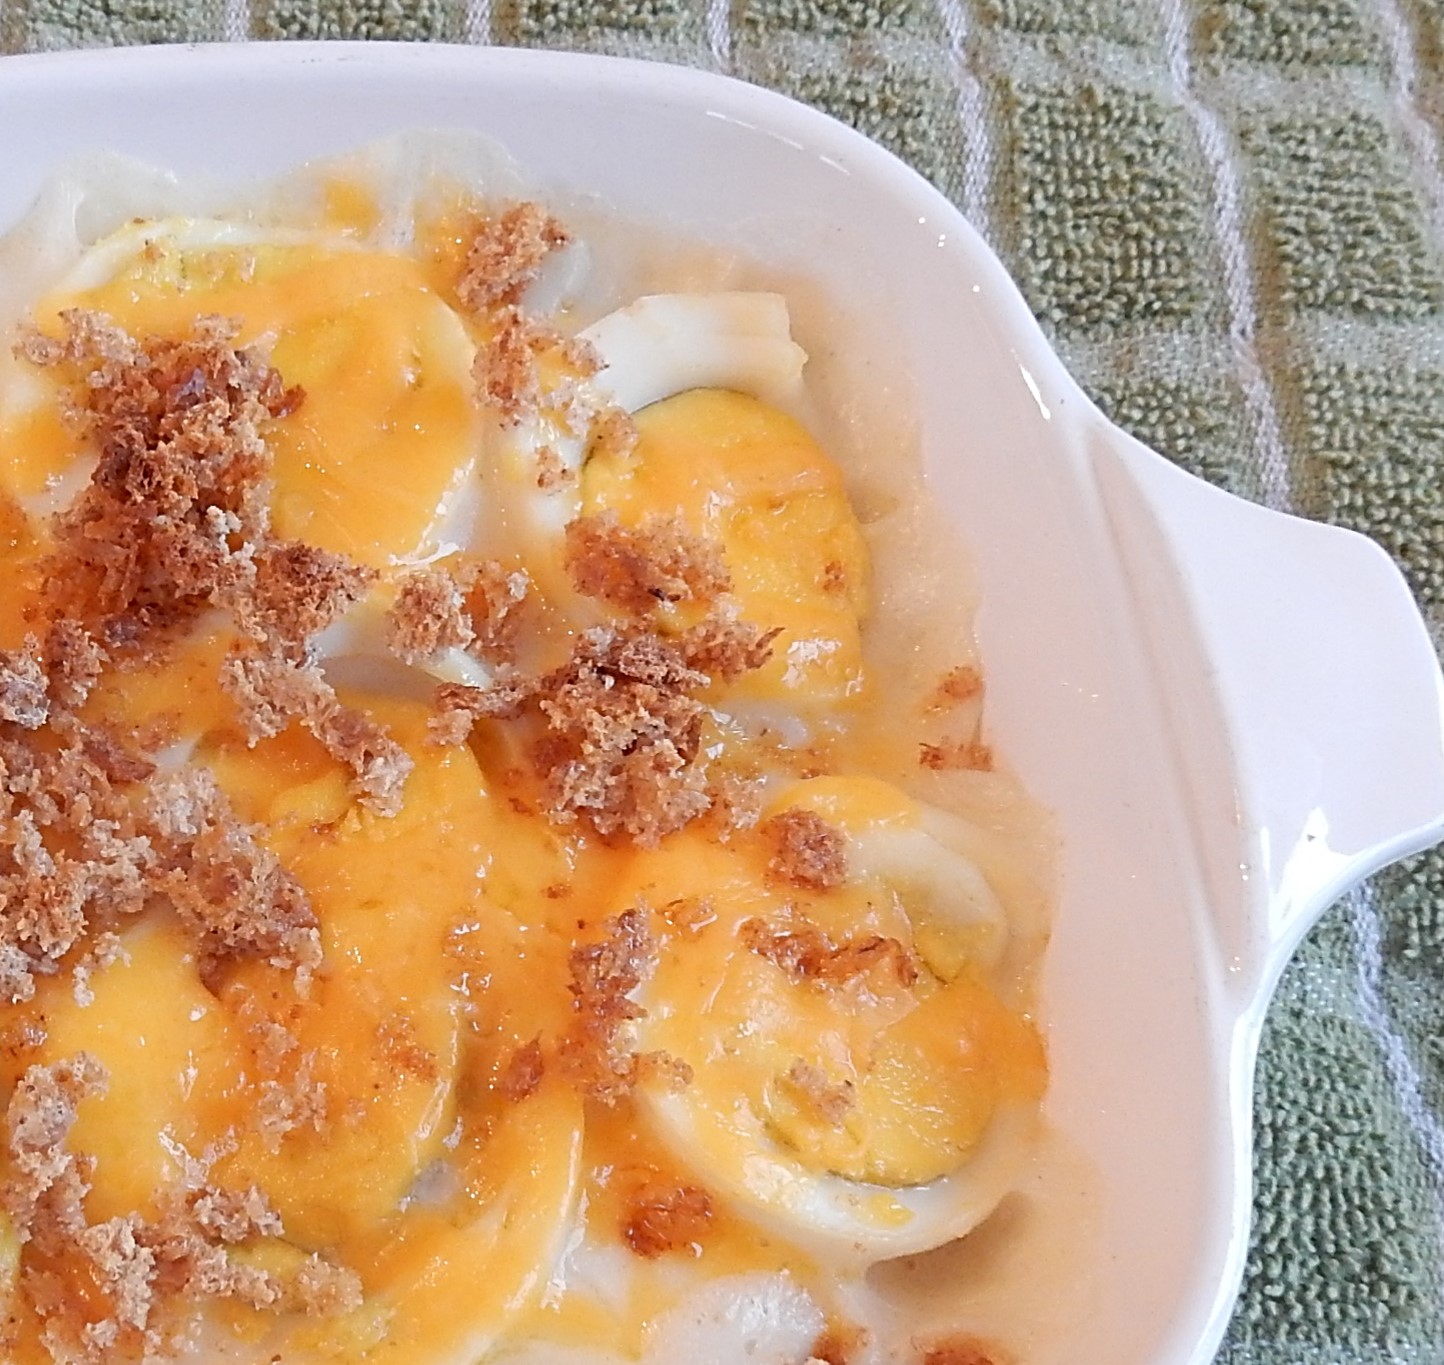
I love old-fashioned baked custards so decided to try a hundred-year-old recipe for Raisin Custard. The raisins are on the bottom of the custard. I want to say that they sank to the bottom, but I think that the recipe author intended for there to be plain custard on the top and a raisin-custard mixture on the bottom.

The Raisin Custard was very delicate, but the recipe didn’t call for any sugar, so the custard was not sweet (though the raisins added a bit of sweetness when I got to the bottom).

Here’s the original recipe:

recipe for Raisin Custard
Modern Priscilla Cook Book (1924)

Here’s the recipe updated for modern cooks:

Raisin Custard

  • Servings: 4 - 6
  • Difficulty: moderate
  • Print

2 eggs

2 cups milk

1/4 teaspoon salt

1/2 teaspoon nutmeg

2/3 cup raisins, coarsely chopped

Preheat oven to 325° F. Put eggs in mixing bowl and beat until smooth. Add milk, salt, and nutmeg; beat until thoroughly combined. Pour mixture into custard cups. Place the custard cups in a pan with hot water that comes to about an inch below the top of the cups ( 4 – 6 custard cups will be needed. The number of custard cups needed will vary depending upon the size of the custard cups.) Bake for 60-90 minutes or until a knife inserted in center of the custard comes out clean.  May be served warm or cold.

http://www.ahundredyearsago.com

Old-Fashioned Hot Slaw with Sour Cream Sauce

Hot slaw with sour cream dressing

When browsing through a hundred-year-old magazine, I came across a recipe for Hot Slaw with Sour Cream Sauce, and decided to give it a try.

The Hot Slaw was mild,  rich, and creamy. The recipe called for only 1 tablespoon of vinegar (and no sugar), so the flavors were much more nuanced than many modern slaws.

Here’s the original recipe:

Recipe for Hot Slaw with Sour Cream Dressing
Source: American Cookery (October, 1924)

Here’s the recipe updated for modern cooks:

Hot Slaw with Sour Cream Sauce

  • Servings: 5 - 7
  • Difficulty: moderate
  • Print

1 head of cabbage (approximately 2 pounds; The cabbage should be firm and white.)

2 teaspoons salt

4 tablespoons butter

1 tablespoon flour

1 tablespoon water

1 cup sour cream

1 tablespoon tarragon vinegar or apple cider vinegar (I used apple cider vinegar.)

Grate or finely shred the cabbage. Stir the salt into the cabbage. Let sit for 30 minutes, then drain and rinse. Press to squeeze out excess water.

In a skillet or large saucepan, melt the butter. Stir in the cabbage. (Do not add water.) Cover and cook over low heat for 10 minutes. Several times remove lid and stir to keep the cabbage from scorching, then replace lid. (The idea is to stir enough to prevent scorching, but to keep the steam in as much as possible as the cabbage cooks.) Cook for 10 minutes.

In the meantime, stir water into the flour to make a thick paste. Then stir in the sour cream. Stir the sour cream mixture into the hot cabbage, and cook for 1-2  additional minutes while stirring. Stir in the vinegar and serve.

http://www.ahundredyearsago.com

Tasty Asparagus (Asparagus and Onions) Recipe


Tasty Asparagus (Asparagus and Onions) in Bowl
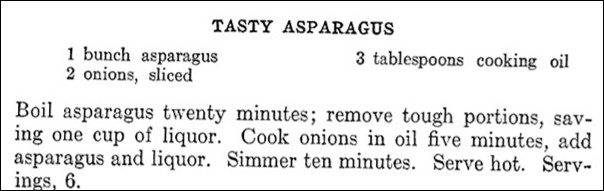
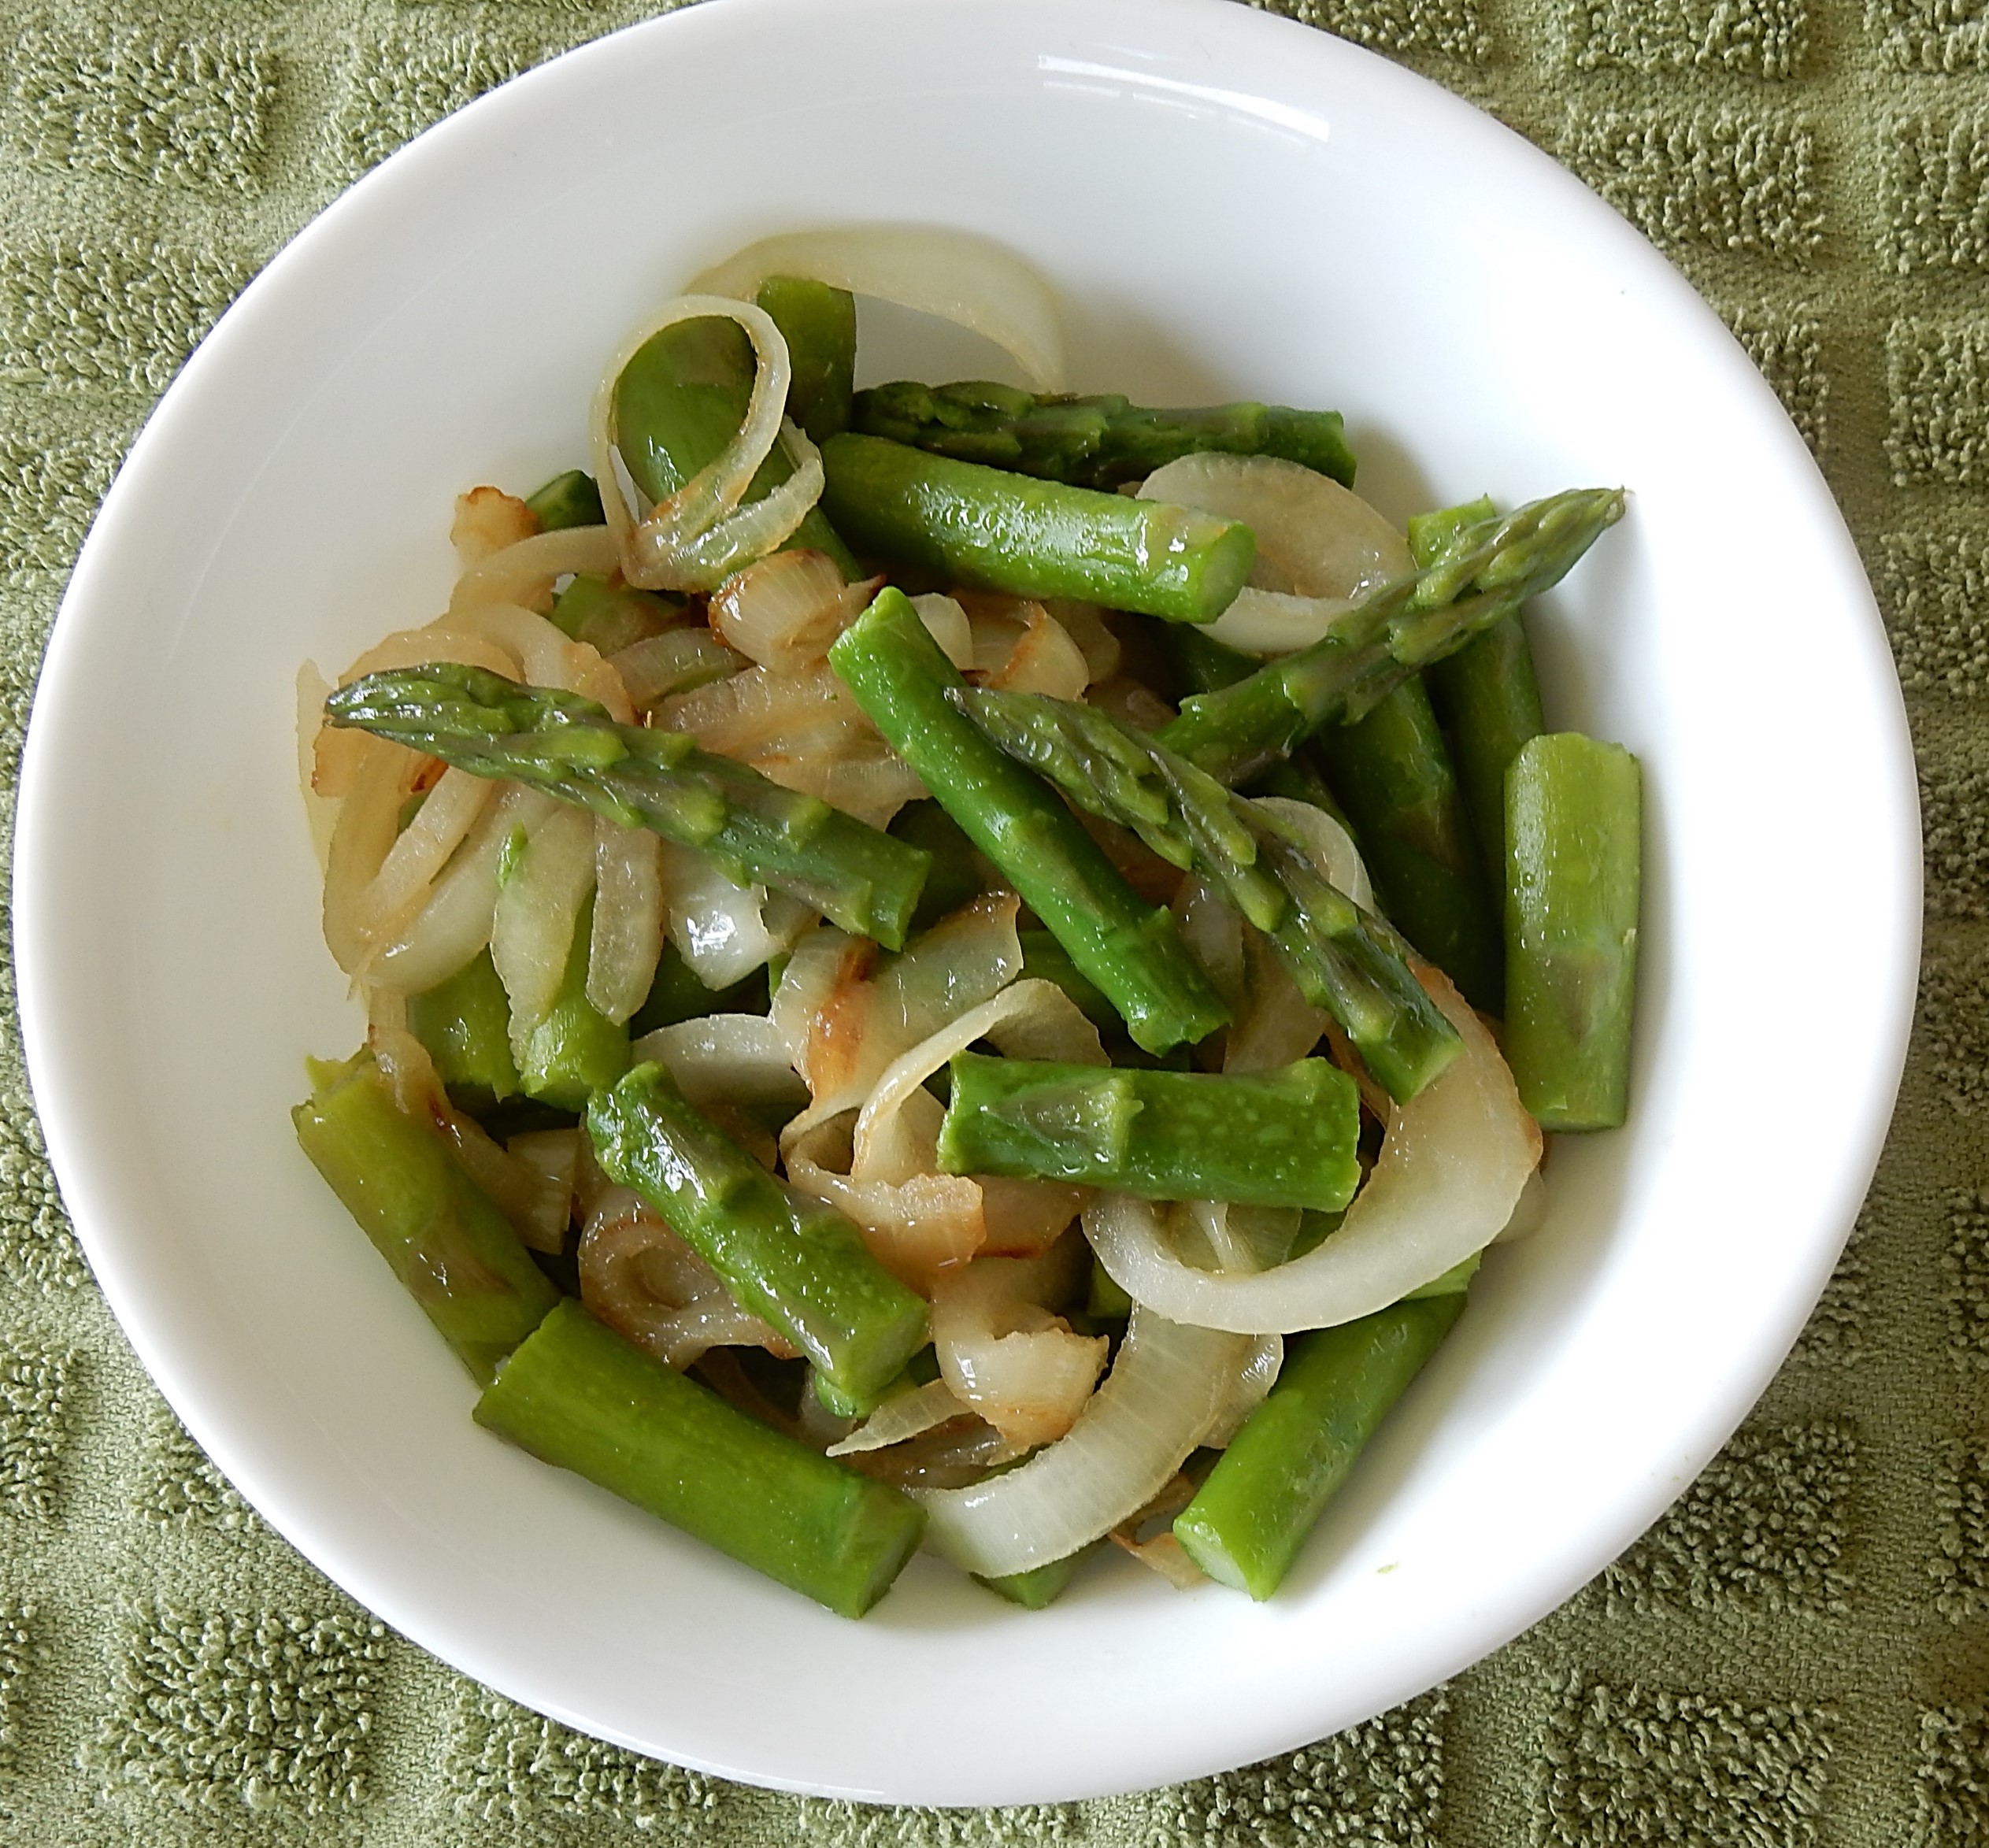
Some recipes in old cookbooks have the strangest titles. For example, I recently came across a hundred-year-old recipe for Tasty Asparagus. In one way the title was very descriptive – it clearly says that the asparagus is tasty. However, in another way, the description is very inadequate. How is the asparagus prepared? What are the main ingredients?  I tend to skip over recipes with titles like this, but was intrigued when I saw that this was a recipe for asparagus and onions, and decided to give it a try.

I agree with the recipe author. Tasty Asparagus is tasty. Asparagus and onions make a really nice combination. And, it was quick and easy to make. This recipe is a keeper.

Here’s the original recipe:

Recipe for Tasty Asparagus (Asparagus and Onions)
Source: Modern Priscilla Cook Book (1924)

By today’s standards, cooking asparagus for half an hour is excessive, so when I updated the recipe I reduced the cooking time substantively. For the cooking oil, I used olive oil. I’m not sure why the old recipe calls for adding the water used to cook the asparagus to the asparagus and onion mixture. I drained some of the excess liquid off before serving.

Here’s the recipe updated for modern cooks:

Tasty Asparagus (Asparagus and Onions

  • Servings: 6
  • Difficulty: easy
  • Print

1 bunch asparagus

2 medium onions, sliced

3 tablespoons olive oil

Trim off the woody ends of the asparagus, and then cut into 1-inch pieces. Put in saucepan, and add about an inch of water. Bring to a boil using high heat, then reduce heat and simmer for 4 minutes. Remove from heat. Drain, but save 1 cup of the water used to cook the asparagus.

In the meantime, put the olive oil in a skillet. Heat oil using medium heat, then add the sliced onions. Cook until the onions are transparent, then add the cooked asparagus pieces and 1-cup of the water in which the asparagus was cooked. Bring to a boil using medium heat, then reduce heat and simmer for 3 minutes. Remove from heat and serve.

http://www.ahundredyearsago.com

Shredded Wheat Biscuit with Berries

Shredded Wheat Biscuit with Strawberries and Blueberries

I enjoy shredded wheat, but it always seems like a basic breakfast food, so I was surprised to see a recipe in a hundred-year-old cookbook for Shredded Wheat Biscuit with Strawberries (and an option for making it using other berries or fruits). A hole is made in the top of the biscuit to create a basket, which is then filled with the berries.

Here’s the original recipe:

Recipe for Shredded Wheat Biscuit with Strawberries
Source: The New Home Cook Book, 1924 Edition (Published by Illinois State Register, Springfield, Illinois)

Since the old recipe gave the option of using a variety of different berries or other fruit, when I made this recipe I decided to use a mixture of strawberries and blueberries. When I updated the recipe I changed the name of it from Shredded Wheat Biscuit with Strawberries to Shredded Wheat Biscuit with Berries since it better describes some of the options.

The shredded wheat was lovely with berries.

I didn’t warm the shredded wheat biscuit in the oven. There didn’t seem to be a need. Perhaps the biscuits were more likely to be stale a hundred years ago, and heating in the oven may have made them crispier.

Here’s the recipe updated for modern cooks:

Shredded Wheat Biscuit with Berries

  • Servings: 1 biscuit for each serving
  • Difficulty: easy
  • Print

1 shredded wheat biscuit

strawberries (quarter if large), blueberries, raspberries, blackberries, etc.

sugar, if desired

milk or cream

Cut or crush an oblong hole in the shredded wheat biscuit to create a basket. Fill the hole with berries or other fruit. Serve with milk or cream, and sugar (if desired).

http://www.ahundredyearsago.com

Old-Fashioned Orange Loaf Cake

Orange Loaf Cake

I got a request for a “healthy cake” that was low fat and low sodium, so looked through my hundred-year-old cookbooks and magazines for something that might work.  I found a recipe for Orange Loaf Cake that I think fits the bill.

The recipe only calls for 1/3 cup of butter, and just 1/2 teaspoon of baking soda and no salt. So this loaf cake is both low fat and low sodium.  The cake was very easy to make, had a nice texture, and a delightful sunny, orange flavor.

Here’s the original recipe:

recipe for Orange Loaf Cake
Source: American Cookery (November, 1924)

Here’s the recipe updated for modern cooks:

Orange Loaf Cake

  • Servings: 7 - 9
  • Difficulty: easy
  • Print

1/3 cup butter, softened

1 cup sugar

2 eggs

1 3/4 cups flour

1/2 teaspoon baking soda

1/2 cup orange juice

1 tablespoon lemon juice

grated rind of 1 orange

Preheat oven to 375°  F. Grease and flour a loaf pan.  Put butter and sugar in a mixing bowl; beat until combined. Then beat in the eggs. Add the flour, baking soda, orange juice, and lemon juice; beat until combined. Stir in the grated orange rind.  Pour into prepared pan.

Bake 35 to 40 minutes, or until wooden pick inserted in center comes out clean.

http://www.ahundredyearsago.com

Old-fashioned Eggs Au Gratin

Eggs Au Gratin

HAPPY EASTER!

Yesterday I colored eggs with my grandsons. Today I have lots of hard boiled eggs, so looked for a hundred-year-old recipe that used hard boiled eggs. I found a lovely recipe for Eggs Au Gratin.

The Eggs Au Gratin were tasty and easy to make, and would be a perfect brunch dish. This recipe is a keeper.

Here’s the original recipe:

Recipe for Eggs Au Gratin
Source: The New Butterick Cook Book (1924)

I made a white sauce rather than going with the “yellow sauce” option that contained an egg yolk. Two cups seemed like a lot of white sauce, so when I updated the recipe, I used 1 1/2 cups of milk rather than 2 cups.

Here’s the recipe updated for modern cooks:

Eggs Au Gratin

  • Servings: 3 - 4
  • Difficulty: easy
  • Print

6 hard-cooked eggs

2 tablespoons butter + 2 teaspoons butter

2 tablespoons flour

1 1/2 cups milk

1/2 teaspoon salt

1/8 teaspoon pepper

1/3 cup cheese, shredded (I used cheddar cheese.)

1/4 cup fine bread crumbs

Preheat oven to 375° F. Slice hard-boiled eggs into a casserole dish. (I used a 750 ml dish that holds about 3 cups.)

Put 2 tablespoons butter in a saucepan, then stir in the flour, salt, and pepper. Gradually, add the milk while stirring constantly. Continue stirring until the white sauce begins to thicken. Remove from heat and gently pour over the sliced eggs.

Sprinkle cheese and bread crumbs on top, in that order. Dot with small pieces of butter (a total of about 2 teaspoons). Put in oven and bake until hot and bubbly (about 25 minutes).

http://www.ahundredyearsago.com

Old-Fashioned Banana and Nut Salad

Banana and Nut Salad on plate

I was intrigued by a hundred-year-old recipe for Banana and Nut Salad, so decided to give it a try. This recipe was quick and easy to make. Just quarter a banana and roll in finely chopped nuts. The old recipe said to serve on a lettuce leaf and garnish with mayonnaise.

The Banana and Nut Salad was lovely, but I’d definitely skip the mayonnaise if I made this recipe again.

Here’s the original recipe:

Recipe for Banana and Nut Salad
Source: The New Butterick Cook Book

When I was cutting the bananas lengthwise, I accidently broke one of the banana halves into two – but I was pleasantly surprised how much better the presentation looked with the broken banana half, than with the whole half. So I adapted the recipe to indicate that the banana should be quartered.

I put mayonnaise on the Banana and Nut Salad. I didn’t try boiled dressing, and I didn’t try mixing whipped cream with mayonnaise. It seemed like mixing whipped cream and mayonnaise could potentially ruin some perfectly good whipped cream. However, just using whipped cream with no mayonnaise might be a nice addition.

Here’s the recipe updated for modern cooks:

Banana and Nut Salad

  • Servings: 6 (1/2 banana per serving)
  • Difficulty: easy
  • Print

3 bananas

1/2 cup finely chopped nuts (I used pecans.)

lettuce, optional

1/2 cup mayonnaise, optional

Peel bananas and cut each into two lengthwise, then cut each piece again to quarter. Roll each piece in the finely chopped nuts. If desired, place on lettuce leaves and garnish with mayonnaise.

http://www.ahundredyearsago.com