Old Tomato Rarebit Recipe

16-year-old Helena Muffly wrote exactly 100 years ago today: 

Monday, July 17, 1911: It rained real hard this morning. I don’t know whether that kept me from doing anything of any account or something else—any way it isn’t here to read.Her middle-aged granddaughter’s comments 100 years later:

Since Grandma didn’t have much to say a hundred years ago today, I flipped through the July 1911 issue of Good Housekeeping magazine. It contained a recipe for Tomato Rarebit.  A rarebit is a cheese sauce that is served over toast or other similar foods.  I like Welsh Rarebit so thought that I’d give this recipe a try.

Tomato Rarebit

Cook one tablespoon chopped onion in one tablespoon butter five minutes. Add one cup tomatoes, cook two minutes, and strain. In a saucepan, or the blazer of the chafing dish, melt two tablespoons butter, add two tablespoons flour, and three-fourths of a cup of thin cream. Cook until thickened, then add two cups cheese cut in dice or thinly shaved, the tomato, and one-half teaspoon each mustard and salt, and one-fourth teaspoon paprika. Stir until cheese is melted and the mixture is smooth. Serve on toast or heated crackers.

The Tomato Rarebit had a zestier taste than Welsh Rarebit, and was excellent.  The recipe is a keeper.

1911 Dresses

16-year-old Helena Muffly wrote exactly 100 years ago today: 

Sunday, July 16, 1911: Went to Sunday school this afternoon. I was the only one in our class. I initiated my new dress for the first time. Wouldn’t it be nice to have as many dresses as you wanted, and wear them whenever you pleased.

Photo in June, 1911 issue of Ladies Home Journal

Her middle-aged granddaughter’s comments 100 years later:

Grandma’s mother finished the new dress earlier in the week. Grandma probably wished that she had some dresses that looked similar to the ones in Ladies Home Journal.

Photo in the July, 1911 issue of Ladies Home Journal

Pennsylvania Politics in 1911

16-year-old Helena Muffly wrote exactly 100 years ago today: 

Saturday, July 15, 1911: Nothing really worthwhile. Oh sad routine.

Her middle-aged granddaughter’s comments 100 years later:

Today we’re constantly bombarded with news about politics.  I woke up yesterday morning to a radio story about a possible government shutdown, the upcoming recall elections in Wisconsin, candidates gearing up of the 2012 presidential election. . .

And, I wondered what politics were like in Pennsylvania in 1911.

Since not much happened a hundred years ago today, I’ll tell you what I learned.  Only men could vote in 1911—women didn’t get suffrage until 1920.  The Republicans controlled politics in the state back then. According to P. Jenkins:

Pennsylvania had long lacked a true Democratic opposition in one of the few industrial regions where Republican dominance at the state level was not countered by Democratic machines in the cities. The Democrats elected no U.S. senators between 1875 and 1934 and no state governors between 1890 and 1934, and the party lost ninety-five of ninety-six statewide elections between 1893 and 1931. In consequence, political conflicts were fought by factions within the Republican Party. Though alliances shifted frequently, this never damaged the overwhelming power of the Republican interest.

Grandma's Uncle, F. Miles Derr

I don’t know which party Grandma’s father belonged to, but I do know which party one of her uncles, F. Miles Derr, belonged to. Miles was a brother of her mother (Phoebe Derr Muffly), and lived in Limestone Township in nearby Montour County.  There is a  short biography of Miles in the Historical and Biographical Annuals of Columbia and Montour Counties Pennsylvania (Vol.  II)  (pp. 753-4).  It says that he was Republican:

 He takes an active role in local political affairs, at present serving as tax receiver for his township, and on political questions is allied with the Republican party.

Beet and Pepper Salad Recipe

16-year-old Helena Muffly wrote exactly 100 years ago today: 

Friday, July 14, 1911: The entries for this month look, as if they won’t require much space. Can’t help it though.

Her middle-aged granddaughter’s comments 100 years later:

Since Grandma didn’t have much to say a hundred years ago today, I flipped through the July 1911 issue of Good Housekeeping magazine. It included sample menus.

The Friday menu is below:

An asterisk meant that the magazine contained the recipe.  For the Friday dinner menu, the included recipe was for Beet and Pepper Salad:

Beet and Pepper Salad

Thinly slice four small boiled beets. Remove the seeds from and parboil two green peppers five minutes, then cut in strips. When very cold serve in nests of lettuce with a French dressing made as follows: Mix together four tablespoons olive oil, one tablespoon vinegar, one teaspoon tarragon vinegar, one teaspoon salt, one-fourth teaspoon paprika, one-eighth teaspoon pepper, and if liked one teaspoon finely chopped onion or shallots.

Visiting Friends

16-year-old Helena Muffly wrote exactly 100 years ago today: 

Thursday, July 13, 1911: Accompanied Ruthie up to Oakes’s this evening. She was going to a party this evening, but didn’t do because her friends didn’t go.

Her middle-aged granddaughter’s comments 100 years later:

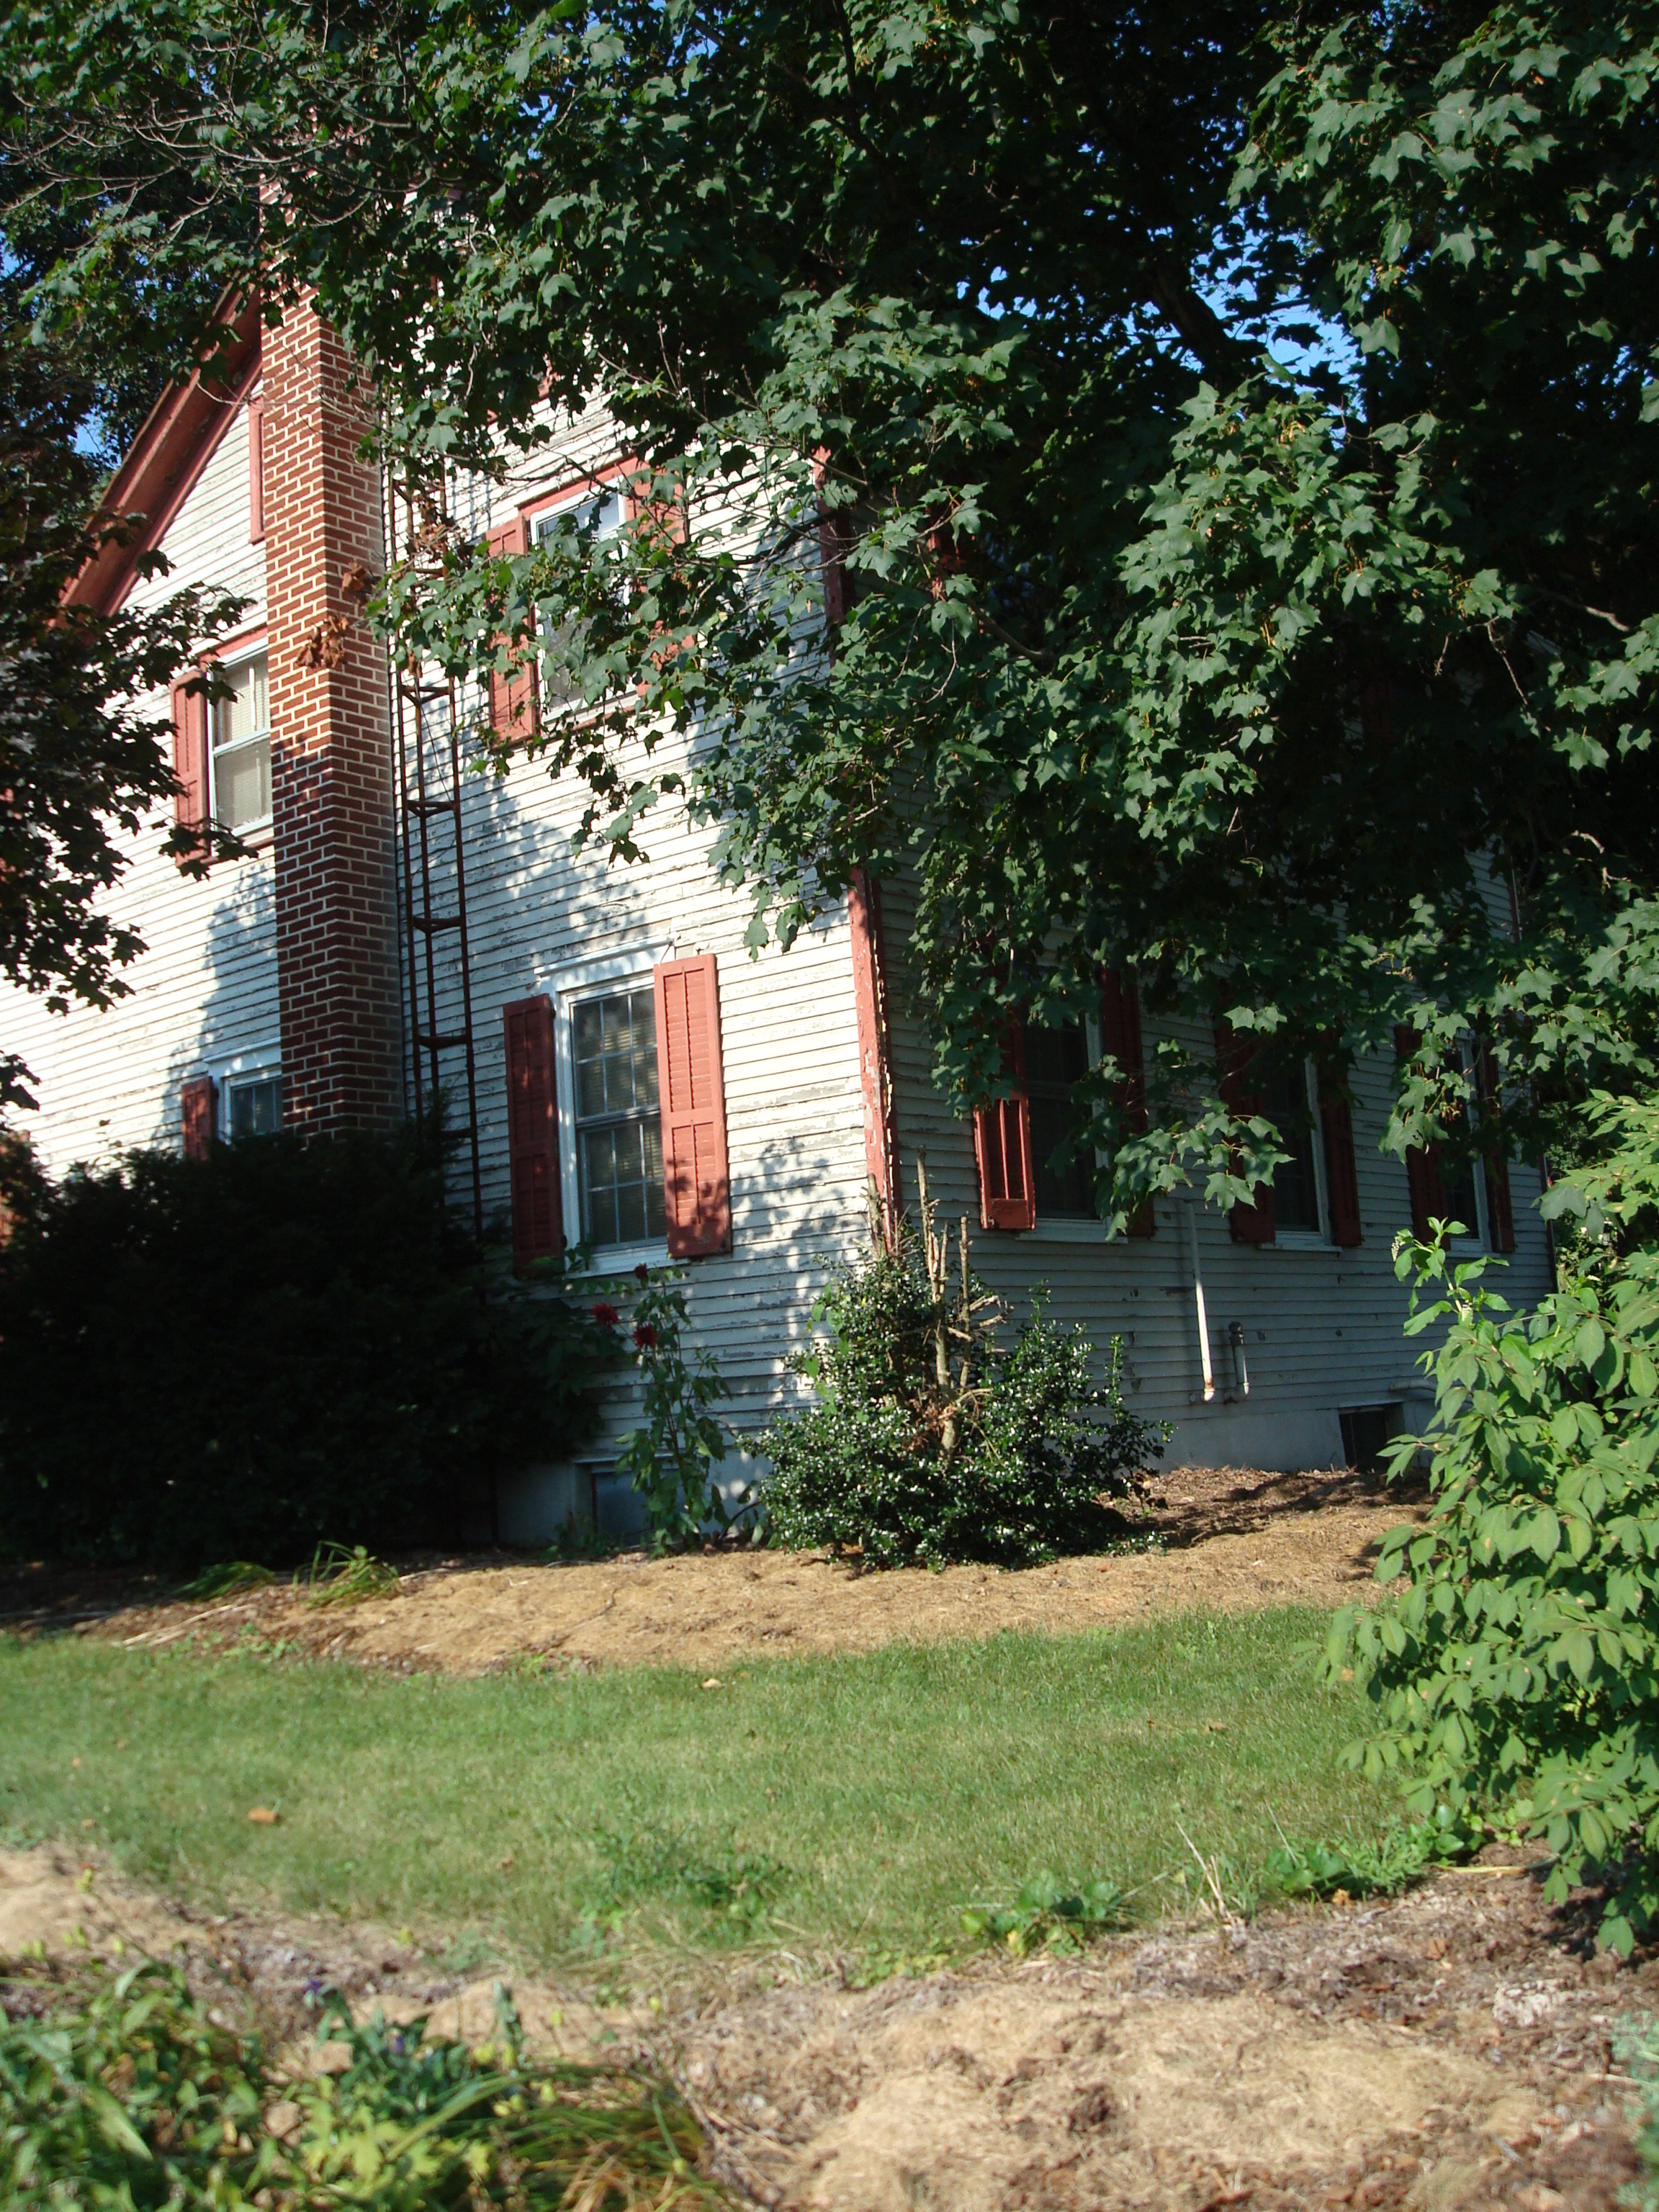
The Oakes lived half a mile or so from the Muffly’s. Rachel Oakes was a friend of Grandma and her sister Ruth. And, Ruth was dating Jim Oakes.

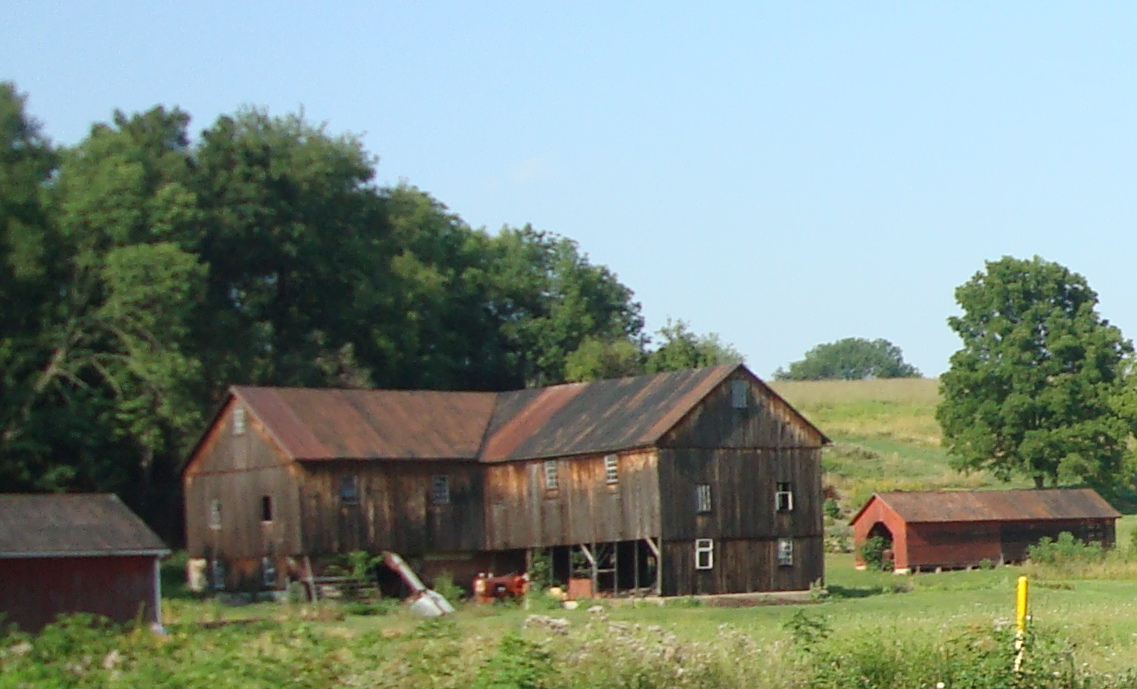
Recent photo of the farm where Rachel and Jim Oakes lived.

Lawn Dress Finished

16-year-old Helena Muffly wrote exactly 100 years ago today: 

Wednesday, July 12, 1911:  Mother finished my dress today. Now I will have at least one suitable gown for this season. My wardrobe is rather limited, no silks or satins or velvets.

Her middle-aged granddaughter’s comments 100 years later:

Grandma sounds really pleased that the dress is finally finished. It must have turned out well.

It took Grandma’s mother two and one-half weeks to make the dress. On Saturday, June 24 Grandma had written:

Mother cut my lawn dress out this afternoon. Am going to see how long it takes her to finish it. I give her till next Sat.

Grandma hoped that her mother would finish making the dress in one week, but on Saturday, July 1 she wrote:

 . . . Mother hasn’t finished my dress yet. I really need it.

I wasn’t sure what lawn cloth was, so I googled it. Lawn is a light fabric made with a very fine weave. A hundred years ago lawn cloth was generally made using linen; today it is often cotton.

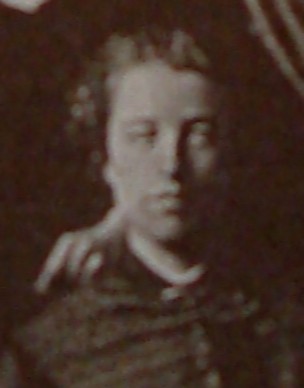
Grandma wearing a dress made out of lawn cloth. I think this photo is her high school graduation photo and that it was taken in 1913, so it probably isn't the dress mentioned in this diary entry.

100 Year Old Patterns for Making Paper Birds

16-year-old Helena Muffly wrote exactly 100 years ago today:

Tuesday, July 11, 1911: Sorry, but I must have forgotten.

Red Winged Blackbird
Bluebird

Her middle-aged granddaughter’s comments 100 years later:

Today’s entry should be subtitled “Lucy Wants a Friend”. Let me explain–

It’s wonderful to have my college-student daughter (and her parakeet named Lucy) home for the summer. Since Grandma didn’t write much a hundred years ago today, at dinner I was pondering about what to write: Should I insert a recipe? . . . write about gardening or farming? . . . or I’d seen directions for making paper birds in a 1911 issue of Good Housekeeping; maybe I could write about that.

My daughter immediately said, “Let’s make birds. Lucy needs a friend.”

So today’s topic was decided—and my daughter and I had some quality time together. I don’t think we’d made any paper crafts in at least 15 years and it brought back wonderful  memories of making crafts when she was little.

(It’s truly awesome how preparing and posting Grandma’s diary entries can bring together multiple generations.)

Lucy now has a friend!!

Now here are the abridged directions for making a paper bluebird and a red winged blackbird that was in the April 1911 issue of Good Housekeeping:

Supplies Needed

Colored paper

Pencil

Scissors

Paste or glue

Crayons

Colored pencils

Thin white paper for tracing (optional)

Click here for the patterns for the birds and then print. Cut the patterns out.

(In the old days people didn’t have printers or copying machines so they’d trace the pattern out of the magazine using thin paper.  If you’d like to be really authentic you can make the pattern by putting thin paper over the sheet with the outlines; trace; and then cut out the pattern that you created on the thin sheet of paper. Save the original sheet to make additional patterns in the future. )

To Make Red Winged Blackbird

1.  Lay the bird body, wing, and stand pattern pieces on a piece of black paper, trace, and cut out. Trace the shoulder feathers on red paper.

2.  Paste the red shoulder feathers on the wings, and then fold the wings where they join along the dotted line and cut a short slit where the solid  line is on the pattern.

3. Make a circle for the eye with a white crayon. In the center of the white circle put a yellow dot. Use pencil to draw the beak. (Do on both sides of bird.)

6. Bend out the lower part of the stand, then glue the upper part of the stand to the upper part of the stand on the bird.  This will give a stand of double thickness and with a bend out to each side will hold the bird up as firmly as two strong legs.

7. Now fit the wings on the back of the bird. Slide the slit in the wings into the slit in the bird and stand bird up.

To Make Bluebird

1.  Lay the pattern pieces of the bluebird on a piece of blue paper, trace, and cut out.

2. Using crayons make the breast and throat of the bird a yellowish red. Use a white crayon to make a whitish spot just under the tail. (Color both sides of the bird.)

3. Use a black pencil to draw straight lines on the tail to make it look like feathers. (Do on both sides of the bird.)

4. Draw a round ring for the eye with a red pencil and put a black dot in the middle of the ring. Make the beak black with the soft-lead pencil. (Do on both sides.)

5. Draw straight lines on the wing piece to make it look like feathers.

6. Bend out the lower part of the stand, then glue the upper part of the stand to the upper part of the stand on the bird.  This will give a stand of double thickness, and with a bend out to each side will hold the bird up as firmly as two strong legs.

7.  Now fit the wings on the back of the bird. Slide the slit in the wings into the slit in the bird and stand bird up.

An aside: The directions in the old magazine called for colored paper, crayons, and colored pencils. I was surprised that these items were widely available a hundred years ago—but they apparently have been around longer than I had thought.